I still remember the first time I tried to bake bread from scratch – it was a disaster! I had no idea how to activate yeast for bread making, and my loaves ended up as dense as bricks. But that experience sparked a curiosity in me, and I soon discovered that activating yeast is not just about throwing some warm water and sugar together. It’s a delicate process that requires a bit of science and a lot of patience. As a certified master baker, I’ve learned that understanding the basics of yeast activation is crucial for making delicious homemade bread.
In this article, I’ll share my no-nonsense approach to how to activate yeast for bread making. You’ll learn the simple, yet essential steps to create an environment that wakes up those tiny microorganisms and gets them working for you. I’ll cut through the myths and misconceptions, and provide you with practical advice on how to get your yeast activated and rising in no time. Whether you’re a beginner or an experienced baker, this guide will give you the confidence to tackle any bread recipe and produce consistent, delicious results. So, let’s get started and unlock the secrets of yeast activation together!
Table of Contents
Guide Overview: What You'll Need
Total Time: 10 to 15 minutes
Estimated Cost: $5 – $10
Difficulty Level: Easy
Tools Required
- Measuring Cups for water and sugar
- Thermometer to check temperature in degrees Fahrenheit
Supplies & Materials
- Active Dry Yeast 1 packet or 2 1/4 teaspoons
- Warm Water 1 cup at 100 degrees Fahrenheit to 110 degrees Fahrenheit
- Sugar 1 teaspoon
Step-by-Step Instructions
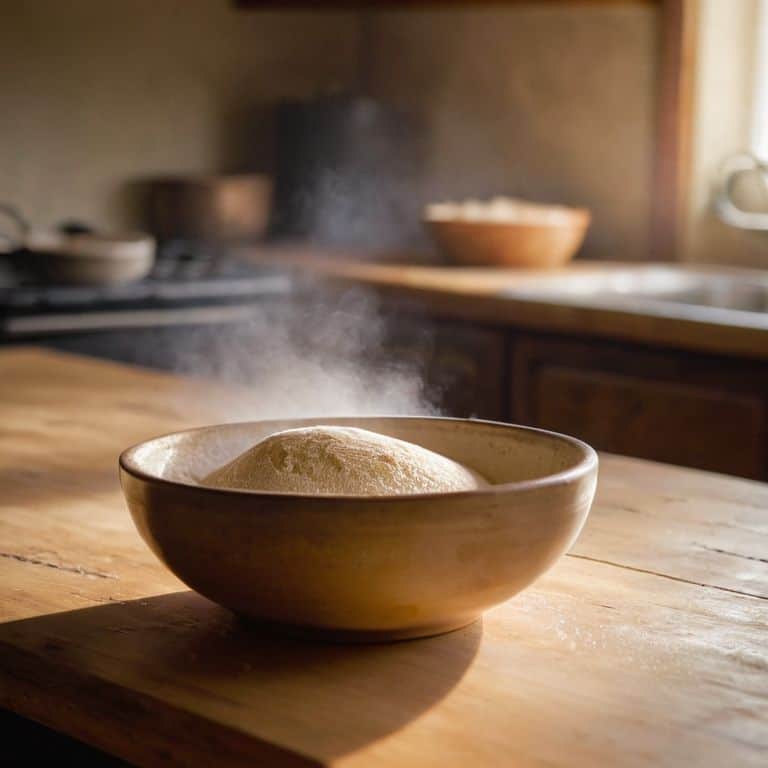
- 1. First, let’s start by understanding that yeast activation is not just about adding warm water to the yeast, but it’s about creating an environment that fosters growth and activity. To begin, you’ll need to gather your ingredients, including active dry yeast, warm water, and a bit of sugar to feed those tiny microorganisms.
- 2. Next, you’ll want to warm up your water to the perfect temperature, which is between 100°F and 110°F. It’s essential to note that water that’s too hot can kill the yeast, while water that’s too cold won’t activate it properly. I like to use a thermometer to ensure I’m within the ideal range.
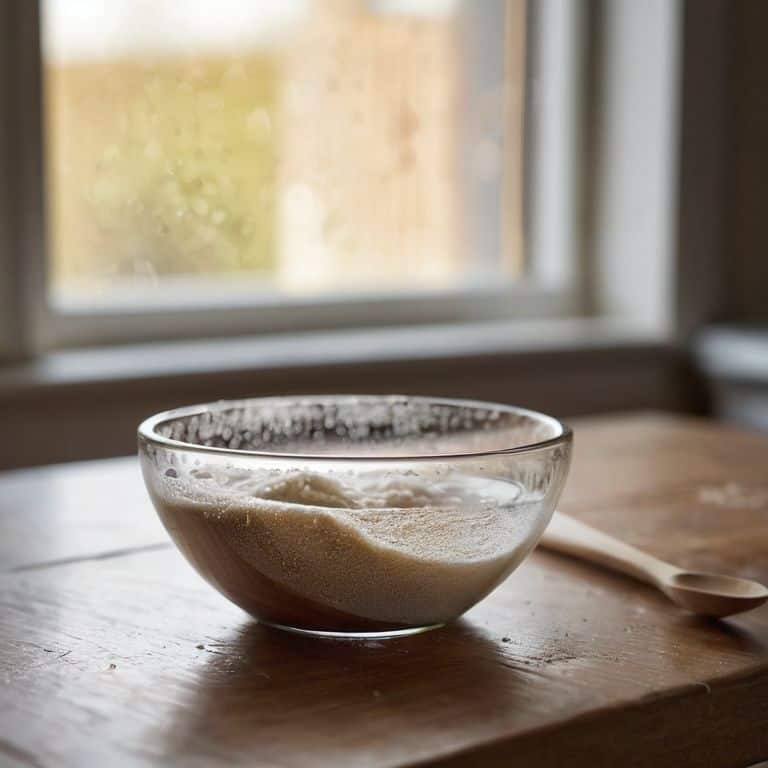
- 3. Now, it’s time to mix the yeast with the warm water. In a small bowl, combine 1 cup of warm water, 1 teaspoon of sugar, and 1 teaspoon of active dry yeast. Stir the mixture gently to dissolve the yeast and sugar, then let it sit for about 5-10 minutes.
- 4. As you wait for the yeast to activate, you’ll start to notice a frothy texture forming on the surface of the mixture. This is a sign that the yeast is fermenting and producing carbon dioxide gas. It’s a beautiful thing to see, and it’s a great indication that your yeast is alive and well.
- 5. After 5-10 minutes, your yeast mixture should be foamy and bubbly, with a slightly yeasty aroma. If you don’t see any signs of activity, it may be due to old or inactive yeast, so be sure to check the expiration date on your yeast packet.
- 6. Now that your yeast is activated, it’s time to add it to your dough. Make sure to add the yeast mixture to the other ingredients at the right time, as specified in your recipe. This will ensure that the yeast has enough time to ferment and produce the desired rise in your bread.
- 7. Finally, be patient and let the magic of fermentation happen. Depending on the type of bread you’re making, you may need to let the dough rise for several hours or even overnight. Keep in mind that yeast is a living organism, and it needs time to do its thing, so don’t rush the process. With a little patience and practice, you’ll be baking like a pro in no time.
Mastering Yeast Activation
To truly master the art of yeast activation, it’s essential to understand the ideal yeast activation temperature range. Yeast thrives in warm environments, typically between 100°F and 110°F. This temperature range allows the yeast to activate quickly and efficiently, leading to a better rise in your bread. Using sugar to activate yeast is also a common practice, as it provides a readily available food source for the yeast to feed on.
When it comes to activating yeast, the best water temperature for yeast is crucial. Water that’s too hot can kill the yeast, while water that’s too cold can slow down the activation process. Aim for a temperature between 100°F and 110°F for optimal results. It’s also important to be aware of common yeast activation mistakes, such as using old or expired yeast, which can lead to poor activation and a disappointing rise.
By understanding the science behind yeast activation, you can avoid common pitfalls and ensure that your yeast is activated quickly and efficiently. The yeast activation time frame can vary depending on factors such as temperature and yeast type, but generally, it should take around 5-10 minutes to see signs of activation, such as foaming or bubbling. Whether you’re using dry yeast vs instant yeast, the key is to create an environment that allows the yeast to thrive, and with practice, you’ll be a pro at activating yeast in no time.
Common Mistakes in Yeast Activation Time Frame
When it comes to yeast activation, timing is everything. One of the most common mistakes I see my students make is not allowing the yeast to activate for the right amount of time. If you don’t give it enough time, the yeast won’t have a chance to fully awaken and start producing carbon dioxide, leading to a lackluster rise. On the other hand, if you let it sit for too long, the yeast can become over-activated, leading to a sour or unpleasantly yeasty flavor.
To avoid this, I recommend aiming for a yeast activation time of around 5-10 minutes. This allows the yeast to wake up and start doing its thing without getting too carried away. Of course, the exact time may vary depending on factors like temperature and yeast type, but as a general rule, 5-10 minutes is a good sweet spot to aim for.
The Science of Yeast Activation Temperature Range
When it comes to yeast activation, temperature plays a crucial role. Yeast thrives in a warm, but not scorching, environment. The ideal temperature range for yeast activation is between 100°F and 110°F (38°C to 43°C). This narrow range allows the yeast to rehydrate and start fermenting sugars, producing carbon dioxide and causing the dough to rise. If the temperature is too low, the yeast will be sluggish, and if it’s too high, the yeast will be killed.
I always tell my students to think of this temperature range as the “goldilocks zone” – not too hot, not too cold, but just right. By maintaining this optimal temperature, you’ll be able to create an environment that fosters healthy yeast growth and, ultimately, a delicious homemade bread.
Yeast Activation Essentials: 5 Tips for Success
- Use warm water, not hot, to activate your yeast – aim for a temperature between 100°F and 110°F to create an ideal environment
- Choose the right type of sugar to feed your yeast, as it prefers simpler sugars like glucose or fructose over complex ones
- Make sure to use the correct yeast-to-water ratio, as too little water can dehydrate the yeast, while too much can dilute its potency
- Minimize the amount of salt used when activating yeast, as high salt concentrations can inhibit yeast growth and activity
- Allow the yeast mixture to rest for 5-10 minutes after mixing, giving the yeast time to activate and start producing carbon dioxide before adding it to your dough
Key Takeaways for Successful Yeast Activation
Always remember to create a warm, cozy environment for your yeast, typically between 100°F and 110°F, to ensure optimal activation and a robust rise in your bread
Be mindful of the time frame for yeast activation, as overheating or underheating can lead to inconsistent results – aim for a 5-10 minute activation period to get your yeast nicely frothed and bubbly
Precision is key: use a thermometer to check the temperature of your yeast mixture and a timer to monitor the activation time, as these small details can make a significant difference in the final texture and flavor of your homemade bread
The Yeast Awakening
Activating yeast is not just about mixing it with warm water, it’s about creating a nurturing environment that awakens its full potential, and with a little patience and understanding, you’ll be harnessing the magic of fermentation in no time.
Beatrice Quinn
Conclusion: Mastering the Art of Yeast Activation
As we conclude our journey into the world of yeast activation, remember that successful bread making is all about understanding the delicate balance between ingredients, temperature, and time. We’ve covered the essential steps to activate your yeast, from creating the perfect environment to avoiding common mistakes. By mastering the science of yeast activation, you’ll be well on your way to baking delicious, homemade bread that will impress friends and family alike. Whether you’re a beginner or an experienced baker, it’s essential to keep in mind that practice makes perfect, and don’t be discouraged if your first loaves don’t turn out as expected.
Now that you’ve gained a deeper understanding of yeast activation, it’s time to unleash your creativity and experiment with new recipes and ingredients. Remember, baking is 90% science and 10% magic, and with this knowledge, you’ll be able to troubleshoot and adapt to any situation that arises in the kitchen. As you continue to bake and learn, always keep in mind that the joy of baking lies not only in the end result but also in the process itself. So, go ahead, get your hands flour-covered, and happy baking!
Frequently Asked Questions
What happens if I accidentally kill the yeast during the activation process?
Don’t worry, it’s an easy mistake to make. If you’ve accidentally killed your yeast, you’ll likely notice it won’t foam or bubble. This can happen if the water is too hot, usually above 120°F. Simply start again with fresh yeast and warmer water, around 100°F to 110°F, and you’ll be back on track.
How do I know if my yeast is still active and not past its expiration date?
To check if your yeast is still active, try the ‘proofing test’: mix 1 teaspoon of sugar, 1 teaspoon of active dry yeast, and 1/2 cup of warm water (around 100°F to 110°F). If it foams and bubbles within 5 to 10 minutes, your yeast is alive and kicking!
Can I use instant yeast or rapid rise yeast for activation, and if so, how does the process differ?
While instant yeast and rapid rise yeast can be used, the process differs slightly. These yeasts are more potent, so use less and expect faster activation. Typically, you’ll use about 25% less instant yeast and skip the initial proofing step, as it’s designed to activate quickly in the dough itself.