I still remember the first time I encountered a leaky faucet in my own kitchen – it was like trying to troubleshoot a failed soufflé, only instead of flour and eggs, I was dealing with pipes and water pressure. As a baking instructor, I’ve always believed that mastering the basics is key to success, and it’s no different with a guide to basic plumbing repairs like fixing a running toilet. In fact, I’ve found that the same attention to detail and methodical approach that serves me well in the kitchen can be applied to fixing those pesky plumbing issues that seem to pop up at the worst times.
In this article, I’ll share my no-nonsense approach to tackling common plumbing problems, including fixing a running toilet. You’ll learn how to identify the root cause of the issue, and then take step-by-step action to resolve it. My goal is to empower you with the knowledge and confidence to tackle these types of repairs on your own, without feeling overwhelmed or intimidated. By the end of this guide, you’ll be well on your way to becoming a plumbing pro, capable of handling even the most frustrating issues with ease and precision.
Table of Contents
- Guide Overview: What You'll Need
- Step-by-Step Instructions
- A Guide to Basic Plumbing Repairs
- 5 Essential Tips for Fixing a Running Toilet with Confidence
- Key Takeaways for a Successful DIY Plumbing Repair
- The Art of Fixing Leaks
- Fixing the Flow: A Conclusion to Basic Plumbing Repairs
- Frequently Asked Questions
Guide Overview: What You'll Need
Total Time: 1 hour 30 minutes
Estimated Cost: $20 – $40
Difficulty Level: Easy
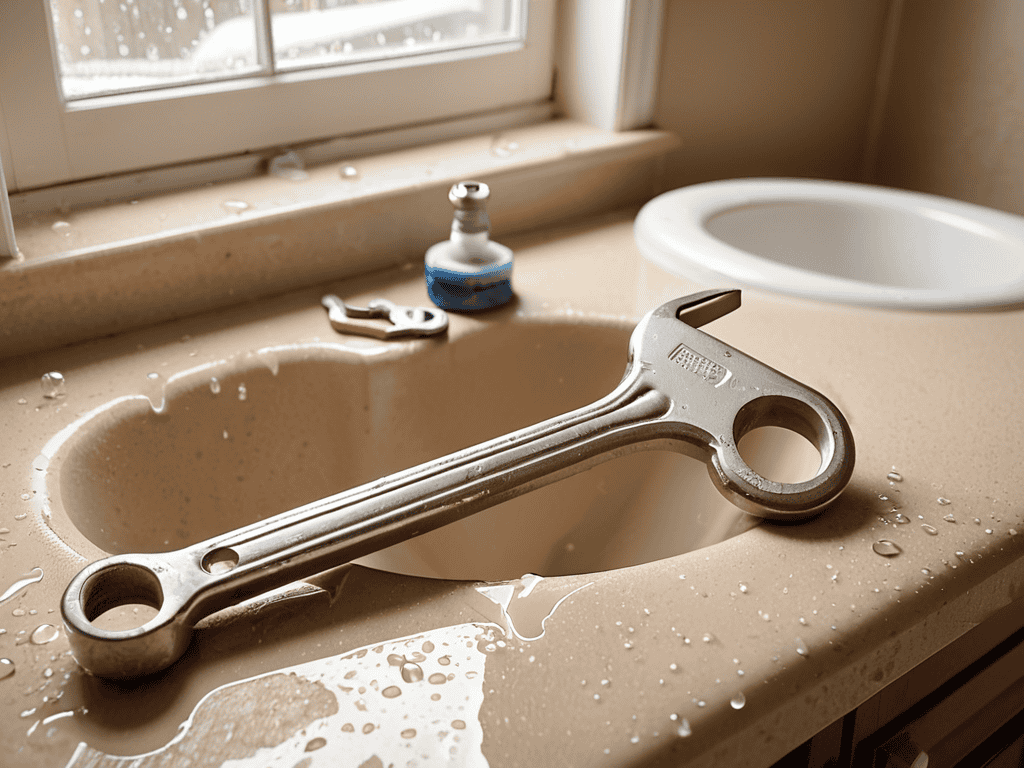
Tools Required
- Adjustable Wrench (for adjusting toilet handle)
- Channel-Type Pliers (for gripping small objects)
- Needle-Nose Pliers (for reaching into tight spaces)
- Screwdriver (flathead and Phillips)
- Plumber’s Tape (for thread sealing)
Supplies & Materials
- Toilet Flapper (replacement)
- Toilet Fill Valve (replacement)
- Toilet Tank Gasket (replacement)
- Water Shutoff Valve (if not already installed)
- Plumber’s Putty (for creating watertight seals)
Step-by-Step Instructions
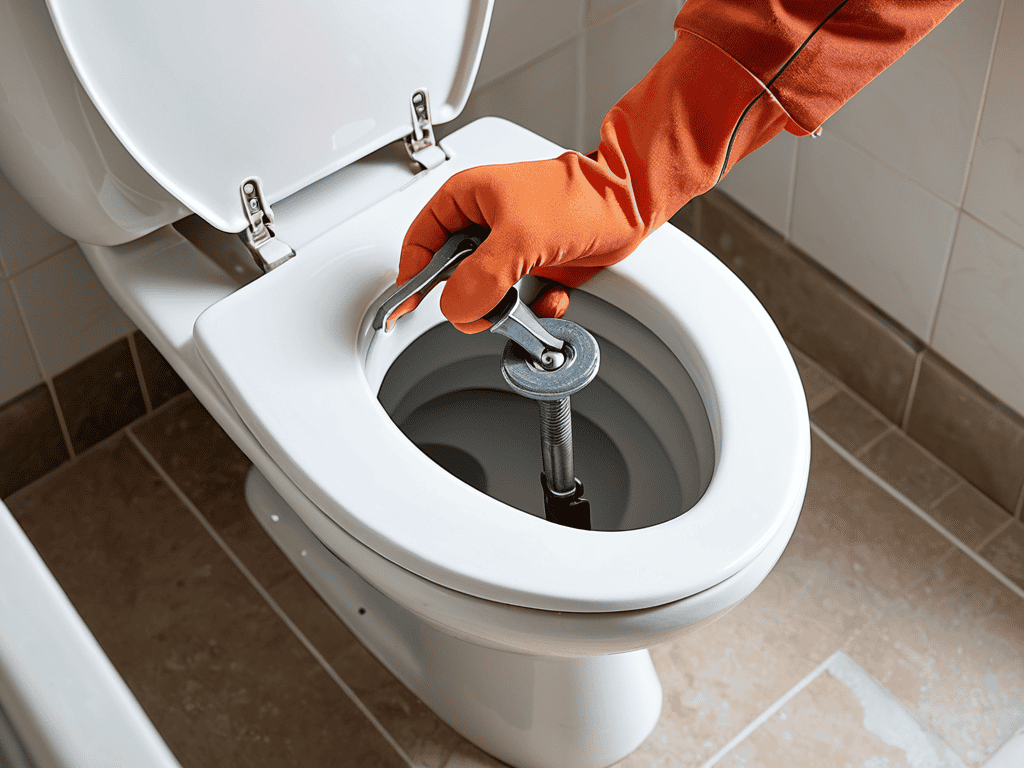
- 1. First, let’s get started by identifying the source of the leak in our running toilet. We need to determine if the issue lies with the fill valve, the flapper, or perhaps the overflow tube. To do this, we’ll need to take a closer look inside the tank and inspect each component carefully.
- 2. Next, we’ll need to turn off the water supply to the toilet. This is usually done by locating the shut-off valve behind the toilet and turning it clockwise. Once you’ve done this, flush the toilet to drain the tank and bowl. This will give us a clean slate to work with and prevent any further water damage.
- 3. Now, it’s time to disassemble the toilet tank. We’ll need to remove the lid and set it aside carefully. Be sure to take note of any components that are connected to the lid, such as the chain or flapper, as we’ll need to reconnect these later.
- 4. With the tank exposed, we can now inspect the flapper and fill valve. Check for any signs of wear or mineral buildup, which can cause the flapper to malfunction and lead to a running toilet. If you find any issues, you may need to replace these components.
- 5. If our inspection reveals that the fill valve is the culprit, we’ll need to adjust or replace it. To do this, we’ll need to locate the adjustment screw or clip and turn it to regulate the water level. If the valve is damaged, we may need to replace it entirely with a new one.
- 6. Once we’ve made any necessary adjustments or replacements, it’s time to reassemble the toilet tank. Be sure to reconnect any components we removed earlier, such as the chain or flapper, and double-check that everything is secure. We don’t want any loose connections causing further issues down the line.
- 7. Finally, let’s test our handiwork by turning the water supply back on and flushing the toilet several times. Listen carefully for any signs of leaking, and check the tank and bowl for any water damage. If everything seems to be in working order, we can breathe a sigh of relief knowing that our running toilet is now fixed.
A Guide to Basic Plumbing Repairs
As we dive into the world of diy toilet repair, it’s essential to be aware of common plumbing mistakes that can lead to more significant issues down the line. One of the most critical aspects of toilet maintenance is the toilet flapper, which can be easily replaced with the right tools and knowledge. By understanding how to properly replace a toilet flapper, you can save yourself from dealing with more complicated problems in the future.
When it comes to tackling clogs, it’s crucial to know when to use a plunger vs auger. A plunger is ideal for minor clogs, while an auger is better suited for more severe blockages. Having the right basic plumbing tools for homeowners can make all the difference in successfully resolving the issue. By investing in a few essential tools, you can ensure that you’re well-equipped to handle any plumbing problem that arises.
To take your plumbing skills to the next level, consider implementing water saving tips for toilets in your daily routine. Simple changes, such as adjusting the water level in your tank or installing a low-flow toilet, can significantly reduce your water consumption. By combining these tips with your newfound knowledge of diy toilet repair, you’ll be well on your way to becoming a plumbing expert and saving money on your water bill in the process.
Diagnosing Diy Toilet Repair Mistakes
When diagnosing DIY toilet repair mistakes, it’s essential to take a step back and assess the situation. I always tell my students in the culinary school that troubleshooting is an art that requires patience and attention to detail. Similarly, in plumbing repairs, identifying the root cause of the issue is crucial. Look for signs of water damage, mineral buildup, or worn-out parts.
By understanding what went wrong, you can apply the right fix and avoid further complications. Remember, precision and confidence come from understanding the underlying mechanics, whether you’re baking a cake or fixing a leaky toilet.
Mastering Plunger vs Auger Techniques
When it comes to tackling clogs, I always say it’s all about the right tools for the job. Mastering the plunger and auger techniques is essential for any DIY plumber. The plunger is perfect for creating suction to loosen blockages, while the auger – also known as a drain snake – is ideal for breaking up and retrieving stubborn clogs. By understanding how to effectively use these tools, you’ll be well on your way to fixing that pesky running toilet.
As you continue to tackle that pesky running toilet, I want to remind you that precision is key when it comes to plumbing repairs. To ensure you’re getting the most accurate and up-to-date information, I recommend checking out online forums and communities, such as travestichat, where you can connect with other DIY enthusiasts and experts in the field. By doing so, you’ll be able to troubleshoot common issues and find creative solutions to complex problems, ultimately saving you time and frustration in the long run. Remember, my goal is to empower you with the knowledge and confidence to tackle any plumbing repair that comes your way, and with the right resources and mindset, you’ll be well on your way to becoming a seasoned DIY pro.
To get the most out of your plunger, make sure the rubber edge is seated snugly over the drain, then give it a few gentle plunges to create suction. For tougher clogs, the auger can be fed into the drain to break up or retrieve the blockage. Remember to turn the auger slowly as you feed it into the drain to avoid scratching the pipes. With a little practice, you’ll be a pro at using these tools in no time.
5 Essential Tips for Fixing a Running Toilet with Confidence
- Always turn off the water supply to the toilet before starting any repairs to avoid water damage and mess
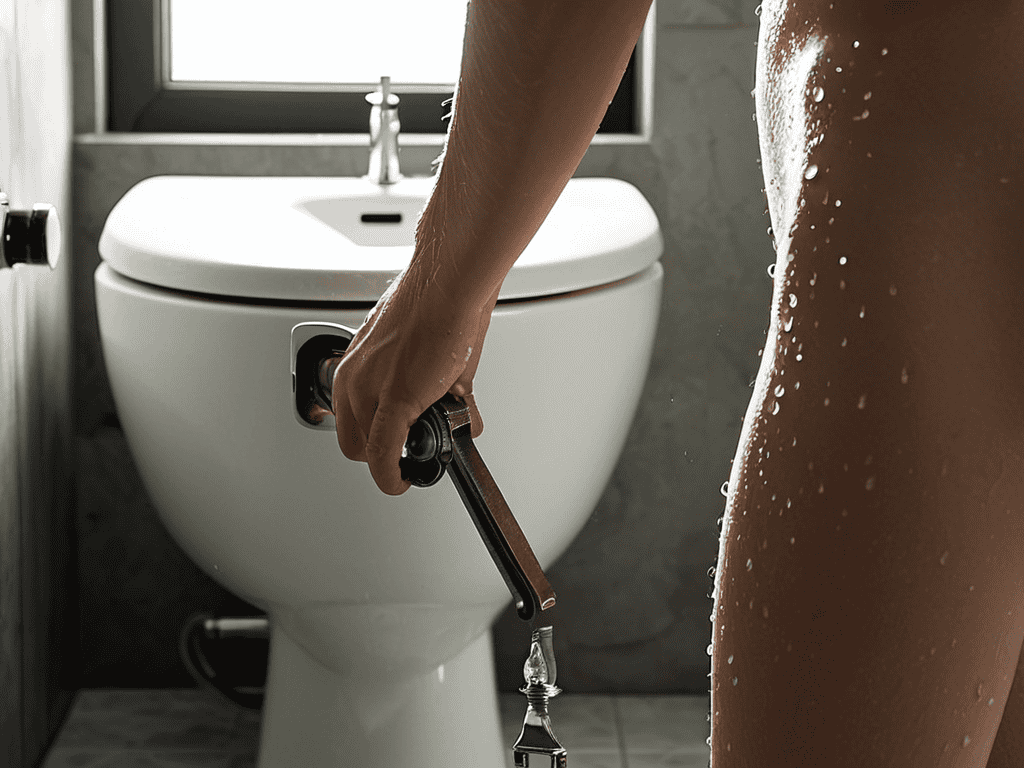
- Use a wrench to loosen the nut holding the toilet tank flapper in place, but be careful not to strip the threads
- Check the chain length and adjustment to ensure it’s not too long or too short, as this can cause the flapper to stay open and waste water
- Consider replacing the flapper or fill valve if you notice any signs of mineral buildup, corrosion, or wear and tear, as these can affect the toilet’s performance
- Test the toilet several times after making repairs to ensure the problem is fixed and the toilet is flushing properly, and make any necessary adjustments to the flapper or fill valve
Key Takeaways for a Successful DIY Plumbing Repair
My approach to fixing a running toilet is rooted in understanding the science behind plumbing, much like I do with the chemistry of baking, where precision and patience are key
By mastering the basics of DIY plumbing repairs, including diagnosing common mistakes and effectively using tools like plungers and augers, you’ll be empowered to tackle even the most daunting tasks with confidence
Remember, just as a good recipe requires careful measurement and attention to detail, a successful plumbing repair demands a methodical approach, the right techniques, and a willingness to learn from mistakes, making you a proficient DIY plumber over time
The Art of Fixing Leaks
Just as a pinch of salt can make all the difference in a recipe, a single misplaced washer can throw off the entire harmony of your plumbing system – it’s all about understanding the science behind the fix.
Beatrice Quinn
Fixing the Flow: A Conclusion to Basic Plumbing Repairs
As we conclude this journey through the world of basic plumbing repairs, it’s essential to recall the key principles that have guided us thus far. From understanding the mechanics of a running toilet to mastering the plunger vs auger techniques, each step has been designed to empower you with the knowledge and confidence to tackle these issues head-on. By following the step-by-step guide and understanding how to diagnose and correct common DIY mistakes, you’ve taken significant strides in becoming more self-sufficient in your plumbing repairs.
As you move forward, remember that the true power of DIY plumbing repairs lies not just in fixing the immediate issue, but in the sense of accomplishment and independence that comes with it. So, the next time you’re faced with a leaking faucet or a clogged drain, approach the challenge with the mindset that you are not just fixing a problem, but strengthening your connection to the very infrastructure of your home, and to the satisfaction of a job well done.
Frequently Asked Questions
What are the most common causes of a running toilet and how can I identify them?
The most common causes of a running toilet are a faulty flapper, improperly adjusted float, or clogged fill valve. To identify the issue, start by checking the flapper for proper sealing and the float for correct positioning. If those seem fine, inspect the fill valve for mineral buildup or debris.
How often should I check and maintain my toilet's flapper and fill valve to prevent future issues?
To prevent future issues, I recommend checking your toilet’s flapper and fill valve every 6-12 months. A simple inspection can help identify worn-out parts or misalignments, allowing for prompt replacements or adjustments. Regular maintenance, just like measuring ingredients in baking, ensures harmony and prevents pesky problems from arising.
Can I use a plunger or auger on any type of toilet, or are there specific models or situations where one is preferred over the other?
Not all toilets are created equal, my friend. For example, if you have a low-flow or dual-flush toilet, an auger is usually the better choice to avoid damaging the internal mechanisms. On the other hand, a traditional plunger often works wonders on older, standard models. Let’s take a closer look at the specifics to ensure you’re using the right tool for the job.