I still remember the first time I tried to bake a cake, only to have it turn out as hard as a rock. It wasn’t until later that I learned the secret to tender, fluffy baked goods: how to soften butter for baking. It’s a crucial step that many of us overlook, and yet it’s the key to unlocking the perfect texture and flavor in our baked treats. As a certified master baker, I’ve seen my fair share of baking disasters, and I can confidently say that softening butter is an often-neglected but essential skill to master.
In this article, I’ll share my expert advice on how to soften butter for baking, so you can avoid common mistakes and achieve baking success. You’ll learn the simple, no-fuss methods for softening butter to the perfect consistency, and how to apply this skill to a variety of baked goods, from cakes and cookies to pastries and more. By the end of this guide, you’ll be equipped with the knowledge and confidence to bake like a pro, and you’ll never have to worry about tough, overmixed batter again. Whether you’re a beginner or an experienced baker, my goal is to empower you with the fundamental knowledge you need to take your baking to the next level.
Table of Contents
Guide Overview: What You'll Need
Total Time: 5 minutes to 1 hour
Estimated Cost: $0 – $5
Difficulty Level: Easy
Tools Required
- Microwave (for quick softening)
- Cheese grater or pastry blender (for softening and mixing)
- Room temperature environment (for natural softening)
Supplies & Materials
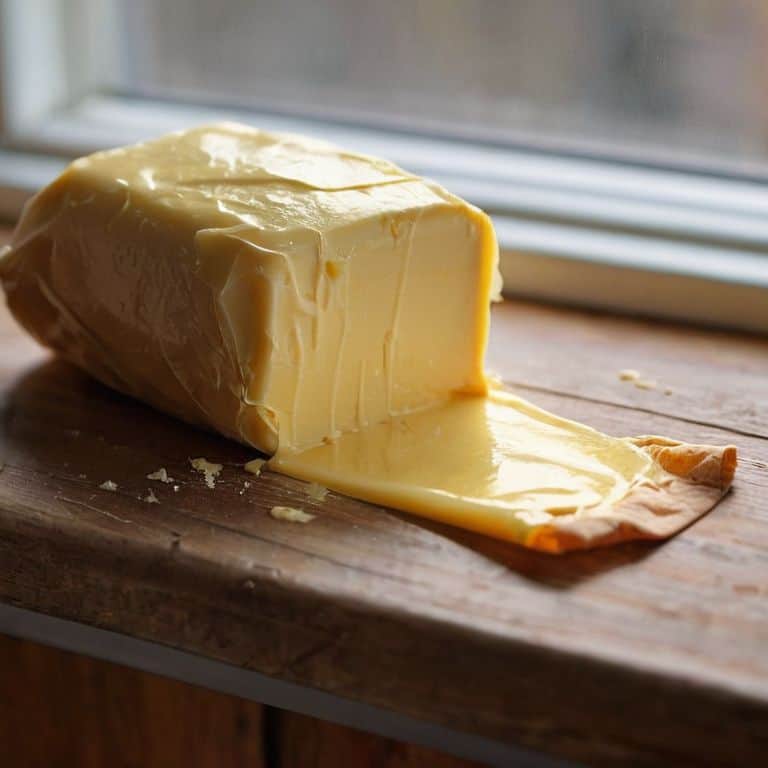
- Butter straight from the refrigerator
- Plastic wrap or wax paper (for wrapping butter during softening)
- Cutting board (for placing butter during softening)
Step-by-Step Instructions
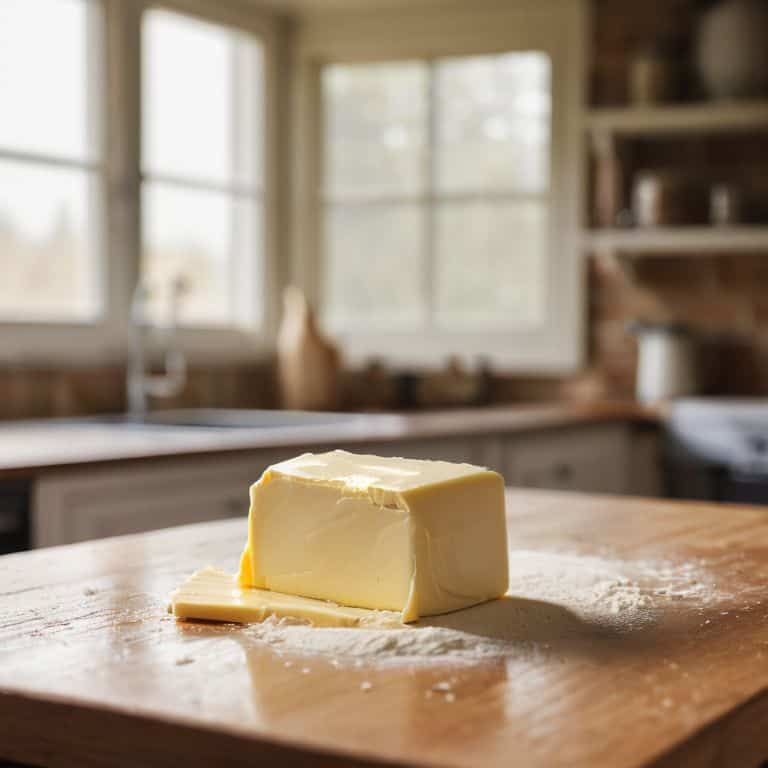
- 1. First, let’s understand that softening butter is not just about making it easier to mix, but it’s also crucial for creating the right texture and structure in our baked goods. To start, take your butter out of the refrigerator and let it sit at room temperature for about 30 minutes to an hour. This will allow it to start softening naturally.
- 2. Next, you can speed up the process by cutting the butter into smaller pieces. This increases the surface area, allowing it to soften more evenly and quickly. I like to cut my butter into small cubes, about 1/2 inch in size, to ensure they soften uniformly.
- 3. If you’re in a hurry, you can also use the microwave method. However, be cautious as overheating can cause the butter to melt, which is not what we want for most baking recipes. To microwave, place the cubed butter in a microwave-safe dish and heat it in short intervals, checking on it every 10 seconds until it reaches the desired softness.
- 4. Another method to soften butter, especially if you’re working with a large quantity, is to use warm water. Place the butter in a leak-proof bag or a sealed container and submerge it in warm water for a few minutes. The warmth will help soften the butter without melting it, making it perfect for recipes where you need to maintain the butter’s structure.
- 5. Once your butter has softened to your liking, it’s essential to check its consistency. You want the butter to be soft and pliable but still hold its shape. If it’s too soft or melted, it might not incorporate well with other ingredients, leading to an undesirable texture in your final product.
- 6. For recipes where you need room temperature butter, it’s crucial to ensure it’s at the right temperature. Room temperature butter should be around 72°F to 76°F (22°C to 24°C). If your butter is too cold, it won’t cream properly with sugar, and if it’s too warm, it can lead to a dense or greasy texture in your baked goods.
- 7. Finally, remember that precision is key in baking. Always use a digital thermometer to check the temperature of your butter, especially if you’re new to baking. This will help you develop a sense of what room temperature butter feels like and ensure your baked goods turn out as expected every time.
The Science of Softening
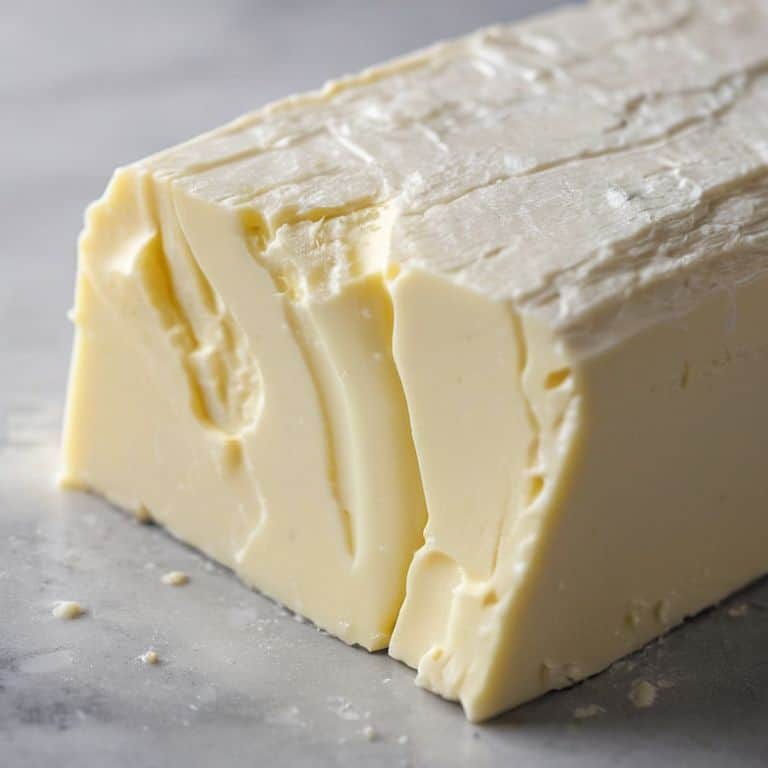
As we delve into the world of butter softening, it’s essential to understand the science behind the process. When butter is softened, its crystalline structure begins to break down, making it more pliable and easier to mix with other ingredients. This is crucial in baking, as it affects the final texture and consistency of our baked goods. I’ve found that using butter temperature control is vital in achieving the perfect softness, especially when working with sensitive ingredients like yeast or eggs.
In my experience, quick butter softening methods can be a game-changer in the kitchen. By using techniques like microwaving or grating, we can rapidly soften butter to the desired consistency. However, it’s crucial to be mindful of over-softening, which can lead to a greasy or Separated mixture. To avoid this, I recommend using a combination of butter softening techniques, such as leaving the butter at room temperature or using a warm water bath.
When working with softened butter, it’s also important to consider the type of recipe we’re using it in. For instance, baking with melted butter can produce a different result than using softened butter. By understanding the chemical reactions that occur during the baking process, we can better predict the outcome of our baked goods. Whether we’re making a delicate cake or a rich, browned butter cookie, the key to success lies in mastering the art of butter softening.
Butter Temperature Control Matters
Butter temperature plays a crucial role in the softening process. When butter is too cold, it won’t cream properly with sugar, leading to a dense final product. On the other hand, butter that’s too warm can melt, causing it to separate from other ingredients. I always advise my students to aim for a sweet spot – a temperature range of around 72°F to 76°F (22°C to 24°C). This allows the butter to yield to pressure, making it perfect for creaming and aeration.
By controlling the butter temperature, you’re setting yourself up for success in the baking process. It’s a small detail, but one that makes a significant difference in the final texture and consistency of your baked goods.
Quick Softening for Perfect Recipes
When you’re short on time, quick softening methods can be a lifesaver. One approach is to cut the butter into small pieces, increasing its surface area and allowing it to soften faster. You can also try grating or shredding the butter, which works beautifully for recipes like cakes and cookies. Another trick is to microwave the butter in short increments, checking on it until it reaches the desired consistency. Just be cautious not to overheat, as this can affect the butter’s texture and performance in your recipe.
By employing these rapid softening techniques, you’ll be able to achieve the perfect consistency for your recipes, even when you’re in a hurry. Whether you’re making a delicate pastry or a moist cake, having the right butter texture is crucial, and with these methods, you’ll be well on your way to baking success.
Mastering the Art of Softened Butter: 5 Essential Tips
- Let butter sit at room temperature for a few hours to allow it to soften naturally, perfect for recipes that don’t require immediate mixing
- Use the microwave-safe method: heat butter for 10-15 second intervals, checking until it reaches the desired consistency, ideal for last-minute baking needs
- Grate or slice cold butter into smaller pieces to increase the surface area, accelerating the softening process for efficient mixing
- Submerge butter in warm water, changing the water as it cools, to maintain a consistent temperature and soften the butter evenly, great for large quantities
- Utilize a pastry blender or fork to break down cold butter into smaller pieces, then let it sit for a short period, allowing it to soften slightly before creaming, ensuring a smooth and even texture in your final baked goods
Key Takeaways for Softening Butter with Confidence
Always prioritize temperature control when softening butter, as it directly impacts the final texture and consistency of your baked goods
Understand that quick softening methods, such as microwaving or grating, can be effective but require careful monitoring to avoid over-softening or melting
Remember, the goal of softening butter is to achieve a pliable, easy-to-mix consistency that integrates seamlessly with other ingredients, so take the time to get it just right for optimal baking results
The Heart of Softened Butter
Softening butter is not just about reaching a certain temperature, it’s about understanding the delicate dance between fat crystals and moisture, a harmony that can make or break the texture of your baked goods.
Beatrice Quinn
Conclusion: The Power of Perfectly Softened Butter
As we’ve explored the world of softening butter for baking, it’s clear that understanding the science behind the process is key to achieving perfect recipes. From the initial steps of preparing your butter to the nuanced discussions on temperature control and quick softening methods, each element plays a crucial role in the final product. By grasping these fundamentals, you’ll be well on your way to elevating your baking and making it a truly enjoyable, precise craft.
As you continue on your baking journey, remember that the art of softening butter is just the beginning. With practice and patience, you’ll find that the magic happens when science and skill come together. So, don’t be afraid to experiment, to try new recipes, and to push the boundaries of what you thought was possible. With every perfectly softened pat of butter, you’ll be one step closer to unlocking the full potential of your baking, and that’s a truly sweet success.
Frequently Asked Questions
What happens if I over-soften the butter, will it affect the texture of my baked goods?
Over-softening butter can indeed impact texture, leading to dense or greasy baked goods. When butter becomes too soft, it can’t hold air properly, affecting the final structure. To avoid this, monitor your butter’s consistency and aim for a soft, yet still slightly firm, texture – think cool room temperature, not melted or overly warm.
Can I soften butter in the microwave, and if so, what's the safest way to do it?
While I’m cautious about microwaving butter, it can be done safely. To soften butter in the microwave, cut it into small pieces and heat in 10-second increments, checking until it reaches your desired consistency. Be careful, as overheating can cause separation and affect texture.
How do I store softened butter to keep it fresh for future baking projects?
To keep softened butter fresh, I recommend storing it in an airtight container in the fridge, allowing it to firm up slightly, then wrapping it tightly in plastic wrap or wax paper. This will help prevent spoilage and keep it ready for your next baking project.