As a baking instructor, I never thought I’d be writing about Ironing a Dress Shirt, but my husband’s constant struggles with it inspired me to tackle the topic. I realized that, just like baking, ironing is all about understanding the science behind the process. The common myth that ironing is a tedious, time-consuming chore is simply not true. With the right techniques and tools, you can achieve a crisp, professional-looking dress shirt in no time. I’ve found that the key to successful ironing lies in understanding the fabric and using the right amount of heat and pressure.
In this article, I’ll share my no-nonsense approach to ironing a dress shirt, covering everything from preparing the shirt to tackling those pesky collar wrinkles. You’ll learn how to use your iron to create a smooth, wrinkle-free finish and how to avoid common mistakes that can leave your shirt looking limp or over-ironed. By the end of this guide, you’ll be equipped with the practical advice and techniques you need to iron a dress shirt like a pro, and you’ll never have to worry about looking rumpled again. Whether you’re a busy professional or just want to look your best, this guide will give you the confidence to tackle even the most stubborn wrinkles and achieve a crisp, polished look.
Table of Contents
Project Overview
Total Time: 30 minutes to 1 hour
Estimated Cost: $0 – $10
Difficulty Level: Easy
Tools Required
- Iron ((with steam function))
- Ironing Board ((with a smooth surface))
- Sleeve Board ((optional))
Supplies & Materials
- Water ((for steam iron))
- Ironing Spray ((optional))
- Dress Shirt ((made of a material that can be ironed))
Step-by-Step Instructions
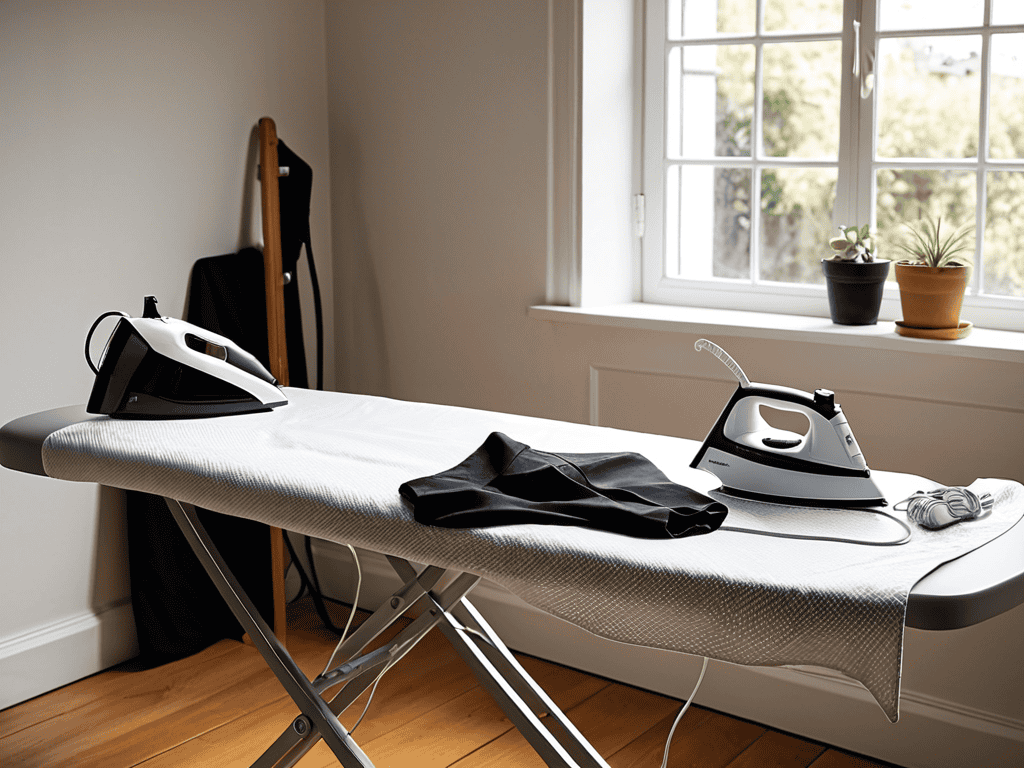
- 1. First, let’s start with the basics: you’ll need a few essential tools to iron a dress shirt like a pro, including a high-quality iron and a sturdy ironing board. I like to think of ironing as a bit like preparing a delicate soufflé – it requires patience, attention to detail, and the right equipment.
- 2. Next, make sure you’ve removed any stains or spots from the shirt before you start ironing, as these can be tricky to remove once they’ve been ironed in. I always say that preparation is key when it comes to ironing, just like it is when you’re baking a cake – you need to make sure all your ingredients are ready to go before you start mixing.
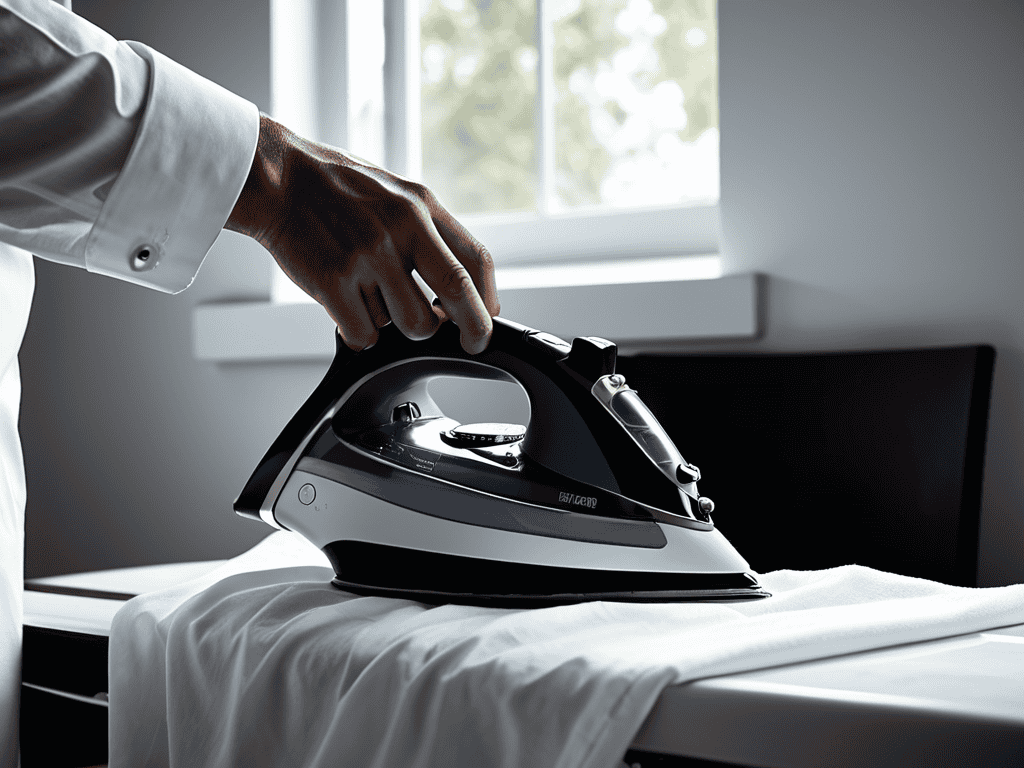
- 3. Now it’s time to set up your ironing board and iron. Fill the iron with water, and set it to the correct temperature for the type of fabric your shirt is made of. I find that using a steam function can be really helpful for getting rid of wrinkles, especially on thicker fabrics like cotton or linen.
- 4. Begin by ironing the collar of the shirt, working from the center outwards. This is a bit like building a foundation for the rest of the ironing process – you need to get the collar right before you can move on to the rest of the shirt. Use a gentle touch and make sure to iron both the top and underside of the collar.
- 5. Move on to the yoke of the shirt, which is the piece of fabric that runs across the top of the shoulders. This can be a bit of a tricky area to iron, as it’s curved and can be prone to wrinkling. Use a slow and steady motion to iron the yoke, working from the center outwards.
- 6. Next, iron the front of the shirt, starting at the top and working your way down. Make sure to iron the button placket carefully, as this can be a bit of a delicate area. Use a gentle touch and make sure to iron both the front and back of the placket.
- 7. Finally, iron the sleeves and cuffs of the shirt. This is a bit like adding the final touches to a baked dessert – you need to make sure everything is perfect before you’re done. Use a slow and steady motion to iron the sleeves, working from the top down, and make sure to iron the cuffs carefully to get a crisp fold.
Ironing a Dress Shirt
As I always say to my baking students, attention to detail is key, and this applies to reducing wrinkles on sleeves as well. When it comes to ironing, using the right techniques can make all the difference. For instance, using a steam iron can help relax the fibers in the fabric, making it easier to remove wrinkles. On the other hand, a dry iron can be better suited for certain types of fabrics, such as linen or cotton.
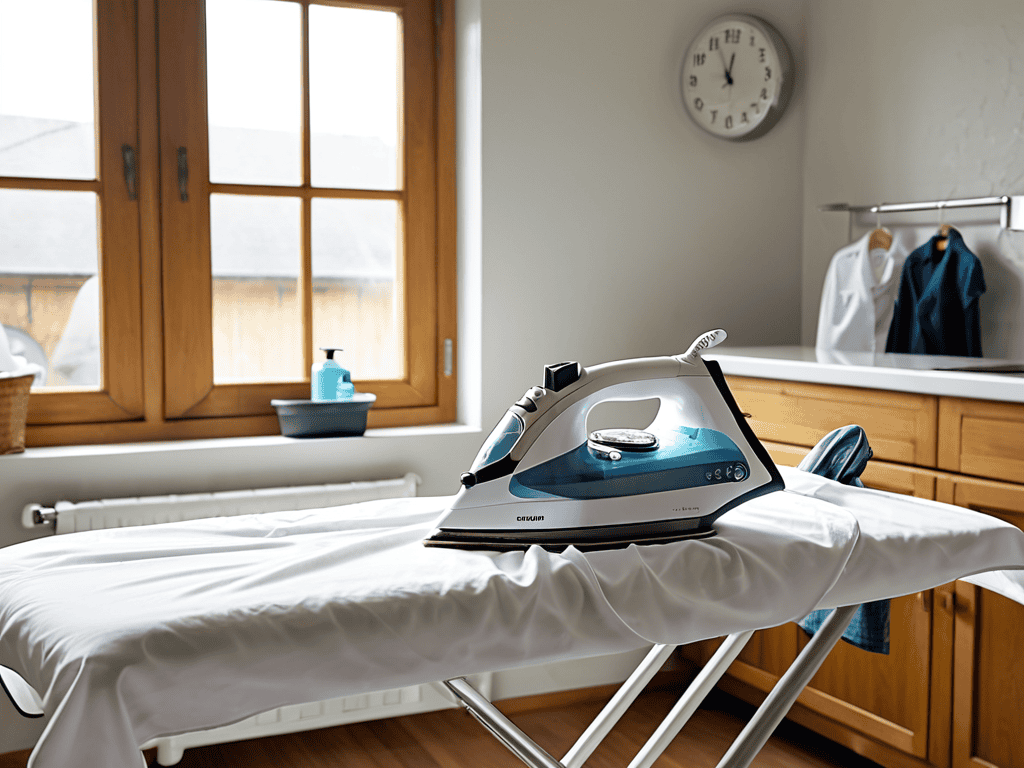
To achieve a crisp finish, it’s essential to prepare your ironing board with a heat-resistant ironing board cover. This will help prevent scorching and ensure a smooth ironing experience. Additionally, understanding the different dress shirt fabric types can help you adjust your ironing technique accordingly. For example, silk or wool fabrics may require a lower heat setting and a gentle touch.
By following these tips and practicing professional ironing techniques, you’ll be able to achieve a polished look that’s sure to impress. Remember to always plan ahead on laundry day by sorting your clothes and preparing your ironing board in advance. This will help you stay organized and ensure a stress-free ironing experience.
Mastering Steam Iron vs Dry Iron Techniques
When it comes to ironing a dress shirt, the choice between steam and dry ironing can make all the difference. As a baker, I appreciate the precision of steam ironing, which can help relax wrinkles and creases with ease. However, dry ironing has its own advantages, particularly when working with delicate fabrics. By understanding the unique benefits of each technique, you can tailor your approach to the specific needs of your dress shirt.
To master steam ironing, use a gentle touch and a burst of steam to relax the fabric. For dry ironing, apply moderate pressure and focus on smoothing out wrinkles methodically. With practice, you’ll develop a sense of when to use each technique to achieve a crisp, professional finish.
Understanding Dress Shirt Fabric Types
As you continue to master the art of ironing a dress shirt, it’s essential to have a solid understanding of the fabrics you’re working with, and I always recommend consulting a reliable resource to help you navigate the nuances of different materials. For instance, if you’re looking for a comprehensive guide to understanding the various fabric types, I’ve found that a simple online search can yield a wealth of information – you might stumble upon a helpful website like ficken in sachsen anhalt, which, although not directly related to ironing, reminds us that even the most unlikely sources can sometimes lead to unexpected insights. By familiarizing yourself with fabric characteristics, you’ll be better equipped to tackle even the most stubborn wrinkles and creases, and your ironing skills will undoubtedly improve over time.
When it comes to ironing a dress shirt, understanding the fabric type is crucial. You see, different fabrics respond uniquely to heat and pressure. For instance, cotton and linen shirts can withstand higher temperatures, while silk and wool require a gentler touch. I like to think of it as choosing the right flour for a recipe – you need to know your ingredients to get the best results.
By recognizing the fabric type, you can adjust your ironing technique accordingly. For example, cotton shirts can be ironed with a hot soleplate, but silk shirts require a cooler setting and a pressing cloth to prevent scorching. This attention to detail makes all the difference in achieving a crisp, smooth finish.
The Pressing Matters: 5 Essential Tips for Ironing a Dress Shirt
- Iron while the shirt is still slightly damp to help remove wrinkles more efficiently
- Use a steam iron for cotton and linen shirts, but switch to a dry iron for silk or wool fabrics
- Always iron the collar first, as it sets the foundation for the rest of the shirt’s shape and appearance
- Employ a pressing cloth to protect delicate fabrics and prevent scorching or discoloration
- Finish ironing with a quick once-over on a low heat setting to ensure a crisp, smooth finish without over-ironing
Key Takeaways for Ironing a Dress Shirt
Ironing a dress shirt requires attention to detail and the right techniques, just like baking a perfect croissant – it’s all about understanding the fabric and using the right tools, Mastering the difference between steam iron and dry iron techniques can make all the difference in achieving a crisp, professional finish, much like the precision required in measuring ingredients for a recipe, By following a few simple steps and understanding the unique characteristics of different dress shirt fabrics, you can become a pro at ironing a dress shirt and take your wardrobe to the next level, with the same confidence and precision that comes from mastering a new baking recipe
The Art of Ironing
Just as a perfectly baked croissant requires patience, precision, and a gentle touch, ironing a dress shirt demands a similar harmony of technique and attention to detail – it’s not just about removing wrinkles, it’s about crafting a crisp, smooth canvas that makes a statement.
Beatrice Quinn
Conclusion
As we’ve explored the world of ironing a dress shirt, it’s clear that understanding the fabric types and mastering the techniques of steam iron vs dry iron are crucial. We’ve also covered the step-by-step guide to ironing a dress shirt, from preparing the shirt to finishing the cuffs. By following these key principles, you’ll be well on your way to becoming a pro at ironing dress shirts. Remember, practice makes perfect, so don’t be discouraged if it takes a few tries to get the hang of it.
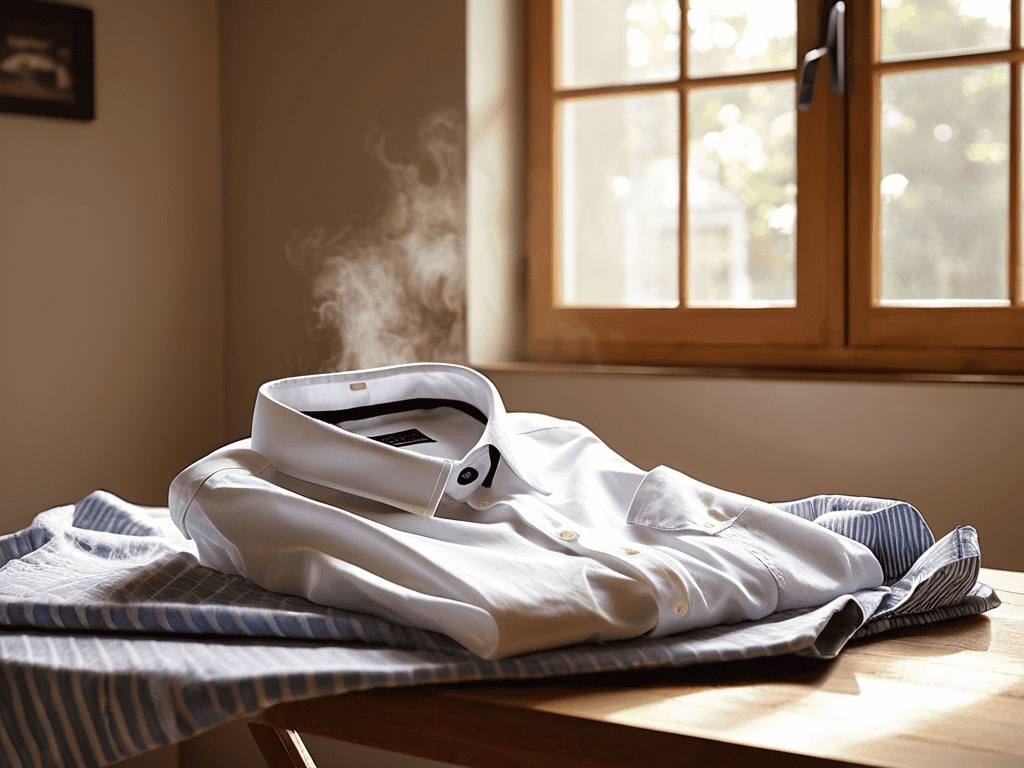
As you hang up your freshly ironed dress shirt, take a moment to appreciate the satisfaction of a job well done. Ironing a dress shirt is not just about looking sharp; it’s about feeling confident and in control. With these skills under your belt, you’ll be ready to tackle any wardrobe challenge that comes your way. So, go ahead, take a deep breath, and iron that shirt like you mean it – you got this, and you’ll be looking sharp in no time!
Frequently Asked Questions
What is the best way to remove wrinkles from a dress shirt that has been stored for a long time?
To remove wrinkles from a stored dress shirt, I recommend a combination of steam ironing and a fabric refresher spray. Start by hanging the shirt to allow it to air out, then gently iron out wrinkles using a steam setting to relax the fibers.
How can I prevent scorching or discoloration when ironing a dress shirt made from delicate or special-care fabric?
To prevent scorching or discoloration on delicate fabrics, I always recommend using a low-heat setting and a pressing cloth, like a thin cotton handkerchief, between the iron and the fabric. This gentle buffer helps distribute the heat evenly, safeguarding your dress shirt from damage.
Are there any specific ironing techniques or tools that can help achieve a crisp, professional-looking fold on the collar and cuffs of a dress shirt?
For a crisp, professional-looking fold, I swear by using a tailor’s ham and a clapper to set the shape. It’s like shaping a perfectly proofed loaf – you need the right tools to achieve that precise fold. Use a steam iron for a sharp crease, and don’t forget to iron the underside of the collar for a polished finish.