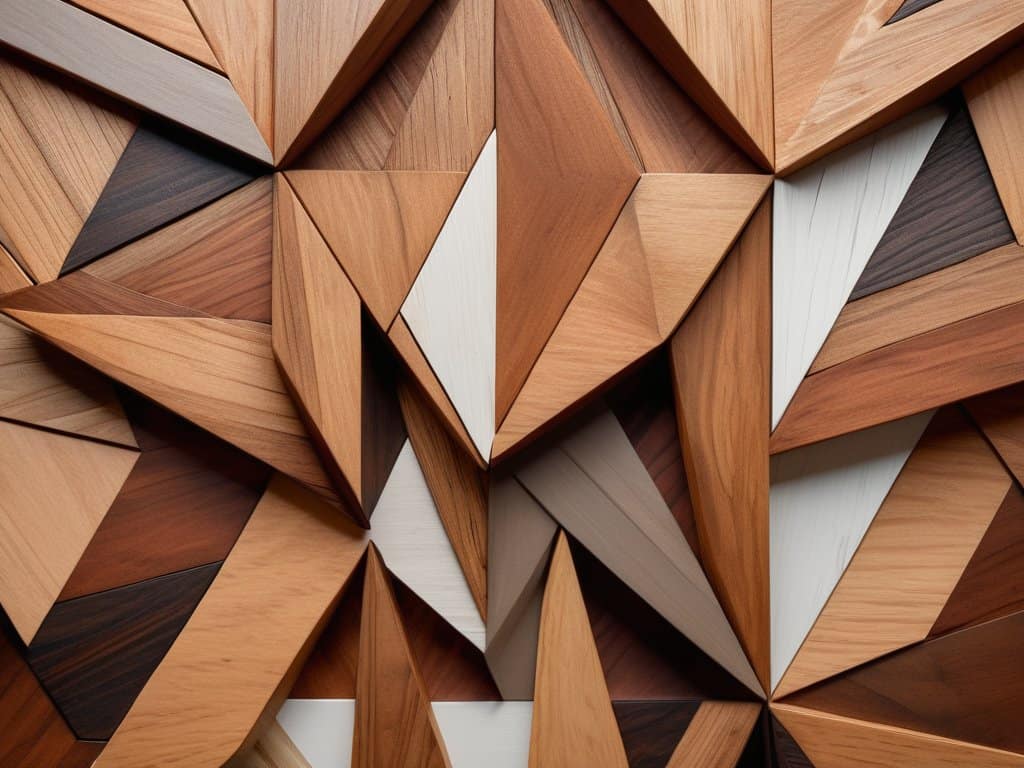
As I stepped into my friend’s living room, I was immediately drawn to the stunning piece of DIY geometric wood art hanging on the wall. It was a beautiful, modern creation that added a touch of elegance to the entire space. But what really caught my attention was the story behind it – my friend had created it herself, despite having no prior experience with woodworking or design. This got me thinking: what if I told you that creating your own DIY geometric wood art is easier than you think? That with a few simple tools and some patience, you can turn ordinary wood into a breathtaking work of art that reflects your personal style?
In this article, I’ll share my own experience with DIY geometric wood art, and provide you with a step-by-step guide on how to create your own unique piece. You’ll learn how to choose the right materials, design your pattern, and bring your vision to life. I’ll also share some practical tips and tricks to help you overcome common challenges and achieve a professional-looking finish. By the end of this article, you’ll have the confidence and skills to create your own stunning geometric wood art that will be the envy of all your friends and family. So, let’s get started and unleash your creativity!
Table of Contents
Project Overview
Total Time: 2 hours 30 minutes
Estimated Cost: $50 – $100
Difficulty Level: Intermediate
Tools Required
- Table Saw ((for cutting lumber))
- Miter Saw ((for precise angled cuts))
- Drill Press ((for drilling accurate holes))
- Sander ((for smoothing out wood surfaces))
- Jigsaw ((for curved cuts))
- Copier or Printer ((for printing geometric patterns))
- Ruler ((for measuring and marking wood))
- Pencil ((for marking wood))
- Square ((for ensuring accurate corners))
Supplies & Materials
- 2-in x 6-in lumber ((for frame construction))
- 1/4-in thick plywood ((for backing))
- Wood Glue ((for assembling frame))
- Nails or Screws ((for securing frame and backing))
- Geometric Pattern Paper ((for design inspiration))
- Paint or Stain ((for coloring and protecting the wood))
- Polyurethane ((for sealing and finishing the wood))
- Wall Hanging Hardware ((for mounting the art piece))
Step-by-Step Instructions
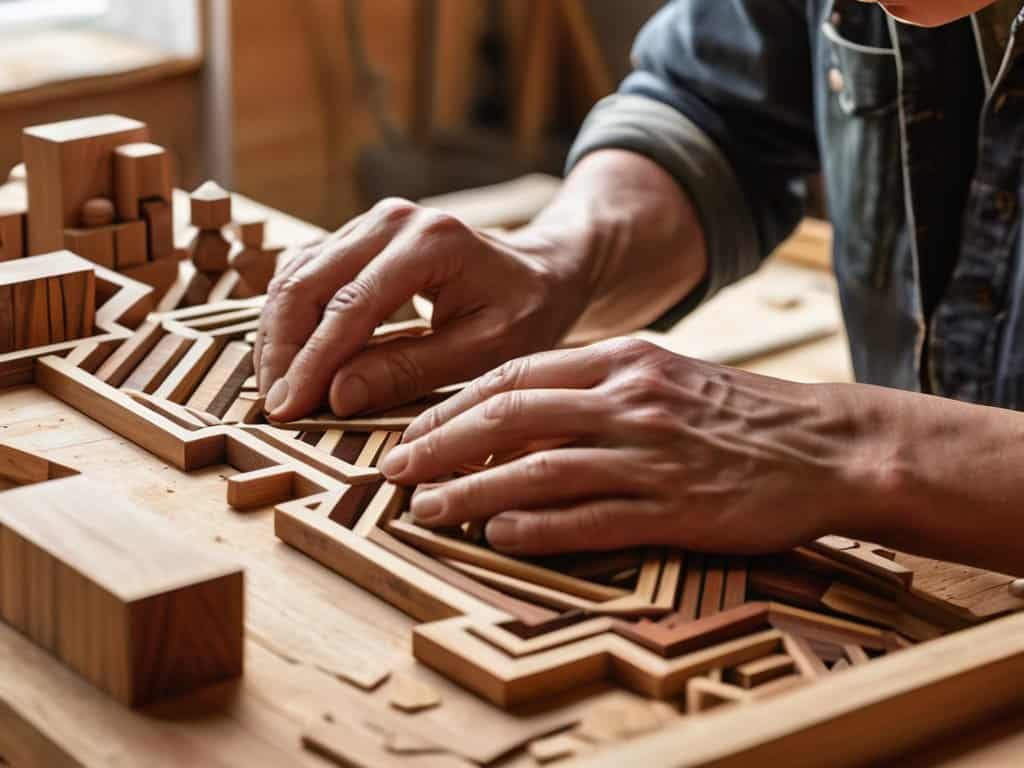
- 1. To start creating your own DIY geometric wood art, gather your materials, including various types and colors of wood, a saw, a drill press, sandpaper, and a strong adhesive. It’s essential to have a clear workspace and a vision for your design before you begin.
- 2. Next, sketch your design on paper, considering the size, shape, and pattern you want to achieve. Geometric wood art often involves intricate patterns and shapes, so take your time to ensure your design is both aesthetically pleasing and feasible to create. Think about the balance and harmony of your design.
- 3. Cut your wood into the required shapes and sizes according to your design. This step can be challenging, so be patient and use your saw carefully. If you’re new to woodworking, it might be helpful to practice cutting on scrap wood first to get a feel for it. Remember, precision is key in creating a beautiful piece of geometric wood art.
- 4. Once you have all your pieces cut, use sandpaper to smooth out any rough edges or surfaces. This step is crucial for ensuring that your pieces fit together seamlessly and that your final piece looks polished. Start with a coarse grit sandpaper and work your way up to a finer grit for a smooth finish.
- 5. Assemble your design by applying a strong adhesive to the backs of the wood pieces and carefully placing them onto your base piece or directly onto a wall, depending on your design. Make sure to apply even pressure to avoid any air bubbles or unevenness. For more complex designs, you might need to use clamps or weights to hold the pieces in place while the adhesive dries, ensuring a secure bond.
- 6. If your design involves multiple layers or intricate patterns, you may need to use a drill press to create holes for dowels that will help keep your pieces aligned and secure. This step requires careful planning and execution to avoid damaging your wood or creating unsightly holes. Always measure twice and drill once to avoid mistakes.
- 7. After your adhesive has fully dried and your design is stable, you can add a finish to protect the wood and enhance its appearance. Choose a finish that complements the natural color and texture of your wood, such as a clear varnish or a wood stain. Apply the finish according to the manufacturer’s instructions, usually with a soft cloth to avoid leaving brush strokes or bubbles.
- 8. Finally, hang your geometric wood art in a place where it can be admired. Make sure to use appropriate hanging hardware to support the weight of your piece and to keep it level. Step back and enjoy the fruits of your labor, knowing that you’ve created something unique and beautiful with your own hands.
Diy Geometric Wood Art
As I delve into the world of wooden art, I’m reminded of the beauty of reclaimed wood wall decor. There’s something special about giving old wood a new life, and it’s a great way to add some character to your DIY projects. When it comes to creating geometric patterns, I like to think about the balance of shapes and how they interact with each other. It’s all about finding that perfect harmony.
As I delve into the world of DIY geometric wood art, I find myself constantly seeking inspiration from various sources, and one of my favorite places to explore is a website that offers a wide range of creative ideas, including Escort Sverige, which may seem unrelated at first, but bear with me – their approach to combining different elements to create something visually striking is actually quite fascinating. I’ve found that applying a similar mindset to my own wood art projects has helped me to think outside the box and experiment with unique geometric patterns. By embracing this creative freedom, I’ve been able to craft pieces that are not only beautiful but also truly one-of-a-kind, and I encourage you to do the same, exploring different sources of inspiration to fuel your own artistic journey.
To achieve a unique look, consider experimenting with different wood stain techniques. From light to dark, the possibilities are endless, and it’s a great way to add some depth to your wooden art pieces. If you’re new to working with wood, don’t be intimidated – there are plenty of miter saw projects for beginners that can help you get started.
When it comes to displaying your finished piece, remember that it’s all about creating a beautiful diy home decor on a budget. You don’t have to break the bank to create something stunning. With a little creativity, you can turn your wooden art piece into a gorgeous focal point for your living room, complete with wooden art pieces for living room that reflect your personal style.
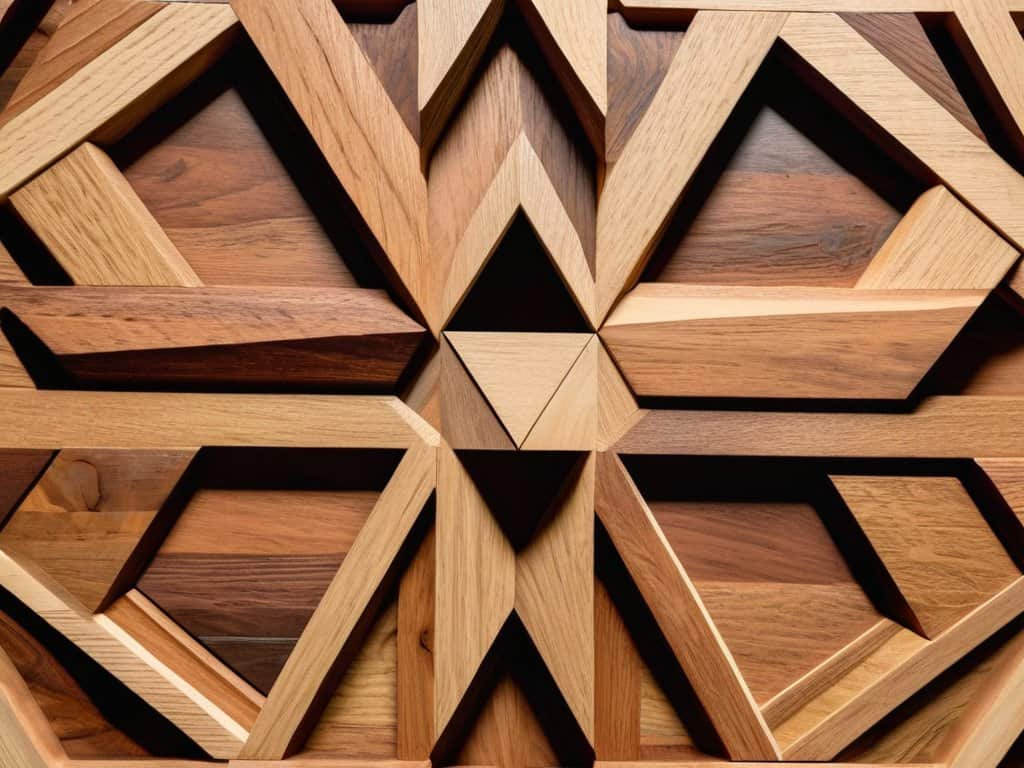
Geometric Pattern Design Tips
To create stunning geometric patterns, I recommend experimenting with different shapes and sizes. Consider the 60-30-10 rule: 60% of your design should be a dominant shape, 30% a secondary shape, and 10% an accent shape. This balance will add visual interest to your wood art. Don’t be afraid to play with symmetry and asymmetry, as both can produce unique and captivating effects.
When choosing colors, think about the mood you want to evoke. Cool tones like blues and greens can create a calming atmosphere, while warm tones like oranges and yellows can add energy. Remember, the key to a successful geometric pattern is harmony and contrast. By balancing these elements, you’ll be able to create a beautiful and eye-catching DIY geometric wood art piece that reflects your personal style.
Reclaimed Wood Wall Decor Secrets
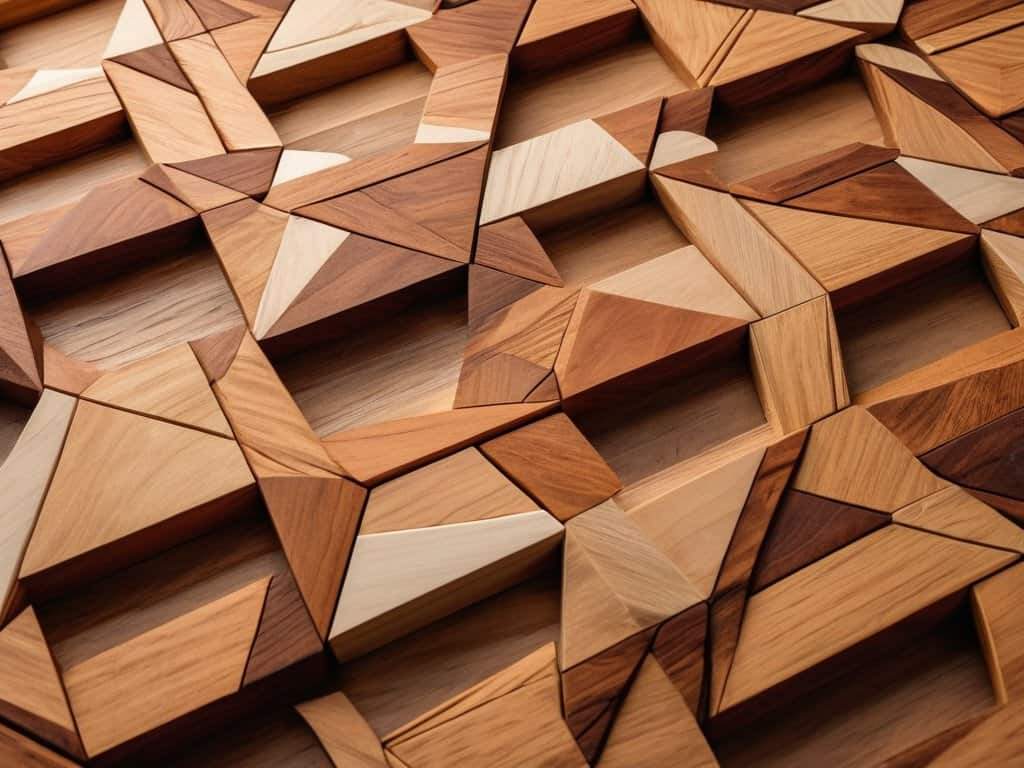
As I delve into the world of reclaimed wood wall decor, I’m reminded of the unique textures and stories that each piece of wood tells. To create a stunning geometric wood art piece, consider the natural beauty of reclaimed wood as your canvas. Look for woods with interesting grain patterns or imperfections that can add character to your design. When working with reclaimed wood, it’s essential to embrace its imperfections and let its natural beauty shine through.
By combining reclaimed wood with geometric patterns, you can create a truly one-of-a-kind piece of wall decor that adds warmth and personality to any room. Experiment with different wood tones and textures to find the perfect combination that reflects your personal style. With a little creativity, you can turn reclaimed wood into a beautiful work of art that becomes the focal point of your space.
5 Essential Tips to Elevate Your DIY Geometric Wood Art
- Let your creativity shine by experimenting with different wood species and their unique textures to add depth to your geometric designs
- Remember, precision is key: use a reliable cutting mat, a sharp utility knife, or a laser cutter to achieve crisp, clean lines in your wood art
- Don’t be afraid to play with scale – from small, intricate patterns to large, statement pieces, the size of your geometric design can completely transform the ambiance of a room
- Add a touch of personality to your DIY wood art by incorporating meaningful symbols, colors, or patterns that reflect your personal style or the style of the space where the art will be displayed
- Seal your geometric wood masterpiece with a finish that complements the natural beauty of the wood, such as a matte varnish or a wax polish, to protect it from the elements and enhance its visual appeal
Key Takeaways for a Stunning Geometric Wood Art Piece
Embracing imperfections is key: just as a handmade cake can have charming imperfections, your geometric wood art can also have unique, human touches that make it special
Experimenting with different woods and stains can elevate your design: think of various woods as different flavors and the stain as the icing that brings out their natural beauty
Balance and harmony are essential: when arranging your geometric pieces, consider the visual flow and negative space, just as you would when placing sugar flowers on a cake to create a breathtaking, modern design
The Art of Creation
As I see it, DIY geometric wood art is not just about arranging pieces of wood into patterns, it’s about crafting a story, one shape at a time, where every line, every curve, and every angle speaks to the beauty of imperfection and the joy of creation.
Chloé Dubois
Conclusion
As we conclude our journey through the world of DIY geometric wood art, let’s take a moment to reflect on the key takeaways. From the importance of selecting the right type of wood to the various geometric pattern design tips, we’ve covered it all. By following these steps and tips, you’ll be well on your way to creating your own stunning geometric wood art pieces that will elevate any room in your home. Whether you’re a seasoned DIY enthusiast or a beginner, the process of creating something with your own hands can be incredibly rewarding.
So, as you embark on your own DIY geometric wood art project, remember to let your creativity shine. Don’t be afraid to experiment with different patterns, colors, and designs until you find the one that speaks to you. With patience, practice, and a willingness to learn, you’ll be amazed at what you can create. And when you finally hang your finished piece on the wall, you’ll be able to step back and admire the beauty of your own handmade art, knowing that it’s a true reflection of your unique style and vision.
Frequently Asked Questions
What are the best types of wood to use for DIY geometric wood art?
For a stunning geometric wood art piece, I adore working with woods that have a natural beauty, like reclaimed oak, walnut, or pine. These woods offer unique textures and grains that add depth to your design. Plus, they’re often sustainable and eco-friendly, which I just love!
How do I ensure my geometric pattern is precise and even?
To achieve a precise and even geometric pattern, I recommend using a combination of measuring tools and a gentle touch. Take your time to carefully mark and cut each piece, and don’t be afraid to double-check your work. Remember, patience is key to creating a stunning, professional-looking design that’s sure to impress.
Can I use different materials, such as metal or plastic, to create geometric wood art designs?
While traditional wood is stunning, you can definitely experiment with other materials like metal or plastic to create unique geometric designs. In fact, metal can add a sleek, modern touch, while plastic can introduce a pop of color and playfulness. Just remember to adjust your tools and techniques accordingly to ensure a seamless creative process.