I still remember the first time I tried to cream butter and sugar for a cake recipe – it was a disaster. The mixture was too dense, and the cake ended up being a brick. My students often come to me with similar struggles, asking how to achieve the perfect harmony between these two essential ingredients. The common myth is that creaming butter and sugar is just about mixing them together until they’re smooth, but the truth is, it’s about creating a foundation for your entire bake. When done correctly, it can make all the difference in the texture and flavor of your final product.
In this article, I’ll share my expertise on how to cream butter and sugar like a pro. You’ll learn the science behind this crucial step, and I’ll provide you with practical tips and tricks to ensure you get it just right every time. Whether you’re a beginner or an experienced baker, you’ll appreciate the no-nonsense advice and straightforward approach I’ll be sharing. By the end of this guide, you’ll be equipped with the knowledge to create light, fluffy, and delicious baked goods that will impress anyone. So, let’s dive in and unlock the secrets of creaming butter and sugar to take your baking to the next level.
Table of Contents
- Guide Overview: What You'll Need
- Step-by-Step Instructions
- Creaming Essentials
- The Sweet Spot: 5 Expert Tips for Creaming Butter and Sugar
- Key Takeaways for Mastering the Art of Creaming Butter and Sugar
- The Harmony of Butter and Sugar
- Mastering the Art of Creaming: A Sweet Conclusion
- Frequently Asked Questions
Guide Overview: What You'll Need
Total Time: 10 minutes
Estimated Cost: $0 – $5
Difficulty Level: Easy
Tools Required
- Electric Mixer (or whisk)
- Measuring Cups
- Rubber Spatula
Supplies & Materials
- Unsalted Butter softened
- Granulated Sugar
Step-by-Step Instructions
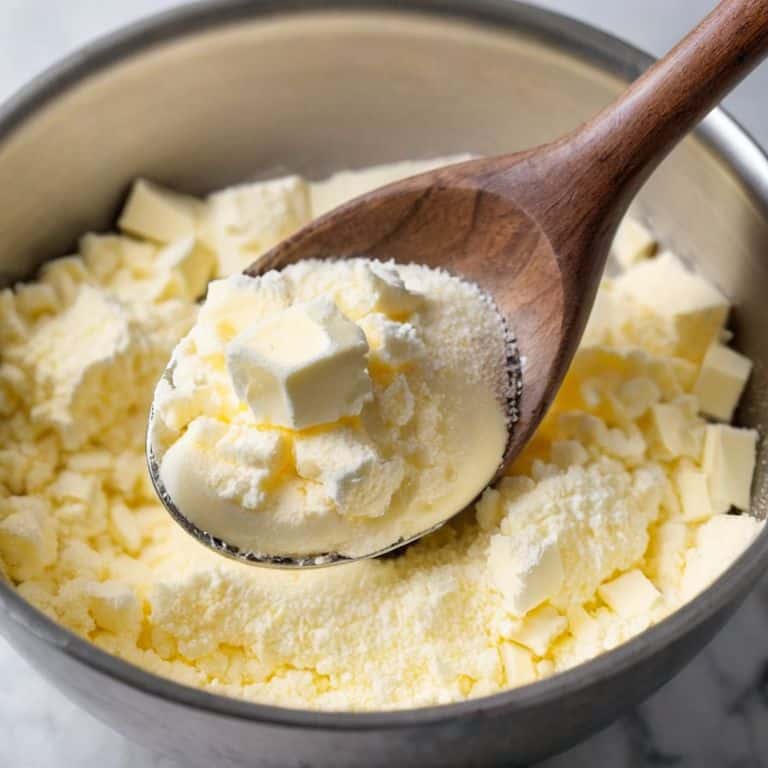
- 1. First, let’s start with the foundation of creaming butter and sugar, which begins with ensuring your butter is at room temperature. This is crucial because cold butter won’t mix well with sugar, leading to an uneven texture in your final bake. To achieve room temperature, simply leave your butter out on the counter for a few hours before you start baking.
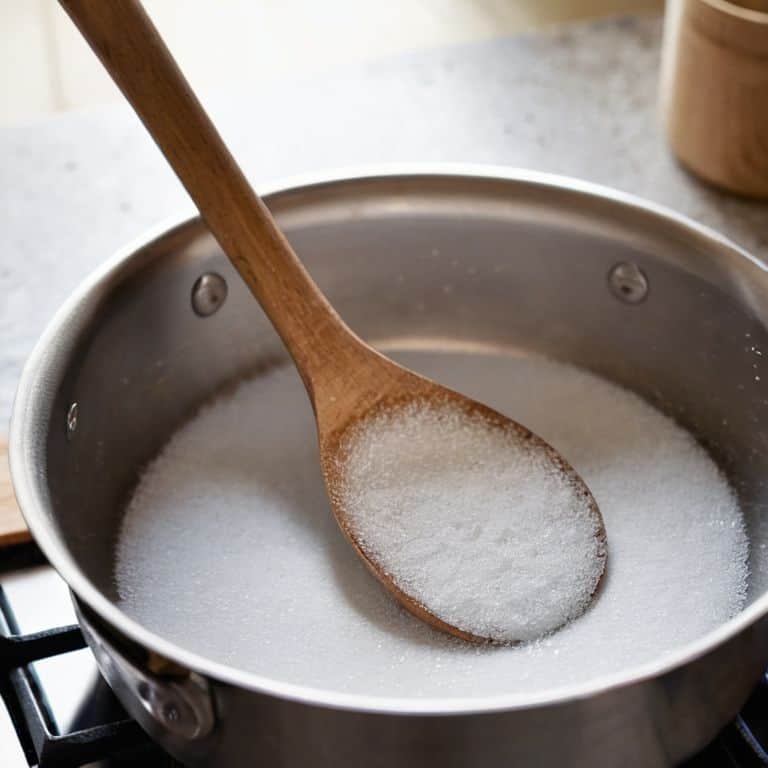
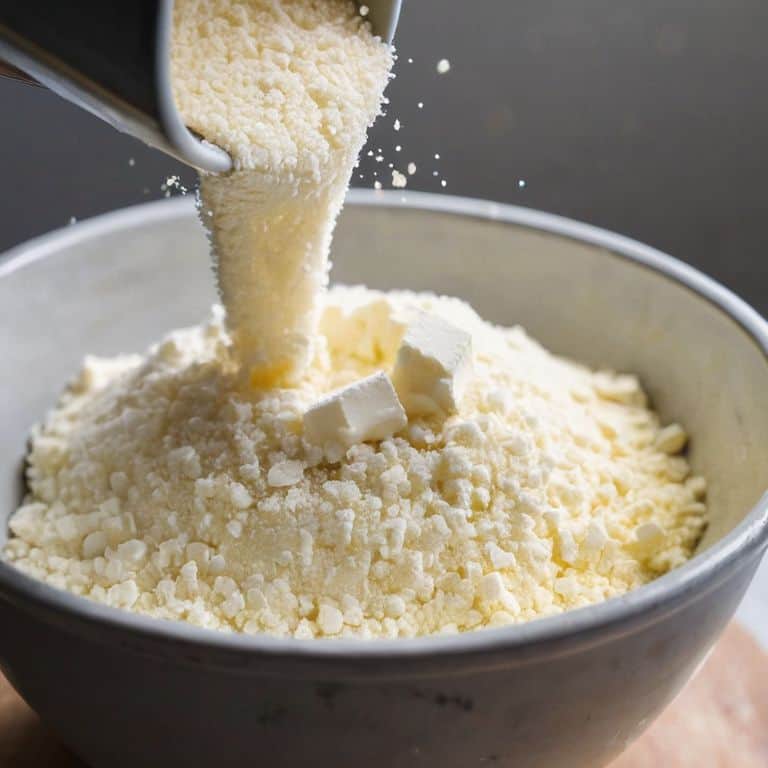
- 2. Next, you’ll want to prepare your sugar. I always say that measuring accurately is key in baking, and this step is no exception. Use a digital scale to weigh out the exact amount of sugar your recipe calls for. Don’t skip this step, as using too much or too little sugar can affect the final texture and flavor of your bake.
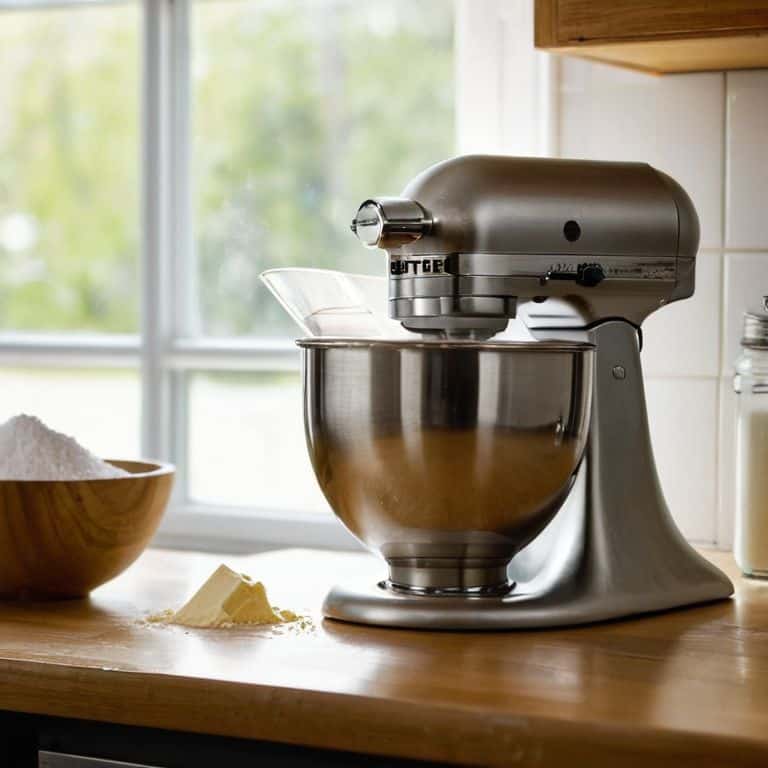
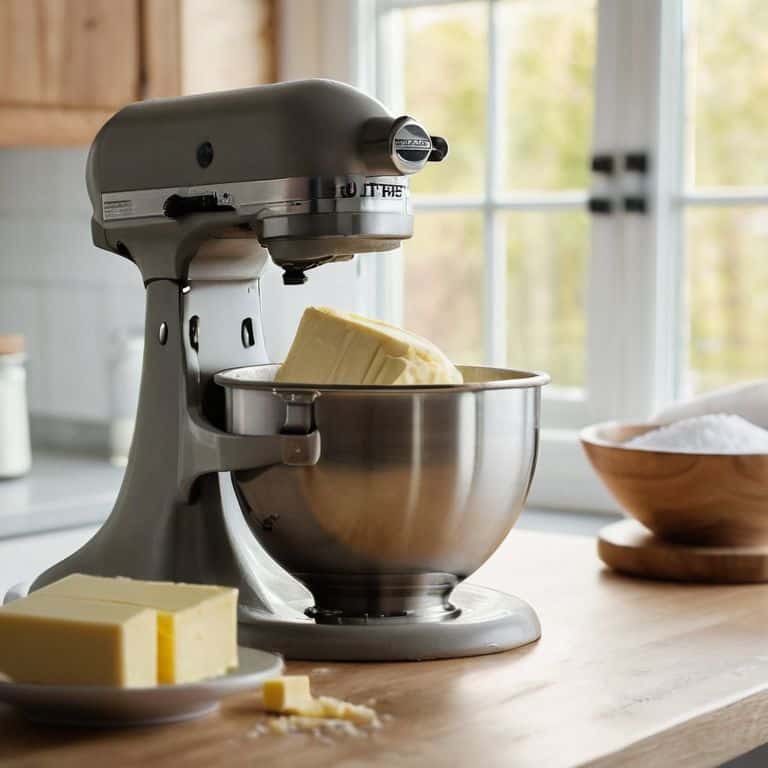
- 3. Now, it’s time to combine your butter and sugar in a large mixing bowl. I recommend using a stand mixer for this step, as it will make the process much easier and faster. However, if you don’t have a stand mixer, a handheld electric mixer or even a whisk will work in a pinch. The goal here is to start breaking down the butter and sugar, so begin by mixing on a low speed.
- 4. As you continue mixing, you’ll start to notice the butter and sugar coming together in a smooth and creamy mixture. This is where the magic happens, but it’s really just science! The sugar is cutting into the butter, creating a network of tiny air pockets that will eventually give your bake its light and fluffy texture. Keep mixing until you reach this point, stopping to scrape down the sides of the bowl as needed.
- 5. Once your butter and sugar are fully incorporated, it’s time to increase the mixing speed and aerate the mixture. This is an important step, as it helps to distribute the air pockets evenly throughout the mixture. Be careful not to overmix, however, as this can lead to a dense and tough final bake. You’ll know you’ve reached the right point when the mixture is light and fluffy, and has nearly doubled in volume.
- 6. Now that your butter and sugar are creamed, it’s time to stop and assess the mixture. Take a close look at the texture and consistency, and make any necessary adjustments. If the mixture looks too dense or gritty, you may need to mix for a bit longer. On the other hand, if it looks too light and airy, you may need to slow down and be more gentle in your mixing.
- 7. Finally, it’s time to use your creamed butter and sugar in your recipe. Whether you’re making a cake, cookies, or something else entirely, this mixture will provide the flavor and structure you need to create a delicious and memorable bake. Simply add your remaining ingredients and mix until just combined, being careful not to overmix and undo all your hard work.
Creaming Essentials
When it comes to achieving the perfect cream, there are a few essential considerations to keep in mind. One of the most critical factors is the type of sugar you’re using. Finer sugars tend to dissolve more easily, creating a smoother consistency, while coarser sugars can leave a slightly grainy texture. I recommend using a high-quality granulated sugar for the best results.
To prevent overmixing, it’s crucial to keep an eye on your mixture’s consistency. Stop mixing as soon as your butter and sugar have reached the desired light and fluffy texture. Overmixing can lead to a dense, tough final product, so it’s better to err on the side of caution. Using room temperature ingredients is also vital, as this ensures that your butter is soft and pliable, making it easier to cream.
In terms of equipment, both stand mixers and hand mixers can be used for creaming, but I find that a stand mixer provides more consistent results. Regardless of the mixer you choose, be sure to use a gentle touch when combining your ingredients to avoid introducing too much air. This will help you achieve a tender, delicate crumb in your final baked goods.
Preventing Overmixing Nightmares
To prevent overmixing nightmares, it’s crucial to understand that creaming is a delicate balance. Overmixing can lead to a dense, tough final product, so it’s essential to stop once your butter and sugar have reached the perfect harmony. I like to think of it as a sweet spot, where the mixture is just combined and still retains a bit of texture.
When you overmix, you’re essentially developing the gluten in your mixture, which can lead to disaster. To avoid this, mix your butter and sugar just until they come together in a smooth, fluffy mixture. Then, stop! Take a deep breath and resist the temptation to overmix. Your baked goods will thank you, and you’ll be rewarded with a tender, fluffy texture that’s sure to impress.
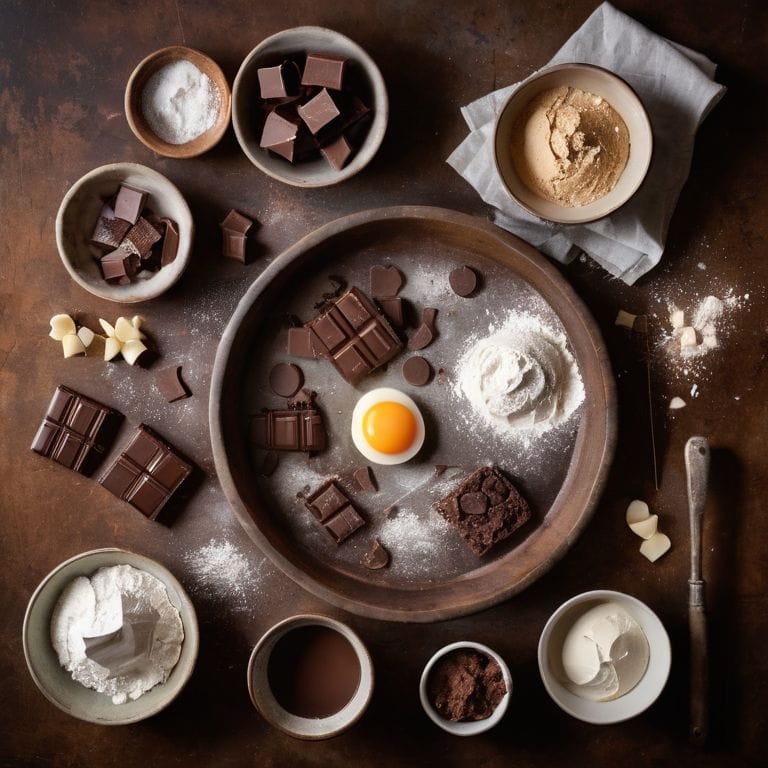
Sugar Selection for Perfect Harmony
When it comes to sugar selection, the type and quantity can greatly impact the creaming process. I always recommend using granulated sugar, as it dissolves easily and helps to strengthen the structure of our butter mixture. Brown sugar, on the other hand, contains more moisture, which can lead to an uneven consistency. By choosing the right sugar, you’ll be able to achieve a smooth, even cream that sets the stage for a perfectly baked treat.
In my experience, the key to perfect harmony is finding the ideal balance between sugar and butter. Too little sugar, and your mixture may not hold its shape; too much, and it can become overly sweet and dense. By understanding the role of sugar in the creaming process, you’ll be able to make informed decisions and adjust your recipe accordingly.
The Sweet Spot: 5 Expert Tips for Creaming Butter and Sugar
- Use room temperature ingredients to ensure a smooth and even creaming process, as cold butter can lead to an uneven mix
- Select the right type of sugar for your recipe, as finer sugars like caster sugar will dissolve more easily and create a better texture
- Don’t overdo it – stop creaming once your mixture has reached the desired consistency, as overmixing can lead to tough or dense baked goods
- Use the right tool for the job, such as a stand mixer or a wooden spoon, to make the creaming process easier and more efficient
- Pay attention to the visual cues, such as a light and fluffy texture, to know when your butter and sugar have reached the perfect creaming point
Key Takeaways for Mastering the Art of Creaming Butter and Sugar
Understanding the science behind creaming butter and sugar is crucial for creating a solid foundation for your baked goods, as it affects texture, structure, and overall flavor
Preventing overmixing and selecting the right type of sugar are essential steps in achieving perfect harmony between butter and sugar, and can make or break the success of your bake
By following precise measurements, using room temperature ingredients, and being mindful of mixing times, you can ensure a smooth, even creaming process that sets your baked goods up for success and helps you bake with confidence and precision
The Harmony of Butter and Sugar
Creaming butter and sugar is not just a mechanical process, but a symphony of science and technique, where every fold, every mix, and every measure brings us closer to the perfect bake, and I believe that with a little understanding of the chemistry behind it, anyone can become a maestro of this crucial step.
Beatrice Quinn
Mastering the Art of Creaming: A Sweet Conclusion
As we conclude our journey through the world of creaming butter and sugar, let’s take a moment to reflect on the key takeaways. We’ve covered the essential steps to achieve perfect harmony between these two fundamental ingredients, from understanding the importance of room temperature ingredients to the delicate dance of mixing and aerating. We’ve also explored the critical aspects of preventing overmixing and selecting the right type of sugar to bring out the best in our baked goods. By mastering these techniques, you’ll be well on your way to creating tender, fluffy, and delicious treats that will impress even the most discerning palates.
As you continue to experiment and refine your creaming skills, remember that practice makes perfect, and patience is a virtue in the world of baking. Don’t be afraid to try new recipes, flavor combinations, and techniques – and most importantly, have fun with the process! With time and practice, you’ll develop a deep understanding of the science behind creaming butter and sugar, and you’ll be able to apply this knowledge to create an endless array of sweet and savory masterpieces that will bring joy to you and those around you.
Frequently Asked Questions
What happens if I overcream the butter and sugar, and how can I rescue the mixture?
Don’t worry, overcreaming is an easy mistake to make. If you’ve overcreamed, you’ll notice a light and fluffy mixture that’s almost too airy. To rescue it, simply add a small amount of flour or starch to absorb excess air and balance the mixture. Gently fold it in, and you’ll be back on track.
Can I use salted butter for creaming, or does it affect the overall flavor and texture of the bake?
When it comes to creaming, I always recommend using unsalted butter. Salted butter can throw off the balance of flavors and affect texture, as the salt can strengthen gluten bonds. For precise control, it’s best to add salt separately, allowing you to adjust the seasoning to your taste. Trust me, it’s a small step that makes a big difference in the end result.
How does the temperature of the butter and sugar impact the creaming process, and what's the ideal temperature range for optimal results?
The temperature of butter and sugar is crucial. For optimal creaming, aim for room temperature butter, around 72°F to 76°F, and sugar at a similar temperature. This harmony allows for a smooth, even blend, and helps to prevent overmixing. Trust me, it makes all the difference in creating a foundation for your bake.