I still remember the first time I struggled with how to know when dough is properly kneaded. It was during my early days as a pastry instructor, and I had a student who just couldn’t seem to get it right. She would over-knead, under-knead, and everything in between, resulting in a final product that was either tough as leather or too dense. It wasn’t until I shared with her my own experience of trial and error, and the simple trick of feeling the gluten develop, that she finally mastered the technique. This moment stuck with me, and I realized that understanding the science behind kneading is key to unlocking the perfect loaf.
In this article, I’ll share with you my no-nonsense approach to determining when your dough is perfectly kneaded. You’ll learn how to recognize the subtle signs of proper kneading, from the feel of the dough to the way it responds to stretching. By the end of this guide, you’ll be equipped with the knowledge and confidence to tackle any recipe, knowing exactly how to know when dough is properly kneaded. Whether you’re a beginner or an experienced baker, my goal is to empower you with the fundamental understanding needed to take your baking to the next level, and to make the process of kneading a joyful, rather than frustrating, experience.
Table of Contents
Guide Overview: What You'll Need
Total Time: 10 to 20 minutes
Estimated Cost: no cost, as this is a technique-based guide
Difficulty Level: Easy
Tools Required
- Stand Mixer (optional)
- Kneading Surface such as a wooden or marble counter
Supplies & Materials
- Dough homemade or store-bought, any type
- Bench Scraper for scraping dough off the counter
- Measuring Cups and Spoons for measuring ingredients, if making dough from scratch
Step-by-Step Instructions
- 1. First, let’s start by understanding that kneading dough is not just about mixing ingredients together, but about developing the gluten network that will give your bread its structure and texture. To begin, make sure your dough is at room temperature and your workspace is clean and lightly floured.
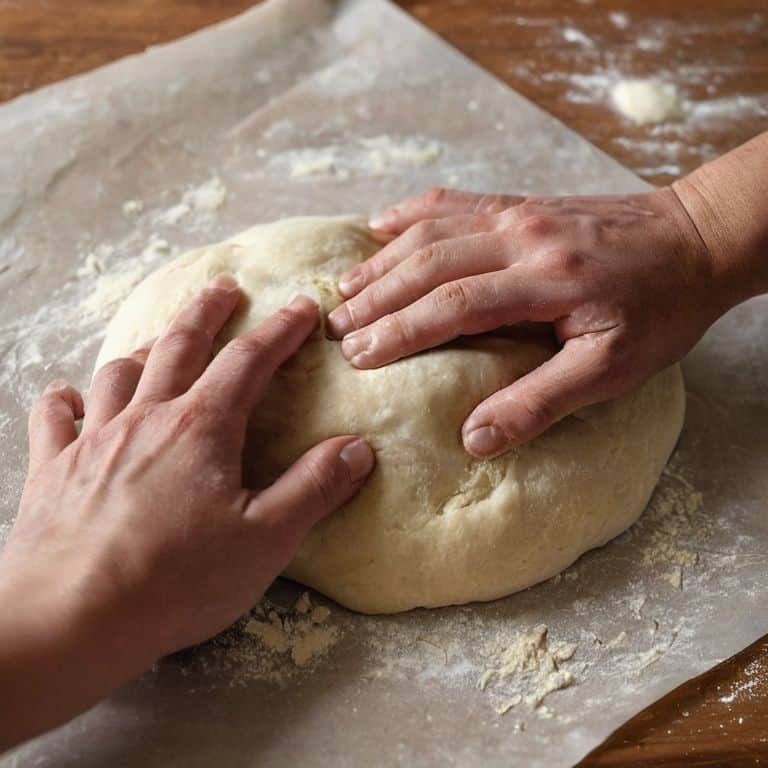
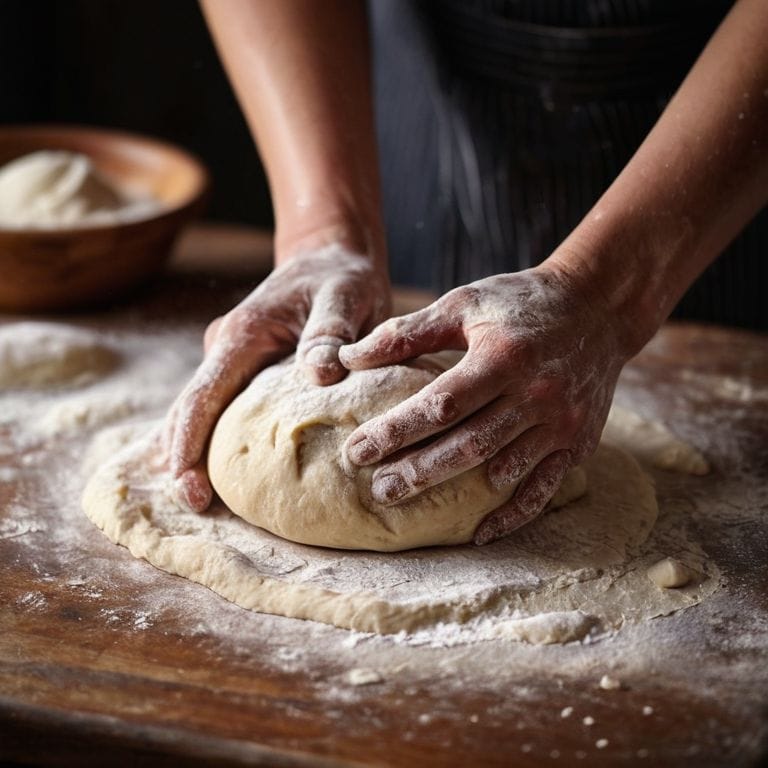
- 2. Next, place your dough on the floured surface and start kneading by pushing down on the dough with the heel of your hand, then folding it back up onto itself. As you repeat this motion, pay attention to the dough’s resistance and give, which will start to change as the gluten develops. You’ll begin to feel the dough becoming more elastic and springy.
- 3. Now, let’s talk about the windowpane test, a simple way to check if your dough is properly kneaded. To do this, hold the dough up to a light source and gently stretch it out to create a thin, translucent layer. If the dough is kneaded enough, you should be able to see a smooth, even texture with no visible tears or holes.
- 4. As you continue kneading, keep an eye on the dough’s temperature, which should start to rise slightly as the gluten develops. This is a sign that the yeast is activating and the dough is starting to ferment. Use a thermometer to check the temperature, aiming for a range of around 75°F to 80°F (24°C to 27°C).
- 5. Around the 5-7 minute mark, stop kneading and perform the poke test. Gently press your finger into the dough, about 1/4 inch deep. If the dough springs back quickly, it’s a good sign that the gluten is well-developed. If it doesn’t spring back, or feels too soft or too hard, you may need to adjust your kneading time.
- 6. Now, let’s talk about the sound of kneading. As you work the dough, you should start to hear a slightly sticky, slurping sound as the dough begins to develop its gluten network. This sound will change over time, becoming more smooth and quiet as the dough becomes more elastic.
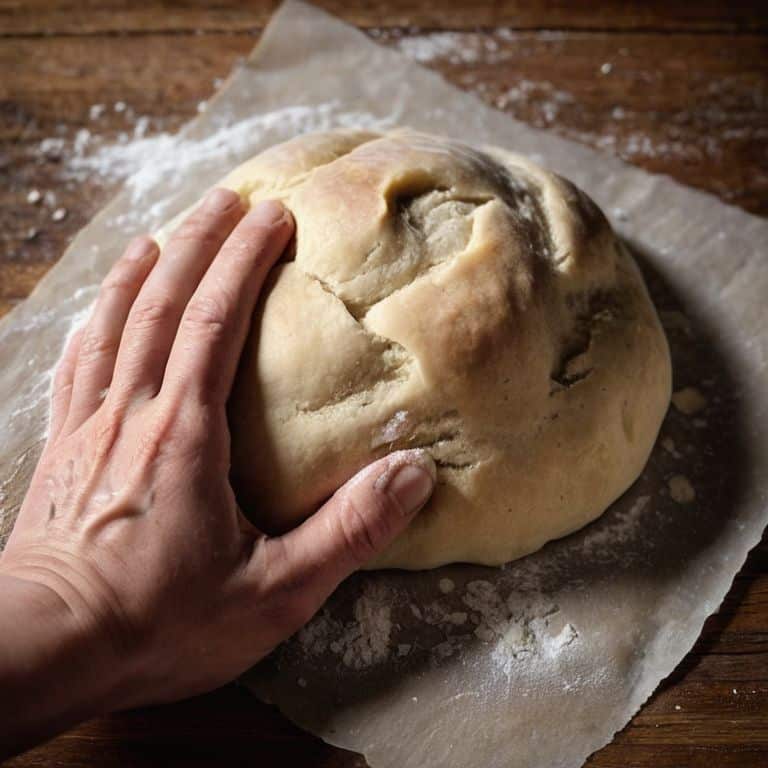
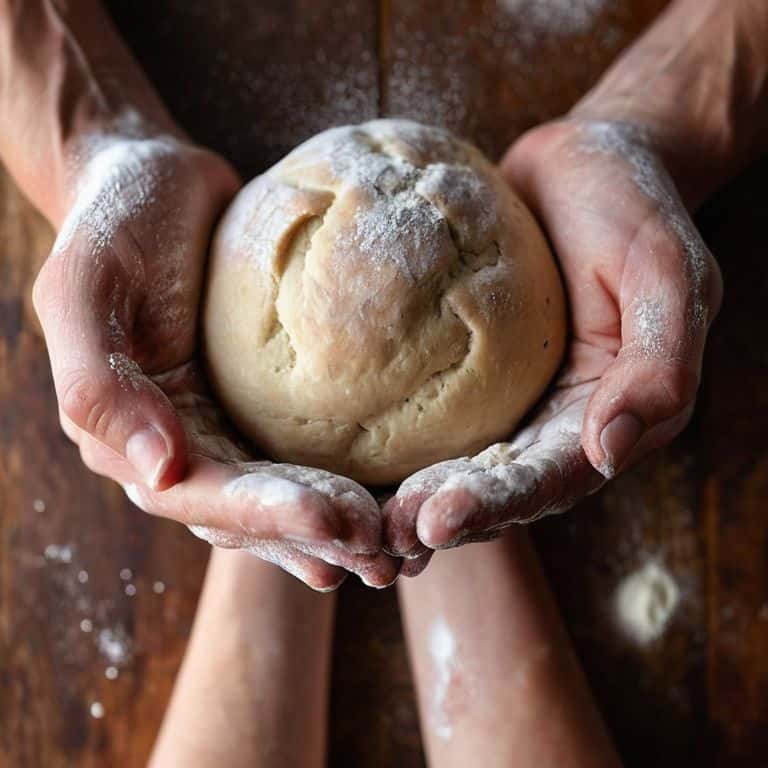
- 7. Finally, after around 10-12 minutes of kneading, stop and evaluate the dough’s texture and appearance. It should feel smooth, elastic, and slightly firm to the touch, with a glossy, even sheen on the surface. If it looks and feels right, congratulations – you’ve successfully kneaded your dough! Now it’s time to let it rest and rise.
The Science of Proper Kneading
As we dive deeper into the world of dough kneading, it’s essential to understand the science behind gluten development. When you knead dough, you’re creating a network of gluten strands that give your baked goods structure and texture. However, overworking the dough can lead to tough, dense bread. To avoid this, it’s crucial to recognize the signs of overworking, such as a dense, rigid dough that doesn’t spring back when pressed.
For beginners, mastering kneading techniques can seem daunting, but with practice, you’ll develop a sense of when the dough is ready. One approach to achieve proper kneading is to use the autolyse process, which involves allowing the dough to rest for a period before kneading. This technique can help reduce the risk of overworking and promote a more even gluten development.
To take your kneading skills to the next level, consider dough temperature control. Maintaining an optimal temperature can significantly impact the kneading process, as it affects the activity of the yeast and the development of gluten. By controlling the temperature, you can create an environment that fosters healthy yeast activity and promotes a smooth, even knead. This, in turn, will help you achieve a perfectly kneaded dough that’s ready to rise and become a delicious, freshly baked loaf.
Mastering Kneading Techniques for Beginners
As a beginner, it’s essential to develop a gentle yet firm touch when kneading. Start by using a push-down motion with the heel of your hand, followed by a folding motion with your fingers. This technique helps to stretch and fold the dough, allowing gluten to develop evenly. Remember, the goal is to coax the dough into submission, not to force it. With practice, you’ll develop a sense of how the dough should feel and respond to your touch.
For those new to kneading, I recommend beginning with short sessions, about 2-3 minutes, and gradually increasing the time as you build comfort and confidence. This will help you avoid fatigue and prevent overworking the dough. By mastering these fundamental techniques, you’ll be well on your way to producing beautifully textured bread that’s full of life and character.
Understanding Overworking Dough Symptoms
When you overwork dough, it can be a real setback. I’ve seen it happen to even the most experienced bakers. The symptoms are quite distinct: the dough becomes dense, tough, and develops an unpleasant texture. It’s as if the gluten has become over-stimulated, leading to a breakdown in the dough’s structure.
To identify overworking, look for signs like a shiny, tight appearance, or a dough that’s become resistant to stretching. If you notice these symptoms, it’s best to start over, as overworked dough can be difficult to rescue.
5 Essential Signs Your Dough is Perfectly Kneaded
- Your dough will start to feel smooth and elastic, like the gentle stretch of a baby’s skin, indicating that the gluten has developed just right
- As you knead, pay attention to the sound of the dough – a properly kneaded dough will start to make a soft slapping or smacking noise against the counter, signaling it’s ready
- A simple test is to perform the ‘windowpane test’: hold the dough up to the light and gently stretch it – if it’s translucent and doesn’t tear, you’ve achieved the perfect knead
- Check the dough’s temperature – a well-kneaded dough will typically reach an internal temperature of around 75°F to 80°F (24°C to 27°C), which helps to activate the yeast and get the fermentation process started
- Lastly, trust your instincts and use the ‘poke test’: gently poke the dough with your finger – if it springs back quickly, leaving only a slight indentation, you can be confident that your dough is properly kneaded and ready for the next step
Key Takeaways for Achieving Perfectly Kneaded Dough
Developing a sense of touch to feel when the gluten starts to form is crucial, as it signals that your dough is nearing the optimal kneading time
Recognizing the symptoms of overworking, such as a dense or tough texture, is vital to prevent ruining your dough and to understand when to stop kneading
Mastering basic kneading techniques, including the push-down-fold and the stretch-fold, can significantly improve the quality and consistency of your dough, leading to better baking results
The Key to Perfect Dough
The moment your dough transforms from a shaggy mass to a smooth, elastic canvas is when the magic happens – but it’s not magic, it’s science, and it’s the precise moment you know you’ve kneaded to perfection!
Beatrice Quinn
Mastering the Art of Kneading: A Conclusion
As we’ve explored the world of kneading, it’s clear that understanding the process is key to achieving perfectly baked goods. From recognizing the signs of proper gluten development to mastering various kneading techniques, the journey to becoming a skilled baker is both rewarding and challenging. By following the step-by-step guide and grasping the science behind kneading, you’ll be well on your way to creating delicious, tender bread that impresses friends and family alike. Remember, practice makes perfect, so don’t be discouraged if your first few attempts don’t yield the desired results.
As you continue on your baking journey, keep in mind that the art of kneading is a skill that takes time to develop. Don’t be afraid to experiment, try new recipes, and push the boundaries of what you thought was possible. With patience, persistence, and a willingness to learn, you’ll unlock the secrets of kneading and become a confident, skilled baker. So, go ahead, get your hands flour-covered, and remember that the joy of baking lies not just in the end result, but in the process itself.
Frequently Asked Questions
What are some common signs that I've over-kneaded my dough and how can I prevent it?
Over-kneading is a common pitfall, but easily avoided. Look for signs like a dense, tough crumb, or a dough that’s become shiny and rigid. To prevent it, set a timer and knead in short intervals, checking the dough’s texture regularly. Remember, it’s all about finding that sweet spot where the gluten is just developed, but still supple.
How does the type of flour used affect the kneading time and technique?
The type of flour used significantly impacts kneading time and technique. For instance, bread flour with high protein content requires longer kneading, while cake flour with lower protein needs less. Whole wheat flour, with its coarser texture, may need a gentler touch to avoid overworking. I always say, ‘know your flour’ to master the perfect knead.
Can I rely solely on a stand mixer with a dough hook attachment to knead my dough, or is hand-kneading still necessary?
While a stand mixer with a dough hook is a wonderful tool, I always recommend finishing with a few minutes of hand-kneading to develop that perfect gluten network. The mixer gets you most of the way, but a gentle hand finish ensures your dough is smooth and even, making all the difference in your final bake.