I still remember the day one of my students, a talented young baker, came to me in tears because her cake had failed to rise – again. As we troubleshot the recipe together, I realized that the issue wasn’t with the yeast or the mixing technique, but with something much simpler: how to measure flour correctly. It’s a step that’s often overlooked, but trust me, it’s the foundation of a successful bake. I’ve seen it time and time again: a slight miscalculation in flour measurement can throw off the entire balance of a recipe, leading to disappointing results.
In this article, I’ll share my expertise on the art of measuring flour, gained from 20 years of teaching and experimentation. You’ll learn the straightforward, no-nonsense techniques for measuring flour accurately, and how to avoid common pitfalls that can sabotage your bakes. By the end of this guide, you’ll be equipped with the knowledge to measure flour correctly and confidently, every time. Whether you’re a beginner or an experienced baker, mastering this fundamental skill will take your baking to the next level, and I’m excited to be your guide on this journey to baking perfection.
Table of Contents
- Guide Overview: What You'll Need
- Step-by-Step Instructions
- Mastering Flour Measurement
- Avoiding Common Baking Mistakes With Digital Scales
- The Science of Accurate Dry Ingredient Measurement
- Flour Power: 5 Essential Tips for Accurate Measurement
- Key Takeaways for Accurate Flour Measurement
- The Heart of Precise Baking
- Conclusion: The Power of Precise Flour Measurement
- Frequently Asked Questions
Guide Overview: What You'll Need
Total Time: 5 minutes
Estimated Cost: $0 – $5
Difficulty Level: Easy
Tools Required
- Digital Kitchen Scale (optional)
- Measuring Cups (dry and liquid)
- Tablespoon and Teaspoon (for small measurements)
Supplies & Materials
- Flour (for practice measurements)
- Spoon or Scoop (for scooping flour)
- Leveling Tool (e.g., knife, straight edge, or other flat object)
Step-by-Step Instructions
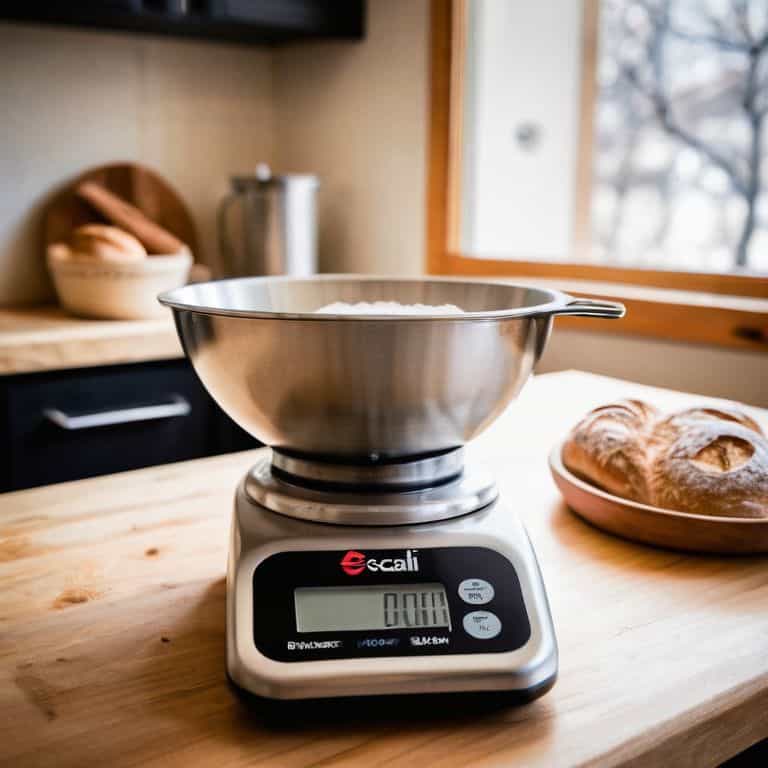
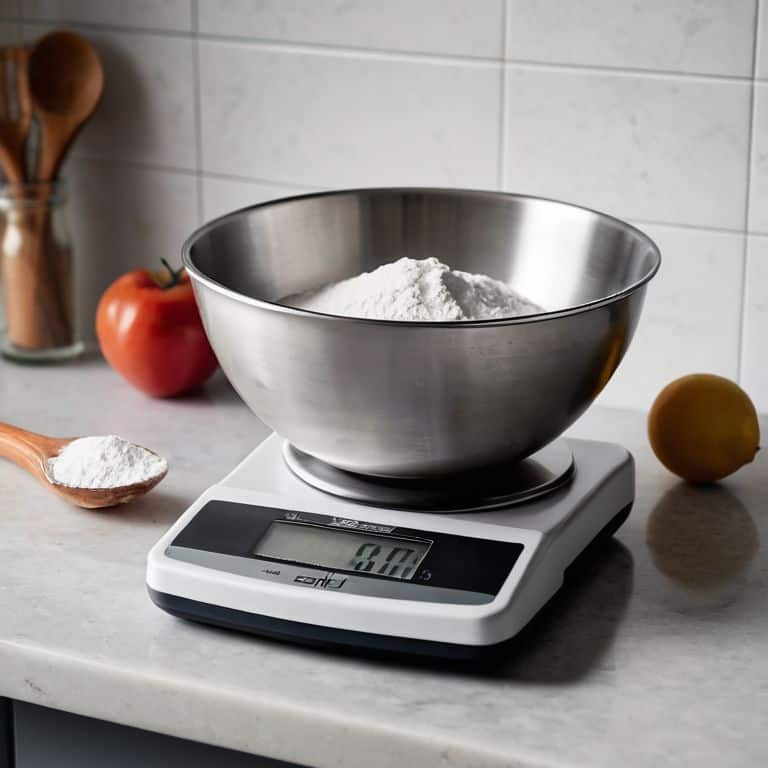
- 1. First, let’s start with the basics: measuring flour accurately is crucial for achieving the right texture and consistency in your baked goods. To do this, you’ll need a digital kitchen scale, which is a must-have in any pastry kitchen. I always say that investing in a good scale is one of the best decisions you can make as a baker.
- 2. Next, choose the right type of flour for your recipe. Different types of flour have varying protein levels, which can affect the final product. For example, bread flour has a higher protein content than all-purpose flour, so it’s essential to use the correct type to ensure the best results. Understanding the different types of flour and their uses will help you become a more confident baker.
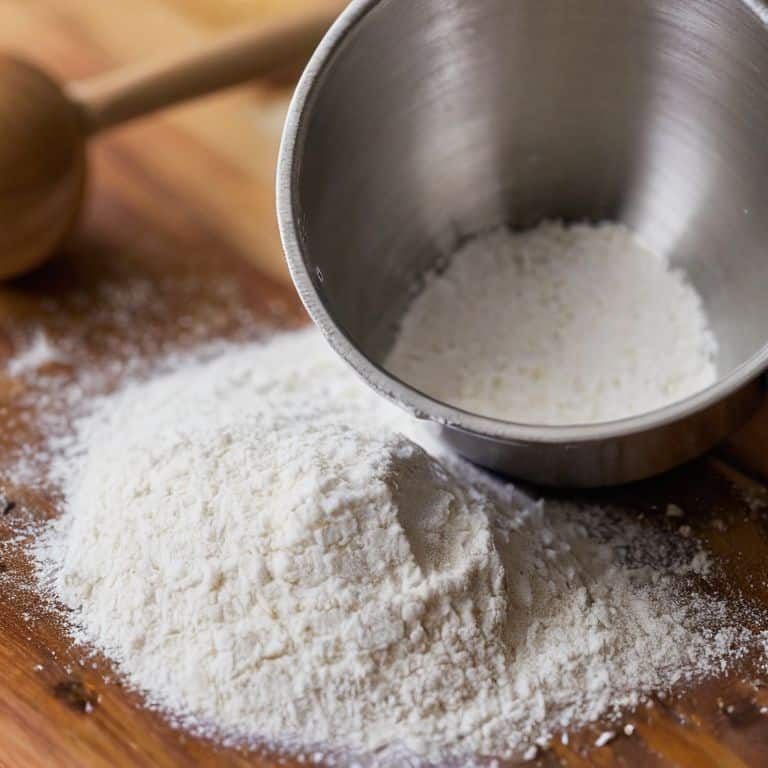
- 3. Now, let’s talk about scooping vs. spooning. When measuring flour, it’s essential to use a spoon to gently scoop the flour into the measuring cup. Scooping the flour with the measuring cup can compact it, leading to inaccurate measurements. This simple step can make a big difference in the outcome of your baked goods.
- 4. Once you’ve scooped the flour into the measuring cup, use a straight edge or knife to level it off. This ensures that you’re getting an accurate measurement. Don’t tap the measuring cup or compact the flour in any way, as this can also lead to inaccurate measurements.
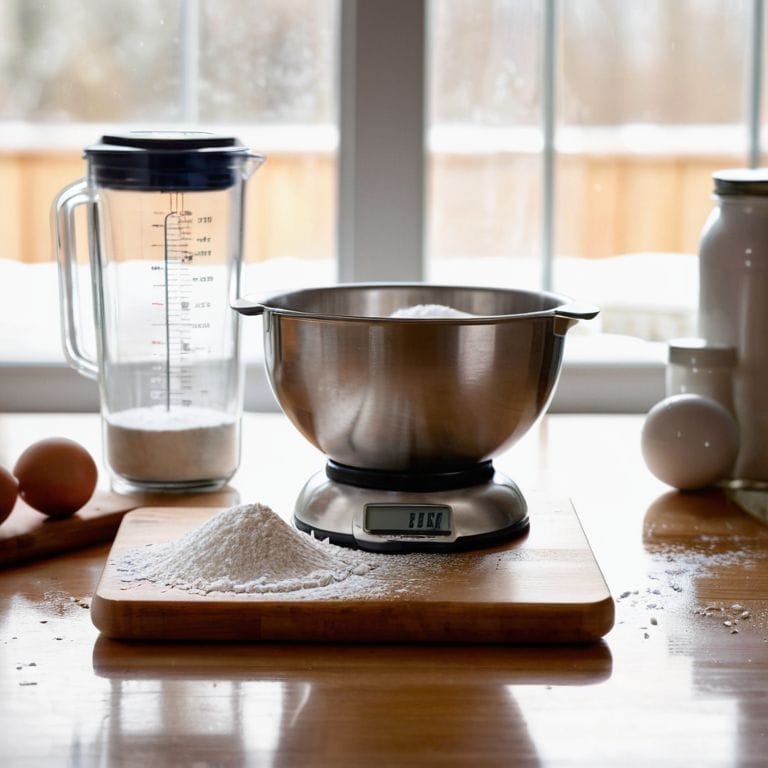
- 5. If you’re using a recipe that calls for a specific weight of flour, such as 250 grams, use your digital scale to weigh the flour accurately. Simply place the measuring cup or bowl on the scale, zero it out, and add the flour until you reach the desired weight. This method is much more accurate than using volume measurements.
- 6. When measuring flour, it’s also essential to consider the environmental factors that can affect its weight and volume. For example, humidity can cause flour to become more dense, leading to inaccurate measurements. To minimize this effect, make sure to store your flour in an airtight container and measure it in a cool, dry place.
- 7. Finally, double-check your measurements before adding the flour to your recipe. This simple step can save you from making costly mistakes and ensure that your baked goods turn out light, fluffy, and delicious. By following these steps and being mindful of the factors that can affect flour measurements, you’ll be well on your way to becoming a skilled baker.
Mastering Flour Measurement
As I always say to my students, mastering the art of measurement is crucial in baking. It’s not just about following a recipe, but understanding the science behind it. When it comes to flour, using a digital kitchen scale can make all the difference. Not only does it provide accurate dry ingredient measurement, but it also helps to avoid common baking measurement mistakes.
In my experience, having a flour measurement conversion chart handy can be a lifesaver, especially when working with different types of flour. However, it’s essential to remember that precise measurement is key. A slight variation in measurement can affect the final product’s texture and flavor. I always advise my students to take their time and measure ingredients carefully, rather than rushing through the process.
By emphasizing the importance of measuring ingredients, we can ensure that our baked goods turn out as expected. It’s all about developing good habits and being mindful of the measurement process. Whether you’re a beginner or an experienced baker, taking the time to measure ingredients accurately will make a significant difference in the quality of your bakes.
Avoiding Common Baking Mistakes With Digital Scales
With digital scales, the margin for error significantly decreases, but it’s still possible to make mistakes. I’ve seen students accidentally add ingredients to the scale without resetting it, resulting in incorrect measurements. To avoid this, always zero out your scale before adding each ingredient. This simple step ensures that your measurements are accurate and reliable.
By using digital scales and following this basic protocol, you’ll be able to achieve consistent results in your baking. It’s all about developing good habits and being mindful of your measuring process. Remember, precise measurements are the foundation of successful baking, and with practice, you’ll find that using a digital scale becomes second nature.
The Science of Accurate Dry Ingredient Measurement
When measuring dry ingredients like flour, it’s essential to understand the role of density and how it affects accuracy. You see, flour can be compressed or aerated, leading to varying weights for the same volume. This is where the science comes in – by using a digital scale to weigh your ingredients, you eliminate the guesswork. I always say, it’s not just about measuring flour, it’s about measuring the right amount of flour for the specific recipe.
To take it a step further, consider the type of flour you’re using. Different types of flour have distinct densities, which can impact the final product. For instance, bread flour is denser than cake flour, so using the same volume measurement for both would result in an inaccurate ratio of ingredients. By weighing your flour and considering its density, you’ll be able to achieve consistent results and take your baking to the next level.
Flour Power: 5 Essential Tips for Accurate Measurement

- Use a digital scale to measure flour by weight, not volume, for the most precise results
- Spoon flour into the measuring cup, then level it off with a straight edge or knife to avoid compacting the flour
- Choose the right type of flour for your recipe, as different types have varying densities and will affect the final product
- Calibrate your digital scale regularly to ensure accuracy and prevent measurement errors
- Measure flour in a well-ventilated area, away from drafts or direct sunlight, to prevent moisture absorption or disruption
Key Takeaways for Accurate Flour Measurement
Measure flour using a digital scale to ensure precision, as volume measurements can be inconsistent and lead to baking failures
Understand the difference between various types of flour, such as all-purpose, bread, and cake flour, and how their protein content affects the final product
Develop a habit of weighing ingredients, including flour, to the exact gram, as this attention to detail is crucial for achieving consistent results in baking and mastering complex recipes
The Heart of Precise Baking
Measuring flour is not an art of approximation, but a science of precision – every gram counts, and every mistake is a lesson in the chemistry of baking.
Beatrice Quinn
Conclusion: The Power of Precise Flour Measurement
As we’ve explored the world of flour measurement, it’s clear that accuracy is key. From understanding the importance of using digital scales to mastering the science of dry ingredient measurement, each step is crucial in ensuring your baked goods turn out as intended. By avoiding common mistakes and adopting a methodical approach, you’ll find that your baking becomes more consistent and enjoyable. Remember, measuring flour correctly is not just about following a recipe, it’s about understanding the chemistry behind the ingredients and how they interact with each other.
As you continue on your baking journey, I encourage you to embrace the science of baking and make it your own. Don’t be afraid to experiment and try new things, but always remember that precision is the foundation of a great bake. With practice and patience, you’ll develop the skills and confidence to tackle even the most complex recipes, and the joy of creating something truly special will be all the more sweet. Happy baking!
Frequently Asked Questions
What is the best type of digital scale to use for measuring flour accurately?
For accurate flour measurement, I recommend a digital scale with a high precision of 0.1 grams or less. Look for one with a compact design, easy-to-read display, and a tare function to simplify calculations. My personal favorite is the Ohaus Scout II, a reliable and affordable option for home bakers and professionals alike.
How do I know if my flour is compacted or aerated, and how does that affect my measurements?
To check if your flour is compacted or aerated, simply scoop it gently into a container and observe its behavior. If it holds its shape firmly, it’s likely compacted. If it’s light, fluffy, and falls apart easily, it’s aerated. This distinction is crucial, as compacted flour can lead to over-measuring, while aerated flour can result in under-measuring, both affecting your final bake.
Can I use a conversion chart to measure flour by volume instead of weight, or is that less accurate?
While conversion charts can be helpful, they’re not always reliable. Flour can be compacted or aerated, affecting volume measurements. For precise baking, I always recommend weighing ingredients, especially flour. It’s a small step that ensures consistency and accuracy, and it’s worth the extra minute to get it right.