I still remember the first time I attempted a guide to blind baking in my culinary school days. I was determined to create the perfect pie crust, but my lack of understanding of the science behind blind baking led to a, well, let’s just say a less-than-desirable outcome. The crust was overcooked, and the filling was a mess. It was a hard lesson to learn, but it taught me that blind baking isn’t just about throwing some beans on a pie crust and hoping for the best. It’s about understanding the chemistry behind the process and using that knowledge to create a beautifully baked crust.
In this article, I’ll share my honest, no-hype advice on a guide to blind baking, covering the essential techniques and tips you need to know to achieve success. You’ll learn how to choose the right pie crust recipe, prepare your crust for blind baking, and troubleshoot common issues that may arise. My goal is to demystify the process and give you the confidence to bake like a pro. By the end of this guide, you’ll be equipped with the knowledge to create perfectly baked pie crusts every time, and you’ll understand the science behind why these techniques work.
Table of Contents
Guide Overview: What You'll Need
Total Time: 45 minutes to 1 hour
Estimated Cost: $10 – $20
Difficulty Level: Easy
Tools Required
- Pastry Brush (for egg wash)
- Oven preheated to 375 degrees Fahrenheit
- Baking Sheet lined with parchment paper
- Pie Dish 9 inches in diameter
Supplies & Materials
- Pie Crust homemade or store-bought
- Pie Weights or dried beans
- Eggs for egg wash
- Water for egg wash
Step-by-Step Instructions
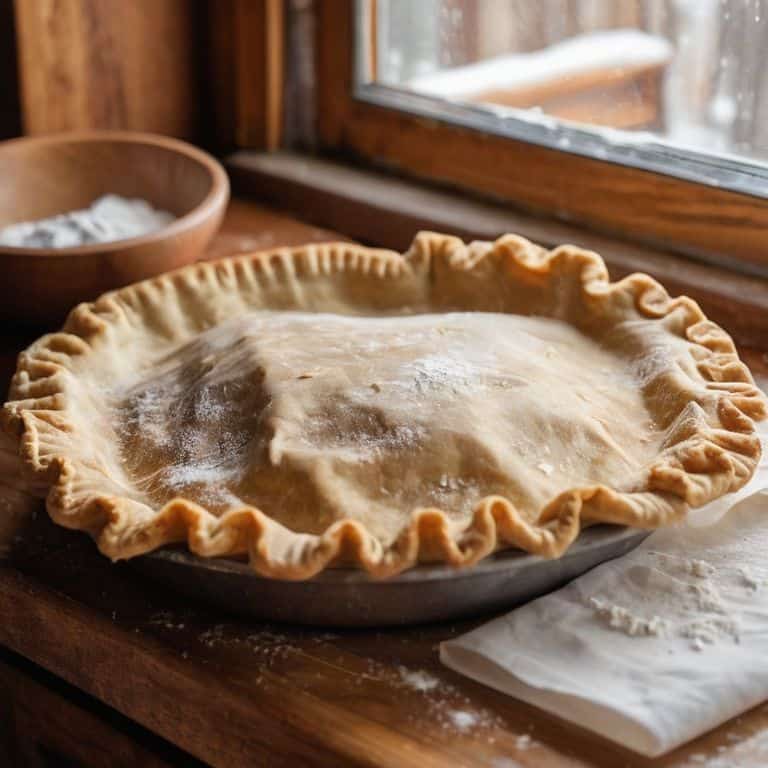
- 1. First, let’s start with the foundation of blind baking: preparing your pie crust. To do this, you’ll need to make sure your crust is chilled and firm to the touch. This will help it hold its shape while it’s baking, and prevent it from shrinking or becoming misshapen. Take your favorite pie crust recipe and give it a good chill in the fridge for at least 30 minutes before you start.
- 2. Next, you’ll need to line your pie crust with some kind of barrier to prevent the filling from leaking out. This can be done with parchment paper, aluminum foil, or even a specialized pie crust liner. Make sure to press the liner into the corners of the crust and smooth out any wrinkles or air pockets. This will help the crust bake evenly and prevent any hot spots from forming.
- 3. Now it’s time to add some weight to the crust. This is where the “blind” part of blind baking comes in – you’re essentially baking the crust without any filling. To do this, you can use pie weights, dried beans, or even rice. Fill the liner with your chosen weights and make sure to spread them out evenly. This will help the crust hold its shape and prevent it from bubbling up.
- 4. With your crust prepared and weighted, it’s time to pop it in the oven. Preheat your oven to the temperature specified in your recipe (usually around 375°F), and place the crust on a baking sheet lined with parchment paper. Bake the crust for 15-20 minutes, or until it’s lightly golden brown and set. Keep an eye on it to make sure it doesn’t overcook.
- 5. Once the crust is baked, it’s time to remove the weights. Take the crust out of the oven and let it cool for a few minutes. Then, carefully lift out the liner and weights, and discard them. If you’re using a reusable liner, make sure to wash and dry it thoroughly before storing it away.
- 6. Now that your crust is baked and weighted, it’s time to add the filling. This can be anything from a classic pumpkin pie filling to a decadent chocolate cream. Make sure to follow your recipe carefully and fill the crust to the recommended level. You don’t want to overfill the crust, or it may spill over during baking.
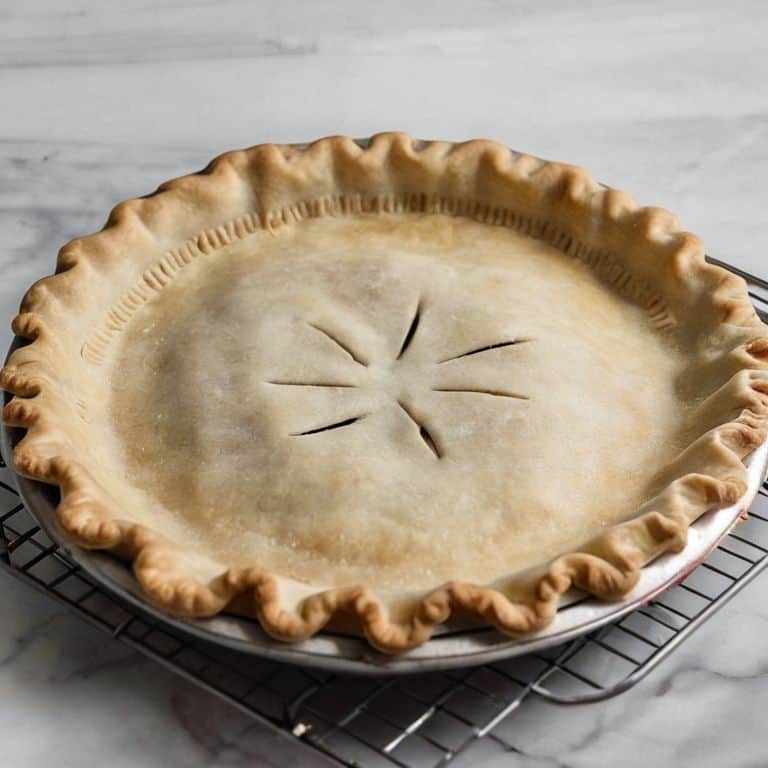
- 7. Finally, it’s time to finish baking the pie. Place the filled crust back in the oven and bake for an additional 20-30 minutes, or until the filling is set and the crust is golden brown. Keep an eye on it to make sure it doesn’t overcook, and remove it from the oven when it’s done. Let it cool completely before serving, and enjoy the fruits of your labor!
A Guide to Blind Baking
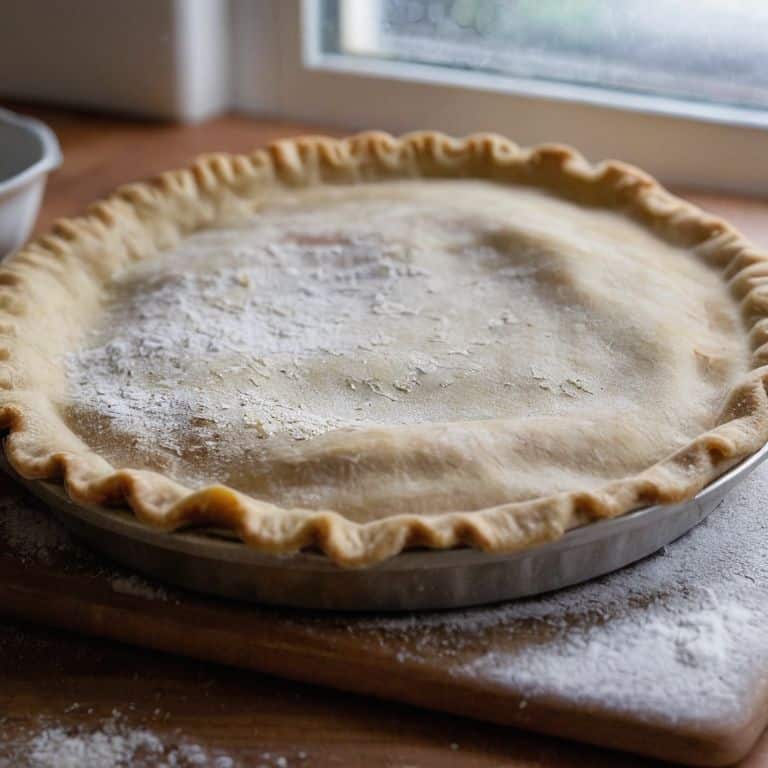
As we dive deeper into the world of blind baking, it’s essential to discuss preventing pie crust shrinkage. This common issue can be mitigated by ensuring your crust is chilled and relaxed before baking. I always tell my students to let their crusts rest for at least 30 minutes before popping them into the oven. This simple step can make all the difference in achieving a beautiful, flaky crust.
When it comes to blind baking, alternative pie weights can be a game-changer. Instead of using traditional pie weights, you can try using dried beans or even rice to weigh down your crust. This method is not only cost-effective but also eco-friendly. By using these alternative weights, you’ll be able to achieve a perfectly baked crust without breaking the bank.
For blind baking for beginners, I recommend starting with a simple recipe and gradually experimenting with different techniques. Tips for flaky pie crust include keeping your ingredients cold, handling the dough gently, and not overworking the crust. By following these tips and practicing patience, you’ll be well on your way to creating stunning, professional-looking pies that are sure to impress.
Blind Baking for Beginners Common Mistakes
As a beginner, it’s easy to fall into common pitfalls when blind baking. One of the most frequent mistakes I see is not chilling the crust adequately before baking. This can cause the crust to shrink or become misshapen. To avoid this, make sure to chill your crust for at least 30 minutes before baking. Another mistake is not using enough pie weights or baking beans, which can lead to a crust that’s puffed up in the center.
I always tell my students to remember that blind baking is all about control – controlling the temperature, the time, and the environment. By being mindful of these factors and taking the time to prepare your crust properly, you can avoid common mistakes and achieve a perfectly baked crust every time.
Preventing Shrinkage With Science
To prevent shrinkage, it’s essential to understand that it’s often caused by the contraction of the dough as it cools. This is where science comes in – by using the right ratio of fat to flour and ensuring the dough is chilled sufficiently, you can minimize shrinkage. I always tell my students to think of it as setting the foundation for a stable crust.
By doing so, you allow the gluten to relax, reducing the likelihood of it pulling the crust inward as it bakes. It’s a simple yet crucial step that can make all the difference in achieving a beautifully baked pie crust.
Mastering Blind Baking: 5 Essential Tips to Get You Started
- Understand the Role of Moisture: Recognizing that moisture is the enemy of a perfectly baked crust, make sure to dry your crust thoroughly before filling and baking
- Choose the Right Weight: Whether you’re using pie weights, beans, or even foil, ensure that your crust is weighted evenly to prevent bubbles and shrinkage
- Don’t Overwork the Dough: Mix your ingredients just until they come together, as overworking can lead to a tough, dense crust that’s prone to shrinkage
- Select the Perfect Temperature: Blind baking at the right temperature is crucial – too high and your crust will burn, too low and it won’t cook evenly, so aim for a sweet spot around 375°F
- Keep an Eye on the Clock: Blind baking times can vary depending on the size and type of crust, so make sure to check on your crust regularly to avoid overcooking and ensure a perfectly golden brown finish
Key Takeaways for Mastering Blind Baking
Understanding the science behind blind baking is crucial for preventing shrinkage and ensuring a perfectly cooked pie crust, as it allows for the precise control of temperature and baking time
Common mistakes in blind baking, such as insufficient docking or incorrect filling material, can be avoided by following a systematic approach and being mindful of the chemical reactions that occur during the baking process
By applying the principles of food science and precise measurement, home bakers can overcome their fears and develop the confidence to produce professional-quality baked goods, making blind baking a valuable skill to master in the pursuit of baking excellence
The Heart of Blind Baking
Blind baking is not just about preventing a crust from bubbling up, it’s about understanding the delicate dance of flour, fat, and water, and how a little solo time in the oven can transform a humble mixture into a masterpiece.
Beatrice Quinn
Mastering the Art of Blind Baking
As we conclude this guide to blind baking, let’s summarize the key points: understanding the science behind blind baking, preventing shrinkage with the right techniques, and avoiding common mistakes are all crucial to achieving that perfect, flaky crust. By following these steps and practicing patience, you’ll be well on your way to becoming a blind baking pro. Remember, blind baking is not a guessing game – it’s a precise process that requires attention to detail and a willingness to learn. With time and practice, you’ll develop the skills and confidence to tackle even the most complex recipes.
So, the next time you’re tempted to skip the blind baking step or rush through the process, recall the importance of giving your crust the solo time it needs. By doing so, you’ll unlock the secrets to a beautifully baked, professional-grade crust that will elevate your pies and tarts to new heights. As you continue on your baking journey, remember that the science of baking is your greatest ally, and with it, you’ll be able to tackle even the most daunting recipes with ease and precision.
Frequently Asked Questions
What are the most common mistakes to avoid when blind baking a pie crust?
When blind baking, I see many beginners make the same mistakes. Overworking the dough, not chilling it enough, and inadequate docking are common culprits. Also, using the wrong type of pie weights or not enough of them can lead to a misshapen crust. Let’s tackle these errors one by one to ensure your pie crust turns out perfectly.
How do I know if my pie crust is properly blind baked and ready for filling?
To check if your pie crust is properly blind baked, look for a lightly golden color and a firm texture. Gently press on the crust – it should feel set and not soft. If it’s still pale or squishy, give it a few more minutes. Remember, a perfectly blind baked crust is the foundation for a stunning filled pie, so take your time and trust the science!
Can I use any type of filling after blind baking, or are there specific considerations I need to keep in mind?
Not all fillings are created equal when it comes to blind baking. You’ll want to consider the filling’s moisture content, acidity, and texture to ensure it pairs well with your perfectly baked crust. For example, a wet filling like pumpkin puree requires a different approach than a dry filling like nuts or chocolate shavings.