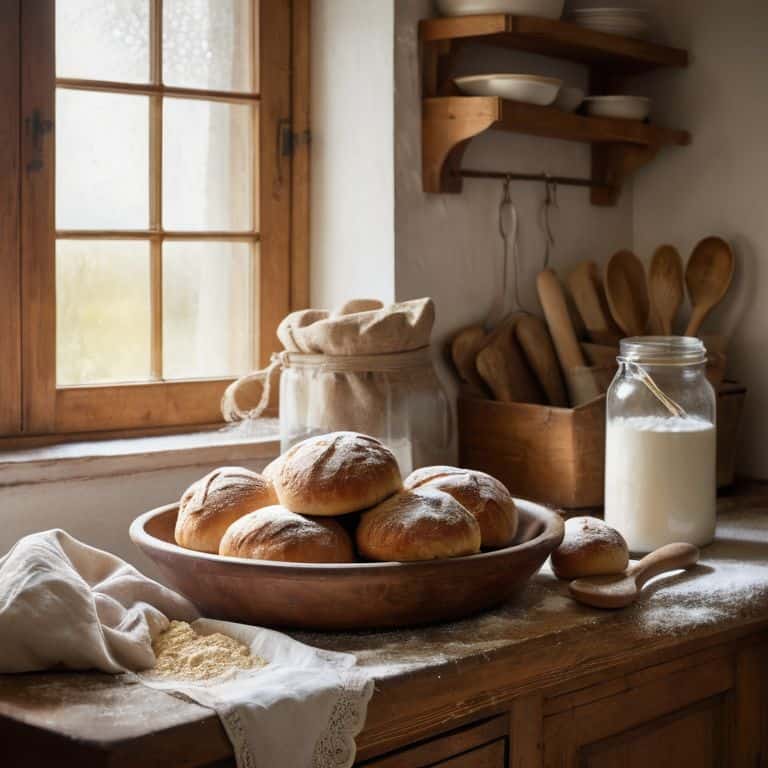
I still remember the first time I stepped into a bakery – the smell of freshly baked bread, the sound of mixers whirring, and the sight of flour covering every surface. It was love at first sight. As a certified master baker with 20 years of experience, I’ve learned that a good a guide to baking flour is the foundation of every delicious treat that comes out of your oven. However, I’ve seen many home bakers struggle with the basics of baking flour, and it’s often due to a common myth: that baking is an art that requires intuition and guesswork.
In this article, I promise to give you the honest, no-hype advice you need to master the art of baking with flour. You’ll learn the science behind different types of flour, how to choose the right one for your recipe, and tips for measuring and handling flour like a pro. By the end of this guide, you’ll have the confidence to bake anything from a simple loaf of bread to a intricate pastry, and you’ll understand the importance of a good a guide to baking flour in achieving perfect results.
Table of Contents
Guide Overview: What You'll Need
Total Time: 1 hour 15 minutes
Estimated Cost: $10 – $20
Difficulty Level: Easy
Tools Required
- Mixing Bowl large, stainless steel
- Measuring Cups dry and liquid
- Whisk for mixing
- Sifter for aerating flour
Supplies & Materials
- Wheat Berries or other grain of choice
- Grain Mill or blender for grinding
- Sifting Screen with mesh size of 6 inches or smaller
Step-by-Step Instructions
- 1. First, let’s start with the basics: understanding the different types of flour and their uses. I want you to think of flour as the foundation of your bake, and choosing the right one is crucial for the final result. Take a moment to familiarize yourself with the various types of flour, such as all-purpose, bread, cake, and pastry flour, and note their protein content, as this will affect the structure of your baked goods.
- 2. Next, I want you to get to know your ingredients, and flour is no exception. When selecting a flour, consider the source, as this can impact the flavor and texture of your final product. Look for flours that are unbleached and unbromated, as these will provide a more natural flavor and better texture. Don’t be afraid to experiment with different types of flour to find the one that works best for you.
- 3. Now, let’s talk about measuring flour accurately, as this is a crucial step in ensuring your bakes turn out as expected. I always say that weighing is the way to go, as it provides a more precise measurement than using volume measurements. Invest in a digital scale, and make sure to zero it out before adding your flour to get an accurate reading.
- 4. Once you have your flour, it’s time to sift and aerate it to remove any lumps and incorporate air. This step is essential, as it will help to evenly distribute the ingredients and ensure that your final product is light and fluffy. Use a fine-mesh sieve or a sifter to gently aerate your flour, and take note of how it feels and looks before and after sifting.
- 5. Now that we have our flour ready, let’s move on to combining it with other ingredients. When mixing flour with other ingredients, such as sugar, yeast, or salt, make sure to do so in a gentle and gradual manner. This will help to prevent the development of gluten, which can lead to a tough or dense final product. Take your time, and mix the ingredients just until they come together in a cohesive mixture.
- 6. As we continue, I want to emphasize the importance of understanding gluten development, as this will help you to create a variety of textures and structures in your bakes. Gluten is a complex network of proteins that forms when flour is mixed with liquid, and it can be either strengthened or weakened depending on the type of flour and the mixing method used. Take note of how different types of flour respond to mixing, and adjust your technique accordingly.
- 7. Finally, let’s talk about storage and handling of flour, as this will help to preserve its quality and freshness. I always recommend storing flour in a cool, dry place, away from direct sunlight and moisture. Use an airtight container to keep the flour fresh, and make sure to label it with the date and type of flour, so you can keep track of how long it’s been stored.
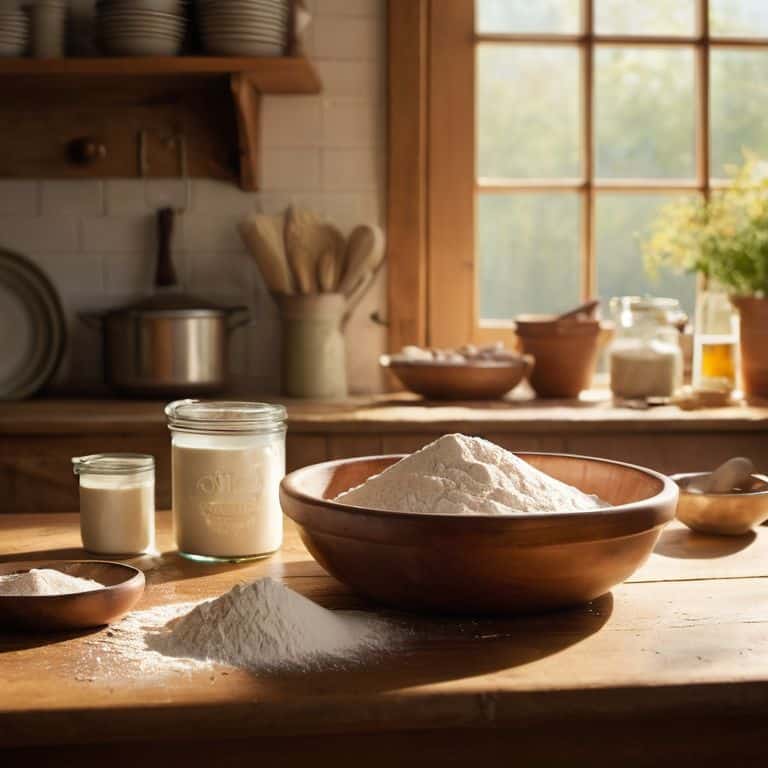
A Guide to Baking Flour
As we delve deeper into the world of baking, it’s essential to understand the types of wheat flour available to us. From all-purpose flour to bread flour, each type has its unique characteristics and uses. When substituting one type of flour for another, it’s crucial to consider the flour substitution ratios to ensure the best results. For instance, if a recipe calls for all-purpose flour, you can substitute it with bread flour, but you may need to adjust the liquid content.
When working with flour, it’s also important to consider the source. Baking with ancient grains can add a new dimension to your baked goods, but it may require some adjustments to your technique. Additionally, the decision to use a flour mill vs store bought flour can impact the final product. Freshly milled flour can provide a more nuanced flavor and texture, but it may be more expensive and harder to find.
To get the most out of your flour, it’s vital to measure flour accurately and store it properly. Storing flour for freshness is crucial to maintaining its quality and preventing it from becoming rancid. By following these tips and understanding the different types of flour, you’ll be well on your way to becoming a skilled baker, capable of creating a wide range of delicious treats.
Mastering Flour Substitution Ratios
When substituting flours, it’s essential to understand the ratio game. For instance, if a recipe calls for all-purpose flour, you can substitute it with bread flour, but you’ll need to adjust the liquid content. A general rule of thumb is to start with a 1:1 ratio and adjust from there. However, when switching to pastry flour or cake flour, you may need to reduce the amount used due to their lower protein content.
I always recommend weighing your flours to ensure accuracy, rather than relying on volume measurements. This is where the science of baking comes in – by understanding the protein content and starch structure of each flour, you can confidently make substitutions and achieve the desired texture. With practice, you’ll develop a sense of how different flours interact with other ingredients, and mastering flour substitution ratios will become second nature.
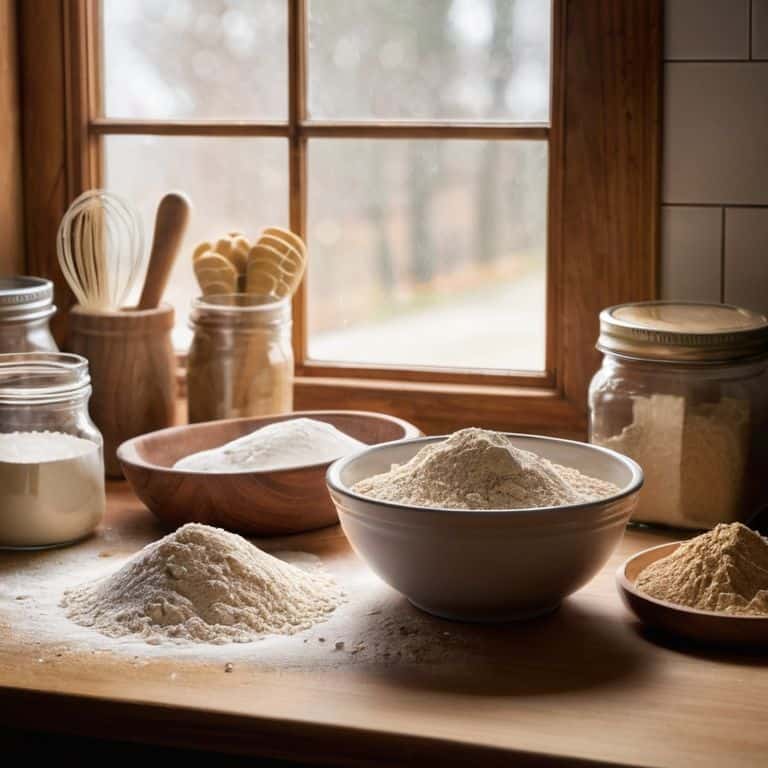
Unlocking Types of Wheat Flour Secrets
As we dive deeper into the world of baking flour, it’s essential to understand the different types of wheat flour. You see, not all wheat flours are created equal, and each has its unique characteristics. From all-purpose flour to bread flour, cake flour, and pastry flour, the protein content and grain size vary significantly. I like to think of these differences as the secret ingredients that can make or break your bake. By understanding the distinct properties of each type, you’ll be able to choose the perfect flour for your recipe, ensuring that your final product turns out light, fluffy, and full of flavor.
Let’s take a closer look at the protein content, for instance. Bread flour, with its high protein content, is ideal for creating chewy breads and pizzas, while cake flour, with its low protein content, is better suited for delicate cakes and pastries. By recognizing these differences, you’ll be able to unlock the full potential of your baked goods and take your baking to the next level.
Flour Power: 5 Essential Tips for Baking Success
- Always weigh your flour for accuracy, as volume measurements can be inconsistent and affect the final product
- Understand the different types of wheat flour, such as bread flour, cake flour, and all-purpose flour, to choose the right one for your recipe
- Respect the protein content of your flour, as it will impact the structure and texture of your baked goods, from delicate cakes to hearty breads
- Learn to substitute flours effectively, considering factors like gluten content, fiber, and overall flavor profile to achieve the desired result
- Store your flour properly to preserve its quality, keeping it in a cool, dry place and using it within a reasonable timeframe to ensure the best possible baking performance
Key Takeaways for the Aspiring Baker
Becoming familiar with the different types of wheat flour, such as bread flour, all-purpose flour, and pastry flour, is crucial for mastering various baking techniques and achieving the desired texture in your baked goods
Understanding flour substitution ratios is essential for experimenting with new recipes and adapting them to your dietary needs or preferences, whether that’s gluten-free, vegan, or low-carb
By grasping the fundamental science behind baking flour, including how gluten develops and how to work with yeast, you’ll be empowered to troubleshoot common baking mistakes and develop the confidence to try new and complex recipes with ease
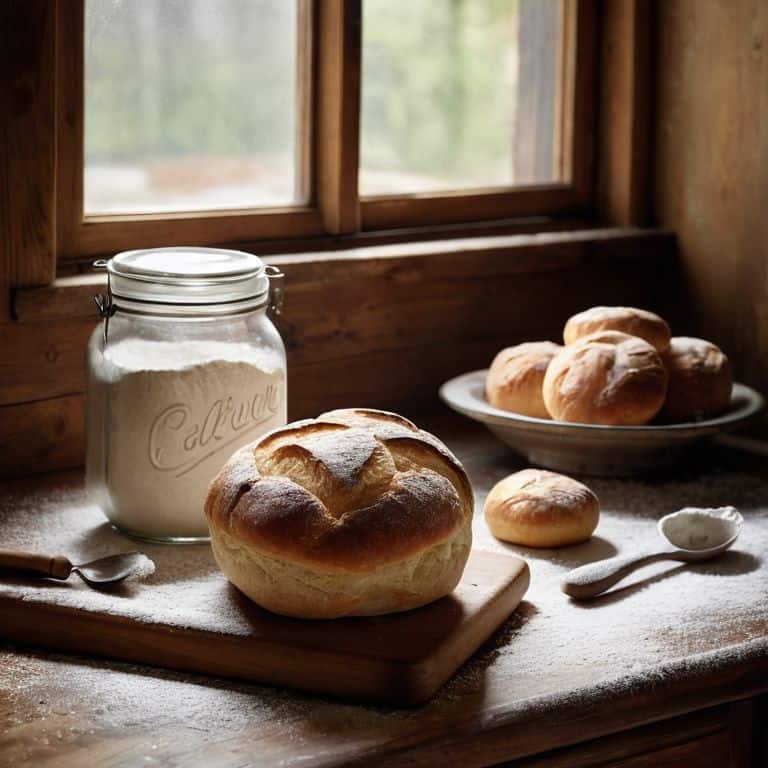
The Heart of Baking
Baking flour is not just an ingredient, it’s the foundation upon which our creations rise, and understanding its secrets is the key to unlocking a world of culinary possibilities.
Beatrice Quinn
Conclusion: Mastering the Art of Baking Flour
As we conclude this comprehensive guide to baking flour, let’s recap the key takeaways. We’ve explored the different types of wheat flour, from all-purpose to bread flour, and unlocked their secrets. We’ve also delved into the world of flour substitution ratios, providing you with the confidence to experiment and find the perfect blend for your baked goods. By understanding the science behind baking flour, you’ll be able to troubleshoot common issues and create delicious treats that will impress friends and family alike. Whether you’re a beginner or an experienced baker, mastering the art of baking flour is a fundamental skill that will elevate your baking to the next level.
Now that you’ve completed this guide, I encourage you to get creative and start experimenting with different types of flour and recipes. Remember, baking is 90% science and 10% magic, so don’t be afraid to try new things and push the boundaries of what’s possible. With practice and patience, you’ll develop the skills and knowledge to create truly exceptional baked goods. As your instructor, I’m proud of the progress you’ve made, and I’m excited to see the amazing things you’ll create in the kitchen. Happy baking, and I look forward to sharing more baking secrets and tips with you in the future!
Frequently Asked Questions
What are the key differences between bread flour and cake flour, and when should I use each?
The age-old question: bread flour vs cake flour! The key difference lies in protein content. Bread flour has a higher protein level, around 12-14%, making it perfect for yeast-based breads that require structure and rise. Cake flour, on the other hand, has a lower protein content, around 8-10%, ideal for delicate cakes, cookies, and pastries that require tenderness.
How do I adjust the liquid content in a recipe when substituting all-purpose flour with a denser flour like bread flour?
When substituting all-purpose flour with denser bread flour, you’ll need to adjust the liquid content. As a general rule, bread flour absorbs more liquid due to its higher protein content. To compensate, increase the liquid in the recipe by about 2-4% to achieve the right consistency.
Can I use whole wheat flour as a 1:1 substitute for all-purpose flour in recipes, or are there specific adjustments I need to make?
While whole wheat flour can be a great substitute, it’s not always a 1:1 swap. Due to its coarser texture and higher protein content, you may need to adjust liquid levels and potentially add xanthan gum to achieve the right consistency. Start by replacing up to 25% of the all-purpose flour with whole wheat and adjust from there to get the best results.