As I stand in my bespoke cake studio, surrounded by the sweet scent of success and the gentle hum of mixers, I’m reminded of the countless times I’ve heard that mastering a guide to pâte sablée (sweet tart crust) is a daunting task, reserved only for the most skilled pastry chefs. But I’m here to tell you that this couldn’t be further from the truth. With the right techniques and a bit of patience, anyone can create a beautiful, flaky, and deliciously sweet pâte sablée to impress even the most discerning palates.
In this article, I promise to share my honest, no-hype, and practical advice on how to create the perfect pâte sablée, from the initial mixing of ingredients to the final, delicate touch. You’ll learn how to avoid common pitfalls, such as overworking the dough, and how to achieve that perfect balance of crumbliness and structure. Whether you’re a beginner or an experienced baker, my goal is to empower you with the knowledge and confidence to create stunning sweet tart crusts that will elevate your baking to new heights. So, let’s get started on this journey to mastering a guide to pâte sablée (sweet tart crust), and discover the artistic freedom that comes with it.
Table of Contents
Guide Overview: What You'll Need
Total Time: 1 hour 45 minutes
Estimated Cost: $10 – $20
Difficulty Level: Intermediate
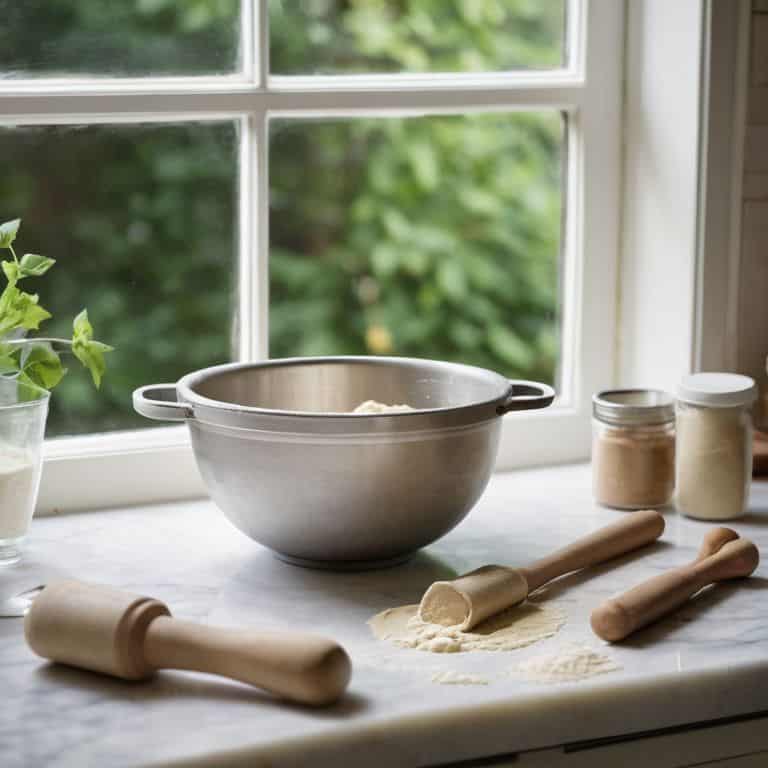
Tools Required
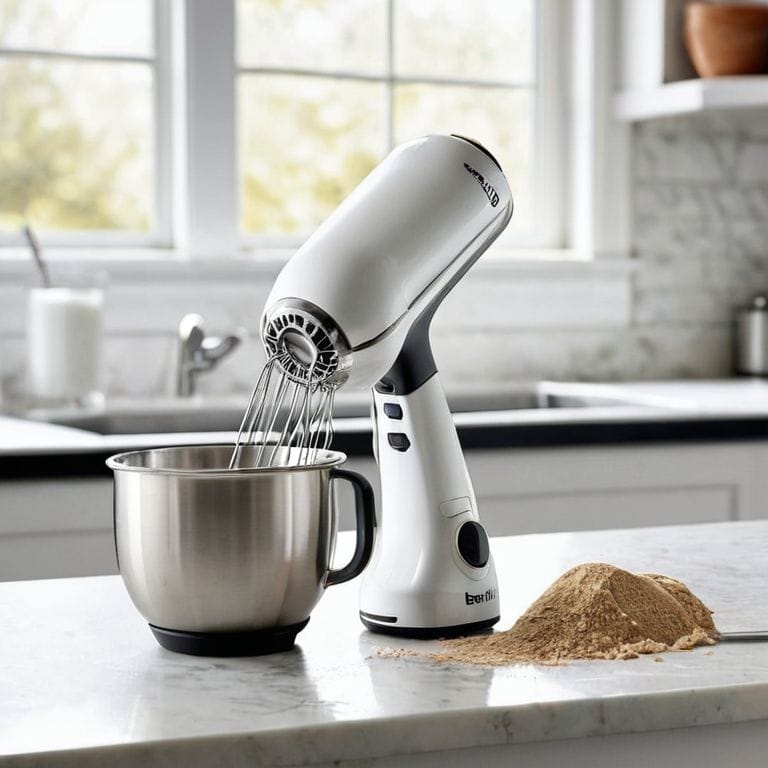
- Stand Mixer (with paddle attachment)
- Measuring Cups
- Measuring Spoons
- Pastry Brush
- Tart Pan (with removable bottom, 9 inches in diameter)
Supplies & Materials
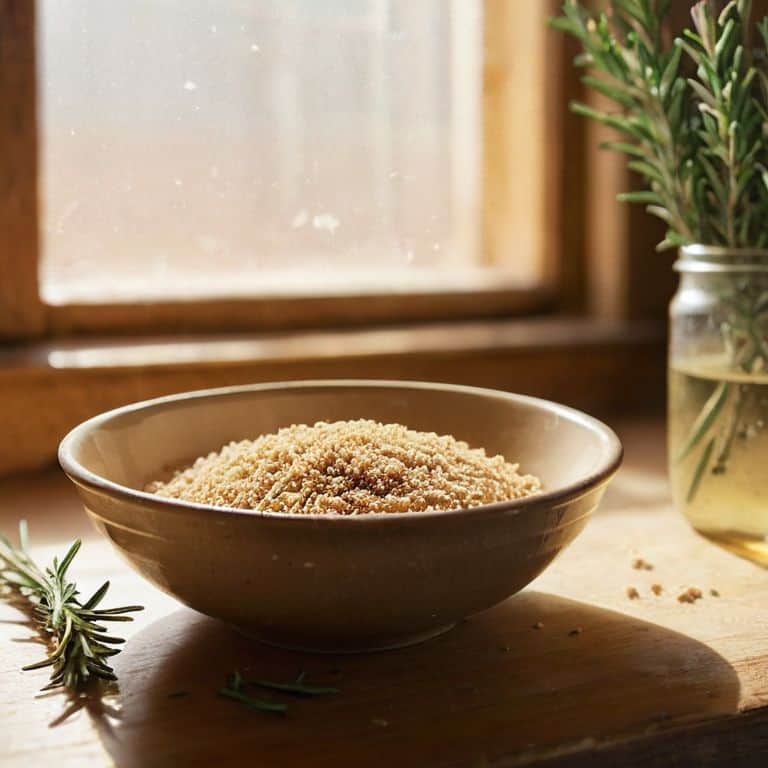
- All-Purpose Flour (2 1/4 cups)
- Confectioners Sugar (1 cup)
- Unsalted Butter (1/2 cup, softened)
- Egg (1 large, for egg wash)
- Salt (1/4 teaspoon)
- Granulated Sugar (1/2 cup, for dusting)
Step-by-Step Instructions
- 1. First, let’s start by understanding the importance of using high-quality ingredients in our pâte sablée, as it will directly impact the flavor and texture of our tart crust. I always say that the best pastry begins with the best ingredients, and in this case, that means using European-style butter with a high fat content and pure vanilla extract.
- 2. To begin making our pâte sablée, we need to cream the butter and sugar together in a large mixing bowl until it’s light and fluffy, almost like whipped cream. This process should take about 5 minutes with an electric mixer, but be patient and don’t rush it, as this step is crucial for incorporating air and developing the texture of our crust.
- 3. Next, we’ll add the egg yolks one at a time, making sure each yolk is fully incorporated before adding the next. This will help to enrich the dough and give it a beautiful, tender crumb. Remember to use room temperature eggs for easier mixing and a more even distribution of ingredients.
- 4. Now it’s time to add the dry ingredients, which include all-purpose flour, confectioners’ sugar, and a pinch of salt. I like to sift these ingredients together before adding them to the mixing bowl to ensure they’re well combined and aerated, resulting in a smoother, more even dough.
- 5. With our dry ingredients added, we’ll mix the dough just until it comes together in a cohesive ball. Be careful not to overmix at this stage, as it can lead to a tough, dense crust. If you’re using a stand mixer, use the paddle attachment and mix on low speed to avoid developing the gluten in the flour.
- 6. Once our dough is mixed, we’ll wrap it in plastic wrap and let it rest in the refrigerator for at least 30 minutes to allow the gluten to relax. This step is essential for making the dough easier to roll out and shape into our desired tart crust form.
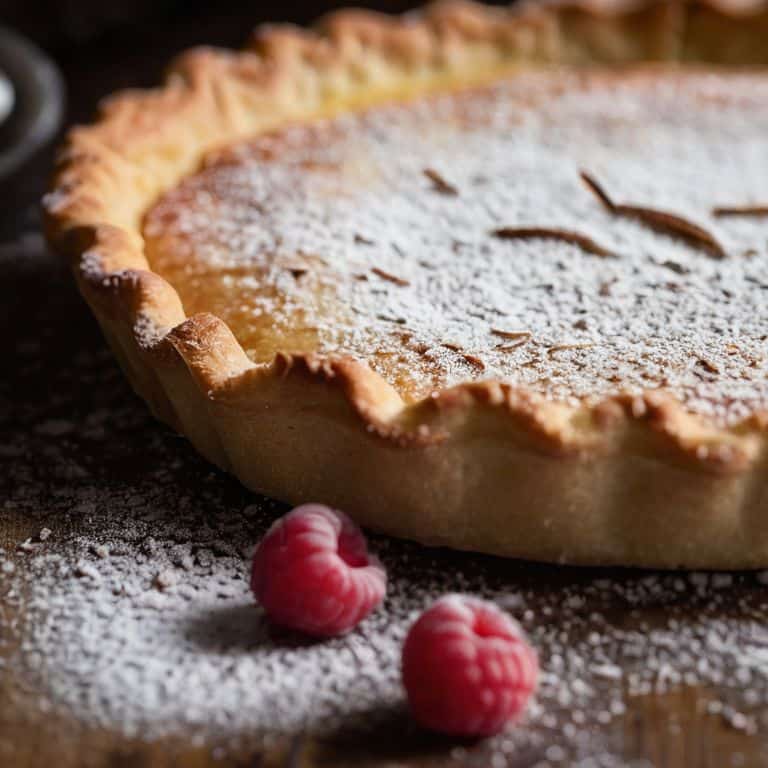
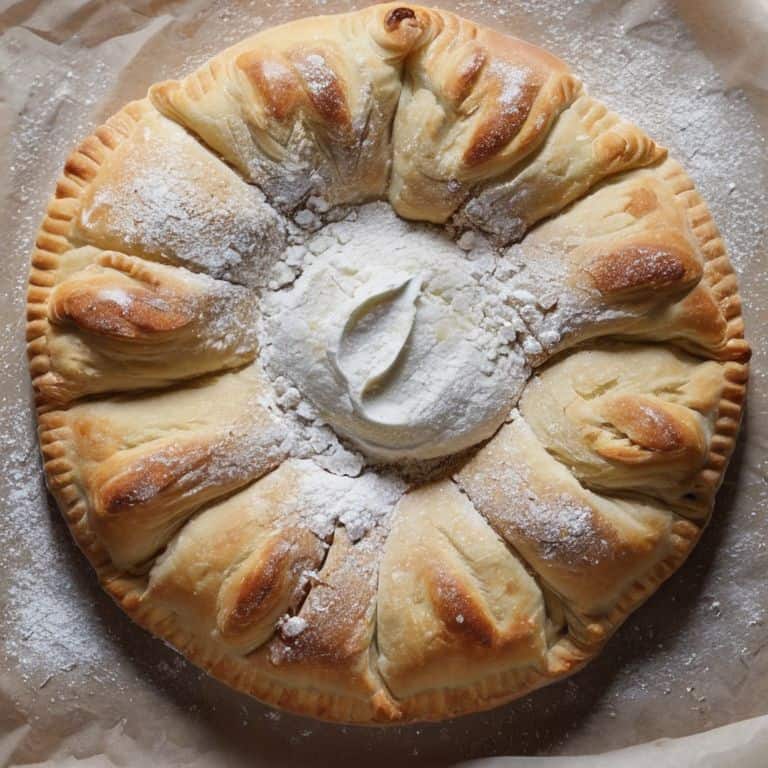
- 7. After the dough has rested, we’ll roll it out to our desired thickness, usually about 1/8 inch for a standard tart crust. Use a light touch and a dusting of confectioners’ sugar to prevent the dough from sticking to your rolling pin or work surface. This is where the magic happens, and our pâte sablée starts to take shape.
Mastering Pte Sable
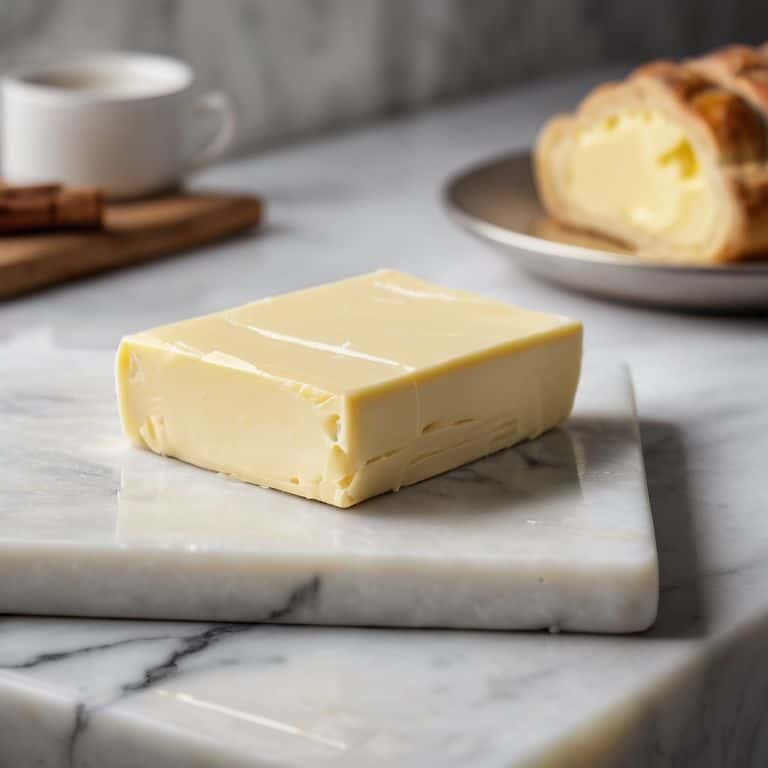
As I delve deeper into the world of pâte sablée, I’m reminded of the importance of high-quality ingredients. The type of butter and vanilla used can make all the difference in the final product. I always opt for European-style butter with a high fat content, as it yields a more tender and flaky crust. When it comes to vanilla, I prefer to use high-grade vanilla beans for an added depth of flavor.
When working with pâte sablée, it’s essential to understand the nuances of tart crust making techniques. One common mistake is overworking the dough, which can lead to a tough and dense crust. To avoid this, I recommend keeping the ingredients cold and handling the dough as little as possible. This will help preserve the delicate layers of butter and dough, resulting in a flaky and tender crust.
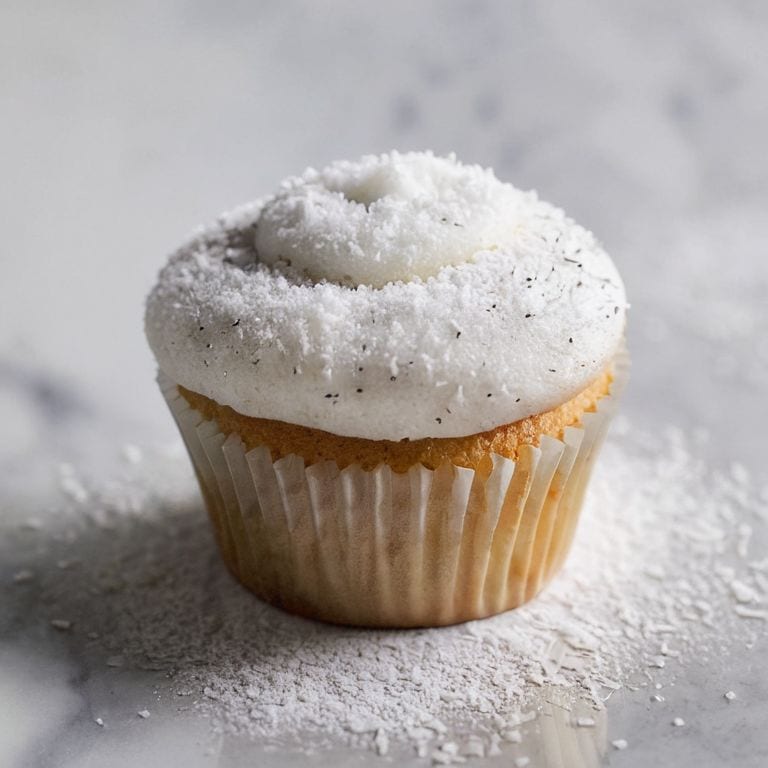
In comparison to pâte brisée, pâte sablée has a higher sugar content, making it ideal for sweet tart fillings. For inspiration, I often turn to french dessert recipes and decorating ideas for sweet tarts to find new and exciting ways to showcase my creations. By mastering the art of pâte sablée, you’ll be well on your way to creating stunning and delicious sweet tarts that are sure to impress. With practice and patience, you’ll be able to elevate your baking tips for pâte sablée and create truly exceptional pastries.
Tart Crust Making Techniques Uncovered
To truly master pâte sablée, one must delve into the nuances of tart crust making techniques. It’s all about creating a delicate balance between texture and flavor. I like to think of it as a waltz between the butter and the sugar, each step carefully choreographed to produce a crust that’s both crumbly and tender. The key lies in the initial stages of preparation, where the quality of ingredients and the precision of measurement can make all the difference.
By paying close attention to the ratio of butter to sugar, and carefully controlling the temperature and handling of the dough, you’ll be able to craft a pâte sablée that’s nothing short of exquisite. It’s a technique that requires patience, practice, and a gentle touch, but the end result is well worth the effort.
The Art of French Dessert Recipes
As I delve deeper into the world of French desserts, I find myself captivated by the elegance and sophistication that pâte sablée brings to the table. This sweet tart crust is more than just a foundation – it’s a canvas waiting for the brushstrokes of creamy fillings, vibrant fruits, and delicate chocolates. With every delicate layer and intricate design, I’m reminded of the art galleries I adore, where each piece is a masterpiece of texture, color, and composition.
In the realm of French patisserie, pâte sablée is a timeless classic, and its versatility is a testament to the ingenuity of French dessert making. By mastering this crust, home bakers can unlock a world of possibilities, from the rustic charm of a fruit tart to the opulent grandeur of a mille-feuille. As I sketch out new cake designs and experiment with novel flavor combinations, I’m constantly inspired by the endless potential of pâte sablée to elevate and transform any dessert into a work of art.
Elevating Your Pâte Sablée: 5 Expert Tips
- Use high-quality, European-style butter with a high fat content for the flakiest, most tender crust
- Keep your ingredients, particularly the butter and eggs, well-chilled to prevent the dough from becoming too soft and sticky
- Don’t overwork the dough, as this can lead to a tough, dense crust – stop mixing as soon as the ingredients come together
- Chill the dough for at least 30 minutes to allow the gluten to relax, making it easier to roll out and shape into your tart pan
- Use a light touch when rolling out the dough to avoid developing the gluten, which can cause the crust to shrink or become misshapen during baking
Key Takeaways for the Perfect Pâte Sablée
Always use high-quality, European-style butter with a high fat content for the best flavor and texture in your pâte sablée
Maintaining the right temperature, especially when it comes to keeping your ingredients cold, is crucial for achieving a tender and flaky crust
Practicing the art of resting and rolling out your dough will make all the difference in creating a uniform, delicate crust that’s the perfect foundation for your sweet tarts
The Heart of French Patissierie
Pâte sablée is more than just a tart crust – it’s the tender embrace that holds our most exquisite desserts, a delicate balance of texture and taste that elevates the art of French patisserie to new heights.
Alison Lawson
The Sweet Finale: Elevating Your Pâte Sablée
As we conclude this journey through the world of pâte sablée, it’s essential to recall the fundamental techniques that make this sweet tart crust a masterpiece. From the initial steps of combining flour, sugar, and butter, to the meticulous process of rolling and baking, each stage requires patience, precision, and a deep understanding of the ingredients. The art of French dessert recipes, as discussed earlier, is not just about following a set of instructions, but about embracing the science behind the ingredients and the techniques that bring them to life. By mastering the art of tart crust making, you’re not only creating a delicious base for your desserts but also laying the foundation for a truly unforgettable culinary experience.
As you embark on your own pâte sablée journey, remember that the true beauty of baking lies in the creative expression it allows. Don’t be afraid to experiment with new flavors, designs, and presentations. The world of pastry is vast and wondrous, and with each delicate layer, you’re not just building a cake, you’re crafting a story. So, let the sweetness of pâte sablée inspire you to new heights, and as you share your creations with others, remember, the art of baking is a gift that keeps on giving, spreading joy, comfort, and beauty, one delicious dessert at a time.
Frequently Asked Questions
What are the most common mistakes to avoid when making pâte sablée to ensure it turns out flaky and tender?
To achieve that perfect flaky and tender pâte sablée, beware of overworking the dough, using low-quality butter, and overbaking. These common mistakes can lead to a tough, dense crust. Instead, mix with a gentle touch, choose high-quality ingredients, and bake with precision to create a beautifully layered, delicate crust that’s the epitome of French patisserie.
How do I store and freeze pâte sablée for later use, and what are the best practices for thawing it?
To preserve the delicate charm of pâte sablée, I recommend storing it in an airtight container at room temperature for up to 3 days or freezing it for up to 2 months. When freezing, wrap it tightly in plastic wrap and then aluminum foil. To thaw, simply leave it in the fridge overnight or at room temperature for a few hours, and it will be ready to be rolled out and crafted into your next masterpiece.
Can I substitute or modify ingredients in a traditional pâte sablée recipe to accommodate dietary restrictions, such as gluten-free or vegan options?
While traditional pâte sablée relies on wheat flour and butter, I encourage experimentation with alternative ingredients. For gluten-free options, try almond or coconut flour, and for vegan versions, opt for high-quality vegan butter substitutes. Remember, substitution may affect texture and flavor, so taste and adjust as you go, and don’t be afraid to sketch out a few test designs before settling on the perfect recipe.