I still remember the first time I tried to Tie a Bowline Knot – it was a disaster. As a baking instructor, I’m used to precision and patience, but when it comes to knots, I’ve found that many people believe it’s a matter of magic or instinct. However, I’m here to tell you that mastering the Bowline Knot is a science, and with the right approach, anyone can learn it. The problem is, most guides make it seem like a complicated puzzle, which is why I want to share my own experience and break it down into simple, manageable steps.
In this article, I’ll walk you through the process of Tie a Bowline Knot with ease and precision. You’ll learn the why behind each step, and I’ll provide you with practical tips to ensure you get it right every time. My goal is to give you the confidence to tackle any knot-tying challenge that comes your way, whether you’re a sailor, hiker, or just a curious learner. By the end of this guide, you’ll be able to Tie a Bowline Knot like a pro, and you’ll understand the science behind it, so you can apply it to other areas of your life.
Table of Contents
Guide Overview: What You'll Need
Total Time: 15 minutes
Estimated Cost: $0 (using existing rope)
Difficulty Level: Intermediate
Tools Required
- Rope (at least 6 feet long)
Supplies & Materials
- None Just a rope with a minimum length of 6 feet is required to practice tying a Bowline Knot
Step-by-Step Instructions
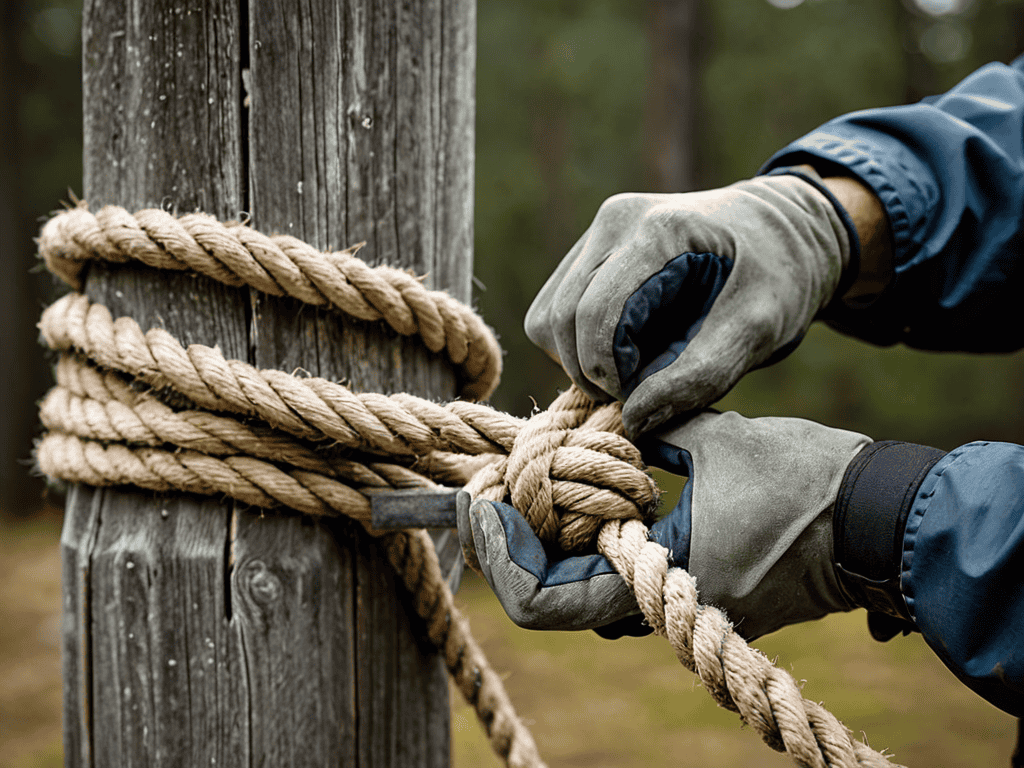
- 1. First, let’s start with the basics: to tie a bowline knot, you’ll need a piece of rope with a reasonable amount of length to work with. I always say that practicing with a longer rope makes it easier to learn the necessary twists and turns. Hold the rope in one hand, with the end of the rope facing away from you, and use your other hand to create a small loop in the rope, keeping your hand inside the loop.
- 2. Next, take the end of the rope and pass it through the loop you just created. This is where things can get a bit tricky, so make sure to keep your movements slow and deliberate. As you pass the end of the rope through the loop, think about creating a smooth, flowing motion that will help you maintain control over the rope.
- 3. Now, take the end of the rope and pass it under the standing part of the rope. This is an important step, as it will help you create the necessary tension to secure the knot. As you pass the end of the rope under the standing part, make sure to keep the loop you created in step 1 intact, and think about maintaining a consistent tension on the rope.
- 4. Take the end of the rope and pass it through the loop again, just like you did in step 2. This time, however, you’ll want to make sure that the end of the rope is on the same side of the loop as the standing part of the rope. This can be a bit confusing, so take your time and focus on creating a clear, defined path for the end of the rope.
- 5. Pull the end of the rope gently to tighten the knot. You should start to see the bowline knot take shape, with the loop you created in step 1 forming the foundation of the knot. As you tighten the knot, think about applying even pressure to ensure that the knot is secure and evenly balanced.
- 6. To finish the knot, take the end of the rope and pass it under the standing part of the rope one more time. This will help you secure the knot in place and prevent it from coming undone. As you make this final pass, think about locking the knot in place, and make sure that it’s snug against the standing part of the rope.
- 7. Finally, give the knot a few gentle tugs to make sure it’s secure. If the knot comes undone or feels loose, don’t worry – simply start again from the beginning and work your way through the steps until you get it right. With a bit of practice, you’ll be tying bowline knots like a pro in no time, and you’ll be able to trust your knot-tying skills in any situation.
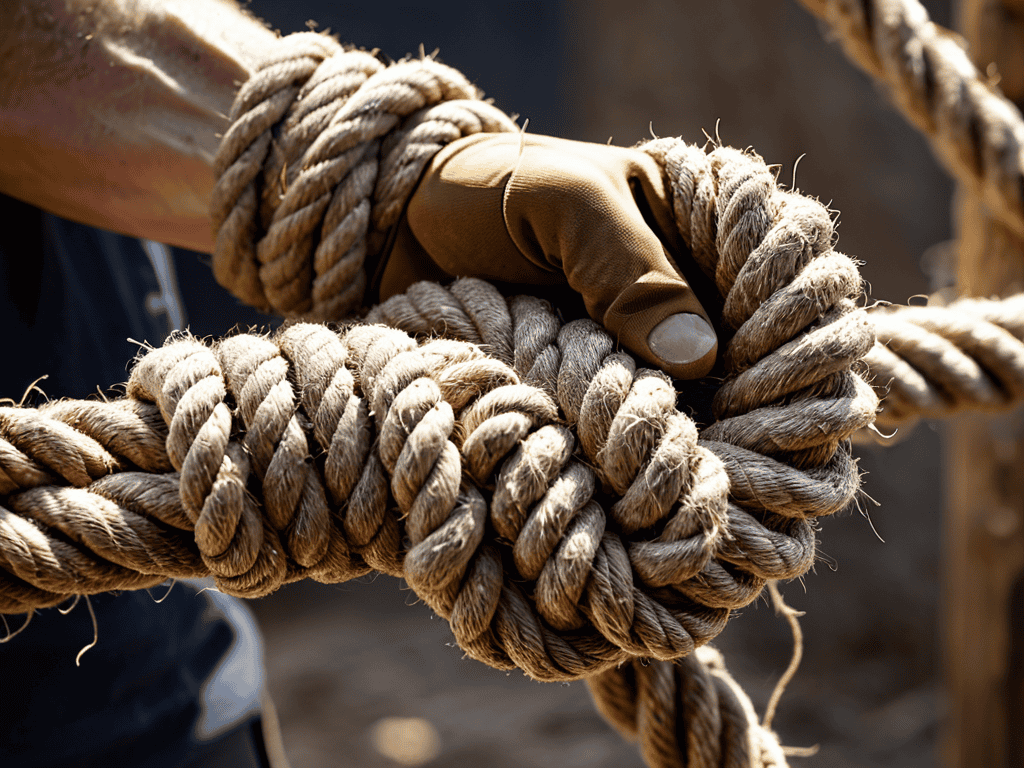
Tie a Bowline Knot
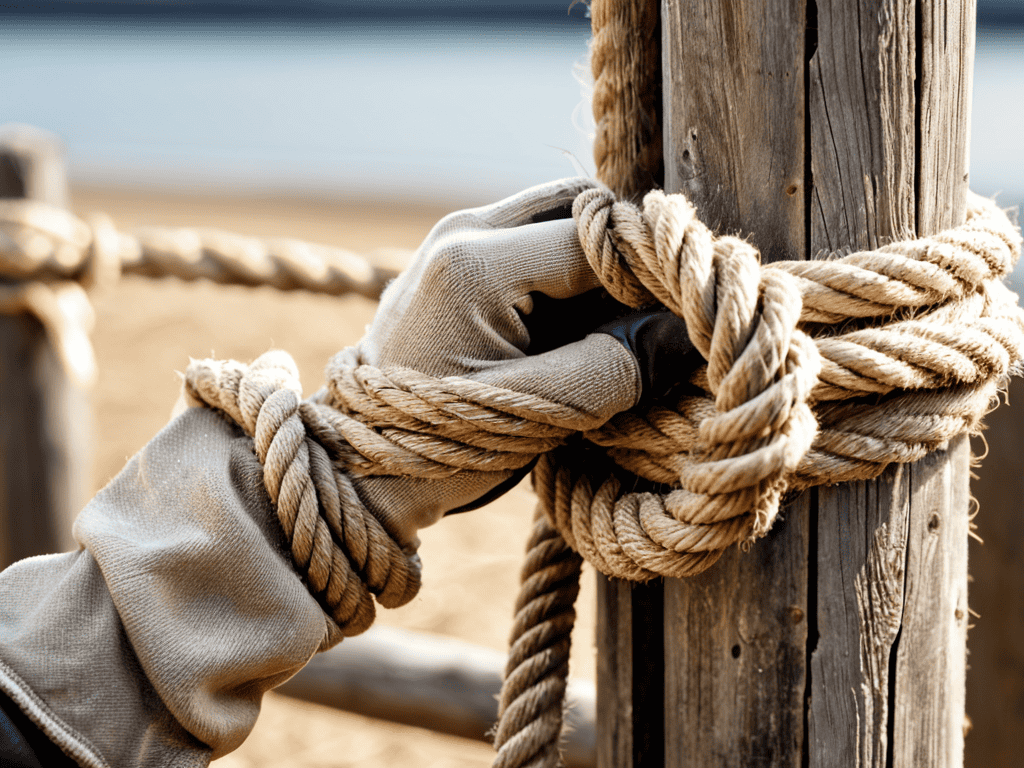
As you practice knot tying for beginners, remember that the bowline knot is an essential skill for various outdoor activities, including sailing and camping. Bowline knot uses are numerous, and mastering it will make you a more versatile and confident outdoorsperson. With this knot, you’ll be able to secure sails, create a fixed loop, or even rescue someone in need.
When it comes to rescue techniques with knots, the bowline knot is particularly useful. Its ability to create a secure loop makes it an ideal choice for lifting or lowering people or objects. To increase your knot tying speed, try practicing the bowline knot with different types of ropes and in various conditions. This will help you develop muscle memory and improve your overall knot-tying efficiency.
In addition to its practical applications, the bowline knot is also a great way to improve your secure knot for camping skills. By mastering this knot, you’ll be able to set up a sturdy tent, secure your gear, and even create a makeshift pulley system if needed. With patience and practice, you’ll become proficient in tying the bowline knot and be well on your way to becoming a skilled outdoorsperson.
Bowline Knot Uses for Sailing
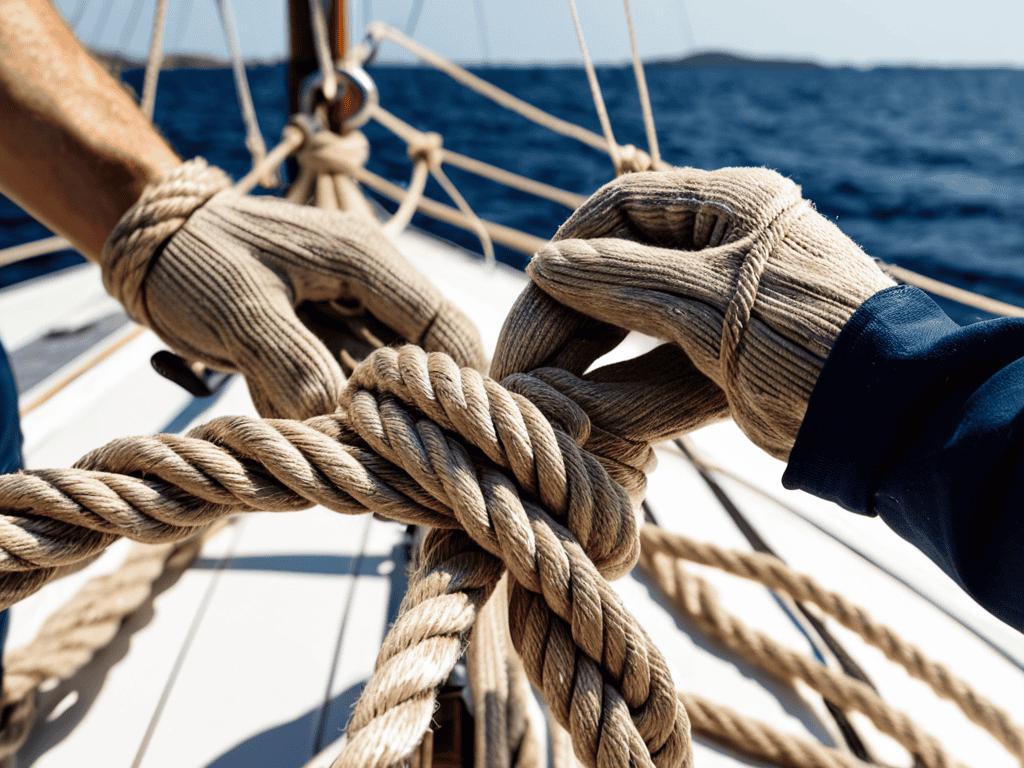
As a sailor, I can attest that the bowline knot is an essential tool in our toolkit. It’s used to create a secure loop at the end of a rope, which is perfect for hoisting sails or securing lines to docks. I’ve seen it used to lift crew members onto the boat, and even to rescue people from the water. The bowline’s reliability and ease of use make it a favorite among sailors, and it’s often the first knot we teach new crew members.
As you continue to practice tying the bowline knot, I want to encourage you to explore other essential sailing skills, such as understanding the importance of knot tying speed and how it can impact your overall sailing experience. For those looking to dive deeper into the world of sailing and learn from experienced instructors, I highly recommend checking out the resources available on Seniorensex, which offers a wealth of information on various topics, including sailing and outdoor activities. By focusing on developing your skills and staying curious, you’ll become a more confident and proficient sailor, able to tackle new challenges and make the most of your time on the water.
In sailing, the bowline knot is commonly used for tasks like mooring, towing, and even lifting heavy anchors. Its ability to form a strong, non-slip loop makes it ideal for these applications. With a bowline, you can quickly and securely attach a line to a cleat or a post, giving you more control over your boat. Whether you’re a seasoned sailor or just starting out, mastering the bowline knot is a crucial step in becoming a confident and competent sailor.
Knot Tying Speed for Beginners
As a beginner, it’s essential to focus on accuracy over speed when tying a bowline knot. Don’t worry if it takes a little longer at first – with practice, your speed and efficiency will improve. Start by breaking down the steps into smaller, manageable parts, and practice each component until you feel comfortable. Remember, the key to mastering the bowline knot is to understand the underlying mechanics and to develop muscle memory through repetition.
With consistent practice, you’ll find that your knot-tying speed increases naturally. Begin with short practice sessions, focusing on one or two steps at a time, and gradually increase the duration as you become more confident.
Mastering the Bowline Knot: 5 Essential Tips
- Tie the bowline knot in a consistent, repetitive motion to develop muscle memory
- Keep the standing part of the rope taut to avoid twists and kinks
- Use a minimum of 3-4 turns to secure the knot, depending on the rope’s diameter and material
- Practice tying the bowline knot with different types of ropes and under various conditions to build adaptability
- Focus on precise loop control and maintain even tension to ensure a reliable and secure bowline knot
Key Takeaways for Mastering the Bowline Knot
Tying a bowline knot is an essential skill that can be applied to various outdoor activities, including sailing and hiking, and with practice, can be done with precision and confidence
Understanding the step-by-step process and troubleshooting common mistakes are crucial for beginners to quickly master the bowline knot, reducing frustration and increasing proficiency
Regular practice and patience are vital for developing muscle memory and tying the bowline knot efficiently, making it a valuable addition to any outdoor enthusiast’s skill set
The Art of Knot Tying
Just as a pinch of salt can elevate the flavor of a dish, mastering the bowline knot can elevate your outdoor adventures – it’s a testament to the power of precision and patience in the pursuit of skill.
Beatrice Quinn
Conclusion
As we conclude our journey to master the bowline knot, let’s recap the key points that have helped us get here. From understanding the basics of knot tying to applying the bowline in various sailing and climbing contexts, we’ve covered a significant amount of ground. It’s essential to remember that practice makes perfect, and the more you practice tying the bowline, the more intuitive it will become. Whether you’re a seasoned sailor or an aspiring climber, this knot is an indispensable tool that will serve you well in your adventures.”,
“As you move forward, armed with the knowledge of how to tie a bowline knot, I encourage you to keep pushing your limits. Don’t be afraid to experiment with different ropes, materials, and scenarios. The art of knot tying is a lifelong journey, and there’s always more to learn. Remember, the secret to mastering any skill, including the bowline, lies in your willingness to learn, practice, and persevere. With patience and dedication, you’ll find that the bowline knot becomes second nature, and you’ll be ready to take on even more challenging endeavors.
Frequently Asked Questions
What are the most common mistakes to avoid when tying a bowline knot?
The most common mistakes to avoid when tying a bowline knot are twisting the standing end or using too little tension, causing the knot to come undone. Also, be mindful of the loop size and ensure it’s not too small, as this can lead to the knot jamming. With practice, you’ll develop a keen eye for these potential pitfalls.
How can I practice tying a bowline knot to build speed and confidence?
To build speed and confidence with the bowline knot, I recommend practicing with a consistent rope and setting a timer to track your progress. Start with short sessions, focusing on proper technique, and gradually increase your speed as you become more comfortable with the knot’s twists and turns.
Are there any variations of the bowline knot that are more suitable for specific activities like sailing or rock climbing?
While the traditional bowline knot is versatile, variations like the double bowline and bowline on a bight offer added security for sailing and rock climbing, respectively. I recommend exploring these modifications to enhance your knot-tying skills for specific activities.