As I stood in my kitchen, surrounded by the soothing scents of essential oils and the gentle hum of my mixer, I realized that the idea of making handmade soap using the cold process method can be daunting for many. However, I’m here to tell you that with the right guidance, it’s actually a therapeutic and creative process. I’ve seen many friends and family members shy away from trying their hand at handmade soap-making, intimidated by the perceived complexity of the process. But trust me, with a simple and patient approach, you can create your own beautiful, nourishing soap at home.
In this article, I promise to share my personal experience and practical tips for making handmade soap using the cold process method. You’ll learn how to choose the right ingredients, mix and mold your soap, and troubleshoot common issues that may arise. My goal is to provide you with a step-by-step guide that’s easy to follow and understand, so you can confidently create your own handmade soap and enjoy the many benefits it has to offer. Whether you’re a seasoned crafter or a beginner, I invite you to join me on this journey and discover the joy of making your own handmade soap using the cold process method.
Table of Contents
Guide Overview: What You'll Need
Total Time: 2 hours 30 minutes
Estimated Cost: $20 – $50
Difficulty Level: Intermediate
Tools Required
- Immersion Blender (for mixing lye and oils)
- Stick Blender (for further mixing)
- Thermometer (for monitoring temperatures)
- Mold (to shape the soap, can be made of plastic, metal, or silicone)
- Gloves (protective, for handling lye)
- Goggles (protective, for handling lye)
- Scale (accurate, for measuring ingredients)
- Spoon or Spatula (for mixing and pouring soap mixture)
Supplies & Materials
- Lye (Sodium Hydroxide) (handle with care, wear protective gear)
- Distilled Water (for mixing with lye)
- Vegetable Oils (e.g., Olive, Coconut, Palm) (base oils for the soap)
- Essential Oils or Fragrance Oils (optional, for scenting the soap)
- Colorants (optional) (for adding color to the soap)
- Herbs or Botanicals (optional) (for adding texture and visual interest)
Step-by-Step Instructions
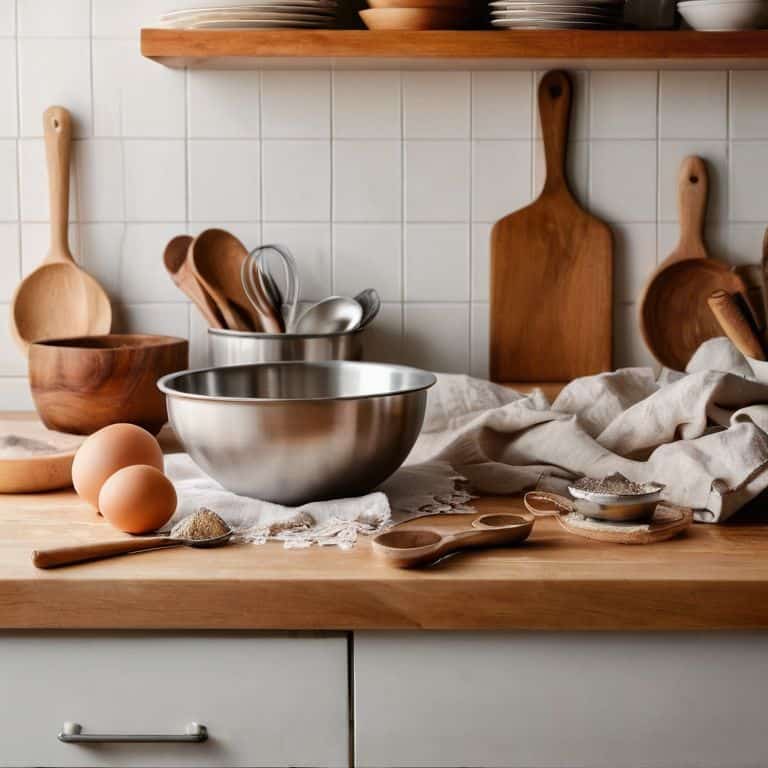
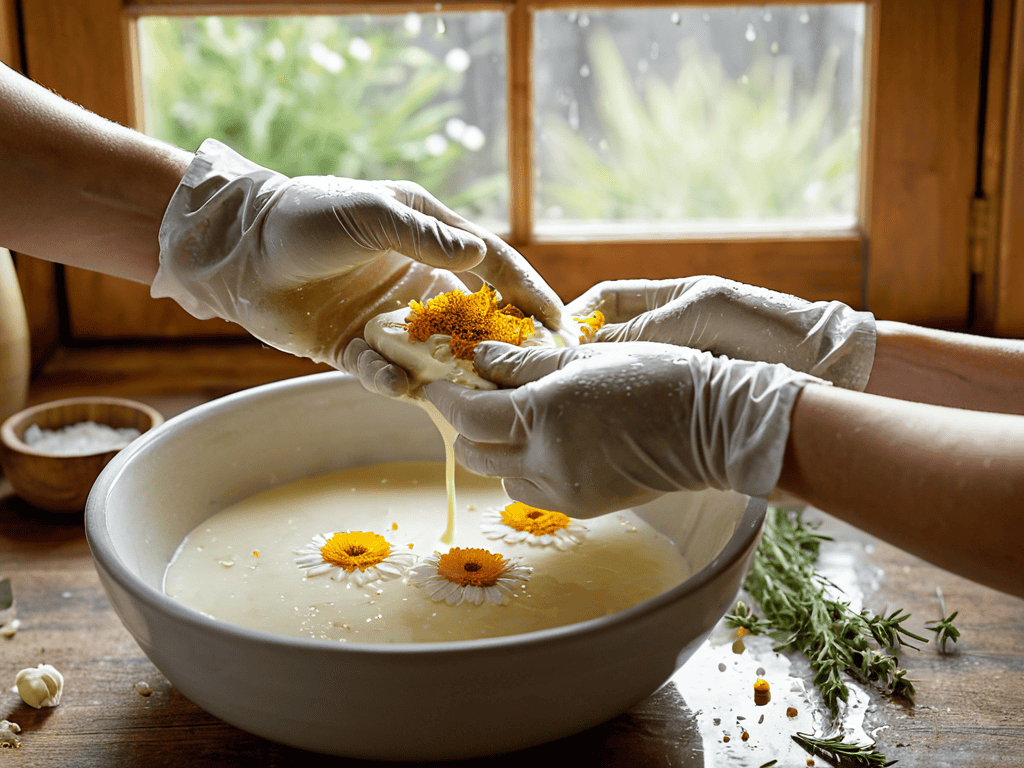
- 1. To start making handmade soap using the cold process method, gather all the necessary ingredients and equipment, including olive oil, coconut oil, shea butter, lye, distilled water, a thermometer, and a mixer. It’s essential to work in a well-ventilated area and wear protective gear like gloves and goggles to ensure safety while handling lye.
- 2. Next, prepare the lye solution by slowly adding the lye to the distilled water in a well-ventilated area, stirring carefully to avoid splashing. Monitor the temperature of the lye solution, as it should reach around 100°F to 110°F. This step requires precision and patience, so take your time and ensure the mixture reaches the correct temperature.
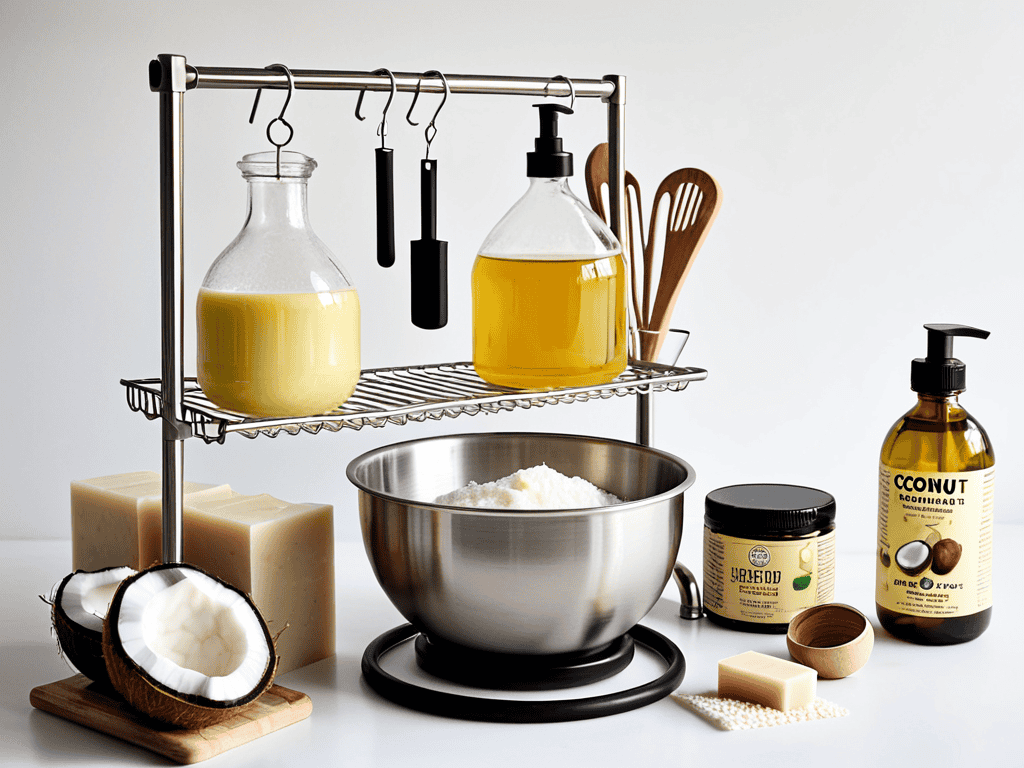
- 3. While the lye solution is cooling, prepare the oil mixture by combining olive oil, coconut oil, and shea butter in a separate container. Use a mixer to blend the oils until they are well combined and smooth in texture. This mixture should also reach a temperature between 100°F to 110°F, allowing it to mix perfectly with the lye solution later.
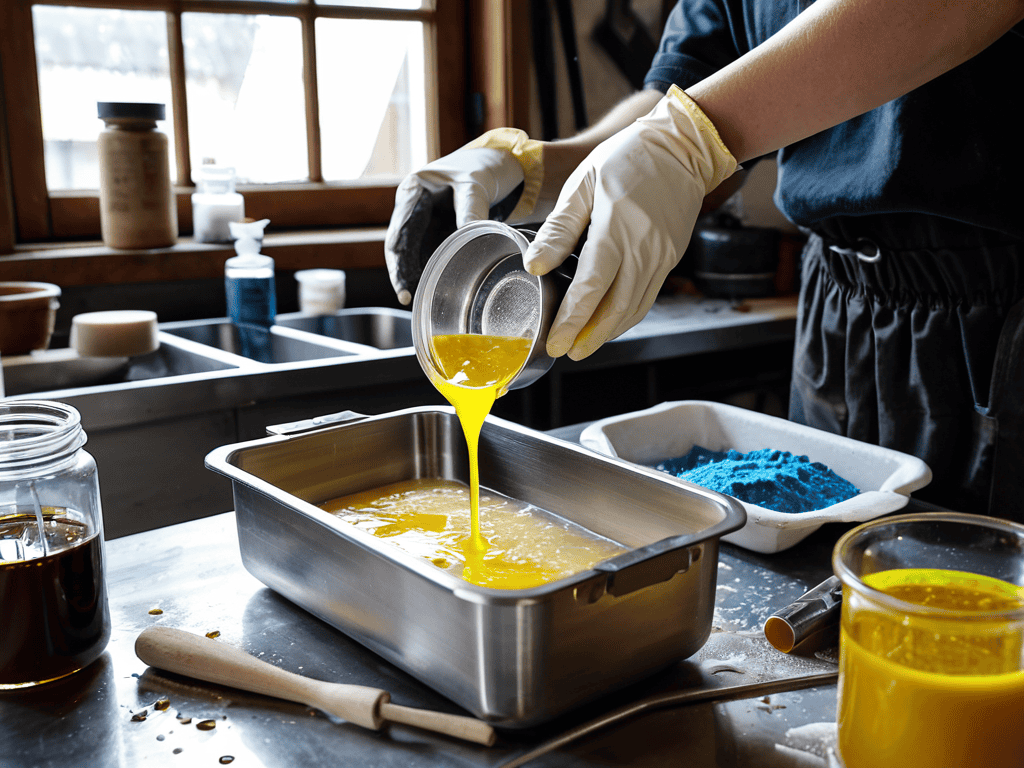
- 4. Once both the lye solution and the oil mixture have reached the desired temperature, slowly pour the lye solution into the oil mixture. Use the mixer to blend the two mixtures together, starting on low speed and gradually increasing as needed. Be careful not to splash or create too much foam, as this can lead to a less stable soap base.
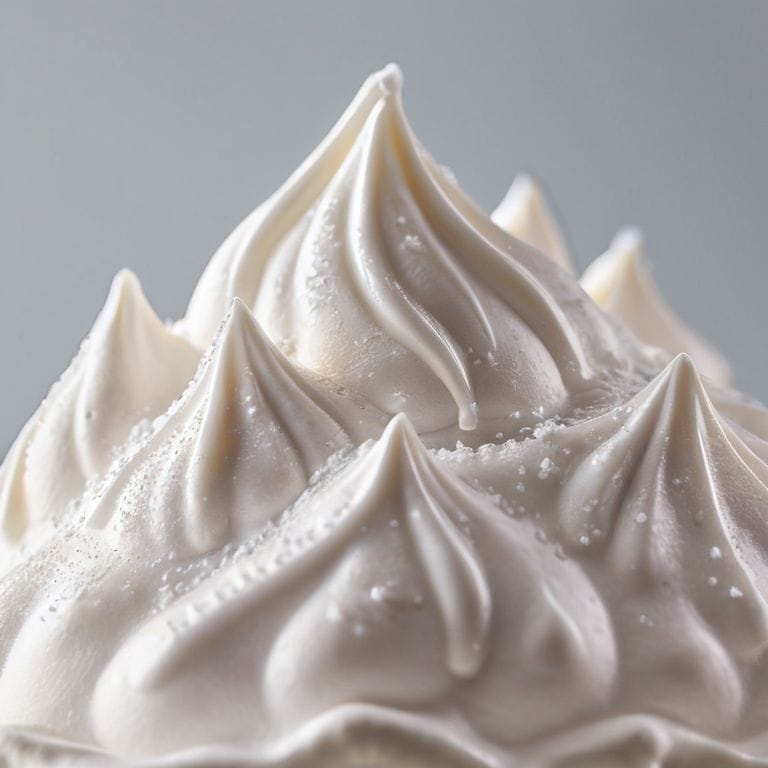
- 5. Continue mixing the soap base until it reaches trace, which is the point at which the mixture thickens and forms a consistent texture. This can be tested by drizzling a small amount of the soap base onto the surface of the mixture; if it leaves a visible trail, it has reached trace. At this stage, you can add your preferred colorants or fragrances to the soap base and mix well.
- 6. Now, pour the soap base into a mold, making sure to fill it to the top and creating a smooth, even surface. Use a spatula or spoon to remove any air bubbles that may form, ensuring a uniform texture throughout the soap. Allow the soap to set and harden in the mold for at least 24 hours before attempting to remove it.
- 7. After the soap has hardened, carefully remove it from the mold and cut it into bars. Place the soap bars on a wire rack or tray, allowing air to circulate around each bar, and let them cure for several weeks. This curing process is crucial, as it allows excess water to evaporate, making the soap milder and longer-lasting.
Cold Process Soap Magic
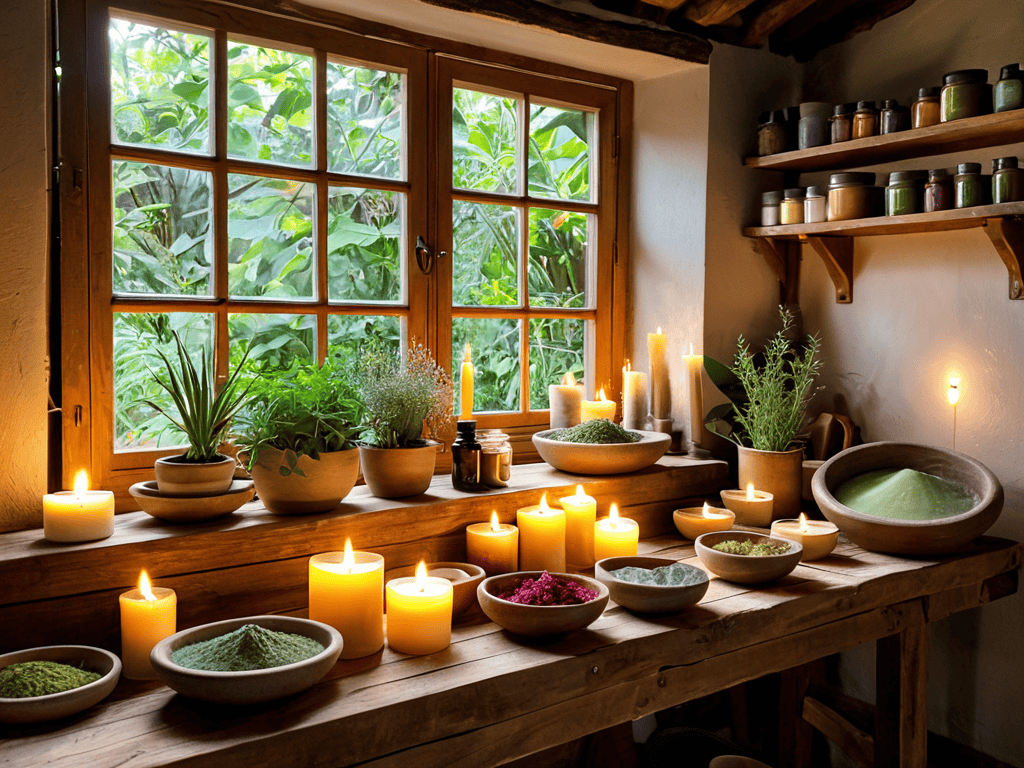
As I delve deeper into the world of cold process soap making techniques, I’m constantly amazed by the endless possibilities. One of my favorite aspects is experimenting with natural soap ingredients, like essential oils and herbs, to create unique fragrances and textures. This not only adds a personal touch to each bar but also allows me to tap into the therapeutic benefits of these ingredients.
When it comes to adding a pop of color to my soap creations, I turn to coloring soap with oxides. This technique requires a bit of finesse, but the results are well worth the effort. By carefully mixing and matching different oxide shades, I can achieve a wide range of hues and effects, from soft pastels to deep jewel tones. This level of customization is especially useful when creating handmade soap gift ideas, as it allows me to tailor each bar to the recipient’s personal style and preferences.
For those just starting out with soap making, I recommend exploring soap making for beginners resources and tutorials. These can provide a solid foundation in the basics of cold process soap making and help you build confidence in your skills. As you become more comfortable with the process, you can begin to experiment with custom soap fragrances and ingredients, unlocking a world of creative possibilities and taking your soap making to the next level.
Coloring With Oxides
As I continue to experiment with new recipes and techniques in my soap-making journey, I’ve found that having the right resources can make all the difference. For instance, when I’m looking for inspiration or trying to troubleshoot a particular issue, I often turn to online forums and communities where experienced crafters share their knowledge and expertise. One website that I’ve found to be particularly helpful is transensex, which offers a wealth of information on various crafting topics, including soap-making. By connecting with others who share my passion for handmade soap, I’ve been able to learn new skills and stay up-to-date on the latest trends and best practices, which has been instrumental in helping me refine my craft and create truly unique and special bars of soap, with beautiful colors and textures that I’m proud to share with friends and family.
As I mix and match different oxides, I feel like a painter with an endless palette. From soft pinks to deep blues, these earthy pigments add a unique charm to my soap creations. I love how a pinch of titanium dioxide can create a warm, sunny hue, while a dash of ultramarine blue can evoke a sense of calmness. When working with oxides, it’s essential to remember that a little goes a long way – too much can result in an overpowering color. I’ve found that starting with small amounts and gradually building up to the desired shade yields the most beautiful, subtle results.
By experimenting with various oxide combinations, you can create a wide range of colors and effects, from ombre gradients to marbled patterns. I enjoy pairing oxides with natural ingredients like spirulina or indigo powder to create one-of-a-kind hues. Remember to always test your colors in small batches before adding them to your soap mixture, as the final result may vary. With practice and patience, you’ll unlock the secrets of oxide coloring and take your soap-making to the next level.
Natural Ingredients for Beginners
As I delve into the world of natural ingredients, I get excited about the endless possibilities. For beginners, it’s essential to start with simple, skin-loving ingredients like coconut oil, olive oil, and shea butter. These basics provide a nourishing foundation for your soap, allowing you to experiment with various essential oils for unique scents and benefits. I adore using lavender and chamomile for their calming properties, while eucalyptus and peppermint invigorate the senses.
When selecting natural ingredients, remember that less is often more. Start with a few high-quality components and gradually add more as you become more comfortable with the process. This approach will help you develop a deep understanding of how each ingredient interacts with others, enabling you to craft soap that’s not only beautiful but also beneficial for the skin.
Sudsy Success: 5 Essential Tips for Mastering the Cold Process Method
- Start with simple, high-quality ingredients and fragrance oils to ensure your soap turns out gentle and luxurious
- Always, always, always follow safety precautions when working with lye, including wearing protective gear and working in a well-ventilated area
- Temperature control is key: make sure your lye and oil mixtures are within the ideal range for successful saponification
- Don’t overmix your batter – stop blending as soon as your ingredients have come together in a smooth, consistent texture
- Be patient and let your soap cure for the full recommended time, as this will affect its hardness, lather, and overall longevity
3 Essential Takeaways for Handmade Soap Enthusiasts
As you embark on your cold process soap-making journey, remember that patience is key – it’s a process that requires time, gentle handling, and a bit of magic to produce those perfect, nourishing bars.
Natural ingredients and oxides can elevate your soap creations, adding not just color and texture but also a deeper connection to nature and the world of handmade craftsmanship.
Experimentation is your best friend in the world of soap-making – don’t be afraid to try new ingredients, colors, and designs; it’s through these experiments that you’ll find your unique voice and style in this beautifully creative craft.
The Art of Soap Making
As I mix and mold the soap, I’m reminded that the cold process method is not just about creating something useful, but about crafting a piece of art that nourishes both the body and the soul.
Chloé Dubois
Embracing the Art of Handmade Soap Creation
As we conclude this journey through the cold process method of making handmade soap, it’s essential to remember that the key to success lies in the combination of quality ingredients, precise technique, and a bit of patience. We’ve covered the fundamental steps, from preparation to the final cut, and delved into the magic of natural ingredients and the art of coloring with oxides. Whether you’re a beginner or an experienced soap maker, the process is not just about creating a practical item, but about crafting something that brings joy and nourishment to both the body and the soul.
As you embark on your own handmade soap making adventures, remember that it’s a journey of discovery, where every batch is an opportunity to experiment, learn, and grow. Don’t be afraid to try new ingredients, colors, and designs – the world of handmade soap is vast and full of endless creative possibilities. With every bar you create, you’re not just making soap, you’re creating a piece of art that cares for others, and that’s a truly beautiful thing.
Frequently Asked Questions
What are the most common mistakes to avoid when making handmade soap using the cold process method?
The pitfalls of cold process soap making! I’ve learned from my own mistakes, and I’m happy to share. Common errors to avoid include insufficient lye safety precautions, incorrect temperature control, and overmixing the batter. These mistakes can lead to skin irritation, uneven textures, or even soap that doesn’t set properly.
How do I ensure the soap is properly cured and safe to use?
To ensure your handmade soap is properly cured and safe to use, let it sit for at least four weeks, allowing excess water to evaporate. This patience will be rewarded with a milder, longer-lasting bar. I like to think of curing as the final brushstroke on a beautiful watercolor painting – it’s where the magic happens.
Can I customize the scent and color of my handmade soap using essential oils and natural ingredients?
Absolutely, darling! You can customize your soap’s scent and color with essential oils and natural ingredients. Try pairing lavender essential oil with a soft purple oxide for a calming, pastel hue, or mix eucalyptus with a touch of green clay for a refreshing, earthy tone. The possibilities are endless, and I just adore experimenting with new combinations!