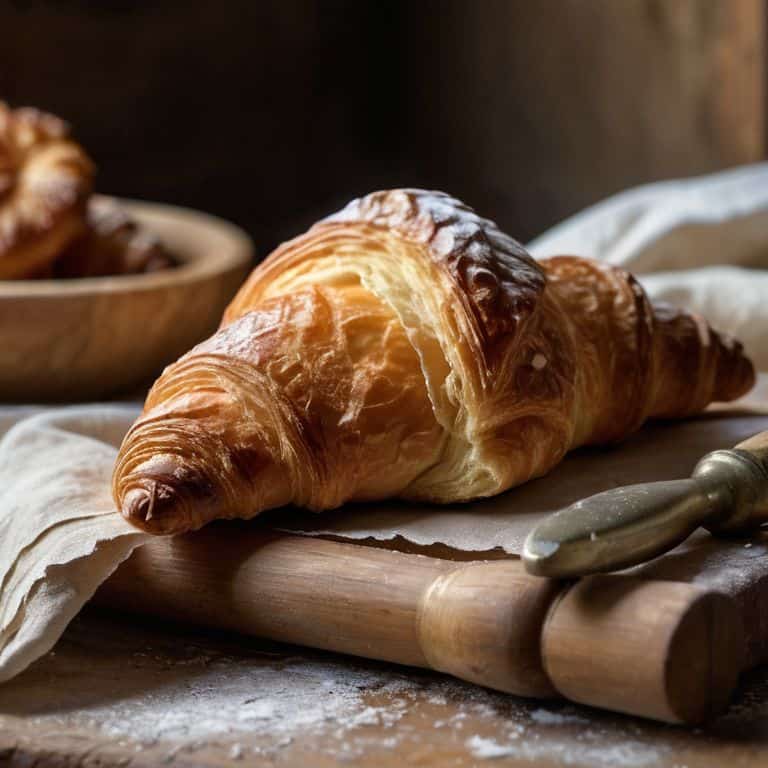
I still remember the day I realized that temperature precision was the secret to unlocking the perfect croissant. I was a young pastry chef, struggling to get my dough to rise just right, and my mentor at the time, a wise Belgian chocolatier, told me that it all came down to how to measure water temperature for baking. It wasn’t just about throwing some warm water into the mix; it was about understanding the delicate balance of heat and hydration that would make my pastry sing. As I delved deeper into the world of pastry, I discovered that this attention to temperature was not just a quirk, but a fundamental principle that separated the good bakers from the great ones.
In this article, I’ll share my hard-won knowledge on how to measure water temperature for baking, cutting through the myths and misconceptions that can lead even the most well-intentioned bakers astray. You’ll learn the simple yet crucial steps to take your baking to the next level, from investing in a good thermometer to understanding the ideal temperature ranges for different types of dough. My goal is to empower you with the precision and confidence to tackle even the most complex pastry projects, and to help you develop a deeper understanding of the craft that has driven me to become a master pastry chef.
Table of Contents
- Guide Overview: What You'll Need
- Step-by-Step Instructions
- Measuring Water Temperature
- Tempering Your Expectations: 5 Essential Tips for Measuring Water Temperature
- Mastering Water Temperature: 3 Key Takeaways
- The Precision Principle
- The Perfect Blend: Mastering Water Temperature in Baking
- Frequently Asked Questions
Guide Overview: What You'll Need
Total Time: 10 minutes
Estimated Cost: $5 – $10
Difficulty Level: Easy
Tools Required
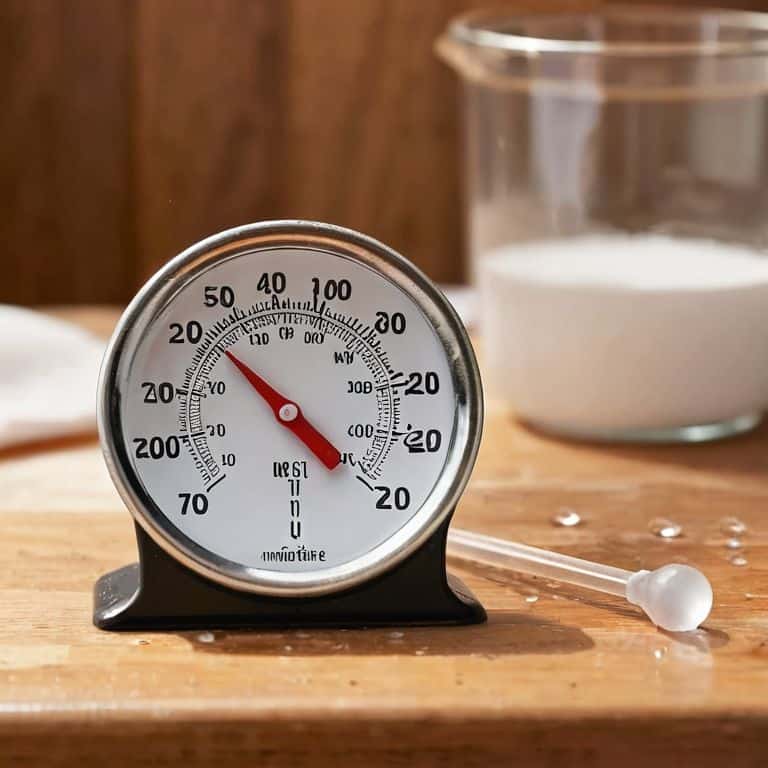
- Candy Thermometer digital or analog
Supplies & Materials
- Water for testing thermometer accuracy
- Baking Ingredients for actual baking process
Step-by-Step Instructions
- 1. First, let’s get started with the basics: investing in a good thermometer is crucial for measuring water temperature accurately. I swear by my trusty thermometer, which has been with me since my days as a chocolatier in Belgium. It’s a simple yet vital tool that ensures I get the perfect temperature every time.
- 2. Next, make sure you calibrate your thermometer regularly to ensure it’s giving you accurate readings. I do this by submerging it in a mixture of ice and water, and then adjusting the thermometer accordingly. It’s a simple step, but one that can make all the difference in your baking.
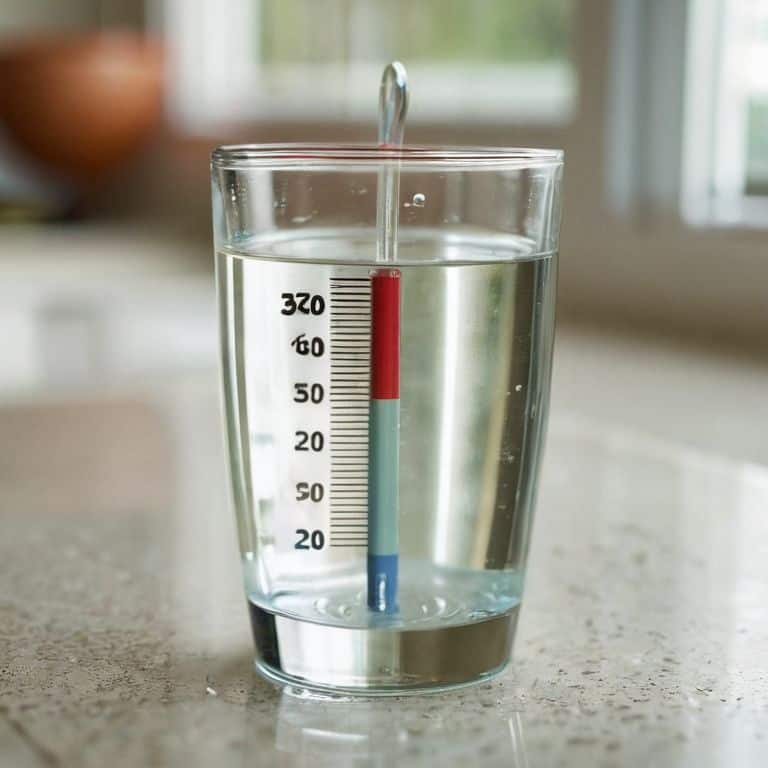
- 3. Now, let’s talk about the actual process of measuring water temperature. To do this, simply submerge the thermometer in the water, making sure not to touch the bottom or sides of the container. This will give you an accurate reading of the water temperature.
- 4. Once you’ve submerged the thermometer, wait for a few seconds to allow it to stabilize and give you an accurate reading. This is a crucial step, as it ensures that the thermometer has time to adjust to the temperature of the water.
- 5. Next, take note of the temperature reading on your thermometer. For most baking recipes, you’ll want to aim for a specific temperature range, such as between 90°F and 100°F for yeast dough. Record this temperature so you can refer back to it later, and make any necessary adjustments to your recipe.
- 6. Now that you have your temperature reading, it’s time to adjust the temperature if necessary. If the water is too hot or too cold, you can either let it cool down or heat it up to reach the desired temperature. This is where precision comes in – even a degree or two can make a big difference in the final result.
- 7. Finally, double-check your temperature before proceeding with your recipe. This may seem like an obvious step, but trust me, it’s one that’s often overlooked. By double-checking your temperature, you can ensure that your dough or batter is at the perfect temperature for optimal results.
Measuring Water Temperature

When it comes to measuring water temperature, precision is key. I always say that a good digital thermometer for baking is an investment worth making. Not only does it ensure that your water is at the perfect temperature for yeast activation, but it also helps you to understand the yeast fermentation process. This is especially crucial when working with sourdough starter, as the wrong water temperature can throw off the entire process.
In my kitchen, I swear by consistent results, and that’s exactly what you’ll get when you use a thermometer to measure your water temperature. It’s amazing how such a small detail can make a huge difference in the end result. Whether you’re making a delicate pastry or a hearty loaf of bread, the importance of water temperature in yeast activation cannot be overstated. By using a thermometer, you’ll be able to fine-tune your baking techniques and achieve consistent results every time.
For those who are new to baking, it’s essential to remember that temperature control is what sets the professionals apart from the amateurs. By investing in a good digital thermometer and taking the time to understand the importance of water temperature, you’ll be well on your way to creating baked goods that are truly exceptional. And trust me, the difference is worth it – there’s nothing quite like the satisfaction of biting into a perfectly baked loaf of bread, knowing that you’ve mastered the art of precision temperature control.
Digital Thermometer Tips
When it comes to digital thermometers, I’m quite particular. I only use ones that can provide readings to the nearest 0.1 degrees – anything less, and you’re risking inconsistent results. My favorite trick is to calibrate my thermometer regularly, usually by submerging it in a mixture of ice and water. This ensures that my readings are spot on, every time.
I also swear by thermometers with a quick-response time – you don’t want to be standing around waiting for the temperature to stabilize. In my kitchen, time is of the essence, and every second counts. With a good digital thermometer, you can ensure that your water is at the perfect temperature, whether you’re making a delicate yeast dough or a rich, velvety chocolate cake.
Yeast Activation Secrets
Yeast activation is where the magic happens, and temperature plays a crucial role. I always say, “Get the temperature right, and the yeast will do the rest.” For optimal activation, the water should be between 100°F and 110°F. Any higher, and you risk killing the yeast; any lower, and it’ll be a slow rise. I recall a particularly frustrating batch of croissants that refused to rise – turns out, my water was a degree too cool. Now, I temper my water with precision, and my pastries have never been better.
When mixing yeast with water, I like to think of it as a delicate waltz. The yeast needs to be coaxed into action, and the right temperature is the perfect partner. Too hot, and it’s like stepping on toes; too cold, and it’s like standing still. By finding that sweet spot, you’ll be rewarded with a beautiful, airy crumb and a flavor that’s nothing short of divine. Trust me, my friends, the extra attention to temperature is worth it – your pastries will thank you.
Tempering Your Expectations: 5 Essential Tips for Measuring Water Temperature
- Use a thermometer that’s calibrated for precision, and make sure it’s designed for culinary use – I only trust thermometers that can handle the rigors of my kitchen
- Always submerge the thermometer probe at least 2-3 inches into the water to get an accurate reading, and avoid touching the sides or bottom of the container
- Stir the water gently before taking a reading to ensure even temperature distribution, and be patient – temperature accuracy is worth the extra few seconds
- Keep your thermometer clean and dry between uses to prevent bacterial growth and maintain accuracy, and consider storing it in a protective case when not in use
- Practice, practice, practice – the more you measure water temperature, the more comfortable you’ll become with the process, and the better you’ll understand the nuances of temperature control in your baking
Mastering Water Temperature: 3 Key Takeaways
I always stress that accuracy is key: invest in a reliable thermometer to ensure your water is at the perfect temperature for yeast activation or dough relaxation
Remember, yeast is a living creature – it needs the right environment to thrive, and temperature plays a crucial role: aim for the ideal range to unlock your dough’s full potential
Practice makes perfect, so don’t be discouraged if it takes a few tries to get the hang of measuring water temperature: with time and patience, you’ll develop the skills and intuition to create consistently amazing baked goods
The Precision Principle
Baking is not just about following a recipe, it’s about understanding the harmony of ingredients and temperature – measure your water with the same devotion you would temper chocolate, and you’ll unlock the secrets of the perfect bake.
Juliette Le Roux
The Perfect Blend: Mastering Water Temperature in Baking
As we’ve explored the world of measuring water temperature for baking, it’s clear that precision is key. From understanding the importance of yeast activation to utilizing digital thermometer tips, each step is crucial in achieving the perfect bake. By following the step-by-step guide outlined in this article, you’ll be well on your way to creating delicious, professional-quality treats that impress. Remember, it’s all about finding that perfect balance and temperature control to bring out the best in your ingredients.
Now that you’ve got the tools and techniques under your belt, it’s time to unleash your creativity and take your baking to the next level. Don’t be afraid to experiment and try new things – after all, practice makes perfect. As you continue on your baking journey, keep in mind that the pursuit of perfection is a lifelong passion, and with dedication and patience, you’ll be crafting breathtaking desserts that are almost too beautiful to eat. Almost.
Frequently Asked Questions
What is the ideal water temperature for activating yeast in different types of dough?
For yeast activation, I swear by precise temperatures. For delicate viennoiseries, 90°F to 100°F is ideal, while heartier sourdoughs can handle 100°F to 110°F. For classic bread dough, aim for 105°F to 115°F. Remember, temperature is key to unlocking your yeast’s full potential.
Can I use a candy thermometer instead of a digital thermometer to measure water temperature for baking?
While a candy thermometer can work, I prefer digital for its precision and speed. However, if that’s all you have, ensure it’s calibrated and submerged correctly to get an accurate reading – every degree counts in my kitchen, after all!
How often should I calibrate my thermometer to ensure accurate water temperature readings in my baking?
Calibrating your thermometer is crucial, but don’t overdo it. I recommend checking it every 3-6 months or when you notice inconsistent readings. A simple ice bath test can verify accuracy. Trust me, a well-calibrated thermometer is the backbone of precise baking – it’s worth the extra minute to ensure perfection in my kitchen.