I still remember the first time I attempted to make croissant dough for beginners – it was a disaster. The dough was tough, the layers didn’t form, and the whole thing ended up in the trash. But I didn’t give up. I spent years perfecting my technique, learning from my mistakes, and now I’m excited to share my knowledge with you. The truth is, making croissant dough from scratch isn’t as daunting as it seems, and with the right guidance, anyone can achieve those flaky, buttery layers.
In this article, I’ll cut through the noise and give you the honest, no-nonsense advice you need to succeed. You’ll learn the importance of temperature control, how to properly laminate the dough, and the secrets to achieving that perfect golden brown color. I’ll share my personal tips and tricks, gained from years of experience in some of the world’s top pastry kitchens. By the end of this guide, you’ll be equipped with the skills and confidence to make delicious croissant dough from scratch, and you’ll understand the why behind each technique, not just the how. So, let’s get started on this journey to mastering croissant dough for beginners!
Table of Contents
- Guide Overview: What You'll Need
- Step-by-Step Instructions
- Mastering Croissant Dough for Beginners
- Rise to the Challenge: 5 Essential Tips for Croissant Dough Beginners
- Key Takeaways for Mastering Croissant Dough
- The Art of Croissant Making
- Conclusion: The Art of Croissant Dough
- Frequently Asked Questions
Guide Overview: What You'll Need
Total Time: 2 hours 30 minutes
Estimated Cost: $10 – $20
Difficulty Level: Intermediate
Tools Required
- Stand Mixer (with dough hook attachment)
- Measuring Cups
- Measuring Spoons
- Pastry Brush
- Rolling Pin
Supplies & Materials
- All-Purpose Flour 3 cups
- Granulated Sugar 1/4 cup
- Active Dry Yeast 1 packet
- Unsalted Butter 1 cup, softened
- Whole Milk 1 cup, lukewarm
- Egg 1, beaten (for egg wash)
- Salt 1/4 teaspoon
Step-by-Step Instructions
- 1. First, let’s start with the foundation of our croissant dough: high-quality ingredients. I always say that you can’t make a masterpiece with subpar materials, so make sure you’re using European-style butter with a high fat content and unbleached, all-purpose flour. Now, in a small bowl, combine 1 1/2 cups of warm milk (around 105°F to 115°F) and 1/4 teaspoon of sugar. Temperature control is crucial here, as it will help the yeast activate properly.
- 2. Next, add 1 teaspoon of active dry yeast to the milk mixture and stir gently to dissolve. Let it sit for about 5 to 10 minutes, or until you notice it becoming frothy and bubbly. This step is essential, as it will confirm that your yeast is active and ready to help your dough rise. While waiting, I like to prepare my workspace, ensuring all the tools and ingredients are within reach, which helps maintain a clean and organized environment.
- 3. In a large mixing bowl, combine 3 1/2 cups of flour, 1 teaspoon of salt, and 1/4 cup of granulated sugar. Whisk these dry ingredients together to incorporate air and distribute the salt and sugar evenly. I find that using a stand mixer with a dough hook attachment simplifies this process, but you can also do it by hand with a bit of elbow grease.
- 4. Add the yeast mixture to the dry ingredients and mix until a shaggy dough forms. Then, add 1/2 cup of unsalted butter, softened to room temperature, and mix until the dough starts to come together in a cohesive mass. It’s essential to not overmix at this stage, as it can lead to a tough, dense croissant. Instead, aim for a smooth, pliable dough that still retains a bit of stickiness.
- 5. Turn the dough out onto a lightly floured surface and knead for about 10 minutes, until it becomes smooth and elastic. You can also use a stand mixer with a dough hook for this step, but I find that kneading by hand helps develop a deeper connection with the dough, allowing you to sense when it’s ready. Remember, the goal is to develop the gluten just enough to provide structure without making the dough too stiff.
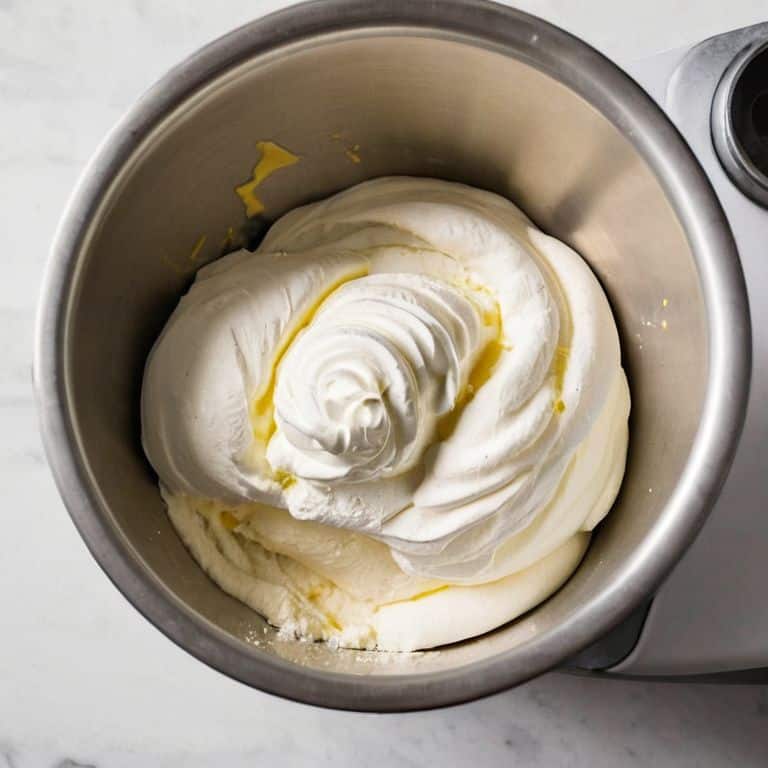
- 6. Once the dough is kneaded, shape it into a ball and place it in a lightly oiled bowl, turning the dough to coat it evenly. Cover the bowl with plastic wrap or a damp towel and let the dough rest in a warm, draft-free place for about 1 to 2 hours, or until it has doubled in size. Patience is key here, as rushing the rising process can result in dough that’s not fully developed.
- 7. After the dough has risen, punch it down to release any air bubbles and transfer it to a lightly floured surface. Roll the dough out into a rectangle, about 1/4-inch thick, and prepare it for the laminating process. This involves folding and turning the dough multiple times to create the layers of butter and dough that give croissants their signature flaky texture. I always say that laminating the dough is where the magic happens, as it sets the stage for a truly exceptional croissant.
Mastering Croissant Dough for Beginners
As I reflect on my journey to mastering the art of croissant making, I realize that it’s all about understanding the nuances of temperature control. Keeping your ingredients at the right temperature is crucial, especially when it comes to the butter and yeast. I’ve found that using high-quality, European-style butter with a high fat content makes a significant difference in the flakiness of the final product. When working with yeast, it’s essential to create an environment that fosters its growth, which is why I always make sure my ingredients are at room temperature before starting the dough-making process.
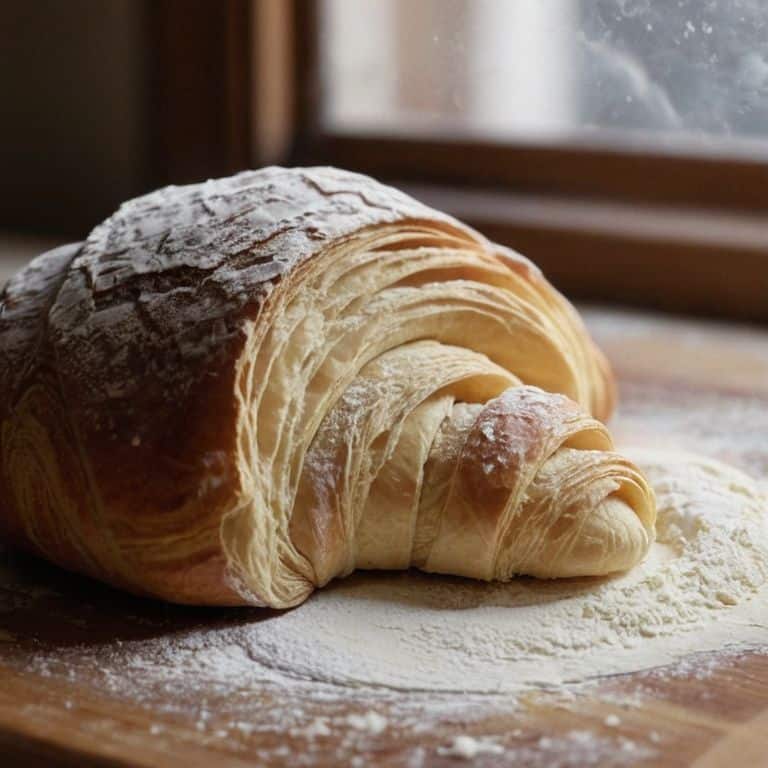
To achieve the perfect layers in your croissant, it’s vital to understand how to make flaky croissant dough. This involves keeping the butter cold and using a gentle folding technique to create the layers. I like to think of it as a delicate dance between the dough and the butter, where each fold is a precise movement that helps to create the signature flaky texture. By following a simple, yet precise, recipe and technique, you’ll be well on your way to creating delicious, flaky croissants that rival those found in any French bakery.
In addition to mastering the dough, it’s also important to consider croissant baking tips and tricks, such as using the right type of flour and not overmixing the dough. By paying attention to these details and practicing your technique, you’ll be able to create beautiful, delicious croissants that are sure to impress. Whether you’re a beginner or an experienced baker, the key to success lies in the details, and with a little patience and practice, you’ll be enjoying freshly baked croissants in no time.
Butter and Chaos Easy Croissant Recipe
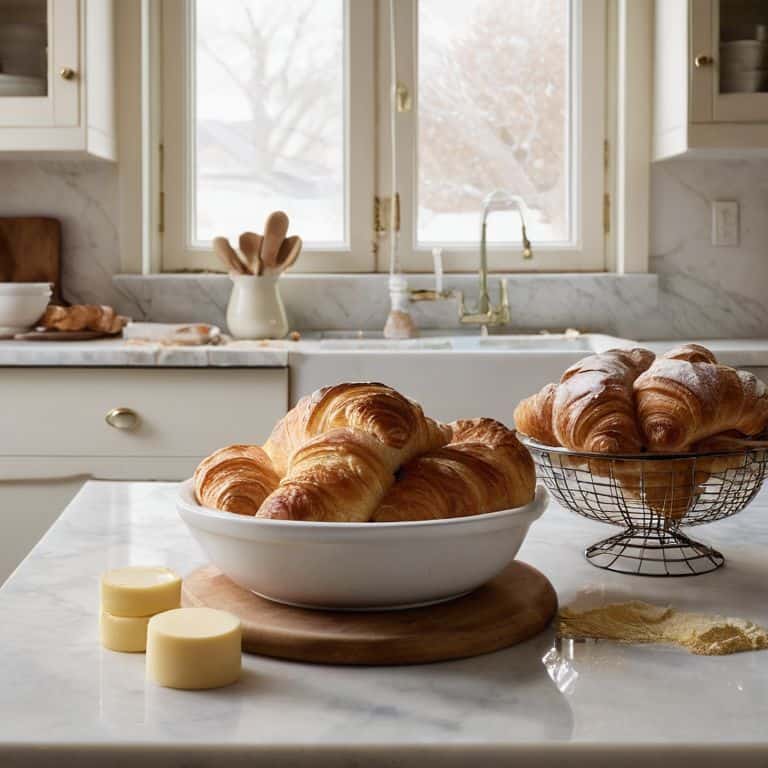
As I reflect on my journey to mastering croissant dough, I realize that it’s all about embracing the chaos. The key to a perfect croissant lies in the harmony between butter and dough. I’ve found that using high-quality, European-style butter with a high fat content makes all the difference. When combined with precise temperature control, the result is a flaky, tender crust that’s nothing short of magical. My easy croissant recipe relies on this delicate balance, and with a few simple tweaks, you can achieve professional-grade results at home.
By keeping your butter at a consistent 18°C and your dough at 22°C, you’ll be well on your way to creating the perfect croissant. Trust me, the extra attention to detail is worth it – the end result is a pastry that’s both delicate and decadent. With practice, you’ll develop a feel for the dough, and the process will become second nature. Remember, precision is the foundation of creativity, and with these simple tips, you’ll be crafting exquisite croissants in no time.
Flaky Layers and Common Mistakes
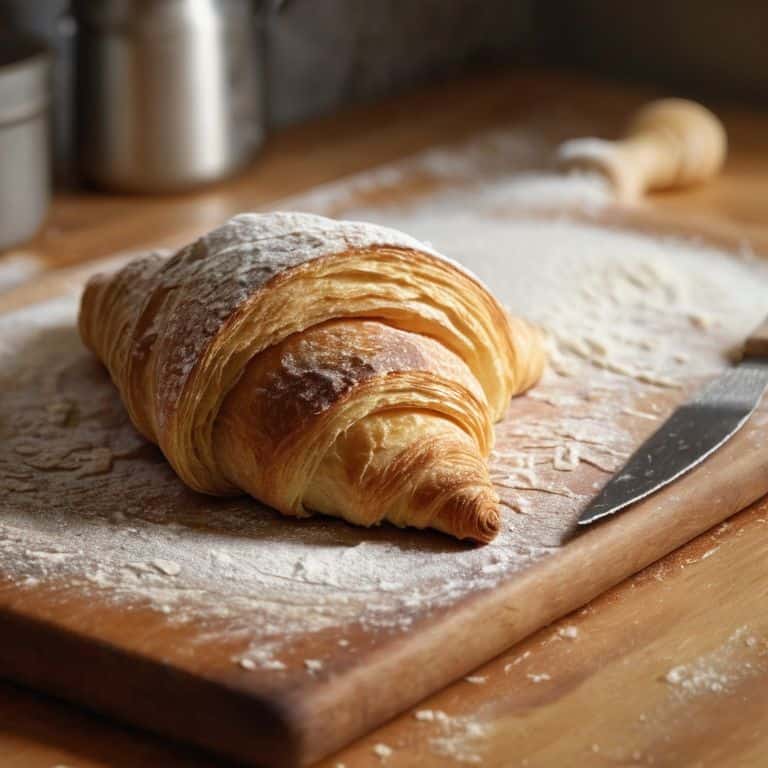
As I guide you through mastering croissant dough, it’s essential to understand the importance of flaky layers. This delicate balance of butter and dough is what sets exceptional croissants apart from mediocre ones. To achieve this, you must keep your butter cold and your dough relaxed, allowing the layers to form effortlessly.
Common mistakes, such as overworking the dough or using warm butter, can lead to a dense, tough pastry. I’ve seen it time and time again – even experienced bakers can fall victim to these errors. By recognizing and avoiding these pitfalls, you’ll be well on your way to crafting croissants that are truly sublime.
Rise to the Challenge: 5 Essential Tips for Croissant Dough Beginners

- Laminate with Love: Keep your butter and dough at the perfect temperature, around 18°C to 20°C, to ensure a smooth and even lamination process
- Roll with Precision: Use a ruler or a straight edge to ensure your dough is rolled out to the exact right thickness, as uneven layers can lead to a less-than-flaky croissant
- Fold with Finesse: When folding your dough, make sure to keep the edges aligned and the corners sharp, as this will help create the signature layers of a croissant
- Rest and Relax: Don’t skip the resting time, as this allows the gluten to relax and the yeast to do its magic, resulting in a more tender and airy croissant
- Practice Makes Perfect: Don’t be discouraged if your first batch of croissants doesn’t turn out exactly as you hoped – with practice and patience, you’ll soon be turning out flaky, buttery masterpieces
Key Takeaways for Mastering Croissant Dough
Temperature control is crucial: keeping your butter and dough at the right temperature is what will make or break the flaky, tender layers of your croissants
Precision is key, but don’t be too hard on yourself – it takes practice to get the layers just right, and even experienced pastry chefs have off days
Respect the process and don’t rush it: making croissant dough from scratch requires patience, from the initial mix to the final proof, so take your time and enjoy the journey to creating something truly special
The Art of Croissant Making
The journey to mastering croissant dough is not about avoiding chaos, but about embracing it – for it’s in the messy, layered folds of butter and dough that we find the perfect harmony of flaky, golden pastry.
Juliette Le Roux
Conclusion: The Art of Croissant Dough
As we conclude our journey to mastering croissant dough for beginners, let’s summarize the key points: temperature control is crucial, and precise measurements are essential for achieving those flaky, buttery layers. We’ve covered the basics of making croissant dough from scratch, including the importance of using high-quality ingredients and the technique of laminating the dough to create the perfect balance of air and fat. By following these steps and practicing patience, you’ll be well on your way to creating delicious, homemade croissants that will impress even the most discerning palates.
Now, as you embark on your own croissant-making journey, remember that perfection is achievable with practice. Don’t be discouraged by initial failures or setbacks – instead, use them as opportunities to learn and refine your technique. With dedication and a willingness to experiment, you’ll unlock the secrets of croissant dough mastery and be able to create an array of delicious, flaky pastries that will elevate your baking to new heights.
Frequently Asked Questions
What is the ideal temperature for proofing croissant dough to achieve the perfect flaky layers?
For perfect flaky layers, I swear by a proofing temperature of 75°F to 78°F (24°C to 25°C). This narrow window allows the yeast to ferment slowly, developing that signature croissant flavor and texture. Any higher, and you risk over-proofing; any lower, and it’s a sluggish rise. Trust me, temperature is key to achieving those buttery, layered wonders.
How do I prevent my croissant dough from becoming too sticky or too dry during the laminating process?
To prevent sticky or dry croissant dough, I swear by temperature control. Keep your butter at 18°C and your dough at 22°C. If it’s too sticky, refrigerate for 10 minutes; if it’s too dry, let it rest at room temperature for 5 minutes. This balance is crucial for achieving those perfect, flaky layers.
Can I use a stand mixer to knead and fold the croissant dough, or is it better to do it by hand?
While a stand mixer can help with kneading, I prefer to fold the dough by hand to feel the layers forming. It’s a delicate dance, and temperature control is crucial. A mixer can overwork the dough, leading to tough croissants. Trust me, the extra effort of hand-folding is worth it for that perfect, flaky texture.