I still remember the day I stumbled upon a small, family-owned bakery in the heart of the city. The aroma of freshly baked bread wafted through the air, and the sound of sizzling pastries filled my ears. As a photographer, I was captivated by the warm and inviting atmosphere of the bakery, and I knew I had to capture its essence. That’s when I realized that a great photo can make all the difference in showcasing the beauty of food, which is why I’m excited to share my thoughts on a guide to food photography.
In this article, I’ll take you through my personal journey of learning the ins and outs of food photography, from the basics of lighting and composition to the art of storytelling through images. You’ll learn how to capture the perfect shot, from the golden hour to the simple yet elegant styling of your dishes. My goal is to provide you with practical, honest advice that will help you improve your food photography skills, whether you’re a professional or just starting out. By the end of this guide, you’ll be equipped with the knowledge and inspiration to take your food photography to the next level and make your audience crave for more.
Table of Contents
Guide Overview: What You'll Need
Total Time: 1 hour 30 minutes
Estimated Cost: $50 – $100
Difficulty Level: Intermediate
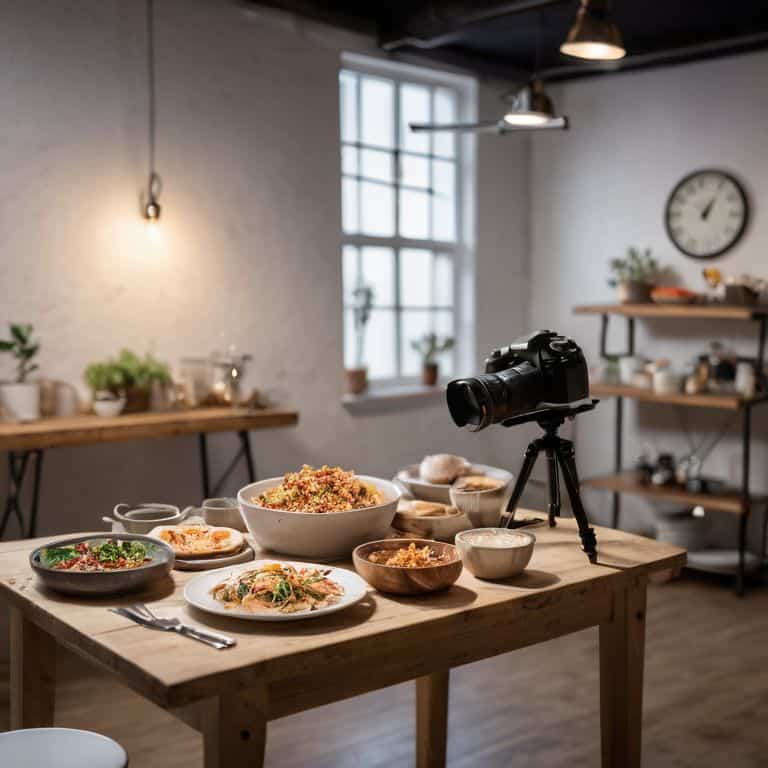
Tools Required
- Camera (DSLR or mirrorless)
- Tripod (sturdy and adjustable)
- Lighting kit (natural or artificial)
- Reflector (5 inches x 7 inches or larger)
- Editing software (e.g., Adobe Lightroom)
Supplies & Materials
- Backdrops (various colors and textures)
- Props (e.g., utensils, linens, flowers)
- Food styling tools (e.g., tweezers, brushes)
- Image storage (e.g., memory cards, hard drive)
Step-by-Step Instructions
- 1. First, let’s start with the basics: understanding your camera. I’m not assuming you’re a pro, but having a good grasp of your camera’s settings is crucial for capturing the perfect shot. Take some time to read through your camera’s manual, or watch some online tutorials to get familiar with the different modes and settings.
- 2. Next, it’s time to think about _composition_. When it comes to food photography, you want to create a visually appealing image that draws the viewer in. Consider the _rule of thirds_, and think about placing your subject (in this case, the food) off-center to create a more interesting composition. Don’t be afraid to experiment and try out different angles and perspectives.
- 3. Now, let’s talk about _lighting_. Natural light is always the best option, so if possible, try to take your photos near a window or outside. Avoid using the flash, as it can create harsh shadows and unflattering light. Instead, opt for a soft, diffused light that will make your food look fresh and appealing.
- 4. It’s time to get creative with _styling_. This is where you can really make your photos stand out. Think about the story you want to tell with your image, and use props and styling to enhance that narrative. Consider the colors, textures, and overall aesthetic you want to create, and have fun with it.
- 5. When it comes to _plating_, it’s all about balance and harmony. You want your dish to look appealing, but not too perfect or staged. Consider the _negative space_ around your subject, and think about how you can use it to create a sense of simplicity and elegance.
- 6. Next up, let’s talk about _focusing_. You want to make sure your image is sharp and in focus, especially when it comes to the food. Use the manual focus option on your camera to ensure that your subject is _crystal clear_, and don’t be afraid to experiment with different focus points to create a sense of depth and interest.
- 7. Finally, it’s time to _edit_ your photos. This is where you can really make your images pop, and add that extra special something to make them stand out. Consider using a photo editing software to adjust the brightness, contrast, and saturation of your image, and don’t be afraid to experiment with different filters and effects to create a unique look. Remember, the key is to _enhance the natural beauty_ of your subject, rather than over-processing it.
A Guide to Food Photography
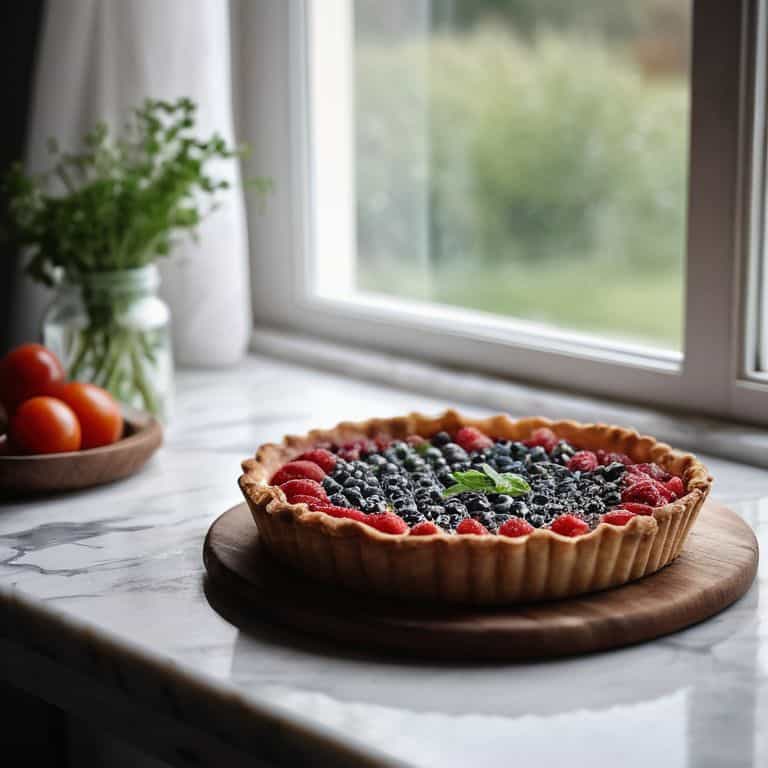
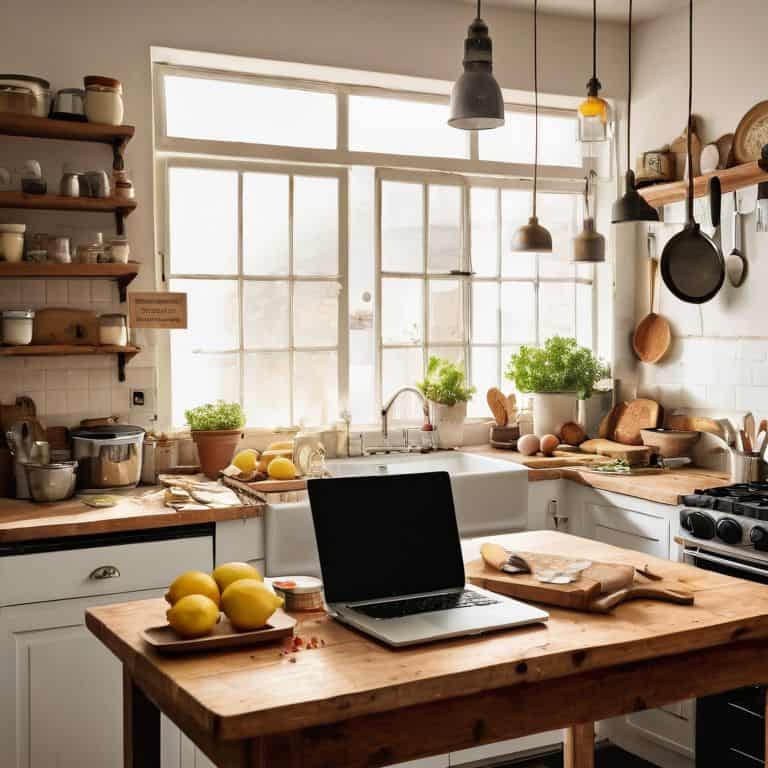
As I delve deeper into the world of food photography, I’ve come to realize the importance of natural light in capturing the perfect shot. There’s something about the way it dances across the dish, highlighting the textures and colors, that just can’t be replicated with artificial lighting. When possible, I love to shoot near a window or outside, where the soft, warm glow of natural light can bring out the best in my subject.
Of course, not every shot can be taken in ideal lighting conditions, which is where food styling for instagram comes in. I’ve learned to pay attention to the smallest details, from the garnishes to the background, to create a visually appealing image that tells a story. It’s all about creating a mood and atmosphere that draws the viewer in and makes them want to reach out and taste the dish.
In terms of equipment, I’m often asked about the best cameras for food blogging, and while I have my own preferences, I think it’s really about finding a camera that feels comfortable and intuitive to use. Whether you’re using a DSLR or a smartphone, the key is to understand your camera’s capabilities and limitations, and to experiment with different settings and techniques to find what works best for you.
Beyond Natural Light Capturing Perfect Bites
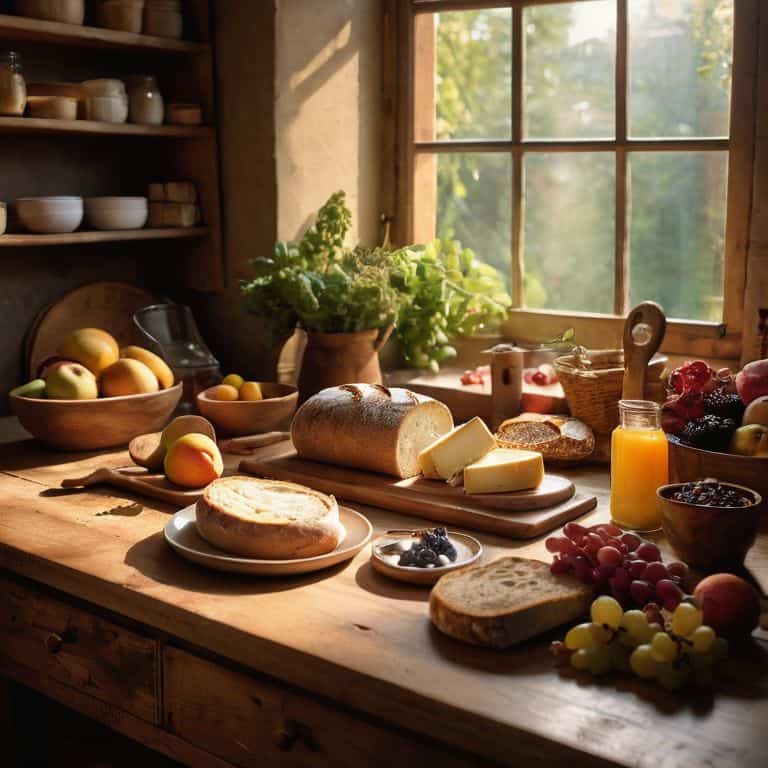
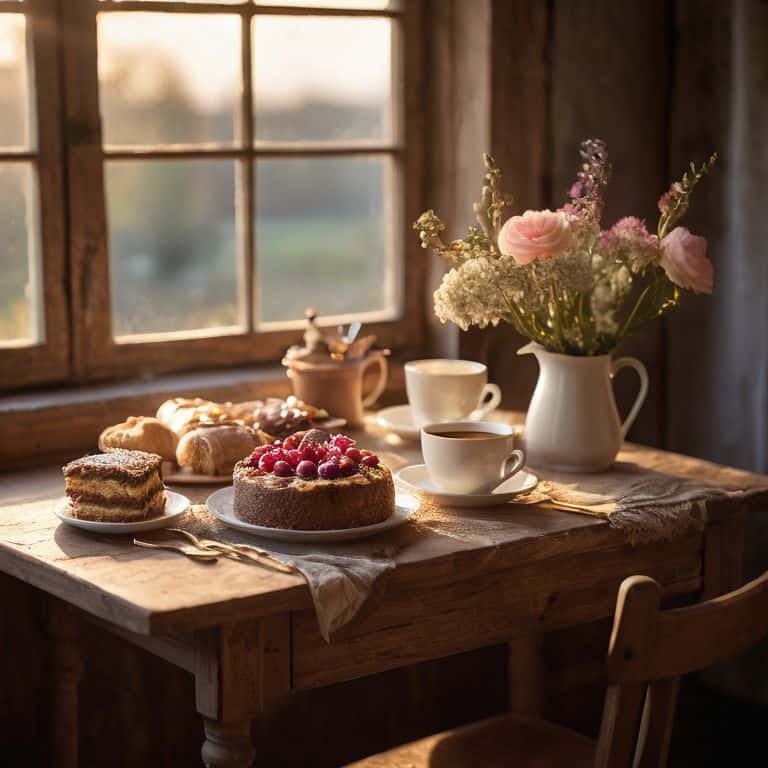
As I delve into the world of food photography, I’m reminded of the countless hours I’ve spent in bakeries, observing the dance of light on freshly baked goods. While natural light is undoubtedly a staple, there are times when it’s not feasible or desirable. That’s when artificial light sources come into play. I’ve experimented with studio strobes, continuous lights, and even DIY solutions like softbox diffusers to achieve the perfect glow.
By understanding how to harness and manipulate light, you can add depth and dimension to your images, making those perfect bites truly irresistible. Whether it’s a warm, golden tone or a cool, crisp glow, the right lighting can elevate your food photography to the next level, inviting viewers to take a seat at the table and savor the experience.
Food Styling Secrets for Instagram Success
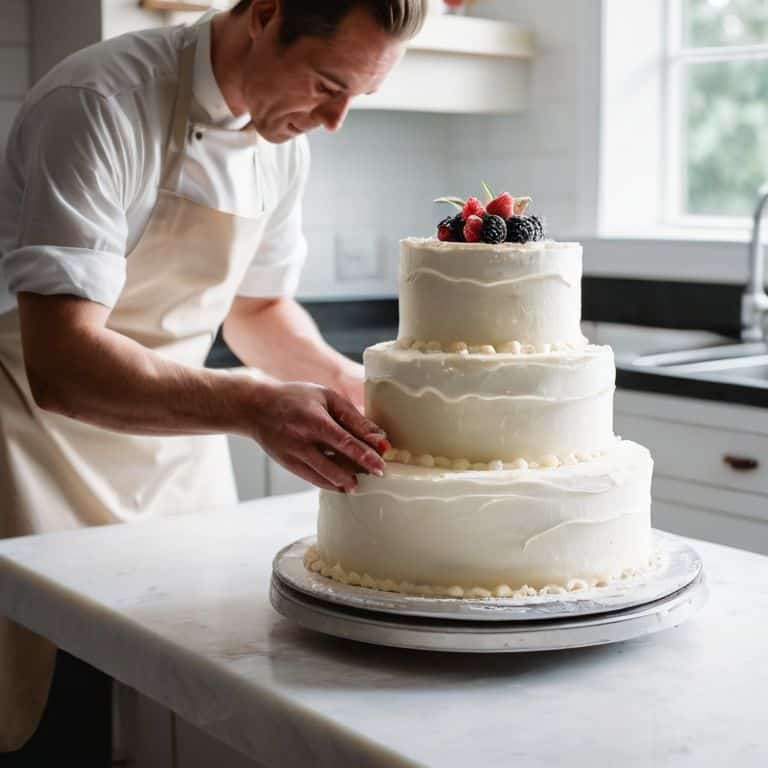
As I delve into the world of food styling, I’m reminded of my weekend visits to farmers’ markets, where the vibrant colors and textures of fresh produce inspire my photography. To make your dishes shine on Instagram, consider the power of props and garnishes. A sprinkle of fresh herbs or a drizzle of honey can elevate your image from ordinary to extraordinary. I’ve experimented with this in my own sourdough creations, and the results are astounding.
By thoughtfully styling your food, you can tell a story that goes beyond the recipe itself. I’ve seen this firsthand in the bakeries I’ve visited, where every detail, from the crusty bread to the vintage decor, contributes to a unique narrative. This attention to detail is what sets exceptional food photography apart, and it’s a skill that can be honed with practice and patience.
Snapshots from the Heart: 5 Tips to Elevate Your Food Photography
- Let the story unfold: capture the hands that craft the dish, the ingredients that bring it to life, and the love that goes into every detail
- Play with light: experiment with golden hour, softbox lights, or even the warm glow of a bakery’s interior to add depth and emotion to your shots
- Styling is everything: use vintage props, fresh herbs, and textured linens to add a tactile quality to your images and invite the viewer to touch and taste
- Get up close and personal: macro shots of crumbs, glazes, and sauces can be just as captivating as the finished dish, revealing the intricate details that make each bite special
- Break the rules: don’t be afraid to experiment with unconventional angles, reflections, or intentional blur to add a sense of movement and energy to your food photography
Key Takeaways for Capturing the Perfect Bite
As I reflect on my journey through the world of food photography, I’m reminded that a great photo is not just about the food itself, but about the story it tells and the emotions it evokes
Beyond the technical aspects of photography, it’s essential to consider the art of food styling, which can make or break the visual appeal of a dish, and I’ve learned that sometimes the simplest compositions can be the most effective
Whether you’re a professional photographer or a passionate home baker, the key to capturing stunning food images lies in the intersection of creativity, technique, and a deep appreciation for the culinary arts, which is what drives me to continue exploring and sharing the stories behind the perfect bite
Capturing the Essence
The art of food photography is not just about snapping a picture, it’s about telling the story of the hands that crafted it, the ingredients that nourished it, and the moments it will forever be a part of.
David Dunne
Bringing Your Vision to Life
As I reflect on our journey through the world of food photography, I’m reminded of the importance of storytelling in every frame. From the golden hour of natural light to the art of food styling, each element plays a crucial role in capturing the essence of a dish. Whether you’re a seasoned photographer or just starting out, I hope this guide has provided you with the tools and inspiration to take your food photography to the next level. By mastering the basics of composition, lighting, and styling, you’ll be well on your way to creating images that are not only visually stunning but also emotionally resonant.
As you continue to explore the world of food photography, I encourage you to stay curious and keep pushing the boundaries of your creativity. Remember, the art of food photography is not just about capturing a beautiful image, but about telling a story that transports your audience to a new and exciting culinary world. So, keep experimenting, keep learning, and most importantly, keep sharing your passion with the world. With every click of the shutter, you have the power to inspire, to educate, and to bring people together through the universal language of food.
Frequently Asked Questions
What are some common mistakes to avoid when styling food for photography?
When styling food for photography, I’ve found that over-accessorizing and over-garnishing are common pitfalls – it’s easy to get carried away. But remember, sometimes less is more. Let the food be the hero, and keep props and garnishes minimal and meaningful. This will help your dish shine and avoid visual clutter.
How can I effectively use artificial light sources to enhance my food photos?
When natural light isn’t an option, I turn to artificial light sources to add depth and warmth to my shots. Softbox lights or ring lights can mimic the softness of natural light, while a single directional light can create beautiful shadows and textures, adding a professional touch to your food photography.
What are some tips for capturing the perfect shot of a dish with complex textures or colors?
When capturing complex textures or colors, I love experimenting with macro shots to highlight the intricate details. Think close-ups of crunchy crusts, velvety sauces, or vibrant herbs – it’s all about emphasizing the sensory experience. By getting up close and personal, you’ll add depth and visual interest to your photos, making that perfect bite almost tangible.