I still remember the first time I attempted to temper chocolate – it was a disaster. The seemingly simple process of heating and cooling left me with a batch of dull, streaked chocolates that looked more like they belonged in a amateur’s kitchen than a 3-Michelin-star restaurant. But that failure sparked a fascination with the art of chocolate tempering, and I soon discovered that mastering this technique was the key to creating truly exceptional pastries. As a chocolatier and pastry consultant, I’ve had the privilege of sharing my knowledge with others through masterclasses and workshops, and I’m excited to offer a guide to chocolate tempering that will demystify this complex process.
In this article, I’ll share my hard-won secrets for achieving perfectly tempered chocolate every time. You’ll learn how to navigate the precise temperatures and techniques required to create a stable crystal structure that gives your chocolates that unmistakable snap and sheen. My approach is rooted in the science of tempering, but I’ll also share practical tips and tricks I’ve developed over years of working with chocolate. By the end of this guide, you’ll be equipped with the knowledge and confidence to tackle even the most intricate chocolate creations, and you’ll understand why I believe that precision is the foundation of creativity in the world of pastry.
Table of Contents
Guide Overview: What You'll Need
Total Time: 1 hour 15 minutes
Estimated Cost: $10 – $30
Difficulty Level: Intermediate
Tools Required
- Double Boiler (or a heatproof bowl set over a pot of simmering water)
- Thermometer (digital or candy thermometer)
- Spreading Knife (for spreading and smoothing chocolate)
- Cutting Tool (such as a sharp knife or chocolate cutter)
Supplies & Materials
- High-Quality Chocolate (with a high cocoa butter content)
- Chocolate Molds (optional, for shaping tempered chocolate)
- Wax Paper (for cooling and storing tempered chocolate)
Step-by-Step Instructions
- 1. First, let’s start with the foundation of tempering: understanding the importance of temperature. I always say that temperature is the most critical ‘ingredient’ in pastry, and when it comes to tempering chocolate, this couldn’t be more true. You’ll want to ensure your workspace is at a comfortable temperature, between 68°F and 72°F (20°C and 22°C), to prevent the chocolate from melting or becoming too brittle.
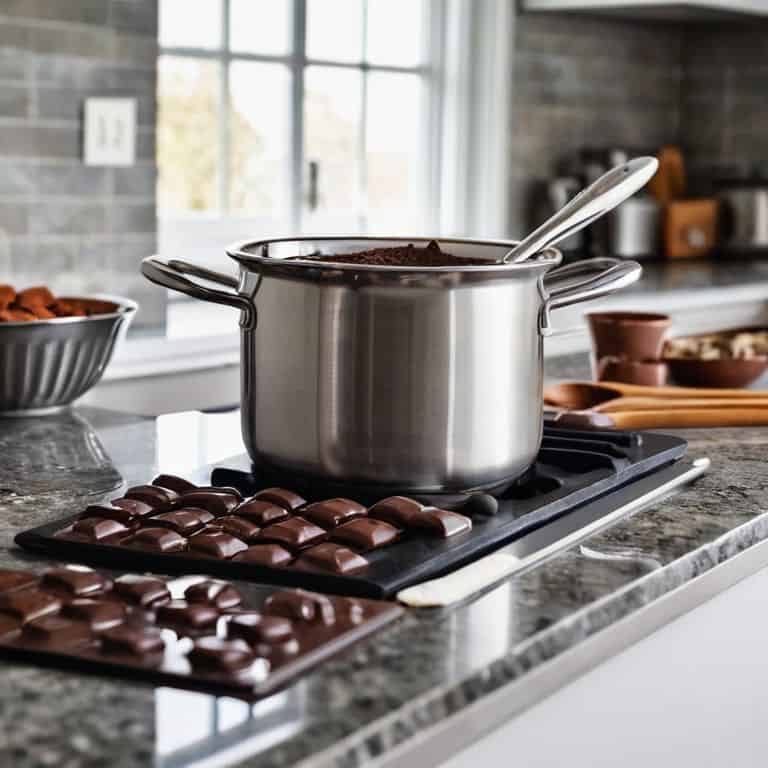
- 2. Next, you’ll need to prepare your chocolate. I like to use high-quality dark chocolate with a high cocoa butter content, as it’s more forgiving and easier to work with. Melt the chocolate in a double boiler or in short bursts in the microwave, stirring between each interval, until it reaches a temperature of around 105°F (40°C). This will ensure that all the crystals in the chocolate are melted, giving you a clean slate to work with.
- 3. Now it’s time to seed the chocolate. This involves adding a small amount of already-tempered chocolate to the melted chocolate, which will help to introduce the desired crystal structure. I like to use a piece of tempered chocolate that I’ve saved from a previous batch, as it’s a great way to ensure consistency. Add the seeded chocolate to the melted chocolate and stir gently to combine.
- 4. The next step is to cool the chocolate to the working temperature, which is typically between 82°F (28°C) and 86°F (30°C). You can do this by placing the bowl over an ice bath or by stirring in a small amount of cold chocolate. It’s essential to monitor the temperature closely, as it can quickly drop too low, causing the chocolate to become too thick and difficult to work with.
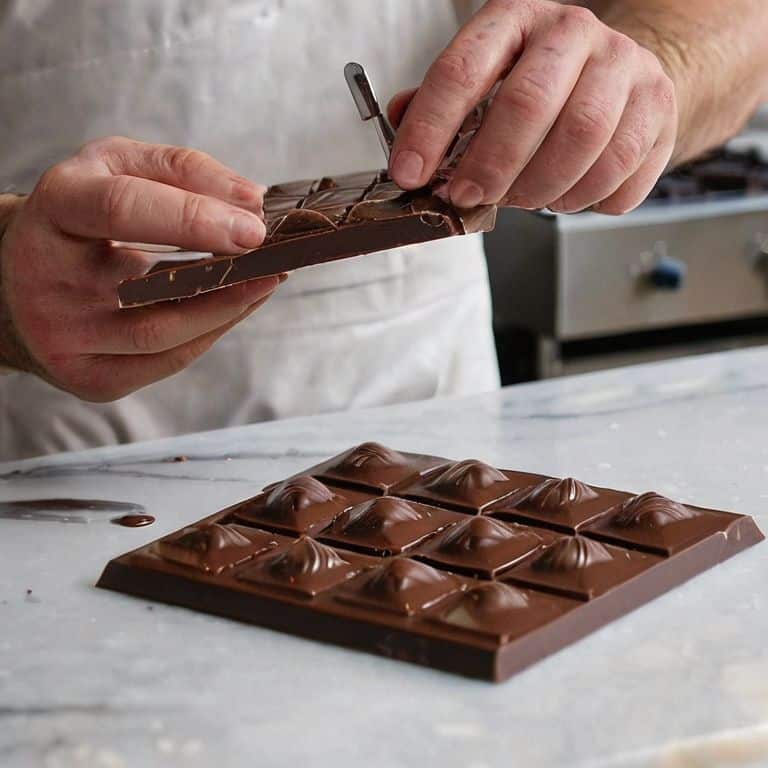
- 5. Once the chocolate has reached the working temperature, it’s time to test its temper. You can do this by dipping a small tool, such as a spatula or knife, into the chocolate and placing it in the refrigerator for a few minutes. If the chocolate has a smooth, even finish and a satisfying snap when broken, it’s ready to use. If not, you may need to adjust the temperature or re-seed the chocolate.
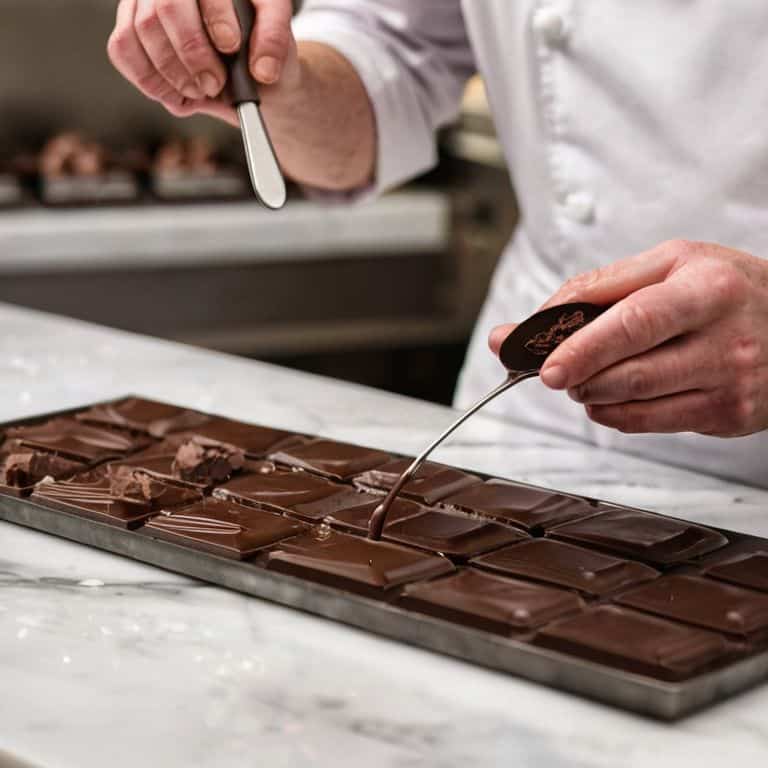
- 6. Now that your chocolate is tempered, it’s time to work with it. You can use it to create a variety of delicious treats, from smooth, glossy coatings to intricate, delicate designs. I like to use tempered chocolate to create delicate chocolate leaves or to add a professional finish to my cakes and pastries. Remember to work quickly, as the chocolate will begin to set and become more difficult to work with as it cools.
- 7. Finally, it’s essential to store your tempered chocolate properly to maintain its temper and prevent it from becoming too soft or developing bloom. I like to store my tempered chocolate in an airtight container at a cool, consistent temperature, away from direct sunlight and heat sources. This will help to preserve the chocolate’s delicate crystal structure and ensure that it remains stable and easy to work with.
A Guide to Chocolate Tempering
As I always say, mastering the art of chocolate tempering is all about precision and patience. For beginners, it’s essential to understand the importance of temperature control in achieving that perfect chocolate bloom. I’ve seen many novice chocolatiers struggle with this, but with the right techniques, it’s truly a game-changer.
When it comes to tempering chocolate, I swear by the seeding method. It’s a bit more involved, but trust me, the results are worth it. By introducing a small amount of already-tempered chocolate into the mixture, you can create a stable crystal structure that gives your chocolate that gorgeous shine and snap. Of course, this requires a bit of practice to get right, but with time and patience, you’ll be crafting professional-quality chocolates in no time.
One common mistake I see is inadequate cooling, which can lead to a dull, streaky finish. To avoid this, make sure to cool your chocolate to the optimal temperature – around 82°F to 86°F – before working with it. By following these simple tips and practicing your technique, you’ll be well on your way to creating stunning, mouthwatering chocolates that are sure to impress.
Achieving Perfect Chocolate Bloom
To achieve that coveted chocolate bloom, it’s all about precision temperature control. I temper my chocolate to a precise 88°F to 90°F, which allows the crystals to form a stable structure that gives the chocolate its signature sheen. It’s a delicate balance, but trust me, the payoff is worth it. When done correctly, the chocolate bloom adds an irresistible visual appeal to your creations, making them almost too beautiful to eat.
By carefully heating and cooling your chocolate to the ideal temperature, you’ll be rewarded with a flawless, glossy finish that’s sure to impress. Remember, temperature is key, so don’t be afraid to get a little scientific and invest in a good thermometer – it’s a game-changer for achieving perfect chocolate bloom.
Tempering Techniques for Beginners
As a beginner, it’s essential to understand that tempering is not just about heating and cooling chocolate, but about creating a stable crystal structure that gives your creations that unmistakable sheen and snap. To start, you’ll want to focus on the “seed and melt” method, where you melt a small portion of your chocolate and then “seed” it with a piece of already-tempered chocolate. This helps to introduce the right crystal structure into your melted chocolate, allowing it to set with a smooth, glossy finish.
Remember, temperature is key here – aim for a working temperature between 88°F and 90°F for dark chocolate, and adjust accordingly for milk or white. With practice, you’ll develop a feel for when your chocolate is ready, but don’t be afraid to use a thermometer to ensure accuracy. As you become more confident in your tempering skills, you can experiment with different techniques, such as tabling or using a marble surface to cool and set your chocolate.
Unlocking the Secrets of Chocolate Tempering: 5 Tips to Elevate Your Craft
- Understand the Chocolate Trinity: know your cocoa butter, sugar, and cocoa solids to master the tempering process
- Precision is Key: invest in a reliable thermometer to ensure accurate temperatures, as even a degree can make a difference
- Work with the Right Tools: a good quality spatula, a marble surface, and a temperature-controlled environment will become your best friends in the tempering process
- Don’t Skip the Seeding: introducing a small amount of already-tempered chocolate into your melted chocolate can help create a stable crystal structure, giving you that perfect snap and shine
- Practice Mindful Patience: tempering chocolate is an art that requires time, attention, and a gentle touch – don’t rush the process, and you’ll be rewarded with a world of rich, velvety textures and deep flavors
Key Takeaways for the Perfect Tempering Kiss
To achieve perfect chocolate bloom, it’s crucial to understand that temperature is the unsung hero – precision is key, and I always say, ‘a degree of difference can make a world of taste’
Don’t be afraid to experiment with different tempering techniques, but remember, the foundation of creativity is mastery of the basics, so practice, practice, practice until you can temper by feel like I do
The pursuit of perfection in chocolate tempering is a journey, not a destination – stay curious, keep pushing the boundaries of what’s possible with this incredible ingredient, and always, always keep your vanilla beans rare and your cacao plantations visited
The Art of Tempering
Tempering chocolate is not just about following a recipe, it’s about understanding the symphony of temperatures, textures, and timings that converge to create a culinary masterpiece – and that, my friends, is where the real magic happens.
Juliette Le Roux
Mastering the Art of Chocolate Tempering

As we conclude this journey through the world of chocolate tempering, remember that precision is key. We’ve covered the essential steps, from understanding the importance of temperature to achieving that perfect chocolate bloom. It’s crucial to practice these techniques, as repetition is the mother of skill. Don’t be discouraged if your initial attempts don’t yield the desired results; it’s all part of the learning process. The art of tempering is not just about following a set of instructions, but about understanding the why behind each step, which will ultimately lead to creative freedom in your chocolate work.
Now, as you embark on your own chocolate tempering adventures, keep in mind that the pursuit of perfection is a lifelong journey. It’s the small details, the attention to temperature, and the dedication to your craft that will set you apart. Don’t be afraid to experiment and push the boundaries of what’s possible with chocolate. With time and practice, you’ll find that the process of tempering becomes second nature, allowing you to focus on the artistic expression of your creations. So, go ahead, take the first step, and indulge in the rich world of chocolate tempering – your taste buds, and your sense of accomplishment, will thank you.
Frequently Asked Questions
What is the ideal temperature range for tempering different types of chocolate?
For me, the ideal temperature range is all about precision. Dark chocolate: 88°F to 90°F. Milk chocolate: 86°F to 88°F. And white chocolate: 82°F to 86°F. These ranges are crucial for achieving that perfect bloom and snap. Trust me, it’s all about the temperature – get it just right, and you’ll be rewarded with a professional finish.
How do I know if my chocolate has reached the perfect bloom, and what are the consequences of over- or under-tempering?
Ah, the perfect bloom – it’s all about the snap, the shine, and the subtle sheen. Check your chocolate’s temperature: between 88°F and 90°F is ideal. If it’s under-tempered, it’ll be dull and soft; over-tempered, it’ll be brittle and crumbly. Trust your senses, and don’t be afraid to start again – practice makes perfect, after all!
Can I salvage chocolate that has been overheated or over-cooled during the tempering process, and if so, what techniques can I use to rescue it?
Don’t worry, it’s happened to the best of us! If your chocolate has been overheated or over-cooled, you can still rescue it. Try re-tempering by carefully reheating it to around 86°F to 90°F, then cooling it down to working temperature. Alternatively, use it for a non-tempered application, like making chocolate chunks or shavings, where a stable crystal structure isn’t crucial.