As I stand in my Parisian-inspired kitchen, surrounded by the warmth of butter and sugar, I’m reminded of the countless times I’ve been asked about the secret to how to shape croissants perfectly. It’s a question that has sparked debates among bakers, with some claiming it’s all about the temperature of the dough, while others swear by the type of flour used. But let’s get real – the truth is, shaping croissants is an art that requires patience, practice, and a gentle touch. I’ve spent years honing my skills under the guidance of renowned pastry chefs, and I’m excited to share my knowledge with you.
In this article, I’ll guide you through the process of shaping croissants with ease and precision, covering everything from the importance of lamination to the simple tricks for achieving that perfect, flaky layer. You’ll learn how to create beautiful, golden croissants that are almost too stunning to eat. My goal is to empower you with the skills and confidence to take your baking to the next level, and to show you that mastering the art of croissant shaping is within reach, no matter your skill level. By the end of this journey, you’ll be well on your way to creating croissants that are truly magical.
Table of Contents
- Guide Overview: What You'll Need
- Step-by-Step Instructions
- Shaping Croissants to Perfection
- The Art of Shaping: 5 Essential Tips for Perfect Croissants
- Mastering the Art of Croissant Shaping: 3 Key Takeaways
- The Art of Croissant Shaping
- The Art of Shaping Croissants: A Masterful Conclusion
- Frequently Asked Questions
Guide Overview: What You'll Need
Total Time: 2 hours 30 minutes
Estimated Cost: $10 – $20
Difficulty Level: Intermediate
Tools Required
- Pastry Brush (for egg wash)
- Rolling Pin (for rolling out dough)
- Ruler (for measuring dough length)
- Parchment Paper (for lining baking sheet)
- Baking Sheet (at least 12 inches by 18 inches in size)
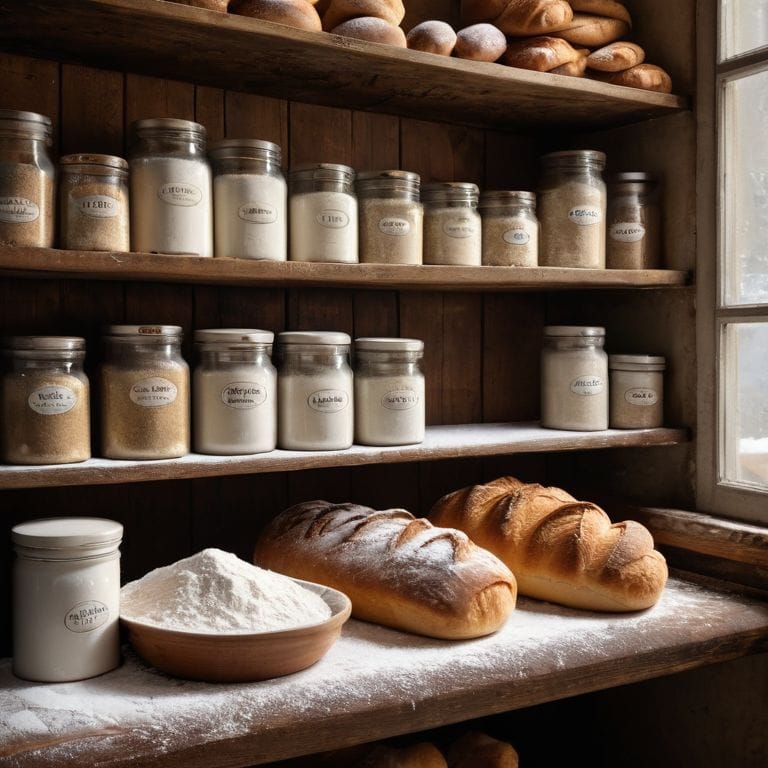
Supplies & Materials
- Butter (high-quality, European-style preferred)
- Yeast (active dry yeast)
- Flour (all-purpose or bread flour)
- Sugar (granulated)
- Salt (kosher or sea salt)
- Eggs (for egg wash)
- Milk (or alternative milk for dough hydration)
Step-by-Step Instructions
- 1. First, let’s start with the foundation of our croissants: the dough. To shape croissants perfectly, we need to ensure our dough is at the right temperature and consistency. I like to think of it as the _sweet spot_, where the dough is still slightly chilled but pliable enough to be rolled out and shaped. Gently remove the dough from the refrigerator and let it rest at room temperature for about 30 minutes to allow it to relax.
- 2. Next, we’ll need to roll out the dough to the perfect thickness. This is where precision comes into play. Using a rolling pin, gently roll out the dough to about 1/4 inch (6 mm) thickness, making sure to maintain an even surface. Don’t overwork the dough, as this can lead to a dense, rather than flaky, texture. To achieve an even layer, try to apply consistent pressure while rolling.
- 3. Now it’s time to cut out our croissant shapes. I find that using a sharp pastry cutter or a knife is essential for getting clean, precise cuts. Cut out long, thin triangles from the dough, making sure each triangle has a base of about 4-5 inches (10-13 cm) and a height of around 6-7 inches (15-18 cm). This will give us the perfect ratio for our croissants.
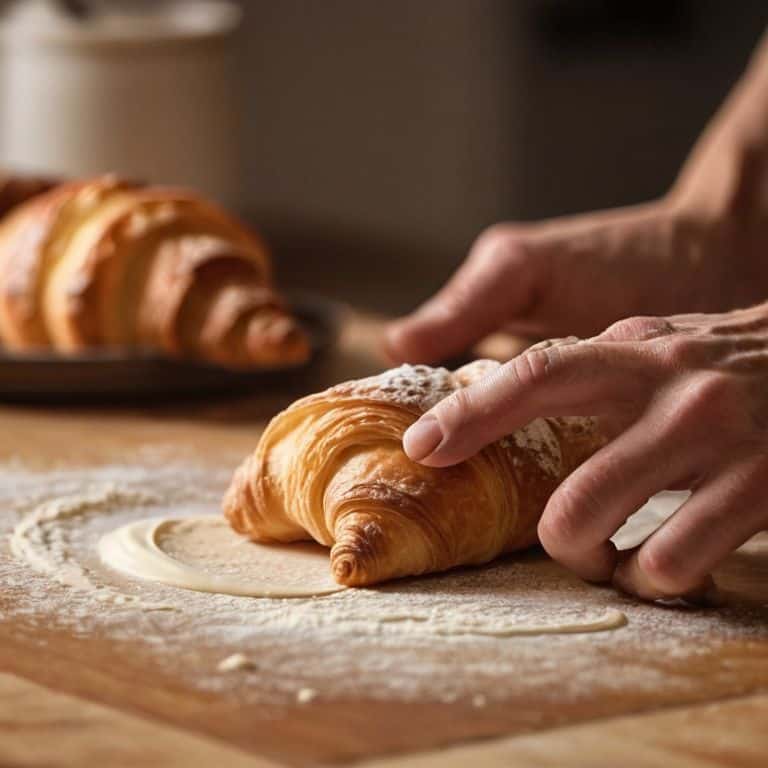
- 4. With our triangles cut out, it’s time to roll them into the iconic croissant shape. Starting from the base of the triangle, roll each piece of dough into a tight cylinder, curling it into a crescent shape as you go. Tuck the ends under the croissant to create a neat, seamless edge. This step requires a bit of finesse, so don’t be discouraged if it takes a few tries to get the hang of it.
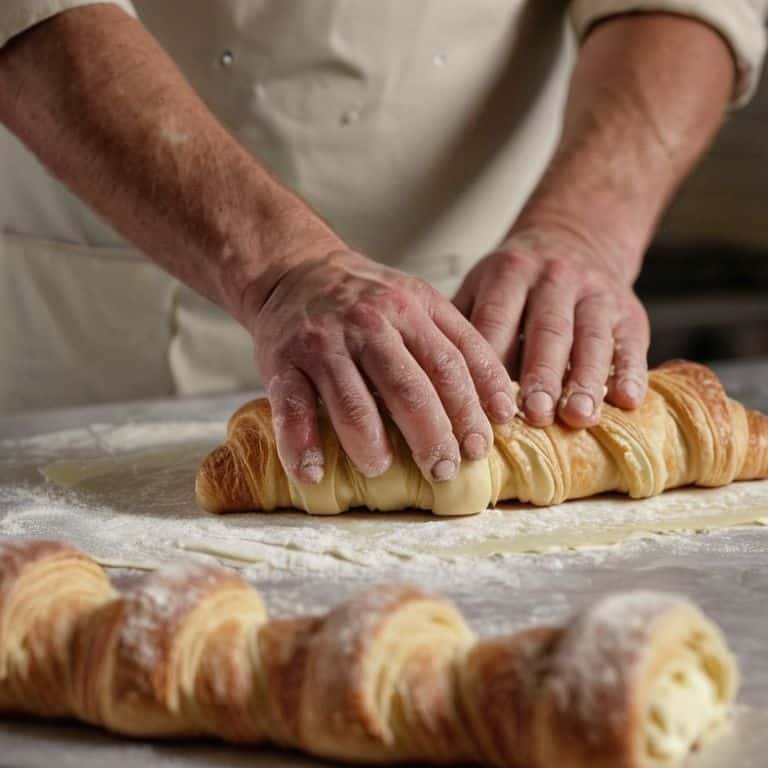
- 5. To create the signature layers of a croissant, we’ll need to laminate the dough. This involves folding and rolling the dough multiple times to create the layers of butter and dough that give croissants their characteristic flaky texture. After rolling out the dough and cutting out the triangles, you’ll need to fold the dough in half lengthwise, like a letter, and then roll it out again to the same thickness. This process should be repeated at least three times to achieve the perfect layering.
- 6. Once our croissants are shaped and laminated, it’s time to let them proof. This is the stage where the yeast does its magic, causing the dough to rise and giving our croissants their light, airy texture. Place the shaped croissants on a baking sheet lined with parchment paper, leaving about 1 inch (2.5 cm) of space between each one. Cover them with a clean towel or plastic wrap and let them proof in a warm, draft-free place for about 1-2 hours, or until they have doubled in size.
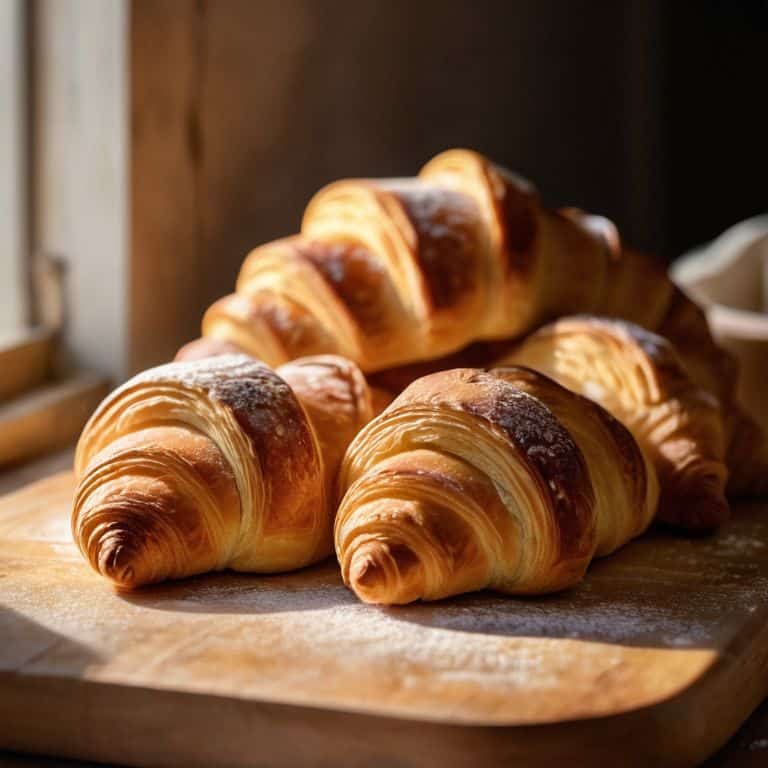
- 7. Finally, it’s time to bake our croissants to a golden, flaky perfection. Preheat your oven to 400°F (200°C) and bake the croissants for 15-20 minutes, or until they’re golden brown. Keep an eye on them, as the baking time may vary depending on your oven. Once they’re done, remove them from the oven and let them cool on a wire rack for at least 10-15 minutes before serving. This will help them retain their flaky texture and prevent them from becoming soggy.
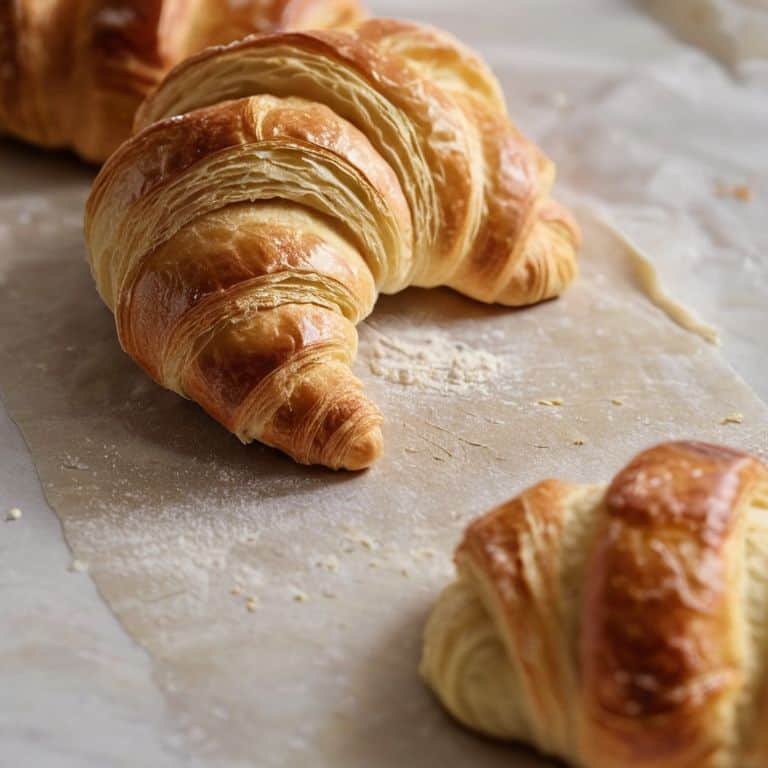
Shaping Croissants to Perfection
As I guide you through the process of shaping croissants, it’s essential to understand the importance of laminating dough for croissants. This technique, which involves folding and rolling the dough to create layers, is what gives croissants their signature flaky texture. To achieve this, make sure to keep your butter cold and your dough relaxed, allowing the layers to form effortlessly.
When it comes to rolling out the croissant dough, tips for rolling out croissant dough are plentiful, but one thing to remember is to maintain a consistent temperature and to not overwork the dough. This will help prevent the dough from becoming too warm and sticky, making it easier to shape into those perfect, golden crescents.
In my experience, common mistakes in croissant shaping often stem from rushing the proofing process. Remember to allow your croissants ample time to proof at the right temperature, typically between 75°F and 80°F, to ensure they rise evenly and maintain their shape. By following these guidelines and practicing patience, you’ll be well on your way to mastering advanced croissant techniques for beginners and baking croissants that are truly divine.
Avoiding Common Mistakes in Croissant Shaping
As I guide you through the delicate dance of shaping croissants, it’s equally important to acknowledge the pitfalls that can lead to less-than-desirable results. One of the most common mistakes is overworking the dough, which can cause it to become tough and dense. To avoid this, gently coax the dough into its desired shape, taking care not to stretch or pull it excessively.
Another mistake to watch out for is inconsistent layering, which can result in a croissant that’s more like a flatbread than a flaky, layered masterpiece. To prevent this, ensure that your butter block is evenly distributed and that you’re maintaining a consistent rolling and folding pattern throughout the lamination process. By being mindful of these potential missteps, you’ll be well on your way to crafting croissants that are truly worthy of a Parisian patisserie.
Laminating Dough for Flaky Layers
Laminating dough is where the magic happens, my friends. It’s the process of folding and rolling the dough to create those signature flaky layers that make croissants irresistible. To laminate, roll out your chilled dough to a large rectangle, about 1/4-inch thick. Next, fold it in thirds like a letter, then rotate it 90 degrees and roll it out again to the same size. Repeat this process several times, keeping your dough and work surface well-floured to prevent sticking.
As you laminate, you’ll start to see the dough develop a beautiful, layered structure – this is where patience and precision pay off. With each fold and roll, you’re creating the perfect conditions for those tender, airy layers to form. Remember, the key to successful lamination is to keep your movements gentle yet deliberate, handling the dough with care to avoid developing the gluten.
The Art of Shaping: 5 Essential Tips for Perfect Croissants
- Keep your butter cold: This is the foundation of flaky, layered croissants – if your butter is too soft, your dough will be tough and dense
- Use the right flour: I only use high-protein flour for my croissants, as it provides the necessary structure and rise for these delicate pastries
- Don’t overwork the dough: Mix your ingredients just until they come together in a shaggy mass, then let the dough rest – overmixing is the enemy of tender croissants
- Let your croissants proof properly: This is where patience comes in – give your shaped croissants the time they need to rise, and you’ll be rewarded with a light, airy texture
- Use a gentle touch when shaping: Think of shaping croissants as a delicate dance – handle the dough with care, and you’ll be amazed at how easily it submits to your touch and takes on the perfect, curved form
Mastering the Art of Croissant Shaping: 3 Key Takeaways
Always keep your butter and dough at the right temperature to achieve the perfect lamination, resulting in flaky, tender layers
Use a gentle touch when rolling and folding the dough to avoid developing the gluten, which can lead to a tough, dense croissant
Practice patience and precision when shaping your croissants, as the final form of your pastry is just as important as its taste, and a beautifully shaped croissant can elevate the entire baking experience
The Art of Croissant Shaping
Shaping croissants is not just about technique, it’s about coaxing layers of butter and dough into a delicate, flaky harmony – a symphony of texture and taste that elevates the humblest of pastries into a masterpiece of French patisserie.
Alison Lawson
The Art of Shaping Croissants: A Masterful Conclusion
As we conclude our journey to perfectly shaped croissants, let’s revisit the essential steps that have guided us thus far. From laminating the dough to create those signature flaky layers, to avoiding common mistakes that can hinder our progress, each technique has been meticulously crafted to empower you with the skills needed to create truly exceptional pastries. By mastering the art of shaping croissants, you’re not only refining your baking skills but also cultivating a deeper appreciation for the intricacies of French patisserie.
Now, as you stand in your own kitchen, surrounded by the aroma of butter and vanilla, remember that the true magic of baking lies not just in the recipes, but in the creative expression they inspire. So, don’t be afraid to experiment, to innovate, and to push the boundaries of what’s possible with each new batch of croissants. For in the world of pastry, it’s the passion, the precision, and the pursuit of perfection that truly set the masters apart.
Frequently Asked Questions
What is the ideal temperature and humidity for shaping croissants to achieve the perfect layers?
To achieve those coveted layers, I swear by a cool, calm environment: 75°F to 78°F (24°C to 25°C) with a humidity level of around 60%. This gentle climate allows the butter to remain firm, yet pliable, making it easier to create those delicate, flaky layers that define a perfect croissant.
How do I know when the dough is fully proofed and ready to be shaped into croissants?
The moment of truth! Your dough is fully proofed when it’s nearly doubled in size, feels soft and airy, and has a subtle sheen. Gently press the dough; if it springs back slowly, it’s ready. This is where patience meets perfection – don’t rush it, my friends!
Can I use a stand mixer with a dough hook attachment to laminate the croissant dough, or is it better to do it by hand?
While a stand mixer with a dough hook can help with initial mixing, I prefer to laminate by hand for optimal control and delicate layering. The gentle, folding motion of hand-laminating helps preserve the butter layers, yielding a more tender, flaky crumb.