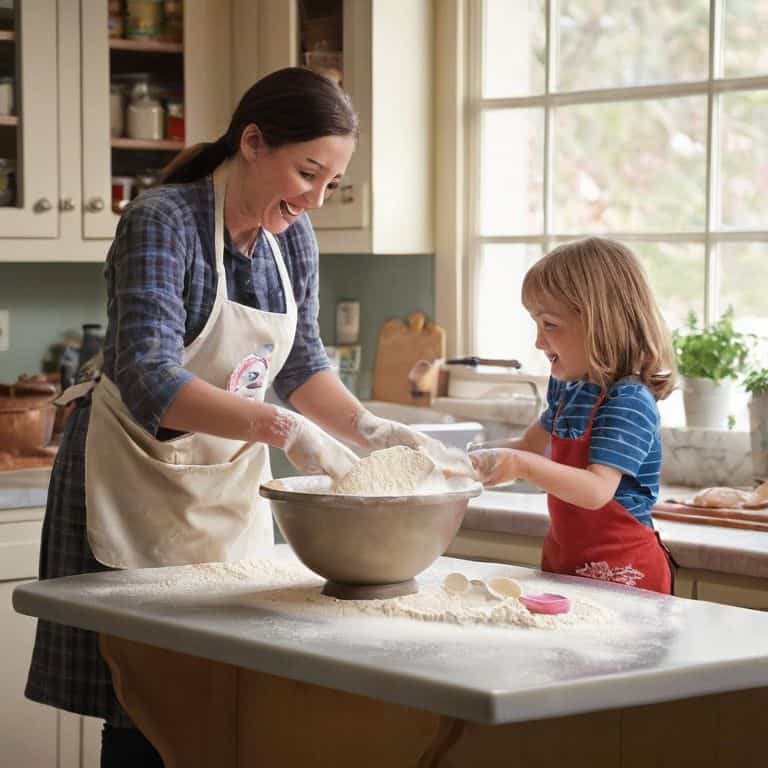
I still remember the first time I attempted to make ganache for a drip cake – it was a disaster. The ganache was too thin, the cake was a mess, and I was left wondering what had gone wrong. As a chocolatier and pastry consultant, I’ve since learned that the key to a perfect drip cake lies in the temperature and technique used to create the ganache. It’s not just about combining heavy cream and chocolate, but about understanding the science behind the process. When done correctly, how to make ganache for a drip cake can be a game-changer for any baker.
In this article, I’ll share my personal story and expertise to guide you through the process of creating the perfect ganache for a drip cake. You’ll learn the importance of temperature control, the right ratio of cream to chocolate, and the techniques for achieving a smooth and velvety texture. My goal is to provide you with honest, no-hype advice that will help you elevate your baking skills and create stunning drip cakes that impress. By the end of this article, you’ll be equipped with the knowledge and confidence to make ganache for a drip cake like a pro, and take your baking to the next level.
Table of Contents
Guide Overview: What You'll Need

Total Time: 30 minutes to 1 hour
Estimated Cost: $10 – $20
Difficulty Level: Easy
Tools Required
- Double Boiler (or a heatproof bowl set over a pot of simmering water)
- Whisk
- Measuring Cups
- Measuring Spoons
Supplies & Materials
- Chocolate Chips (semisweet or milk chocolate, 1 cup)
- Heavy Cream (1 cup)
- Unsalted Butter (2 tablespoons)
- Vanilla Extract (optional, 1 teaspoon)
Step-by-Step Instructions
- 1. First, let’s start by heating our heavy cream to the perfect temperature – I’m talking around 105°F to 115°F. This is crucial because if the cream is too hot, it can seize up the chocolate and make it impossible to work with. I like to use a thermometer to ensure I’m in the right range, and I always make sure to heat it slowly over low heat, whisking constantly to prevent scorching.
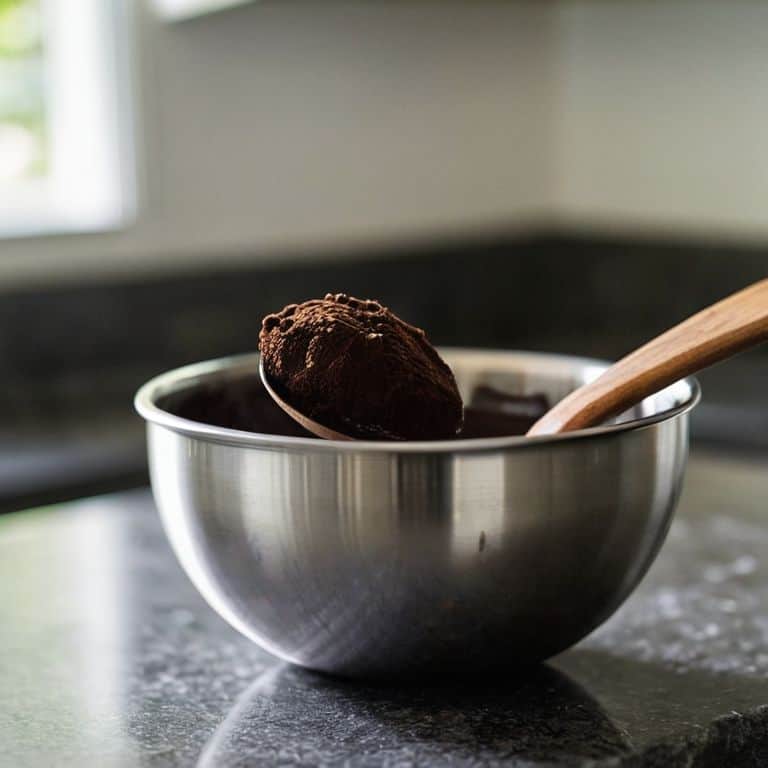
- 2. While our cream is heating up, it’s time to prepare our chocolate. I’m using a high-quality dark chocolate with at least 70% cocoa solids for this recipe. Chop the chocolate into small pieces and place them in a heatproof bowl. Make sure the bowl is completely dry, as any moisture can cause the chocolate to seize up. I like to use a mixture of chocolate chips and chopped chocolate bars for a varied texture.
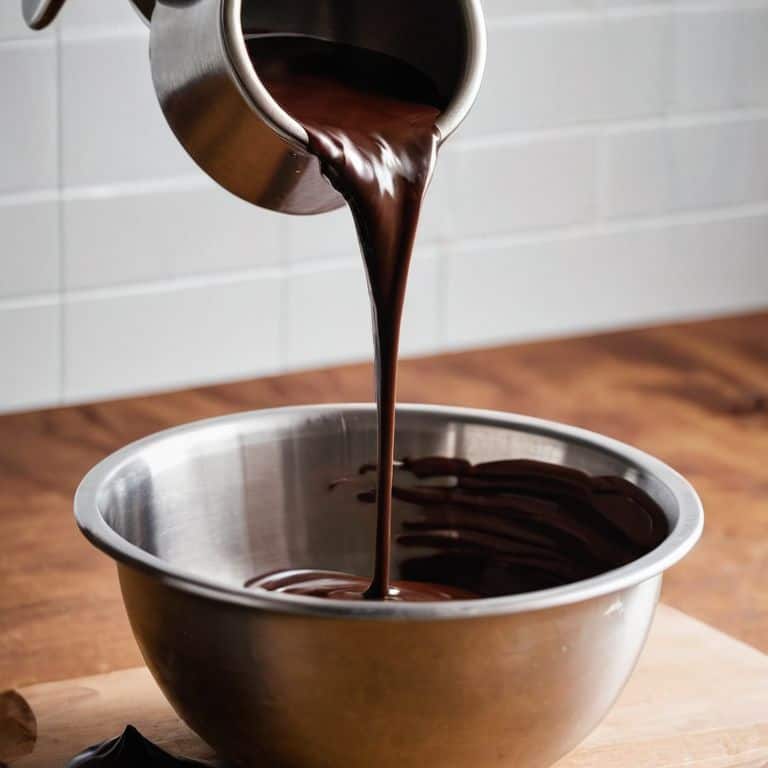
- 3. Now that our cream is hot and our chocolate is ready, it’s time to create the ganache. Slowly pour the hot cream over the chopped chocolate, making sure to pour in a steady stream. Use a whisk or spatula to gently stir the mixture, starting from the center and working your way outwards. Be careful not to overmix, as this can cause the ganache to become too thick and grainy.
- 4. As we stir the ganache, we want to temper it to perfection. This means heating and cooling the mixture to a specific temperature range that allows the chocolate to set properly. I like to use a thermometer to check the temperature, aiming for around 86°F to 90°F. If the ganache is too hot, it won’t set properly, and if it’s too cold, it won’t be smooth and creamy.
- 5. Once our ganache has reached the perfect temperature, it’s time to strain and cool it. Pour the ganache through a fine-mesh sieve into a clean bowl, pressing on the solids to extract as much liquid as possible. Discard the solids and let the ganache cool to room temperature. This is an important step, as it allows the flavors to mature and the ganache to thicken to the perfect consistency.
- 6. Now that our ganache has cooled, it’s time to whip it into shape. Use a stand mixer or whisk to beat the ganache until it becomes light and fluffy, almost like whipped cream. Be careful not to overwhip, as this can cause the ganache to become too stiff and separate. I like to whip the ganache until it forms soft peaks, then stop and let it rest for a few minutes before using it.
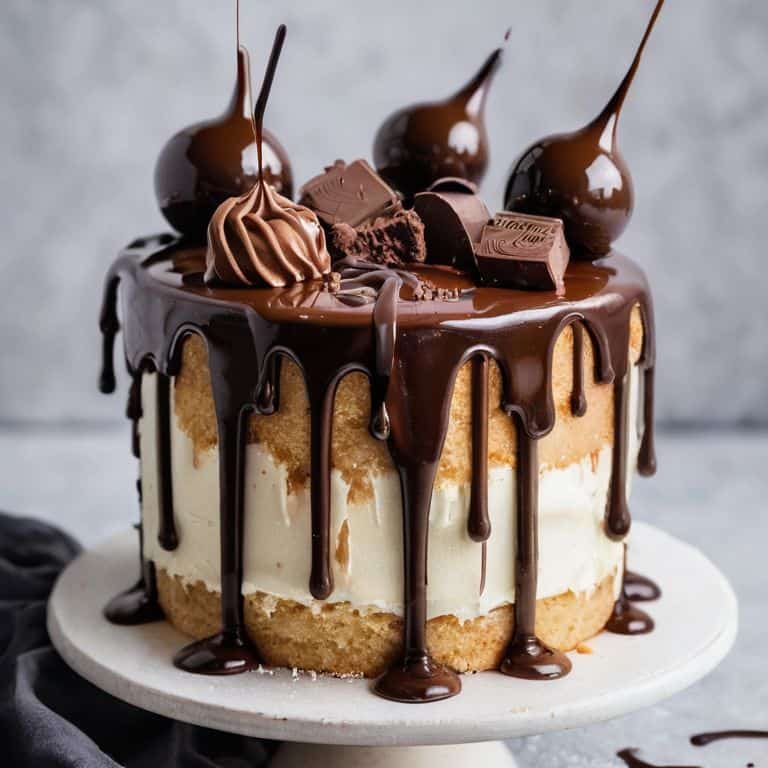
- 7. Finally, it’s time to apply the ganache to our drip cake. I like to use a piping bag with a small round tip to create a smooth, even layer of ganache. Start at the top of the cake and work your way down, allowing the ganache to drizzle and pool at the bottom. This creates a beautiful, velvety texture that’s perfect for decorating. Make sure to work quickly, as the ganache can set fast and become difficult to work with.
Crafting Ganache Perfection
To achieve ganache perfection, it’s essential to understand the importance of temperature and ingredient quality. I always stress that using high-quality dark chocolate is crucial, as it provides a deeper flavor profile. When making a dark chocolate ganache recipe, it’s vital to balance the bitterness of the chocolate with the right amount of sweetness. This balance is what sets a good ganache apart from a great one.
In my experience, mastering the whipped ganache frosting technique can elevate your drip cake to new heights. It’s all about incorporating air into the ganache without separating it. To avoid troubleshooting ganache separation, make sure to whip the ganache when it’s at room temperature, and do it gently, as over-whipping can lead to disaster. By following these tips, you’ll be able to achieve a smooth, creamy ganache that’s perfect for drizzling over your cake.
When it comes to creating a stunning ganache drip effect on cakes, the key is to get the ganache to cake ratio just right. Too little ganache, and the effect is lost; too much, and it overpowers the cake. I like to think of it as a delicate balance between the two, where the ganache enhances the cake without overwhelming it. By using homemade chocolate ganache ingredients and following these guidelines, you’ll be well on your way to creating a truly show-stopping drip cake.
Dark Chocolate Ganache Recipe Unveiled
To take your drip cake to the next level, I swear by my dark chocolate ganache recipe. It’s all about balance – I combine 1 cup of heavy cream with 1 1/2 cups of dark chocolate chips, heated to a precise 105°F. The result is a rich, velvety ganache that’s simply divine.
I temper the chocolate by feel, a technique I’ve honed over years of working with this incredible ingredient. The payoff is worth it: a deep, intense flavor that elevates the entire cake. With this ganache, you’ll be well on your way to creating a truly show-stopping dessert.
Troubleshooting Ganache Separation Secrets
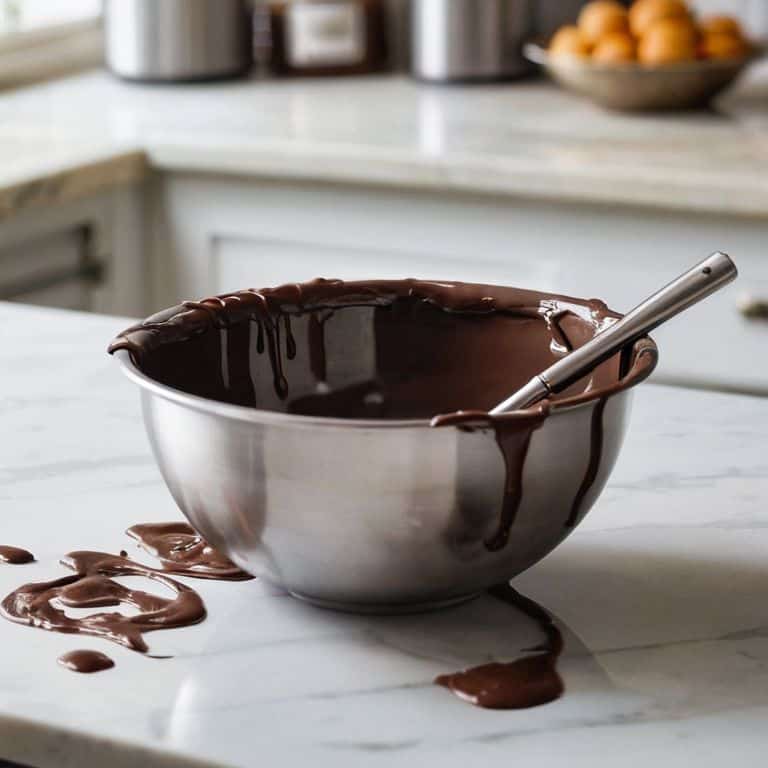
When ganache separates, it’s often due to temperature fluctuations or improper mixing. To rescue your ganache, try gently reheating it to around 88°F to 90°F (31°C to 32°C), then whisking in a small amount of warm heavy cream. This should help re-emulsify the mixture. I’ve found that a tempered whisk, warmed to the same temperature as the ganache, can make all the difference in smoothly incorporating the cream.
If your ganache is too far gone, don’t despair – it can still be saved. Allow it to cool and set, then blend it in a food processor until it reaches a smooth consistency. This will introduce air and help re-establish the emulsion. With patience and practice, you’ll develop the skills to prevent separation and achieve silky, flawless ganache every time.
Elevating Your Drip Cake Game: 5 Essential Ganache Tips
- Use high-quality chocolate with a high cocoa solid content for a richer flavor and smoother texture
- Temperature control is crucial: heat your cream to exactly 105°F to 115°F for optimal ganache formation
- Don’t overheat your chocolate: melt it gently over a double boiler or in short bursts in the microwave, stirring between each interval
- Whisk your ganache in a specific direction – always from the center outwards – to prevent air pockets and ensure a silky finish
- Age your ganache for at least 24 hours to allow the flavors to mature and the texture to set, resulting in a more stable and velvety drip cake coating
Mastering Ganache: 3 Essential Takeaways
Temperature control is paramount: I always stress that the ideal temperature for melting chocolate is between 105°F and 115°F, as this ensures a smooth and glossy finish for your ganache
Quality of ingredients matters: using high-quality dark chocolate with a high cocoa content and fresh heavy cream will elevate your ganache to new heights, giving it a rich and velvety texture
Practice makes perfect: don’t be discouraged if your first attempts at making ganache don’t turn out as expected – with patience, attention to detail, and a willingness to experiment, you’ll soon be crafting ganache like a pro
The Ganache Gospel
To craft sublime ganache for a drip cake, one must first understand that temperature is not just a suggestion, but a sacred commandment – it’s the whispered promise of a silky, smooth cascade that will leave your guests in awe.
Juliette Le Roux
The Sweetest Conclusion
As we conclude our journey to create the perfect ganache for a drip cake, let’s revisit the key elements that make this process a success. From the initial combination of heavy cream and chocolate to the meticulous temperature control, every step is crucial in achieving that silky smooth texture. We’ve explored the dark chocolate ganache recipe, and delved into the world of troubleshooting, specifically tackling the issue of ganache separation. By mastering these techniques, you’ll be well on your way to creating drip cakes that are not only visually stunning but also irresistibly delicious.
Now, as you embark on your own ganache-making adventures, remember that practice is perfection. Don’t be discouraged by initial setbacks or separations – they’re an inevitable part of the learning process. With time and patience, you’ll develop the intuitive touch needed to craft ganache that’s nothing short of extraordinary. So, go ahead, experiment with new flavors, and push the boundaries of what’s possible with this versatile ingredient. The world of pastry is full of endless possibilities, and with ganache as your foundation, the sweetest of successes is within reach.
Frequently Asked Questions
What is the ideal temperature for heating the cream and chocolate when making ganache for a drip cake?
For me, the ideal temperature is between 105°F and 115°F. I like to heat the cream to a gentle simmer, then remove it from the heat before pouring it over the chocolate. This temperature range allows for a smooth, even melt, and helps prevent the chocolate from seizing up. Trust me, it’s all about feel and finesse.
How do I achieve a smooth and stable ganache that won't separate or become too thin?
To achieve a smooth and stable ganache, it’s all about temperature control. I always say, ‘temperature is the conductor of the pastry orchestra.’ For a flawless ganache, heat your cream to exactly 105°F and melt your chocolate to 115°F. This precise balance will ensure a velvety, separation-free ganache that’s the perfect foundation for your drip cake.
Can I use alternative types of chocolate or flavorings, such as white chocolate or orange extract, to create unique ganache flavors for my drip cake?
Ah, the thrill of experimentation! Yes, you can definitely play with alternative chocolates and flavorings. White chocolate, for instance, pairs beautifully with citrus or nuts, while orange extract can add a stunning brightness to dark chocolate ganache. Just remember, when introducing new flavors, start with small batches to ensure the taste is balanced and sublime.