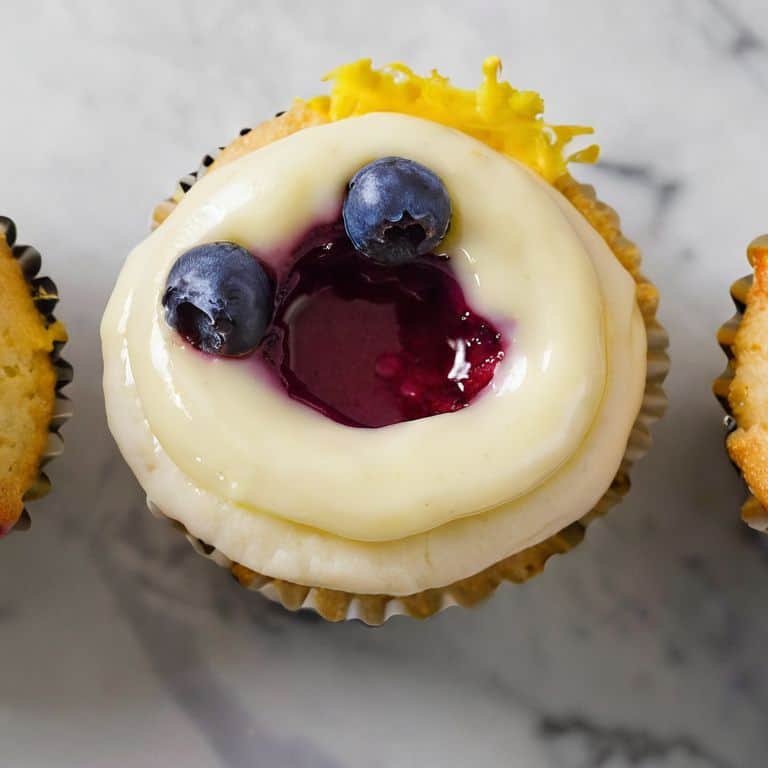
I still remember the first time I attempted to make my own gluten-free flour blend – it was a disaster. I had heard that all I needed to do was mix together a few different types of gluten-free flours and I’d be good to go. But, as I soon learned, it’s not that simple. The truth is, creating a gluten-free flour blend that actually works is a science, and it requires a bit of patience and understanding of how different ingredients interact with each other. If you’re like I was, struggling to find a gluten-free flour blend that produces consistent results, then you’re in the right place. I’m excited to share with you my knowledge on how to make your own gluten-free flour blend from scratch.
In this article, I’ll give you the honest, no-hype advice you need to create your own custom gluten-free flour blend. I’ll walk you through the why behind each step, so you can understand the science behind the process. You’ll learn how to choose the right combination of flours, how to balance their ratios, and how to troubleshoot common issues. By the end of this guide, you’ll have the confidence and knowledge to create your own gluten-free flour blend that works perfectly for you. Whether you’re a seasoned baker or just starting out, I’m here to empower you with the fundamental knowledge you need to bake with precision and ease.
Table of Contents
- Guide Overview: What You'll Need
- Step-by-Step Instructions
- Crafting Gluten Free Flour
- Mastering the Art of Gluten-Free Flour Blending: 5 Essential Tips
- Key Takeaways for Crafting Your Perfect Gluten-Free Flour Blend
- The Art of Crafting Gluten-Free Flour Blends
- Embracing the Art and Science of Gluten-Free Baking
- Frequently Asked Questions
Guide Overview: What You'll Need
Total Time: 1 hour 15 minutes
Estimated Cost: $20 – $40
Difficulty Level: Easy
Tools Required
- Digital Scale (for accurate measurements)
- Mixing Bowl (large enough to hold all ingredients)
- Whisk (or spoon for mixing)
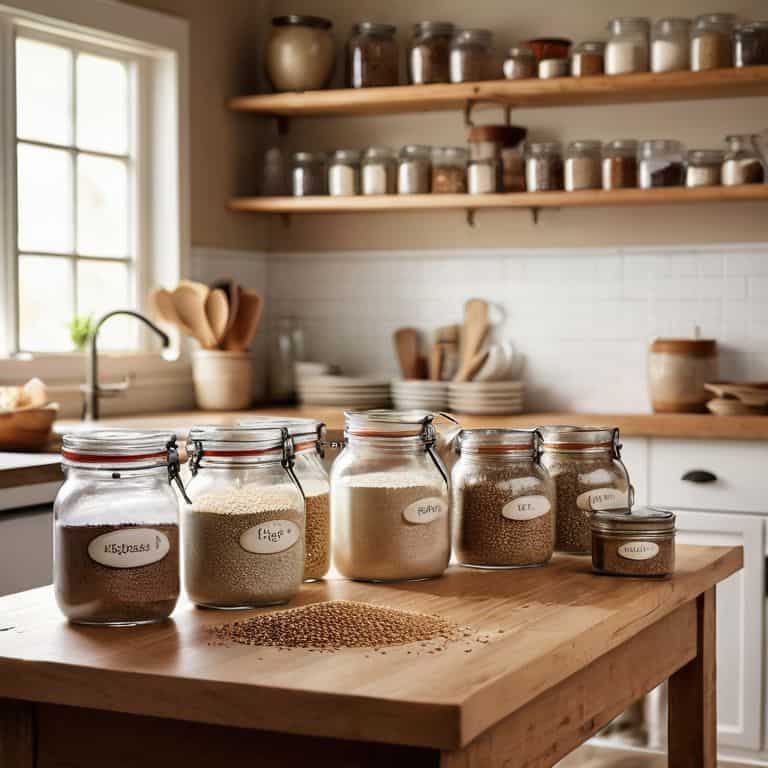
- Airtight Container (for storing the flour blend)
Supplies & Materials
- Rice Flour (2 cups)
- Potato Starch (1 cup)
- Tapioca Flour (1/2 cup)
- Xanthan Gum (1 teaspoon)
- Salt (optional, 1/4 teaspoon)
Step-by-Step Instructions
- 1. First, let’s start by understanding the basics of gluten-free flours. We’ll be working with a combination of rice flour, potato starch, and tapioca flour to create our blend. It’s essential to note that the ratio of these ingredients can vary depending on the type of baked goods you’re making, but we’ll be using a general-purpose ratio to get you started.
- 2. To begin, you’ll need to _gather your ingredients_ and equipment. You’ll need a digital scale, a large mixing bowl, and a whisk. Yes, you read that right – a digital scale is non-negotiable when it comes to baking, especially when making your own flour blend. Accuracy is key, and using volume measurements can lead to inconsistent results.
- 3. Next, let’s talk about the importance of ratios. A general-purpose gluten-free flour blend typically consists of 50% rice flour, 25% potato starch, and 25% tapioca flour. However, these ratios can be adjusted based on the specific needs of your recipe. For example, if you’re making a delicate cake, you may want to increase the ratio of rice flour to potato starch.
- 4. Now, let’s move on to _measuring and mixing_ our ingredients. Using your digital scale, measure out 500g of rice flour, 250g of potato starch, and 250g of tapioca flour. Place the ingredients in a large mixing bowl and whisk until they’re well combined. It’s essential to mix the ingredients thoroughly to ensure an even distribution of the different flours.
- 5. Once you’ve mixed your ingredients, it’s time to sift and aerate your flour blend. Sifting will help remove any lumps and aerate the mixture, making it easier to work with. You can use a fine-mesh sieve or a sifter to remove any lumps and aerate the mixture.
- 6. Now that you have your gluten-free flour blend, it’s essential to _store it properly_. You’ll want to store your blend in an airtight container in a cool, dry place. This will help preserve the freshness and quality of your flour blend. It’s also a good idea to label your container with the date and the ratio of ingredients used, so you can easily replicate the blend in the future.
- 7. Finally, let’s talk about troubleshooting. If you find that your gluten-free baked goods are dense or dry, it may be due to the ratio of ingredients in your flour blend. Don’t be discouraged if your first batch doesn’t turn out perfectly – it’s all about experimentation and finding the right balance of ingredients for your specific needs. Remember, baking is 90% science and 10% magic, so don’t be afraid to experiment and adjust your recipe accordingly.
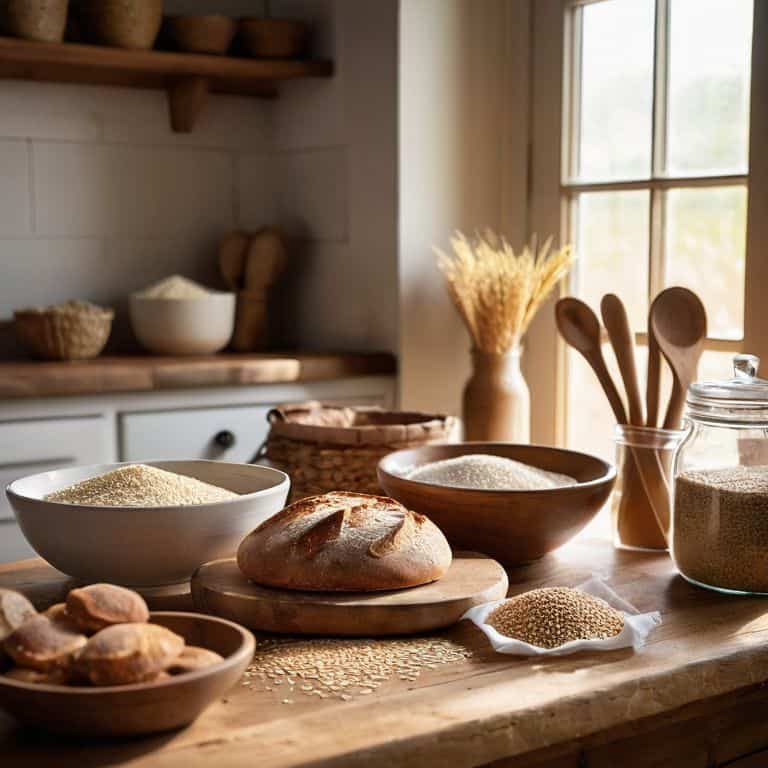
Crafting Gluten Free Flour
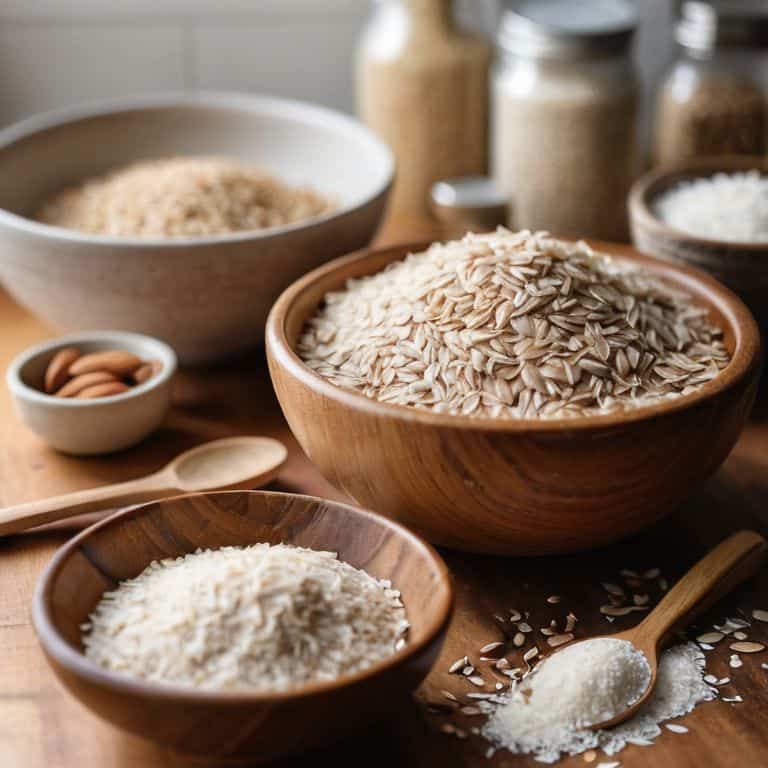
As we dive into the world of gluten-free baking for beginners, it’s essential to understand the importance of selecting the right grains for your flour blend. The best grains for gluten-free flour blends often include rice, almond, and coconut flour, each providing unique textures and flavors. When combining these grains, it’s crucial to follow a gluten-free flour ratio guide to ensure the perfect balance of ingredients.
To create a versatile homemade gluten-free all-purpose flour, consider experimenting with different grain ratios. For instance, a combination of rice flour, potato starch, and tapioca flour can yield a light and airy texture, perfect for baked goods like cakes and cookies. However, it’s vital to be aware of common mistakes in gluten-free baking, such as using too much liquid or overmixing the batter, which can result in dense and unpleasant textures.
When storing your freshly made homemade gluten-free flour, it’s essential to keep it in an airtight container to preserve its freshness and prevent it from becoming rancid. By following these tips and guidelines, you’ll be well on your way to creating delicious gluten-free treats that are sure to impress. Remember to always measure your ingredients carefully, as this will greatly impact the final result of your baked goods.
Best Grains for Flour Blends
When it comes to crafting the perfect gluten-free flour blend, the type of grains you use is crucial. I always recommend starting with a combination of rice flour, almond flour, and coconut flour. Rice flour provides a light, delicate texture, while almond flour adds a nutty flavor and extra nutrition. Coconut flour, on the other hand, helps to absorb excess moisture and adds structure to your baked goods.
By mixing and matching these grains, you can create a custom blend that suits your baking needs. For example, if you’re making a delicate cake, you may want to use more rice flour, while a hearty bread may require more coconut flour. Remember, the key to a great gluten-free flour blend is balance and experimentation – don’t be afraid to try new combinations and adjust to taste!
Gluten Free Baking for Beginners
As a beginner, it’s essential to understand that gluten-free baking requires a bit more finesse. When crafting your own gluten-free flour blend, remember that it’s all about balance. You’re looking for a combination that provides structure, texture, and flavor. I always tell my students to think of it as a puzzle, where each ingredient plays a crucial role. By mastering this blend, you’ll be able to tackle a variety of recipes with confidence.
Start by experimenting with small batches, and don’t be afraid to adjust the ratios of your ingredients. Keep in mind that different types of gluten-free flours have unique properties, so it’s crucial to understand how they interact with each other. With a little practice and patience, you’ll be well on your way to creating delicious gluten-free treats that rival their traditional counterparts.
Mastering the Art of Gluten-Free Flour Blending: 5 Essential Tips
- Start with a foundation of whole grain flours, such as brown rice, almond, or coconut flour, to create a robust and nutritious base for your blend
- Experiment with ancient grains like quinoa, amaranth, or teff to add depth, texture, and a boost of protein to your gluten-free flour blend
- Balance your blend by combining heavy, dense flours with lighter, airy ones to achieve the perfect texture and structure in your baked goods
- Don’t forget to include a starch component, such as potato or tapioca starch, to help with moisture absorption and overall consistency in your gluten-free baked products
- Remember to document and adjust your ratios, taking note of how different combinations affect the final product, to continually refine and perfect your signature gluten-free flour blend
Key Takeaways for Crafting Your Perfect Gluten-Free Flour Blend
Understanding the science behind gluten-free flour blending is crucial for achieving consistent and delicious results in your baked goods
Selecting the right combination of grains, such as rice, almond, and coconut flour, can make a significant difference in the texture and flavor of your gluten-free creations
Precision and patience are essential when developing your own gluten-free flour blend, as experimenting with different ratios and ingredients can lead to newfound confidence and mastery in gluten-free baking
The Art of Crafting Gluten-Free Flour Blends
The key to mastering gluten-free baking lies not in the ingredients, but in understanding the harmony of ratios and the science behind each grain’s unique properties, allowing you to craft a blend that is truly your own.
Beatrice Quinn
Embracing the Art and Science of Gluten-Free Baking
As we conclude our journey into the world of gluten-free flour blends, it’s essential to recall the foundational principles that guide us in crafting these bespoke mixes. From understanding the role of different grains and starches to recognizing the importance of precise measurements, each step is a testament to the interplay between science and baking. By mastering the art of creating your own gluten-free flour blends, you not only open yourself up to a world of culinary possibilities but also develop a deeper appreciation for the intricate dance of ingredients and techniques that define our craft.
As you embark on your own gluten-free baking adventures, remember that practice is key and that every batch, whether it turns out as expected or not, is an opportunity to learn and refine your skills. So, don’t be afraid to experiment, to try new combinations, and to push the boundaries of what’s possible. With patience, persistence, and a willingness to understand the science behind the bake, you’ll find that the world of gluten-free baking is not only accessible but also incredibly rewarding, full of magic and wonder that waits to be uncovered in every loaf, cake, and pastry you create.
Frequently Asked Questions
What is the ideal ratio of starches to whole grains in a gluten-free flour blend?
The ideal ratio of starches to whole grains in a gluten-free flour blend is typically 70-80% starches to 20-30% whole grains. This balance provides structure and texture, while the whole grains add fiber and nutrition. I like to start with a base of 75% starches, such as rice flour or potato starch, and 25% whole grains, like brown rice or teff, and adjust from there.
How do I ensure consistent texture and flavor when combining different types of gluten-free grains?
To achieve consistent texture and flavor, I recommend creating a core blend with a foundation grain like rice flour, then adding secondary grains like almond or coconut flour in fixed ratios. Weighing ingredients is crucial, as it ensures precision and reproducibility in your gluten-free flour blend.
Can I use a food processor or blender to grind my own gluten-free grains into flour, or is a separate grain mill necessary?
While a food processor or blender can grind grains, they often can’t achieve the fine texture needed for baking. I recommend a separate grain mill for precise control over texture and to prevent generating too much heat, which can damage the grains.