As I stand in my bespoke cake studio, surrounded by the sweet scent of success and the gentle hum of mixers, I’m reminded of the countless times I’ve been asked to create gluten-free masterpieces that are just as divine as their traditional counterparts. This sparked my passion for crafting a guide to gluten-free baking that would empower home bakers to create stunning, delicious treats that just happen to be gluten-free. I’ve seen far too many people settle for dense, dry cakes or bland flavors, all in the name of accommodating dietary restrictions. But I’m here to tell you that it doesn’t have to be that way.
In this article, I’ll share my honest, no-frills approach to a guide to gluten-free baking, gleaned from years of experimentation and refinement in my own kitchen. You can expect to learn the essential techniques and ingredient combinations that will elevate your gluten-free bakes from bland to grand. From the science of substitute flours to the art of balancing flavors, I’ll guide you through the process with precision and passion. By the end of this journey, you’ll be equipped with the confidence and skills to create breathtaking, gluten-free cakes that will impress even the most discerning palates. So, let’s get started on this gluten-free baking adventure together!
Table of Contents
Guide Overview: What You'll Need
Total Time: 2 hours 30 minutes
Estimated Cost: $20 – $40
Difficulty Level: Intermediate
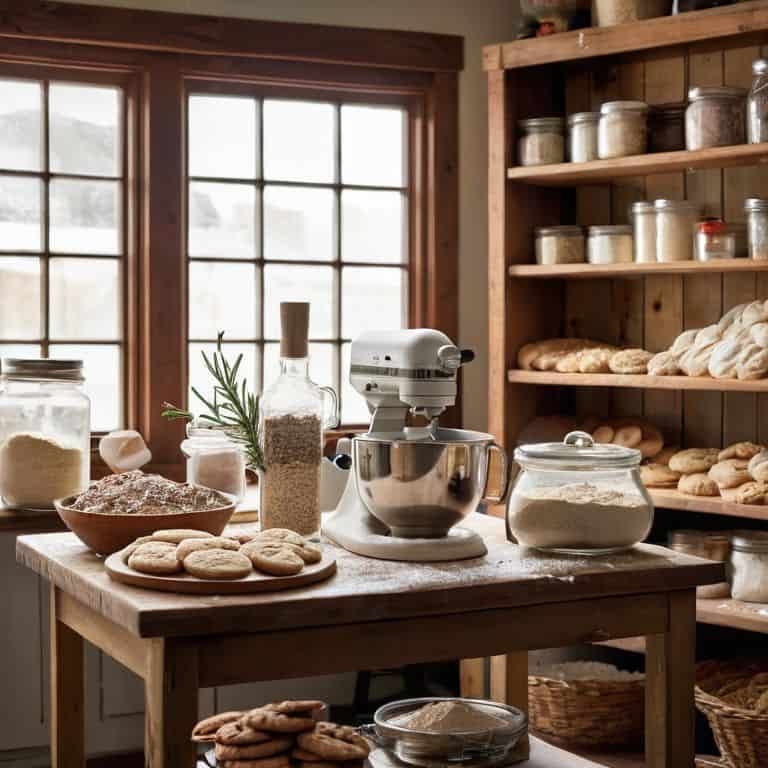
Tools Required
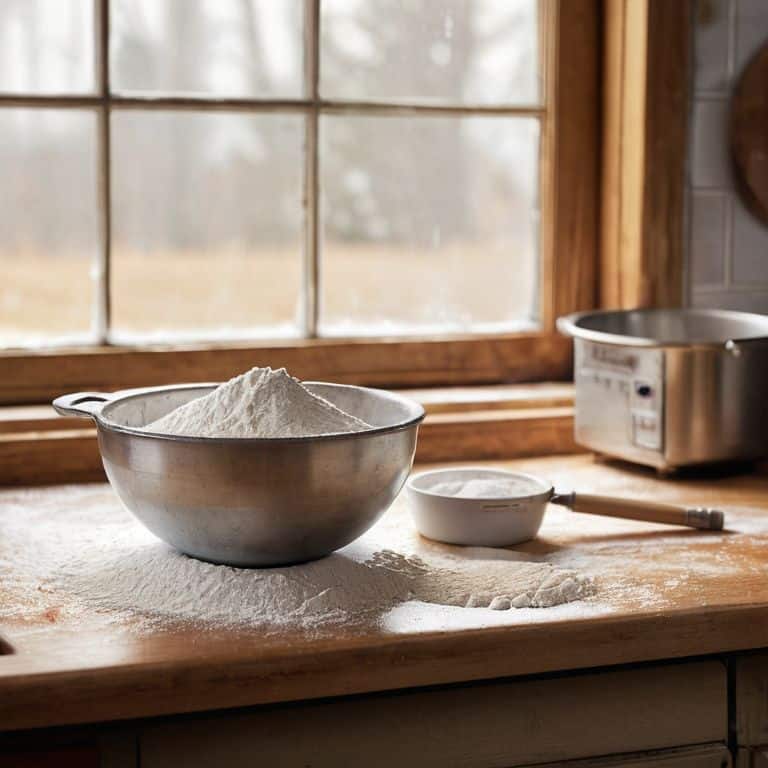
- Mixing Bowls (stainless steel or glass)
- Measuring Cups (dry and liquid)
- Measuring Spoons
- Electric Mixer (stand or handheld)
- Whisk
- Rubber Spatula
Supplies & Materials
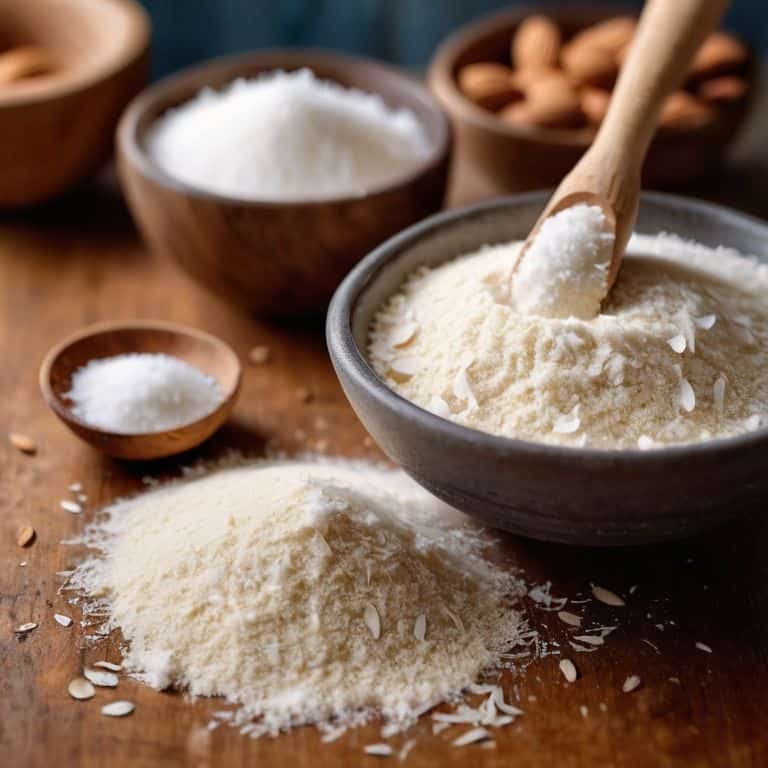
- Gluten-Free Flour (such as almond flour or coconut flour)
- Baking Powder (gluten-free)
- Baking Soda
- Salt
- Sugar
- Eggs
- Butter or Non-Stick Cooking Spray
- Xanthan Gum (optional)
- Vanilla Extract (optional)
Step-by-Step Instructions
- 1. First, let’s start with the foundation of gluten-free baking: understanding the ingredients. It’s essential to know that gluten-free flours behave differently than traditional wheat flour, and the ratio of flours can make or break your bake. I like to experiment with various combinations of almond flour, coconut flour, and rice flour to achieve the perfect texture.
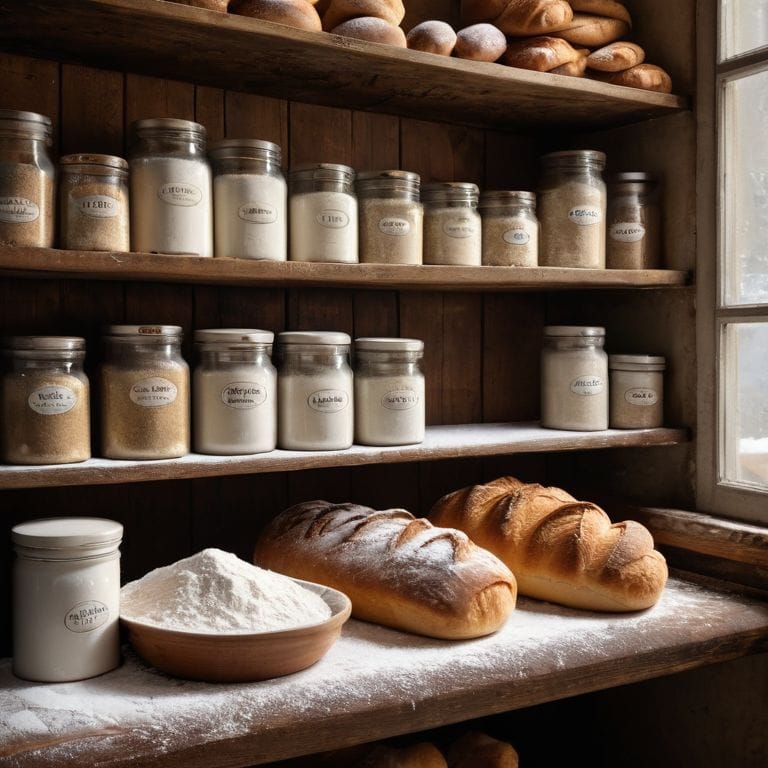
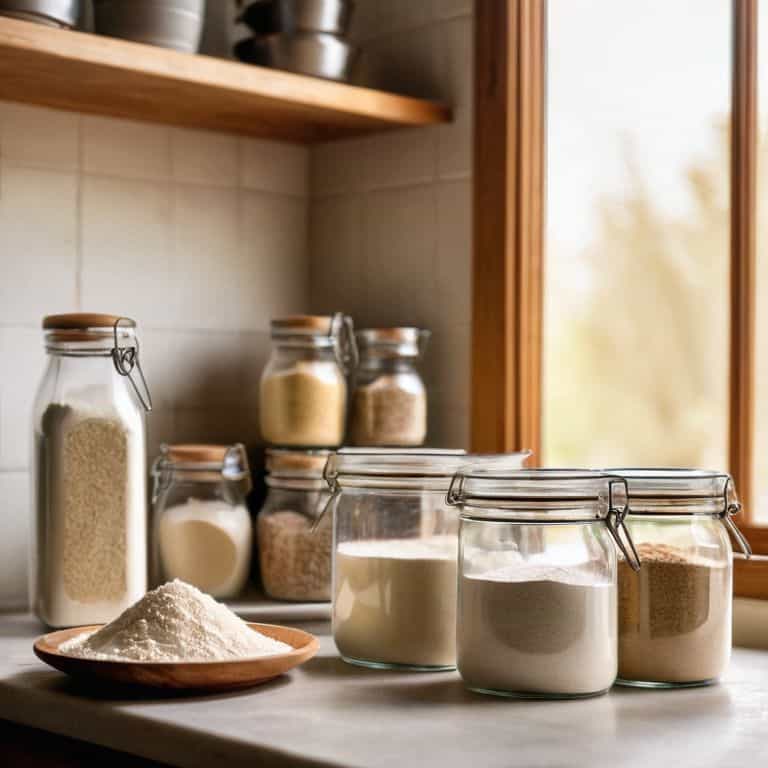
- 2. Next, preparing your pantry is crucial for a seamless baking experience. Make sure you have all the necessary ingredients, including gluten-free flours, sugar, eggs, and high-quality vanilla extract. I swear by the richness and depth that high-quality vanilla adds to my bakes, and it’s worth investing in a good bottle.
- 3. Now, let’s move on to the art of mixing. When working with gluten-free ingredients, it’s essential to be gentle and not overmix. Overmixing can lead to a dense and tough final product, which is the opposite of what we’re aiming for. I like to use a combination of a stand mixer and a gentle folding technique to ensure my ingredients are just combined.
- 4. Once you’ve mixed your ingredients, it’s time to focus on the liquid content. Gluten-free bakes can often be dry and crumbly, but adding the right amount of liquid can make all the difference. I like to use a combination of eggs, butter, and buttermilk to add moisture and tenderness to my bakes.
- 5. With your mixture ready, it’s time to shape and mold your creation. Whether you’re making a cake, cookies, or bread, the shape and structure of your bake can make or break its presentation. I like to use a variety of molds and pans to add visual interest to my bakes, and I always make sure to grease them properly to ensure a smooth release.
- 6. Now, let’s talk about temperature and timing. Gluten-free bakes can be more delicate than traditional bakes, and the temperature and timing of your oven can greatly impact the final result. I like to use a combination of a digital thermometer and a timer to ensure my bakes are cooked to perfection.
- 7. Finally, decorating and presenting your gluten-free bake is where the magic happens. I love using a variety of techniques, from piping and frosting to fresh flowers and greenery, to add a touch of elegance and sophistication to my bakes. Remember, the presentation of your bake is just as important as the taste, so don’t be afraid to get creative and have fun with it!
A Guide to Gluten Free Baking
As I delve deeper into the world of gluten-free baking, I want to share some essential tips that will elevate your creations from good to extraordinary. One of the most crucial aspects of gluten-free baking is understanding the role of different flours, such as almond flour and coconut flour. Proper substitution is key to achieving the right texture and flavor in your baked goods.
When working with gluten-free pastry dough, it’s essential to be gentle and patient, as it can be more delicate than traditional dough. I recommend using a combination of rice flour and other gluten-free flours to create a robust and pliable dough. Coconut flour baking tips are also invaluable, as this flour can be particularly finicky. By mastering the art of gluten-free pastry dough, you’ll be able to create stunning desserts, from intricate tartlets to majestic croquembouches.
For those just starting out, gluten-free baking for beginners can seem daunting, but fear not! With practice and patience, you’ll soon be whipping up delicious treats like rice flour cake recipes and gluten-free bread recipes. Remember to always use high-quality ingredients, including real vanilla and European-style butter, to give your baked goods that extra layer of depth and complexity. By following these tips and experimenting with different ingredients, you’ll be well on your way to creating gluten-free masterpieces that are sure to impress.
Mastering Gluten Free Bread Recipes
As I delve into the world of gluten-free bread, I’m reminded of the countless hours I spent perfecting my craft in the kitchens of Paris. The key to mastering gluten-free bread recipes lies in understanding the unique properties of each ingredient. For instance, using a combination of rice flour, almond flour, and coconut flour can create a delicate balance of textures and flavors. I always start by sketching out my design, considering the nuances of each flour and how they will interact with the other ingredients.
To achieve that perfect crumb and crust, it’s essential to experiment with different ratios of flours and starches. I’ve found that adding a touch of xanthan gum can help replicate the binding properties of gluten, resulting in a more tender and airy loaf. By embracing the art of experimentation and trusting your instincts, you’ll be well on your way to creating gluten-free bread that’s not only delicious but also visually stunning.
Unlocking Almond Flour Substitution Secrets
When substituting almond flour in gluten-free baking, it’s essential to understand its unique characteristics. Almond flour is high in fat and protein, which can affect the texture and structure of your baked goods. To achieve the best results, I recommend using a combination of almond flour and starches, such as tapioca or potato starch, to balance out the texture. Additionally, keep in mind that almond flour can be quite dense, so you may need to adjust the liquid content of your recipe accordingly.
By mastering the art of almond flour substitution, you’ll unlock a world of delicious and creative gluten-free possibilities. From tender cakes to crunchy cookies, the versatility of almond flour will inspire you to experiment with new flavors and textures. With a little practice and patience, you’ll be able to substitute almond flour with confidence, creating stunning and mouth-watering treats that are sure to impress.
Elevating Your Gluten-Free Baking: 5 Essential Tips
- Choose the right gluten-free flours: Experiment with almond, coconut, and rice flours to find the perfect blend for your baked goods
- Understand the role of xanthan gum: This magic ingredient helps replicate the binding properties of gluten, ensuring your treats hold together beautifully
- Don’t overmix: Gluten-free batters can be delicate, so mix wet and dry ingredients separately and gently fold them together for a tender crumb
- Pay attention to liquid content: Gluten-free flours can absorb more liquid than traditional flours, so adjust your recipe accordingly to achieve the perfect consistency
- Invest in high-quality ingredients: From farm-fresh eggs to pure vanilla extract, using the best ingredients will elevate your gluten-free baked goods from ordinary to extraordinary
Key Takeaways for the Discerning Baker
Always prioritize the quality of your ingredients, as this will directly impact the texture and flavor of your gluten-free creations – I only use the finest almond flour and European butter in my recipes
Mastering the art of gluten-free baking requires patience, practice, and a willingness to experiment with innovative ingredient combinations and techniques, such as using psyllium husk to enhance texture
By embracing the unique challenges and opportunities of gluten-free baking, you’ll not only create delicious treats that everyone can enjoy, but also develop a more nuanced understanding of the intricate dance between ingredients, temperature, and time in the kitchen
The Art of Gluten-Free Baking
Gluten-free baking is not just about substitution, it’s about transformation – it’s about uncovering the hidden potential in every ingredient and weaving them together into a culinary tapestry that’s as delicious as it is beautiful.
Alison Lawson
Beyond the Bake: A Final Flourish

As we conclude this journey through the world of gluten-free baking, let’s take a moment to reflect on the key takeaways. We’ve mastered the art of gluten-free bread recipes, unlocked the secrets of almond flour substitution, and explored the intricacies of ingredient ratios. By understanding the science behind gluten-free baking, we’ve empowered ourselves to create delicious, tender, and visually stunning treats that rival their traditional counterparts. Whether you’re a seasoned baker or just starting out, remember that practice and patience are essential to honing your craft.
As you close this guide and embark on your own gluten-free baking adventures, I encourage you to think of each new creation as a blank canvas, waiting for your unique touch and artistic expression. Don’t be afraid to experiment, to try new ingredients, and to push the boundaries of what’s possible. With every delicate layer and intricate design, you’ll not only be crafting edible masterpieces, but also sharing a piece of yourself with the world. Happy baking, and I look forward to seeing the incredible creations you’ll bring to life!
Frequently Asked Questions
What are the most common mistakes to avoid when substituting gluten-containing flours with gluten-free alternatives?
When substituting gluten-containing flours, beware of over-reliance on xanthan gum and neglecting to adjust liquid content. Also, be mindful of the ratio of flours, as using too much of a single gluten-free flour can lead to dense or crumbly textures. Remember, it’s all about balance and harmony in your gluten-free baking.
How do I achieve the right texture and structure in gluten-free baked goods, especially when using almond flour or coconut flour?
To achieve the perfect texture and structure in gluten-free baked goods, I swear by the right ratio of almond flour to coconut flour. For me, it’s all about balance – a delicate dance of densities. I typically use a 2:1 or 3:1 ratio of almond flour to coconut flour, depending on the desired crumb and moisture level.
Can I still create beautifully layered and decorated cakes using gluten-free ingredients, and if so, what special considerations should I keep in mind?
Absolutely, my friends! With gluten-free ingredients, you can still craft stunning, layered masterpieces. Key considerations include choosing the right flour blend, ensuring proper structural support, and adjusting liquid content. I always sketch my design beforehand to visualize the final piece, and I recommend you do the same to bring your edible art to life.