I still remember the first time I worked with isomalt – it was like discovering a whole new world of sugar art possibilities. As a Master Pastry Chef, I’ve seen many claim that working with isomalt is too difficult, but I’m here to tell you that with the right techniques and patience, it can be a game-changer for any pastry chef or home baker. In this article, I’ll share my journey and provide a comprehensive a guide to isomalt for sugar work, covering the basics, tips, and tricks to help you master this versatile sugar substitute.
As you read through this guide, you’ll learn the fundamentals of isomalt and how to apply them to create stunning sugar work pieces. I’ll share my personal experiences, from the triumphs to the failures, and provide you with practical advice on how to overcome common challenges. Whether you’re a seasoned pro or just starting out, this guide will give you the confidence to work with isomalt and take your sugar art to the next level. By the end of this article, you’ll have a clear understanding of how to use isomalt to create beautiful and intricate designs, and you’ll be well on your way to becoming a master of sugar work.
Table of Contents
Guide Overview: What You'll Need
Total Time: 2 hours 30 minutes
Estimated Cost: $20 – $50
Difficulty Level: Intermediate
Tools Required
- Double Boiler (or a heat-proof bowl set over a pot of simmering water)
- Candy Thermometer (for accurate temperature readings)
- Silicone Mat (for cooling and shaping isomalt)
- Gloves (for handling hot isomalt)
- Molds (various shapes and sizes for creating intricate designs)
Supplies & Materials
- Isomalt (granulated or powder form)
- Water (for mixing with isomalt)
- Food Coloring (optional, for coloring isomalt)
- Flavorings (optional, for adding flavor to isomalt)
- Confectioner’s Glaze (optional, for adding a high-gloss finish)
Step-by-Step Instructions
- 1. First, let’s start with the basics: understanding isomalt. Isomalt is a sugar substitute that’s derived from beet sugar, and it’s a game-changer for sugar work. It’s essential to know that isomalt has a higher melting point than sugar, which makes it ideal for creating intricate designs and structures. To begin, you’ll need to gather your ingredients and equipment, including isomalt, a thermometer, and a heat-resistant surface.
- 2. Next, you’ll need to prepare your isomalt. This involves measuring out the correct amount of isomalt and heating it to the right temperature. I always say that temperature is key when working with isomalt, so make sure you have a reliable thermometer on hand. Heat the isomalt to around 350°F (175°C), stirring occasionally, until it reaches a smooth and consistent texture.
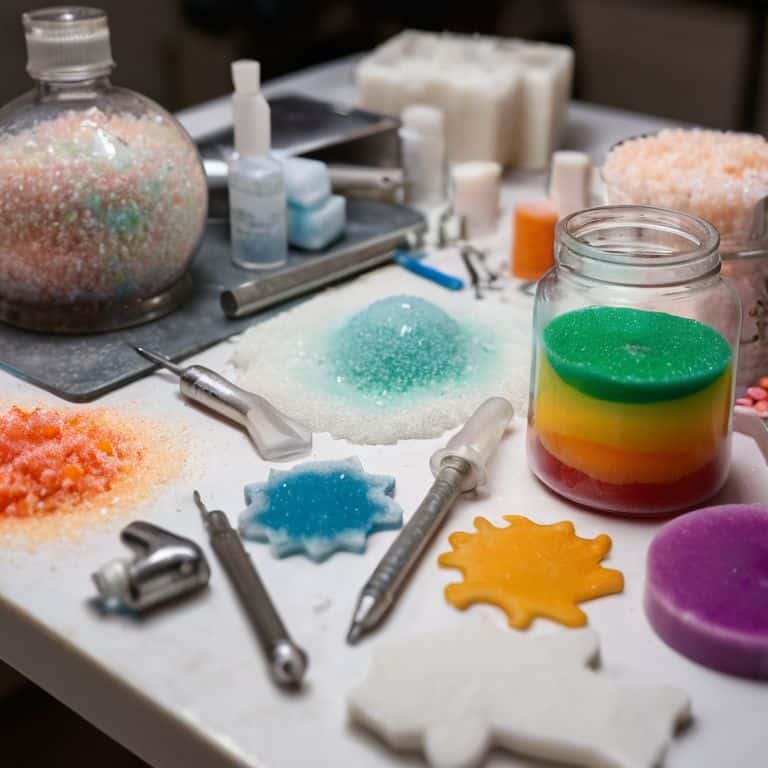
- 3. Now it’s time to color your isomalt, if desired. This is where you can get creative and add a pop of color to your sugar work. Use a small amount of food-grade dye or pigment to tint the isomalt, and be careful not to add too much, as this can affect the texture and stability of the isomalt. I like to use a gradual building approach when adding color, as it allows me to achieve the perfect shade.
- 4. With your isomalt prepared and colored, it’s time to shape and mold it into the desired form. This is where the magic happens, and you can create intricate designs and patterns. Use a heat-resistant tool, such as a metal or silicone spatula, to shape and mold the isomalt. Remember to work quickly, as the isomalt will start to set and become more rigid as it cools.
- 5. As you work with the isomalt, it’s essential to control the temperature. If the isomalt becomes too cool, it will start to set and become brittle, while if it’s too hot, it will be difficult to work with. I like to use a temperature-controlled environment to keep the isomalt at the perfect temperature, usually around 275°F (135°C). This allows me to work with the isomalt for an extended period without it becoming too rigid or too soft.
- 6. Once you’ve shaped and molded your isomalt, it’s time to add any final details. This could include adding texture, patterns, or even small decorations. Use a small tool, such as a toothpick or a skewer, to add intricate details and textures to your sugar work. Remember to be patient and take your time, as this is where the devil is in the details.
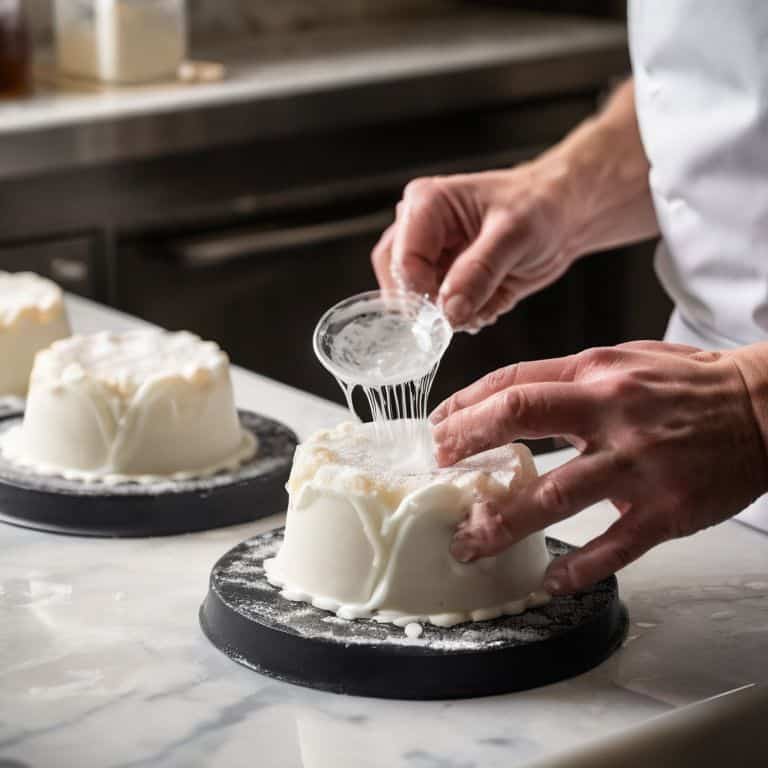
- 7. Finally, it’s time to set and finish your sugar work. Allow the isomalt to cool and set completely, which can take anywhere from a few minutes to an hour, depending on the size and complexity of the piece. Once set, use a soft brush to remove any excess isomalt or debris, and your sugar work is ready to be displayed. I like to use a dusting of powdered sugar to add a finishing touch and give the piece a professional look.
A Guide to Isomalt for Sugar Work
As I continue to experiment with isomalt sugar substitutes in baking, I’ve discovered that the key to successful sugar work lies in understanding the unique properties of isomalt. When working with isomalt for cake decorations, it’s essential to consider the temperature and humidity of your environment, as these factors can significantly impact the outcome. I’ve found that a controlled environment, coupled with precise temperature control, allows for more consistent results.
One of the most significant advantages of using isomalt is its ability to be pulled and shaped with ease, making it an ideal choice for intricate designs and patterns. However, it’s crucial to note that isomalt vs granulated sugar for pulling is not a straightforward comparison, as isomalt requires a specific technique and temperature range to achieve the desired texture. By mastering this technique, you’ll be able to create stunning clear isomalt recipes for sugar art that showcase your skills and attention to detail.
To take your isomalt creations to the next level, consider experimenting with tips for coloring isomalt for sugar work. By adding a few drops of food-grade coloring to your isomalt mixture, you can achieve a wide range of vibrant hues and shades. Just be sure to follow isomalt safety precautions in the kitchen, as the material can be hazardous if not handled properly. With practice and patience, you’ll be able to unlock the full potential of isomalt and create breathtaking sugar art pieces that impress and delight.
Clear Isomalt Recipes for Sugar Masters
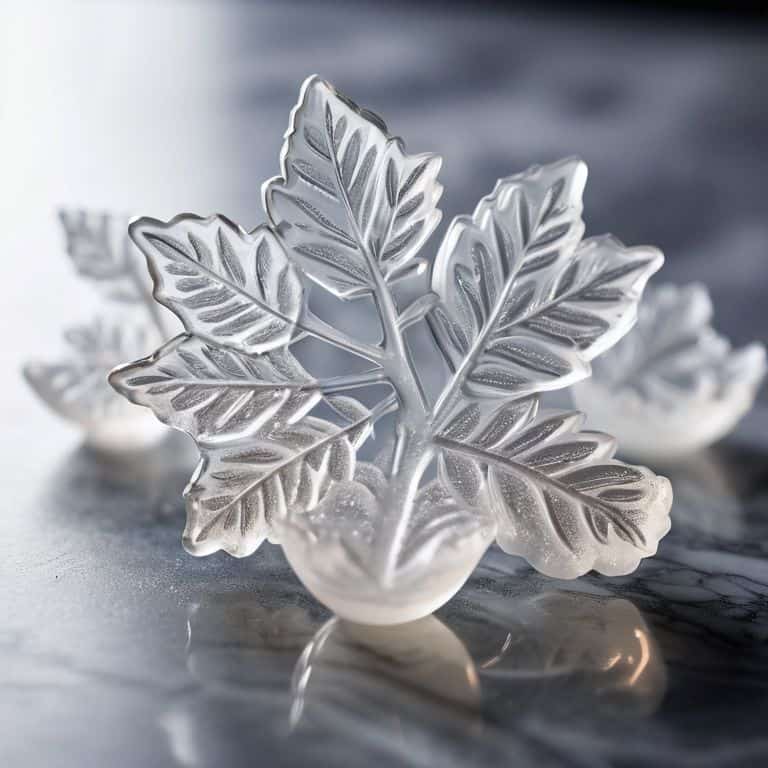
As I delve into the world of clear isomalt recipes, I’m reminded of the precise temperatures and techniques that elevate this sugar substitute. To create stunning, crystal-clear isomalt decorations, it’s essential to master the basics. I recommend starting with a simple isomalt syrup, carefully heated to 340°F (171°C) to achieve the perfect clarity. From there, you can experiment with adding flavorings or colorings to create unique and intricate designs.
For those seeking to push the boundaries of sugar art, I suggest exploring isomalt pulling and blowing techniques. By heating the isomalt to the ideal temperature, around 275°F (135°C), you can create delicate, lace-like patterns that add an extra layer of sophistication to your creations. With practice and patience, you’ll be able to craft breathtaking isomalt pieces that showcase your skill and artistry.
Isomalt vs Granulated Sugar the Truth
When it comes to sugar work, the age-old debate rages on: isomalt vs granulated sugar. As someone who’s spent years perfecting their craft, I can tell you that the choice between these two isn’t just about personal preference – it’s about the desired outcome. Granulated sugar, with its rough texture and tendency to crystallize, can be unpredictable in sugar work applications. Isomalt, on the other hand, offers a smoother, more pliable alternative that can be molded and shaped with precision.
In my experience, isomalt is the clear winner when it comes to creating intricate, delicate designs. Its lower melting point and resistance to humidity make it ideal for sugar sculptures and delicate work. However, granulated sugar still has its place in certain applications, such as creating textured, organic shapes. Ultimately, the choice between isomalt and granulated sugar depends on the specific project and the desired aesthetic.
Mastering Isomalt: 5 Essential Tips for Sugar Work Perfection
- Start with the right temperature: I always say that temperature is the most important ‘ingredient’ in pastry, and this is especially true when working with isomalt – make sure your workspace and tools are at the ideal temperature for optimal results
- Choose the right isomalt product for your project: Not all isomalt is created equal, and selecting the right type can make all the difference in achieving the desired texture and appearance
- Don’t overcook your isomalt: This is a common mistake that can lead to a brittle or discolored final product – keep a close eye on your isomalt as it heats and cools to ensure you’re stopping at the perfect moment
- Experiment with flavor infusions: Isomalt can be a great canvas for unique and interesting flavor combinations, so don’t be afraid to try adding a few drops of extract or a pinch of spice to give your sugar work an extra boost
- Practice, practice, practice: Like any skill, working with isomalt takes time and practice to master – don’t get discouraged if your first attempts don’t turn out as expected, and be willing to try new techniques and approaches until you achieve the results you’re looking for
Mastering Isomalt: 3 Key Takeaways
I’ve learned that working with isomalt requires a deep understanding of temperature and humidity, as these factors can drastically affect the outcome of your sugar work
Through my experience, I’ve found that isomalt can be a game-changer for creating intricate designs and structures, but it demands patience, practice, and a willingness to experiment and learn from failures
By mastering the art of isomalt, you’ll not only elevate your sugar work to new heights but also develop a keen sense of observation and precision, essential skills for any pastry chef or serious home baker
The Art of Sugar Work
Isomalt is not just a substitute for sugar, it’s a key to unlocking a new dimension of creativity in sugar art, where the boundaries of temperature, texture, and taste are pushed to perfection.
Juliette Le Roux
Mastering the Art of Isomalt: A Sweet Conclusion
As we conclude this guide to isomalt for sugar work, it’s essential to summarize the key points that will elevate your sugar art to the next level. We’ve discussed the importance of temperature control when working with isomalt, and how it can make or break the success of your creations. We’ve also explored the differences between isomalt and granulated sugar, and how to choose the right recipes for your projects. By mastering these techniques and understanding the unique properties of isomalt, you’ll be well on your way to creating exquisite sugar designs that will leave a lasting impression.
As you continue on your journey to mastery, remember that practice and patience are key. Don’t be discouraged by initial failures – instead, use them as opportunities to learn and grow. With dedication and a willingness to experiment, you’ll unlock the full potential of isomalt and discover new ways to express your creativity. So, go ahead and push the boundaries of what’s possible with sugar art – the world of sugar mastery is waiting for you, and with these skills, you’ll be unstoppable.
Frequently Asked Questions
What are the most common mistakes to avoid when working with isomalt in sugar art?
When working with isomalt, I see many artists fall into the trap of overheating or underheating it, leading to a brittle or too-soft finish. Another common mistake is not controlling the humidity, causing the isomalt to become sticky or discolored. To avoid these pitfalls, I always stress the importance of precise temperature control and a well-regulated workspace.
How do I achieve the perfect crystal clarity when casting isomalt for decorative pieces?
To achieve crystal clarity, I swear by precise temperature control. For casting isomalt, aim for an exact temperature of 340°F to 350°F. Any higher, and you risk introducing bubbles; any lower, and it won’t set properly. Trust me, practice makes perfect – I’ve spent years mastering this technique to create stunning decorative pieces.
Can isomalt be colored or flavored, and if so, what are the best methods for doing so without compromising its structure?
Coloring and flavoring isomalt is an art form – I adore adding a hint of citrus or berry to my sugar work. To do so, I recommend using oil-based flavors and gel or paste food colorings, as they won’t compromise isomalt’s structure. When done correctly, the result is breathtaking, and I’m excited to share my favorite techniques with you.