I still remember the day I discovered the joy of making my own vanilla extract. It was a game-changer for my baking, and I’ve never looked back. As a former test kitchen manager, I’ve had my fair share of experimenting with different ingredients and techniques, but there’s something special about crafting your own vanilla extract from scratch. It’s a process that requires patience, but the end result is well worth the wait. If you’re looking for a guide to making your own vanilla extract, you’re in the right place.
In this article, I’ll share my no-nonsense approach to making vanilla extract at home. I’ll walk you through the simple process, highlighting the key ingredients and essential steps you need to follow. You won’t find any fancy gimmicks or overcomplicated instructions here – just straightforward, practical advice from someone who’s been around the block a few times. By the end of this guide, you’ll be equipped with the knowledge and confidence to start making your own vanilla extract, and I’m excited to share my expertise with you.
Table of Contents
- Guide Overview: What You'll Need
- Step-by-Step Instructions
- A Guide to Making Your Own Vanilla Extract
- Mastering Homemade Vanilla Extract: 5 Essential Tips
- Key Takeaways for the Aspiring Vanilla Virtuoso
- The Essence of Homemade Vanilla
- Conclusion: Elevating Your Baking with Homemade Vanilla Extract
- Frequently Asked Questions
Guide Overview: What You'll Need
Total Time: 2 weeks to 6 months
Estimated Cost: $10 – $30
Difficulty Level: Easy
Tools Required
- Glass Jar with a tight-fitting lid
Supplies & Materials
- Vanilla Beans high-quality, fresh beans
- Vodka or other neutral-tasting alcohol, 35-40 percent alcohol by volume
- Cheesecloth or a coffee filter for straining the extract
Step-by-Step Instructions
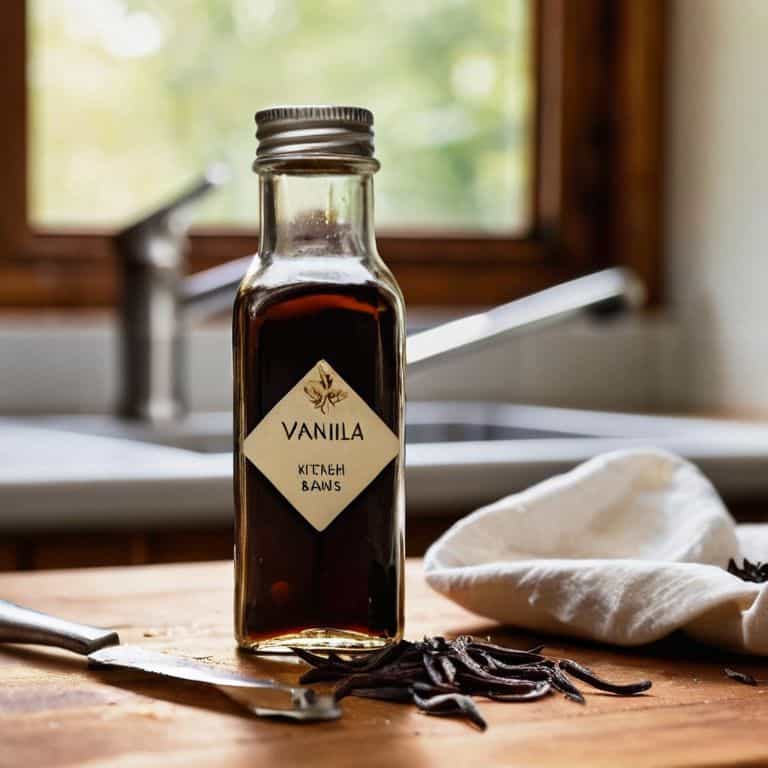
- 1. First, gather your ingredients and equipment, which include high-quality vanilla beans, a clean glass jar with a tight-fitting lid, vodka or another neutral-tasting spirit, and a sharp knife for slicing the vanilla beans. I like to use a _precision knife_ to get the job done efficiently.
- 2. Next, prepare your vanilla beans by slicing them lengthwise to release their flavorful seeds and oils. This is a crucial step, as it will help to infuse the spirit with the vanilla flavor and aroma. I find that using _three to four vanilla beans_ per cup of spirit is the perfect ratio.
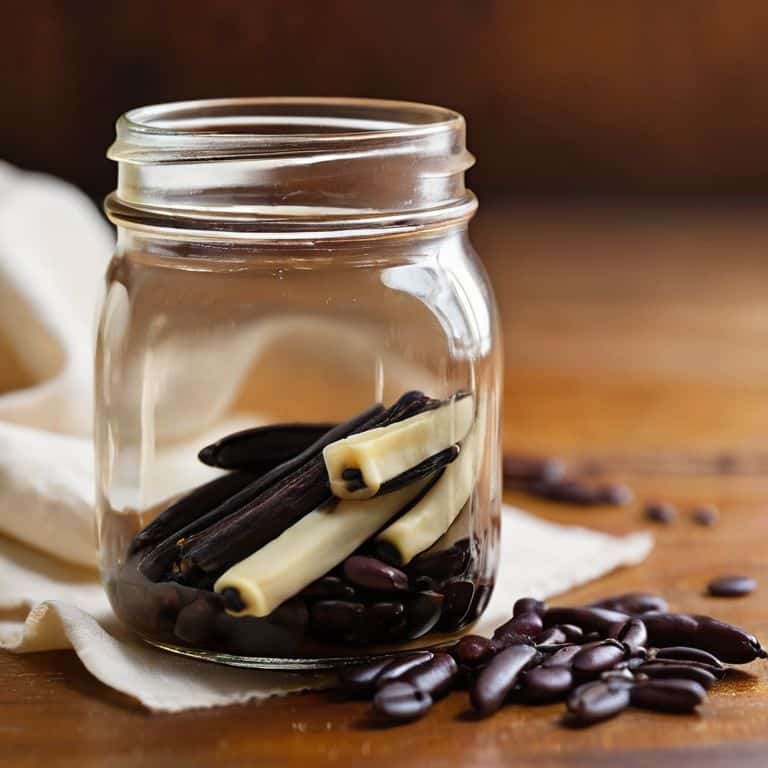
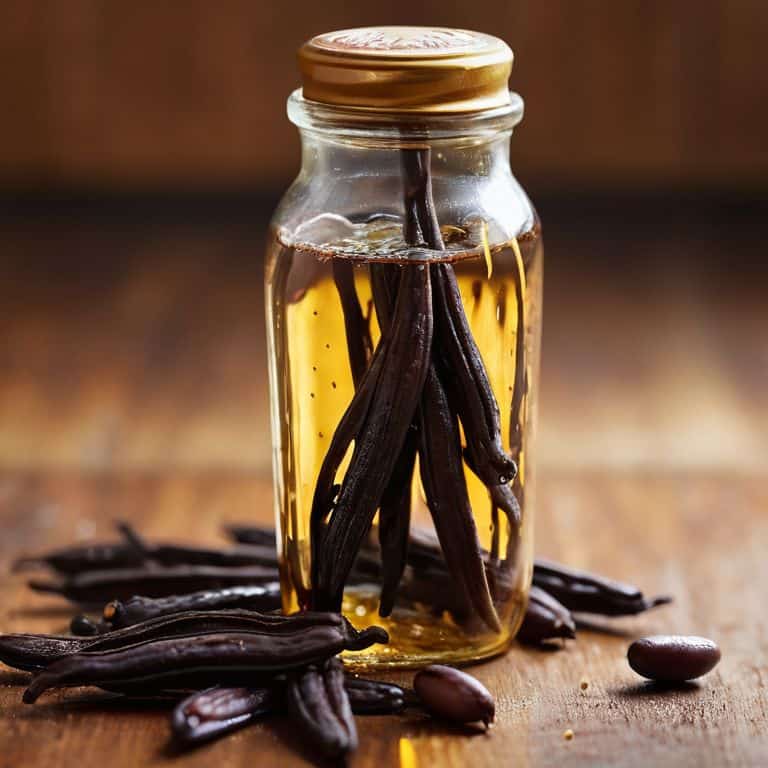
- 3. Now, place the sliced vanilla beans in the glass jar, making sure they are completely submerged in the spirit. I recommend using a _high-quality vodka_ that is at least 35% alcohol, as this will help to preserve the extract and prevent mold or bacteria from growing.
- 4. Seal the jar tightly and store it in a cool, dark place, such as a pantry or cupboard. It’s essential to shake the jar regularly, at least once a week, to help distribute the vanilla flavor and oils evenly. I like to use a _calendar reminder_ to ensure I don’t forget this crucial step.
- 5. Allow the mixture to steep for at least six weeks, which will enable the vanilla flavors to mature and blend with the spirit. During this time, you can _monitor the extract’s progress_ by checking its color and aroma, which should become richer and more intense over time.
- 6. After the steeping process is complete, strain the extract through a _coffee filter or cheesecloth_ to remove the vanilla beans and any sediment. This will help to clarify the extract and give it a smooth, consistent texture.
- 7. Finally, transfer the vanilla extract to smaller bottles or jars, making sure to label and date each one so you can keep track of how long they’ve been stored. I recommend using _dark-tinted glass bottles_ to protect the extract from light and preserve its flavor and aroma.
A Guide to Making Your Own Vanilla Extract
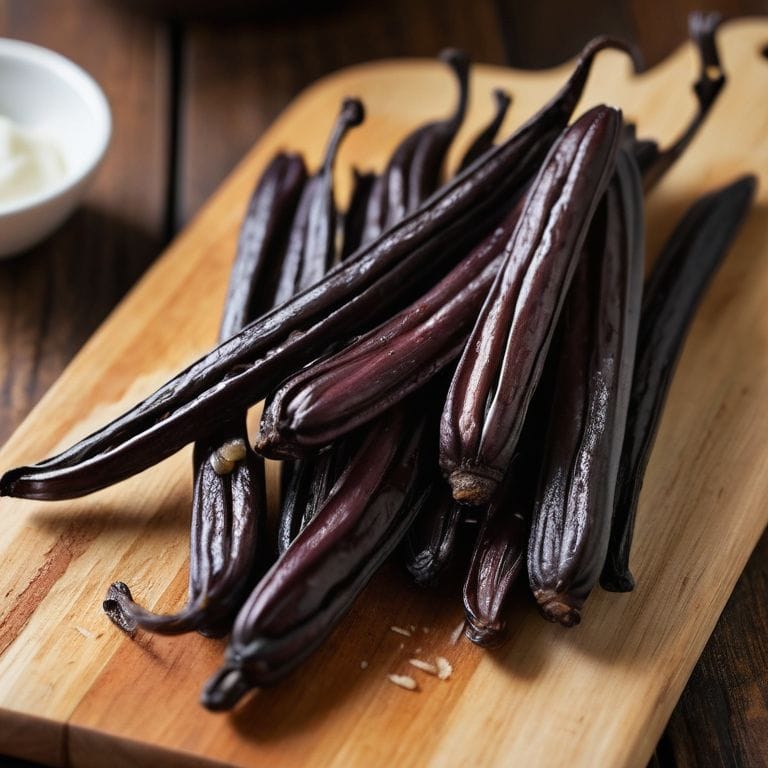
When it comes to making your own vanilla extract, vanilla bean quality factors play a significant role in determining the final flavor profile. I’ve found that using high-quality beans with a high moisture content results in a more complex and aromatic flavor. To ensure you’re getting the best beans, look for ones that are plump, shiny, and have a sweet, creamy aroma.
In addition to using high-quality beans, homemade vanilla extract benefits include the ability to customize the flavor profile to your liking. You can experiment with different types of vodka, such as infused vodka recipes, to create unique and interesting flavor combinations. For example, you can try using a citrus-infused vodka to give your extract a bright and citrusy note.
To get the most out of your homemade vanilla extract, it’s essential to store it properly. I recommend using a dark glass bottle and keeping it in a cool, dry place. This will help preserve the flavor and aroma of the extract. You can also consider using diy vanilla extract kits, which often include storage containers and instructions for making and storing your own extract. By following these tips, you can enjoy the vanilla flavor profile enhancement that comes with using high-quality, homemade vanilla extract in your baking.
Evaluating Vanilla Bean Quality Factors
When it comes to making your own vanilla extract, the quality of the vanilla beans is paramount. I’ve found that the best beans are those that are plump, moist, and have a deep, rich aroma. Avoid beans that are dry, wrinkled, or have an off smell – they’ll only compromise the flavor of your extract. In my experience, Madagascar and Tahitian beans offer the most complex and nuanced flavors, but feel free to experiment with different varieties to find your favorite.
I’ve developed a simple ranking system to evaluate vanilla bean quality, which I’ve outlined in my spreadsheet (yes, I’m a bit of a nerd when it comes to this stuff). Essentially, I look for beans with a high moisture content, a rich, creamy flavor, and a deep brown color. By choosing high-quality beans, you’ll be able to create a truly exceptional vanilla extract that elevates all your baked goods to the next level.
Unlocking Homemade Vanilla Extract Benefits
Unlocking Homemade Vanilla Extract Benefits
Making your own vanilla extract offers a world of benefits. For one, it allows you to control the quality of the ingredients, ensuring that your extract is free from additives and artificial flavorings. This results in a more nuanced and rich flavor profile that’s hard to replicate with store-bought alternatives. Additionally, homemade vanilla extract can be customized to your taste preferences, whether you like it strong and intense or subtle and sweet.
By crafting your own vanilla extract, you’re also investing in a cost-effective and sustainable solution for your baking needs. With a one-time purchase of high-quality vanilla beans, you can create multiple batches of extract, making it a worthwhile investment for any serious home baker.
Mastering Homemade Vanilla Extract: 5 Essential Tips
- Selecting the optimal vanilla bean variety for your extract, such as Madagascar or Tahitian, can significantly impact the flavor profile
- Ensuring proper sterilization of your equipment and storage container is crucial to prevent contamination and spoilage
- Maintaining a consistent ratio of vanilla beans to solvent, typically a neutral-tasting alcohol like vodka or rum, is vital for balanced flavor
- Allowing the extract to mature for an extended period, ideally 4-6 weeks, enables the flavors to meld and intensify, resulting in a richer, more complex taste
- Regularly shaking the extract during the maturation process helps to distribute the vanilla flavors and aromas, leading to a smoother, more refined final product
Key Takeaways for the Aspiring Vanilla Virtuoso
I’ve found that using high-quality vanilla beans is crucial for a rich and depthful extract, and I recommend evaluating them based on factors like moisture content, aroma, and appearance
Through my experimentation, I’ve determined that the ideal ratio of vanilla beans to vodka is 1:2, and that allowing the mixture to steep for at least 6 weeks results in a more complex flavor profile
By following my tried-and-true method and investing in a few simple tools, like a glass jar and a cutting board, you can create your own exceptional vanilla extract at home and take your baking to the next level
The Essence of Homemade Vanilla
Making your own vanilla extract is not just about adding a new skill to your baking repertoire, it’s about understanding the nuances of flavor and the value of patience in creating something truly exceptional.
David Grant
Conclusion: Elevating Your Baking with Homemade Vanilla Extract
In conclusion, making your own vanilla extract is a straightforward process that requires just a few high-quality ingredients and some patience. By following the steps outlined in this guide, you can create a rich, aromatic extract that will elevate your baked goods to the next level. As we’ve discussed, evaluating vanilla bean quality is crucial to achieving the best flavor, and understanding the benefits of homemade vanilla extract, such as its * superior flavor profile* and cost-effectiveness, can make a significant difference in your baking. Whether you’re a seasoned baker or just starting out, this simple yet rewarding process can help you take your skills to new heights.
As you embark on your homemade vanilla extract journey, remember that the key to success lies in the details. By paying attention to the quality of your ingredients and the labor of love that goes into crafting your extract, you’ll be rewarded with a truly exceptional flavor that will make your baked goods stand out. So, don’t be afraid to experiment, try new things, and push the boundaries of what’s possible with your homemade vanilla extract. With time and practice, you’ll become a vanilla virtuoso, capable of creating exquisite treats that will delight and impress anyone who tries them.
Frequently Asked Questions
What is the optimal ratio of vanilla beans to alcohol for making extract?
For optimal extraction, I recommend a ratio of 1-2 vanilla beans per 8 ounces of alcohol, with a minimum of 35% ABV. This allows for a rich, balanced flavor without overpowering the other ingredients. I’ve tested various ratios, and this sweet spot yields the best results, as outlined in my trusty spreadsheet.
How do I store my homemade vanilla extract to preserve its flavor and aroma?
To preserve your homemade vanilla extract’s flavor and aroma, store it in a cool, dark place, such as a cupboard or pantry. I recommend using a high-quality, airtight glass bottle, like the ones I’ve ranked in my spreadsheet. This will help prevent light and air from degrading the extract’s quality over time.
Can I use different types of alcohol, such as rum or bourbon, to create unique flavor profiles in my vanilla extract?
While traditional vanilla extract uses vodka or neutral spirits, you can experiment with rum or bourbon for unique flavor profiles. However, keep in mind that these spirits will impart distinct flavors, so start with small batches to ensure the result isn’t overpowering. I’ve found that rum, in particular, can add a rich, velvety note to vanilla extract.