As I stood in my Parisian pastry kitchen, staring down at a batch of broken buttercream, I couldn’t help but think of all the novice bakers out there who have fallen victim to this common culprit. The myth that how to fix broken buttercream is a complicated, rocket-science-esque process is one that I’m eager to debunk. In reality, reviving this sweet disaster is often a matter of simple technique and patience. I’ve lost count of how many times I’ve had to rescue a batch of buttercream from the brink of disaster, and I’m excited to share my expertise with you.
In this article, I’ll walk you through the no-nonsense steps to fix broken buttercream, from identifying the root cause of the problem to adding the final touches. You’ll learn how to troubleshoot common issues, adjust your technique, and ultimately achieve a smooth, creamy finish. Whether you’re a seasoned pro or a beginner, my goal is to empower you with the knowledge and confidence to tackle even the most daunting buttercream challenges. By the end of this guide, you’ll be well on your way to mastering the art of how to fix broken buttercream and creating beautiful, professional-looking cakes that are sure to impress.
Table of Contents
Guide Overview: What You'll Need

Total Time: 30 minutes to 1 hour
Estimated Cost: $5 – $15
Difficulty Level: Easy
Tools Required
- Whisk (for mixing)
- Measuring Cups (for accurate measurements)
- Electric Mixer (optional)
Supplies & Materials
- Powdered Sugar (to adjust consistency)
- Butter or Shortening (to adjust consistency and flavor)
- Food Coloring (if color correction is needed)
- Flavor Extracts (if flavor adjustment is needed)
Step-by-Step Instructions
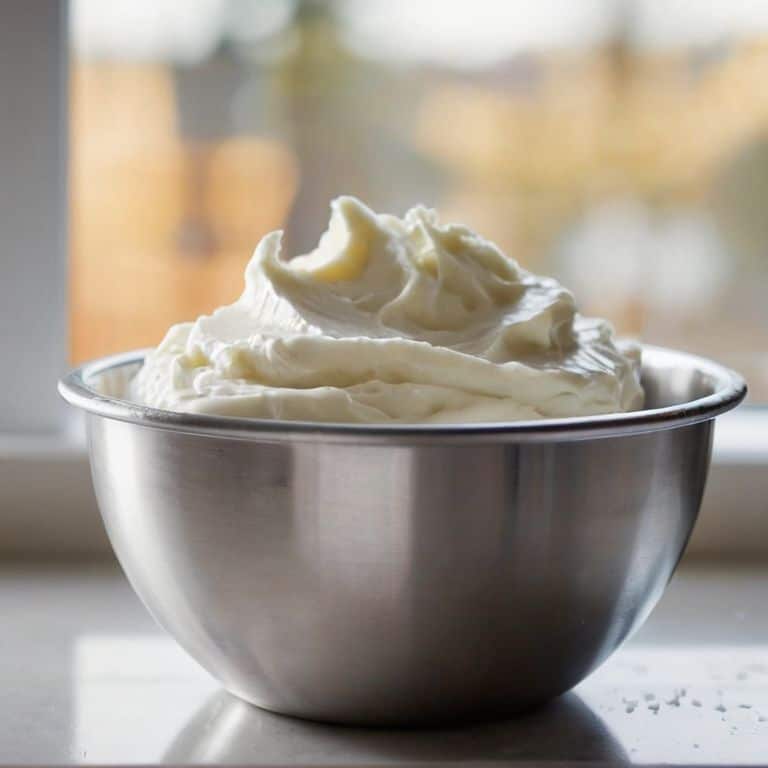
- 1. First, let’s understand that broken buttercream is not the end of the world, and it’s actually quite easy to fix. To start, take a deep breath and assess the situation – is your buttercream too thin, too thick, or has it separated into a sad, curdled mess? Knowing what’s gone wrong is the first step to making it right.
- 2. Next, if your buttercream has become too thin, the solution is often as simple as adding a bit more powdered sugar. However, be cautious not to overdo it, as this can lead to a buttercream that’s too sweet and stiff. Instead, add the sugar in small increments, whipping constantly, until you reach the desired consistency.
- 3. If your buttercream is too thick, you’ll need to thin it out. This can be done by adding a small amount of liquid – it could be milk, cream, or even water, depending on the recipe and the desired richness. Add the liquid slowly, mixing well after each addition, to avoid ending up with buttercream that’s too thin.
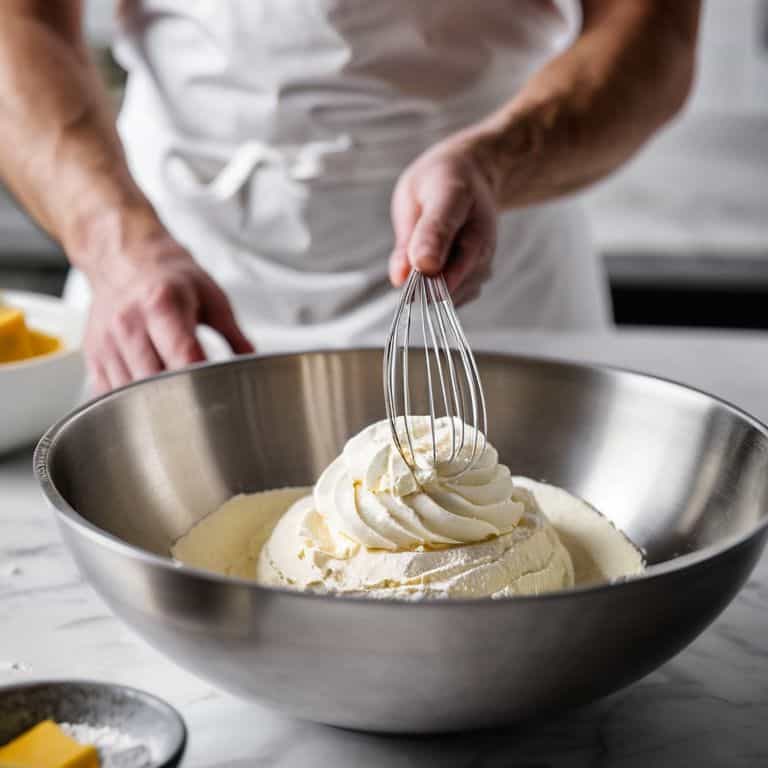
- 4. For separated or curdled buttercream, the fix involves re-emulsifying the mixture. Start by removing it from the mixer and letting it sit at room temperature for about 30 minutes. Then, add a small amount of warm water – about a teaspoon at a time – and mix gently with a spatula until the buttercream starts to come back together.
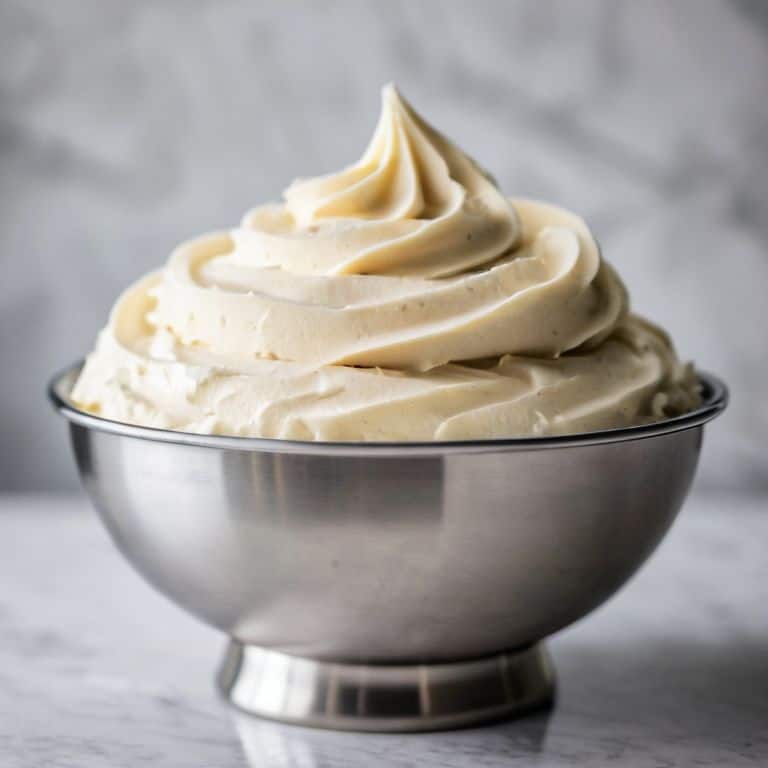
- 5. Once you’ve managed to revive your buttercream to a workable state, it’s essential to test its consistency. The ideal buttercream should be smooth, creamy, and hold its shape when piped. If it’s still a bit off, don’t worry – you can continue to adjust the consistency with small additions of powdered sugar or liquid.
- 6. With your buttercream now fixed and ready to go, it’s time to think about flavor adjustments. If your buttercream has been salvaged from a near-disaster, it might be a good idea to give it a taste and see if it needs any additional flavorings – whether that’s more vanilla, a pinch of salt, or even a squeeze of lemon juice.
- 7. Finally, to prevent future buttercream disasters, consider investing in quality ingredients. The difference between using high-quality, European-style butter and regular butter can be significant in terms of flavor and stability. Similarly, choosing a good quality vanilla extract can elevate your buttercream from good to exceptional.
Mastering Buttercream Rescue
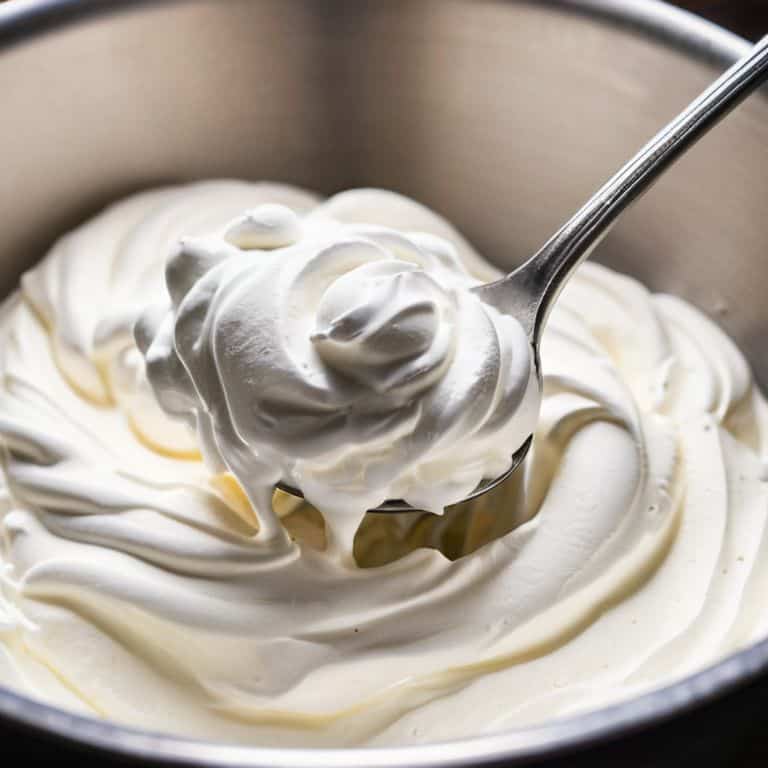
As we dive deeper into the world of buttercream rescue, it’s essential to understand the importance of stabilizing whipped cream. When working with whipped cream, it’s crucial to maintain the right consistency to avoid a soggy or weeping cake. To achieve this, I always make sure to whip my cream to the perfect peak, where it’s still stiff but not too rigid. This delicate balance is key to creating a smooth, even layer that will hold its shape.
When it comes to fixing separated frosting, I’ve found that temperature control is vital. If your buttercream is too warm, it can start to break down and separate, resulting in an unappealing texture. To combat this, I always ensure that my ingredients are at room temperature before mixing, and I work in a cool, draft-free environment. This helps to prevent overmixing solutions and keeps my buttercream smooth and creamy.
By mastering these techniques, you’ll be well on your way to creating beautiful, professional-looking cakes. Remember to always keep an eye on your buttercream’s consistency and temperature, and don’t be afraid to rewhip buttercream techniques if needed. With practice and patience, you’ll be able to rescue even the most common buttercream mistakes and create stunning, edible works of art.
Fixing Separated Frosting With Ease
To fix separated frosting, gently reheat it over a double boiler, whisking constantly, until it reaches a smooth consistency. Be cautious not to overheat, as this can cause further separation. Once reheated, allow the frosting to cool slightly before re-whipping it with a pinch of salt and a teaspoon of vanilla extract. This simple technique can work wonders in reviving a separated frosting, making it once again pliable and perfect for decorating.
By mastering this technique, you’ll be able to rescue even the most stubborn frostings, saving your creations from certain disaster. With a little patience and practice, you’ll be able to whip your frosting back into shape, ready to be piped, swirled, or smoothed into a work of art.
Stabilizing Whipped Cream Secrets
When working with whipped cream, it’s essential to understand the delicate balance between stability and texture. To achieve a smooth, velvety finish, I recommend chilling your mixing bowl and whisk in the freezer for at least 10 minutes before whipping. This simple trick will help to slow down the whipping process, allowing you to incorporate more air without over-whipping. Additionally, using a high-quality vanilla extract can help to strengthen the whipped cream’s structure, while also imparting a deep, creamy flavor.
By stabilizing your whipped cream with these techniques, you’ll be able to create beautiful, piping-worthy peaks that will hold their shape even in warm environments. This is especially crucial when combining whipped cream with broken buttercream, as it will help to maintain the overall texture and integrity of your design. With a little practice and patience, you’ll be able to craft stunning, long-lasting whipped cream decorations that elevate your cakes to new heights.
Reviving the Dream: 5 Essential Tips to Fix Broken Buttercream
- Understand the reasons behind the breakdown: overmixing, incorrect temperature, or poor quality ingredients can all lead to broken buttercream
- Act swiftly: the sooner you address the issue, the better chance you have of saving your buttercream and avoiding a last-minute cake disaster
- Rebalance the ratio: if your buttercream has broken due to too much liquid, try adding a small amount of powdered sugar to absorb the excess and restore balance
- Don’t over-whip: once you’ve added your fix, mix gently to combine, as over-whipping can push your buttercream further into disaster
- Practice makes perfect: don’t be discouraged if it takes a few attempts to get the hang of fixing broken buttercream – with time and patience, you’ll master the art of rescue and revival
Key Takeaways for the Perfect Buttercream Rescue
Always start by identifying the cause of the broken buttercream, whether it’s due to overmixing, incorrect temperature, or inadequate ingredient quality, to apply the most effective rescue technique
Mastering the art of stabilizing whipped cream and fixing separated frosting is crucial for achieving smooth, creamy, and durable buttercream that can elevate any cake design to perfection
By following precise techniques, such as gradual temperature adjustments and careful re-whipping, and using high-quality ingredients, especially real vanilla and rich, European-style butter, you can transform broken buttercream into a work of art that’s almost too beautiful to eat
The Art of Rescue
The true test of a pastry artist lies not in creating the perfect buttercream, but in mastering the art of revival – for it’s in the rescue that we discover the beauty of imperfection and the joy of transformation.
Alison Lawson
The Sweet Triumph: Conquering Broken Buttercream
As we’ve journeyed through the world of broken buttercream, we’ve uncovered the secrets to stabilizing whipped cream, learned how to effortlessly fix separated frosting, and mastered the art of buttercream rescue. These techniques, though simple, are the foundation upon which beautiful, professional-grade cakes are built. By understanding the science behind buttercream and applying these practical tips, you’ll be well on your way to creating cakes that are not only delicious but also visually stunning. Whether you’re a seasoned baker or just starting out, the ability to fix broken buttercream is a game-changer that will save you time, reduce stress, and elevate your baking to new heights.
So, the next time you’re faced with a batch of broken buttercream, don’t panic! Instead, remember that it’s an opportunity to practice your skills, to experiment and innovate, and to push the boundaries of what’s possible with this versatile and delicious medium. With patience, practice, and a willingness to learn, you’ll be crafting exquisite cakes that are almost too beautiful to eat. Almost. Happy baking, and I look forward to seeing the incredible creations you’ll make with your newfound buttercream skills!
Frequently Asked Questions
What are the most common reasons for buttercream to break in the first place?
The culprits behind broken buttercream are often overmixing, incorrect temperature, or poor quality ingredients, particularly low-grade butter or artificial vanilla. These missteps can cause the buttercream to separate, become too thin, or even develop an unappealing grainy texture, setting the stage for a rescue mission.
Can I still use broken buttercream if I'm short on time and need a quick fix?
While I always advocate for perfection, I understand time constraints. If you’re in a pinch, you can still use broken buttercream, but be aware it might not hold its shape or provide a smooth finish. To salvage it, try mixing in a small amount of powdered sugar or cornstarch to absorb excess moisture, then whip until it’s barely combined.
How do I prevent buttercream from breaking when I'm making it from scratch?
To prevent buttercream from breaking, I swear by using room temperature ingredients, especially eggs and butter. Also, avoid overmixing, as this can introduce air and lead to separation. Start with a stable foundation by creaming your butter and sugar until light and fluffy, then gently folding in your eggs and flavorings.