I still remember the first time I spent hours meticulously decorating a batch of cookies, only to have them become stale and sticky after a day. It was heartbreaking, and I couldn’t help but wonder if I was doing something wrong. The truth is, how to dry and store decorated cookies is an art that requires patience and the right techniques. I’ve learned that it’s not just about tossing them in an airtight container, but about creating an environment that preserves their beauty and freshness. As someone who’s passionate about sugarcraft and decorating, I’ve experimented with various methods to find what works best.
In this article, I’ll share my personal secrets for drying and storing decorated cookies like a pro. You’ll learn how to prevent staleness, keep your designs intact, and maintain that perfect texture. I’ll walk you through my step-by-step process, from the initial drying phase to the final storage stages. Whether you’re a beginner or an experienced decorator, you’ll gain valuable insights and practical tips to take your cookie decorating skills to the next level. By the end of this guide, you’ll be confident in your ability to create and store stunning, long-lasting decorated cookies that will impress anyone.
Table of Contents
- Guide Overview: What You'll Need
- Step-by-Step Instructions
- Drying Decorated Cookies
- The Art of Preservation: 5 Essential Tips for Drying and Storing Decorated Cookies
- Key Takeaways for Beautifully Preserved Cookies
- The Art of Preservation
- The Final Touches: Preserving Your Masterpiece
- Frequently Asked Questions
Guide Overview: What You'll Need
Total Time: 2 hours 30 minutes
Estimated Cost: $10 – $20
Difficulty Level: Easy
Tools Required
- Wire Rack (for cooling)
- Airtight Containers (various sizes)
- Parchment Paper (for lining containers)
- Twine or Ribbon (optional, for decoration)
Supplies & Materials
- Decorated Cookies (freshly baked)
- Cardboard Boxes (for storage, approximately 6 inches by 6 inches by 12 inches)
- Paper Bags (or cellophane bags, for individual cookie storage)
Step-by-Step Instructions
- 1. First, let’s start with the drying process, as it’s essential to set your decorated cookies correctly to maintain their appearance and freshness. To do this, you’ll want to place your cookies on a wire rack set over a piece of parchment paper or a silicone mat, allowing air to circulate around each cookie. This step is crucial in preventing moisture from becoming trapped and causing your decorations to become sticky or smeared.
- 2. Next, you’ll want to ensure your cookies are completely dry before storing them. This can take anywhere from a few hours to overnight, depending on the humidity and the type of decorations used. I like to let mine dry for at least 24 hours to be on the safe side, as this helps in preserving the details of my designs. During this time, make sure they are kept away from direct sunlight and moisture.
- 3. Once your cookies are dry, it’s time to think about storage solutions. You’ll need airtight containers to keep your cookies fresh. I recommend using plastic or metal containers specifically designed for baking goods, as they are usually airtight and can be sealed properly. Make sure the containers are clean and dry before placing your cookies inside.
- 4. To add an extra layer of protection and keep your cookies from breaking, you can line the bottom of the container with parchment paper or a silicone mat. Then, place a layer of cookies, followed by another layer of parchment paper or a silicone mat, and repeat this process until all your cookies are stored. This layering technique helps in preventing the cookies from sticking together or getting damaged.
- 5. If you have cookies with particularly delicate decorations, you might want to consider using individual candy molds or small cups to store each cookie separately. This is especially useful for cookies with intricate designs or those that are more prone to damage. By doing so, you ensure that each cookie remains intact and looks as good as the day it was decorated.
- 6. For long-term storage, such as if you’re making cookies ahead of time for a special occasion, you can also consider freezing them. Place the dried cookies in a single layer in a freezer-safe bag or container, making sure they are not touching each other to prevent sticking. When you’re ready to serve them, simply thaw the cookies at room temperature or in the refrigerator. Keep in mind that frozen cookies might be slightly softer than fresh ones, but the decorations should remain vibrant and intact.
- 7. Finally, when you’re ready to display your decorated cookies, consider the presentation. You can use decorative trays, stands, or even cake pedestals to showcase your edible masterpieces. This not only adds to the visual appeal but also protects the cookies from being handled excessively. Remember, the way you present your cookies can elevate the entire experience, making them almost too pretty to eat.
Drying Decorated Cookies
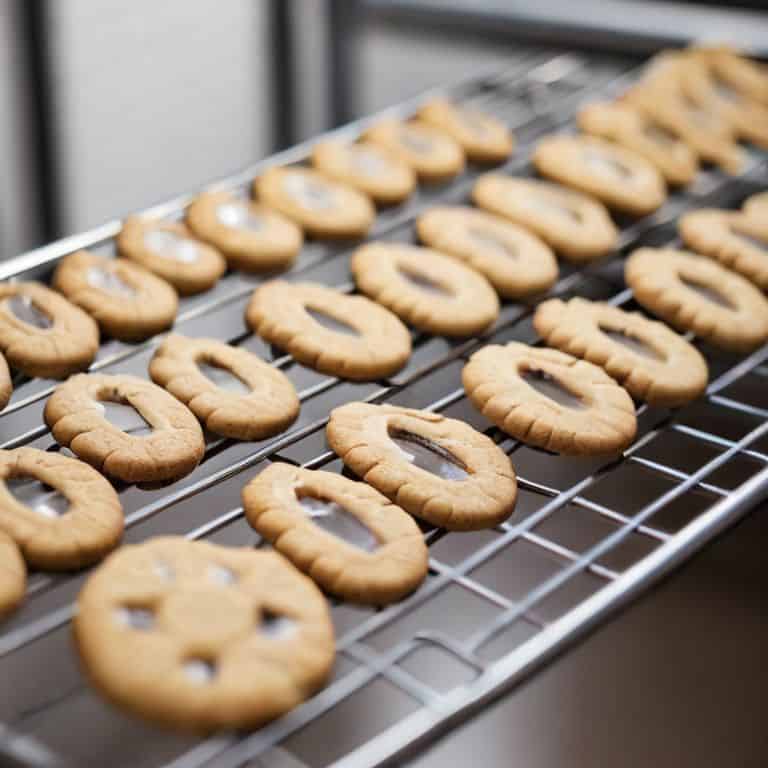
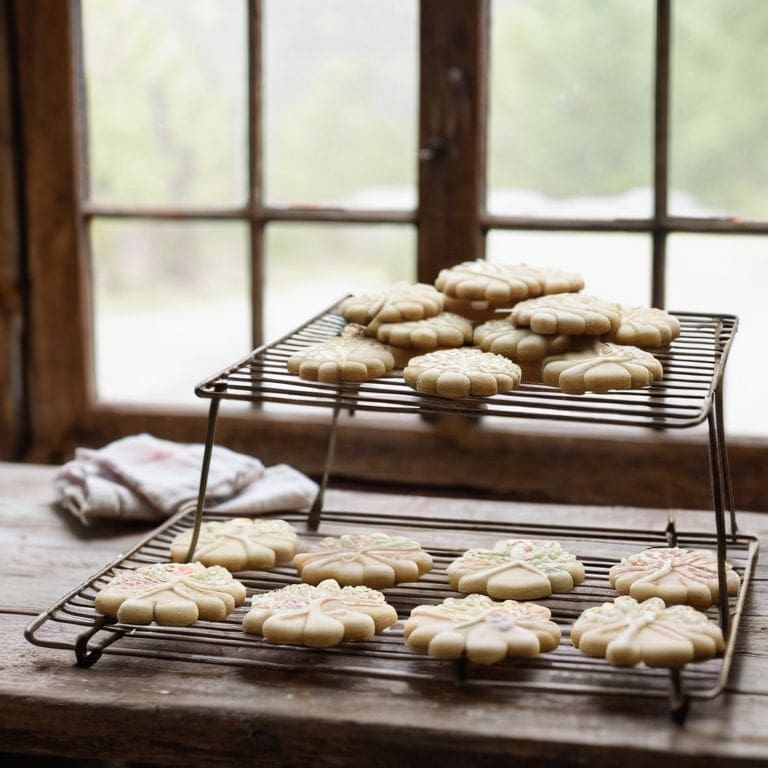
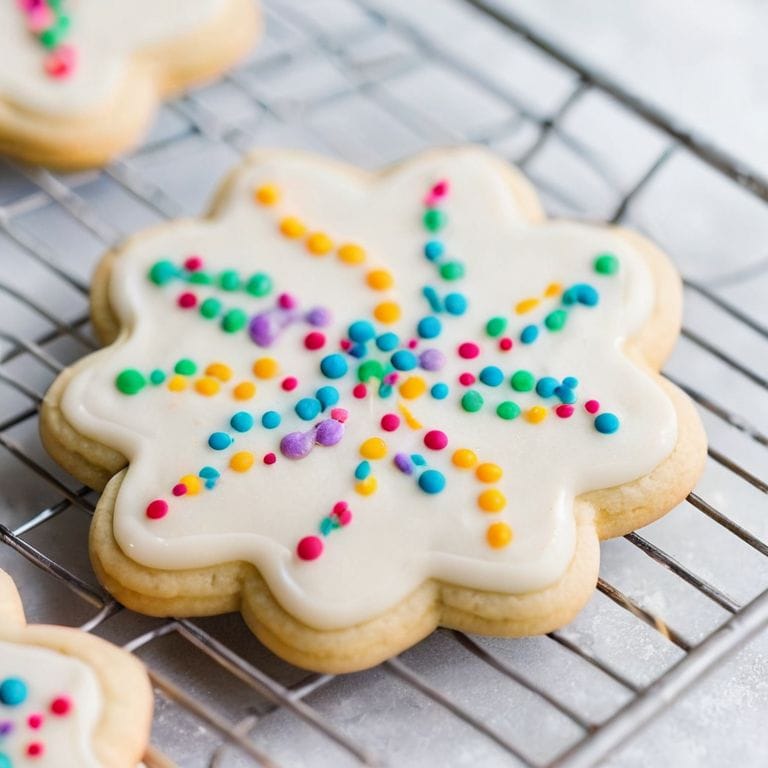
As I delicately place each decorated cookie on the drying rack, I’m reminded of the importance of gentle handling to prevent breakage. To ensure my edible masterpieces remain intact, I always opt for a rack with individual slots, allowing air to circulate around each cookie. This simple trick helps maintain their texture and prevents moisture from building up.
When it comes to decorated cookie preservation methods, I swear by the power of a cool, dry environment. By storing my cookies in a room with minimal humidity, I can slow down the staling process and keep them fresh for longer. It’s also essential to consider tips for stacking baked goods when storing, as this can help prevent damage and make the most of your storage space.
For an added touch of elegance, I love using decorated cookie packaging ideas to showcase my creations. From delicate paper wrappers to sturdy cookie tins, the right packaging can make all the difference in presenting your baked goods. By combining these techniques with the right cookie storage containers, you’ll be able to enjoy your beautifully decorated cookies for days to come.
Maintaining Freshness Tips
To keep your beautifully decorated cookies fresh, it’s essential to control the environment around them. I like to store mine in airtight containers, away from direct sunlight and moisture. This helps to preserve the delicate designs and prevent them from becoming soggy or discolored. By doing so, you’ll be able to enjoy your edible art for a longer period.
I also recommend using silica gel packets or desiccants to absorb any excess moisture within the storage container. This simple trick will help maintain the crunch and texture of your cookies, ensuring they remain a delight to eat. With these tips, you’ll be able to showcase your decorated cookies with confidence, knowing they’ll stay fresh and beautiful for all to admire.
Preserving Edible Art
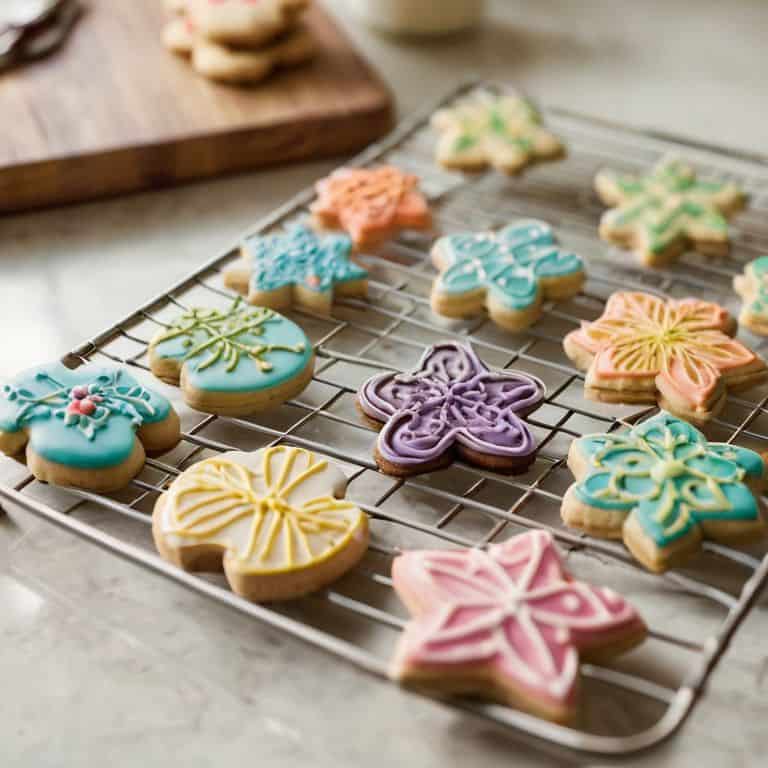
As I delicately place each cookie on its drying rack, I’m reminded that the journey to preserving edible art is just as important as the decorating process itself. It’s a moment of patience, where every detail, from the gentle air circulation to the soft lighting, contributes to the cookie’s longevity. By carefully controlling the environment, we can prevent moisture from seeping in and compromising our designs.
In my experience, the key to preserving edible art lies in striking a balance between drying and storage. I like to think of it as a harmonious waltz between air, temperature, and time. By getting this balance just right, we can ensure that our decorated cookies remain vibrant, intact, and almost too pretty to eat – a true testament to the art of sugar and spice.
The Art of Preservation: 5 Essential Tips for Drying and Storing Decorated Cookies
- Allow your decorated cookies to air dry completely, either on a wire rack or a parchment-lined surface, to prevent moisture from becoming trapped and causing damage to your designs
- Store your dried decorated cookies in airtight containers, such as glass jars or plastic bins, to maintain their freshness and protect them from dust and other contaminants
- Consider using desiccants, like silica gel packets, to control humidity levels within your storage containers and keep your cookies dry and fresh for a longer period
- Keep your stored cookies away from direct sunlight, heat sources, and strong-smelling foods, as these can cause fading, melting, or absorption of unwanted odors
- Label and date your storage containers, so you can easily keep track of how long your decorated cookies have been stored, and ensure you use the oldest ones first to maintain their quality and freshness
Key Takeaways for Beautifully Preserved Cookies
To maintain the appearance and freshness of decorated cookies, it’s essential to control the drying environment, considering factors like temperature, humidity, and air circulation.
Proper storage is just as crucial, with airtight containers and parchment paper being your best friends in keeping cookies fresh and preventing damage to delicate designs.
By mastering the art of drying and storing your decorated cookies, you’ll not only preserve their beauty but also ensure they remain a delight to eat, making all your hard work worth it.
The Art of Preservation
The delicate dance of drying and storing decorated cookies is where patience meets perfection, for it’s in these gentle steps that we transform fleeting beauty into lasting masterpiece.
Chloé Dubois
The Final Touches: Preserving Your Masterpiece
As we conclude our journey through the world of drying and storing decorated cookies, let’s recap the essential steps to preserve your edible art. We’ve covered the importance of gentle handling and the need for a cool, dry environment to prevent moisture from compromising your designs. By following the drying techniques outlined in this guide, you’ll be able to maintain the freshness and appearance of your cookies, ensuring they remain a delight to behold and devour. Remember, the key to success lies in patience and attention to detail, so don’t rush the process and take your time to get it just right.
As you put these tips into practice, I encourage you to think of drying and storing decorated cookies as an opportunity to showcase your creativity and attention to detail. By mastering this final step, you’ll be able to share your beautiful, delicate creations with others, spreading joy and inspiration through the art of cookie decorating. So, go ahead, get creative, and make your cookies a true reflection of your personality and style – after all, the world of sugar and spice is full of endless possibilities, waiting to be explored and savored.
Frequently Asked Questions
What's the best way to dry decorated cookies without causing them to become brittle or lose their color?
To dry decorated cookies without brittleness or color loss, I recommend air-drying them on a wire rack or a paper towel-lined surface, away from direct sunlight. This gentle approach helps preserve the cookies’ texture and vibrancy, ensuring your edible art remains stunning.
How long can I store decorated cookies before they start to lose their freshness and appearance?
The lifespan of your edible masterpieces! Generally, decorated cookies can be stored for up to 5 days, but it really depends on the type of cookie and decorating medium used. If stored properly in an airtight container, they can retain their freshness and appearance, but I always say, the sooner they’re enjoyed, the better!
Can I use a dehydrator to speed up the drying process for decorated cookies, or will it damage the decorations?
While a dehydrator can speed up drying, I advise against it for decorated cookies. The heat and air circulation can cause decorations to become discolored, melted, or even cracked. Instead, let your cookies air dry naturally or use a low-temperature oven with the door ajar to maintain their beauty and integrity.