As I stand in my bespoke cake studio, surrounded by the sweet aroma of decadent chocolate, I’m reminded of the countless times I’ve been asked for a guide to making chocolate truffles. It’s a topic that’s often shrouded in mystery, with many believing that creating these rich, velvety treats is a daunting task, reserved only for the most skilled pastry chefs. But I’m here to tell you that with the right techniques and a bit of patience, anyone can master the art of making chocolate truffles.
In this article, I promise to share my honest, no-hype approach to creating exquisite chocolate truffles from scratch. You’ll learn the essential steps to transform simple ingredients into a luxurious treat that’s sure to impress. From the importance of using high-quality chocolate to the delicate process of coating and decorating, I’ll guide you through every stage of the process. By the end of this journey, you’ll be equipped with the confidence and skills to create your own stunning chocolate truffles, perfect for special occasions or as a sweet indulgence any time of the year.
Table of Contents
Guide Overview: What You'll Need
Total Time: 1 hour 15 minutes
Estimated Cost: $10 – $20
Difficulty Level: Easy
Tools Required
- Double Boiler (or a heatproof bowl set over a pot of simmering water)
- Whisk
- Spoon
- Melon Baller or Small Scoop (for forming truffles)
- Parchment Paper (for drying truffles)
Supplies & Materials
- Dark Chocolate (at least 70% cocoa, 1 cup)
- Heavy Cream (1/2 cup)
- Unsalted Butter (2 tablespoons)
- Vanilla Extract (1 teaspoon)
- Confectioners Sugar (for dusting)
- Cocoa Powder (for dusting)
- Chopped Nuts or Sprinkles (optional, for coating)
Step-by-Step Instructions
- 1. First, let’s start by preparing our chocolate. We’ll need 1 cup of high-quality dark, milk, or white chocolate chips, depending on our desired flavor profile. I always opt for dark chocolate for its rich, velvety texture and deep flavor. Place the chocolate chips in a double boiler or a heatproof bowl set over a pot of simmering water, making sure the bowl isn’t touching the water.
- 2. Next, we’ll melt the chocolate to a smooth, glossy state. Stir the chocolate occasionally as it melts to ensure even heating. Once the chocolate has fully melted, remove it from the heat and let it cool slightly. This step is crucial, as we want the chocolate to be warm but not hot when we mix it with the cream.
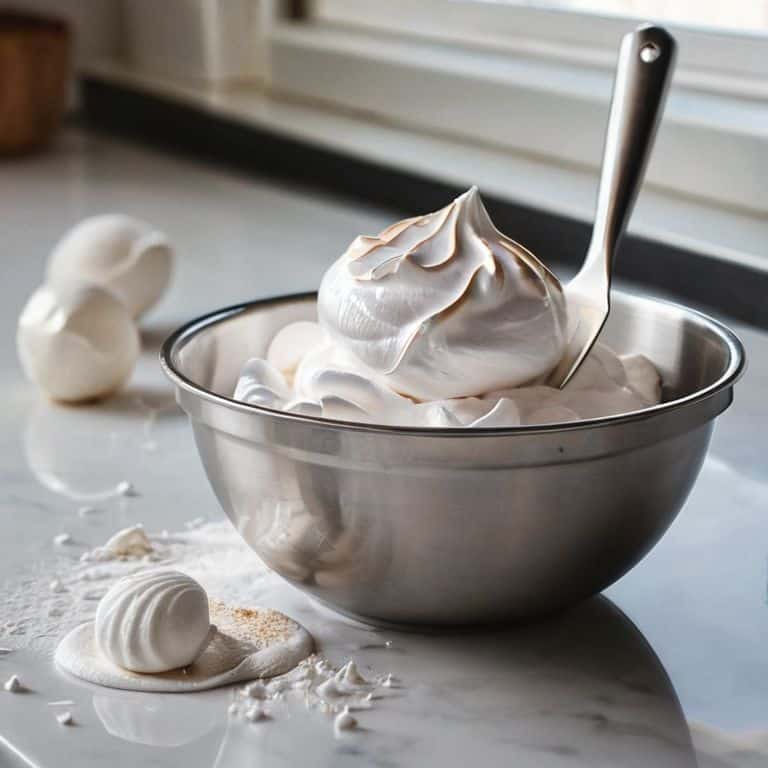
- 3. Now, let’s prepare our cream mixture. In a small bowl, whip 1/2 cup of heavy cream until it begins to thicken. You can also add a teaspoon of vanilla extract to the cream for an extra layer of flavor. I love using high-quality vanilla beans for their unique, slightly sweet flavor.
- 4. With our chocolate and cream ready, it’s time to combine the two. Pour the whipped cream into the melted chocolate and gently fold the mixture together until it’s smooth and well combined. Be careful not to overmix, as this can cause the chocolate to seize up.
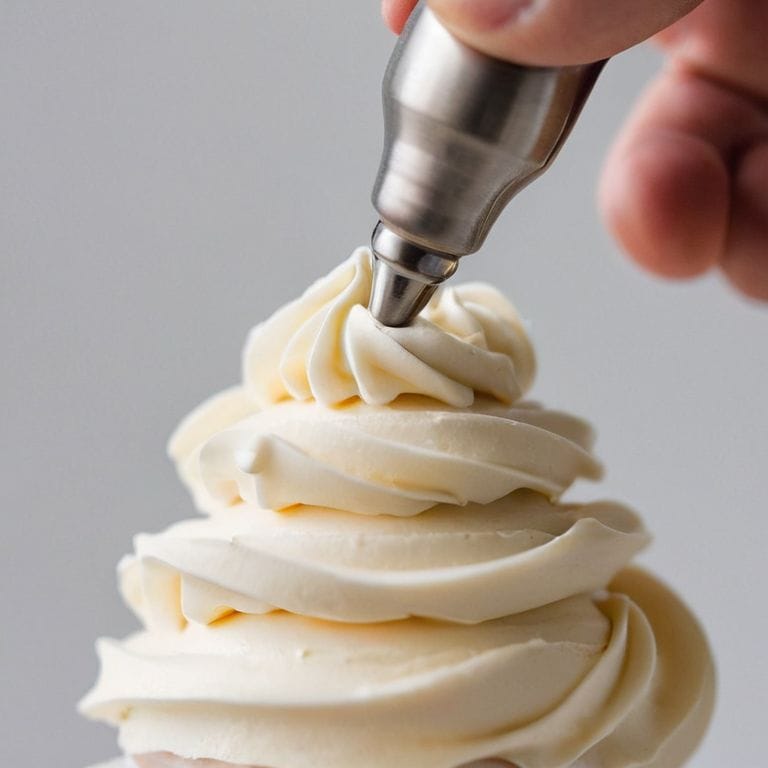
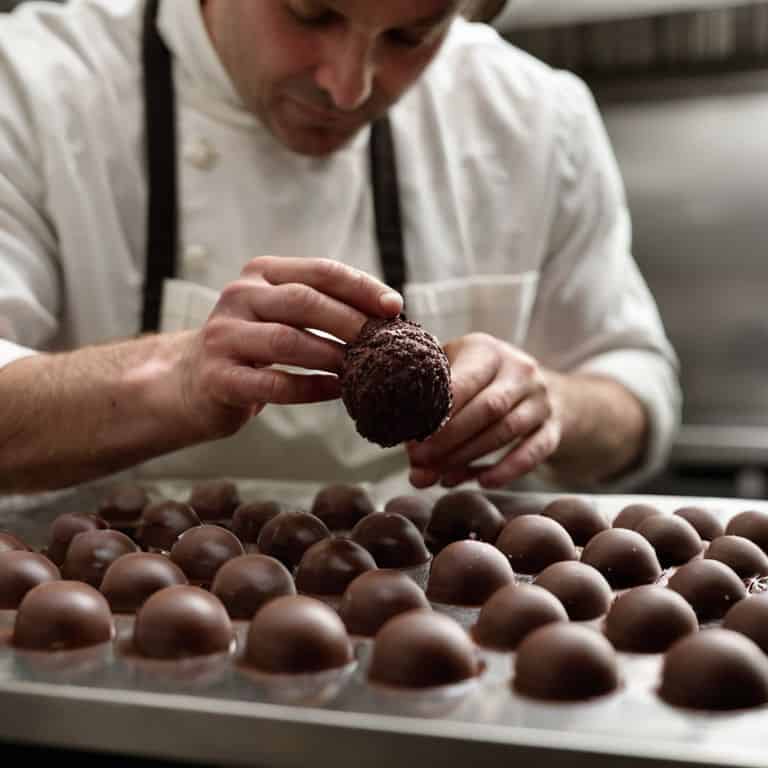
- 5. The fun part – shaping our truffles! Use a small melon baller or spoon to scoop out small balls of the chocolate mixture. You can also use your hands to shape the truffles, but make sure to wear gloves to prevent the chocolate from melting. I like to experiment with different shapes, from traditional balls to more intricate designs.
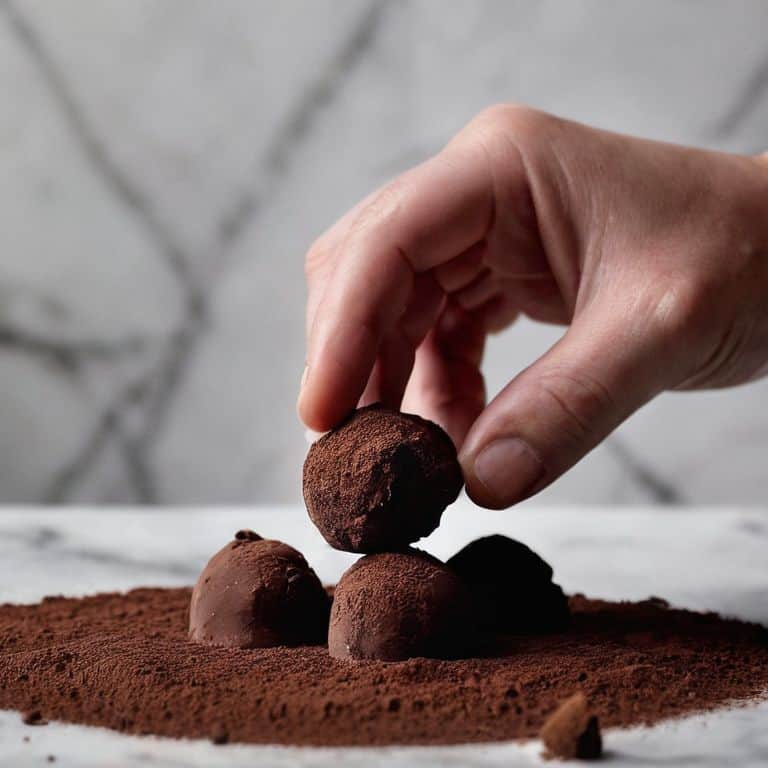
- 6. To give our truffles a professional finish, we’ll need to coat them in a layer of cocoa powder, confectioners’ sugar, or chopped nuts. Place your chosen coating in a small bowl and gently roll each truffle in the coating to cover. This step adds a delightful textural element to the truffles and helps to balance out the richness of the chocolate.
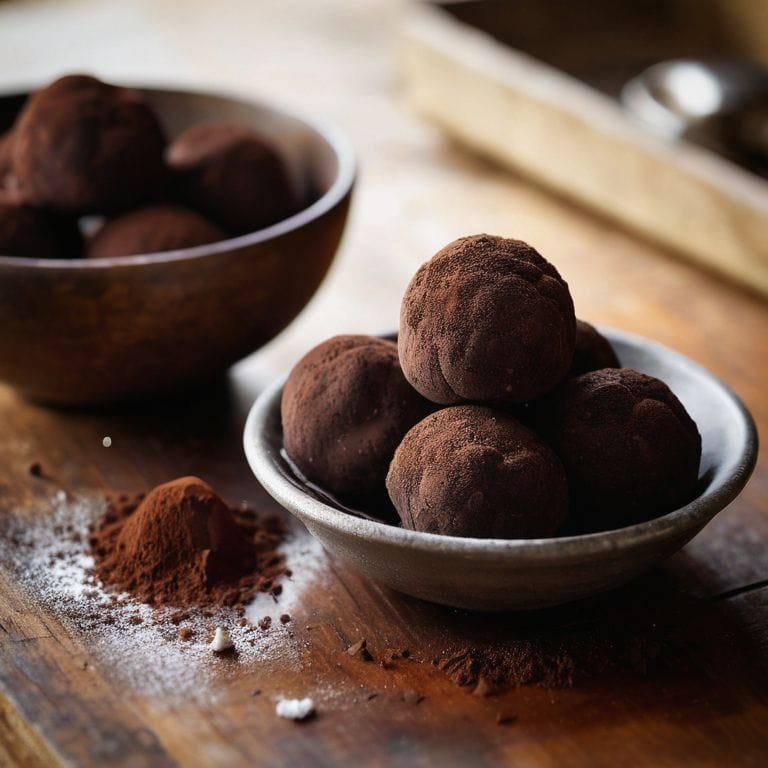
- 7. Finally, let’s finish and store our truffles. Place the coated truffles on a baking sheet lined with parchment paper and refrigerate them for at least 30 minutes to set. Once set, you can store the truffles in an airtight container in the refrigerator for up to 5 days. I adore presenting my truffles in beautiful, decorative boxes or bags for a touch of elegance.
A Guide to Making Chocolate Truffles
As we dive deeper into the world of chocolate truffles, it’s essential to consider the art of tempering chocolate for truffles. This process can make or break the texture and appearance of your final product. I like to think of it as the secret ingredient that elevates your truffles from good to extraordinary. By tempering your chocolate, you’ll achieve a smooth, glossy finish that’s sure to impress.
When it comes to filling ideas, the possibilities are endless. From classic dark chocolate truffle recipes to more unique flavor combinations, the key is to experiment and find what works best for you. I’ve found that using high-quality ingredients, such as rich, velvety chocolate and fragrant vanilla, can make all the difference in the world. For a truly special touch, consider using homemade chocolate gift ideas, such as packaging your truffles in beautifully designed boxes or bags.
To take your truffles to the next level, don’t be afraid to get creative with truffle coating techniques. From rolling them in powdered sugar to coating them in toasted nuts, the options are vast. And when it comes to storage and freshness, remember to keep your truffles in an airtight container in the refrigerator to maintain their texture and flavor. With a little practice and patience, you’ll be well on your way to creating decadent, professional-looking truffles that are sure to delight.
Dark Chocolate Truffle Filling Ideas
As we delve into the world of dark chocolate truffles, the filling becomes an exquisite canvas for creativity. I adore experimenting with various flavors to complement the richness of dark chocolate. A personal favorite of mine is infusing the truffle mixture with the deep, velvety essence of espresso or the subtle tang of Grand Marnier. These additions not only elevate the flavor profile but also create a beautiful harmony of tastes.
For a more classic approach, a hint of vanilla or a drizzle of caramel can add a luxurious touch. The key is to balance the flavors so that each component enhances the others, creating a truly sophisticated palate experience. By exploring different combinations, you can craft unique dark chocolate truffle fillings that are both decadent and refined.
Tempering Chocolate for Truffle Perfection
To achieve truffle perfection, tempering chocolate is an essential step. It’s a process that requires patience and precision, but trust me, it’s worth the extra effort. Tempering gives your chocolate a smooth, glossy finish and a satisfying snap when broken. I like to think of it as the secret to making your truffles look almost too beautiful to eat.
I temper my chocolate using the seeding method, where I melt about two-thirds of the chocolate and then cool it down by adding in the remaining one-third, which has been finely chopped. This cools the mixture down slowly, allowing the crystals to form and giving the chocolate a stable crystal structure. It’s a delicate balance, but with practice, you’ll get the hang of it. And when you do, the result is nothing short of magical.
Elevating Your Truffle Game: 5 Essential Tips
- Use high-quality chocolate with a high cocoa content for the best flavor and texture
- Experiment with different flavor combinations, such as infused liquors or spices, to create unique truffle fillings
- Temper your chocolate correctly to achieve a smooth, glossy finish and a satisfying snap when broken
- Don’t overmix your truffle filling, as this can cause it to become too dense and lose its creamy texture
- Practice makes perfect: don’t be discouraged if your first batch of truffles doesn’t turn out as expected – keep trying and you’ll soon develop the skills and technique needed to create truly exceptional chocolate truffles
Essential Tips for Mastering Chocolate Truffles
Always use high-quality chocolate with a high cocoa content for the best flavor and texture in your truffles
Tempering chocolate is crucial for a professional finish, so don’t skip this step even if you’re a beginner – it’s easier than you think with a little practice
Experiment with different flavor combinations for your truffle fillings, such as infused creams, liqueurs, or spices, to create unique and sophisticated taste experiences
The Art of Truffle Making
As we craft each delicate truffle, we’re not just combining ingredients, we’re orchestrating a symphony of textures and flavors that will leave a lasting impression on the palate.
Alison Lawson
The Sweet Reward of Creating Chocolate Truffles
As we conclude our journey through the world of chocolate truffles, let’s recap the essential elements that elevate these bite-sized treats from ordinary to extraordinary. From tempering chocolate to crafting the perfect dark chocolate truffle filling, each step requires attention to detail and a passion for the craft. By mastering the art of tempering and experimenting with various filling ideas, you’ll be well on your way to creating truffles that are almost too beautiful to eat. Almost.
Now that you’ve been equipped with the knowledge and skills to create your own decadent chocolate truffles, I encourage you to unleash your creativity and make this art form your own. Remember, the true magic happens when you combine technique with imagination, resulting in edible masterpieces that will leave a lasting impression on all who taste them. So go ahead, get creative, and indulge in the sweet reward of creating something truly special – your very own, handmade chocolate truffles.
Frequently Asked Questions
What is the best type of chocolate to use for making truffles?
For me, the best type of chocolate to use for making truffles is undoubtedly high-quality dark chocolate with a high cocoa content – at least 70%. The richness and depth of flavor it provides are unparalleled, and its slightly bitter notes balance perfectly with the sweetness of the cream and sugar.
How do I achieve the perfect texture for my truffle filling?
To achieve the perfect texture for your truffle filling, it’s all about balance. You want it to be smooth and creamy, yet still hold its shape. I find that a combination of high-quality dark chocolate, precise temperature control, and a gentle folding technique is key. Think of it as a delicate dance between richness and restraint.
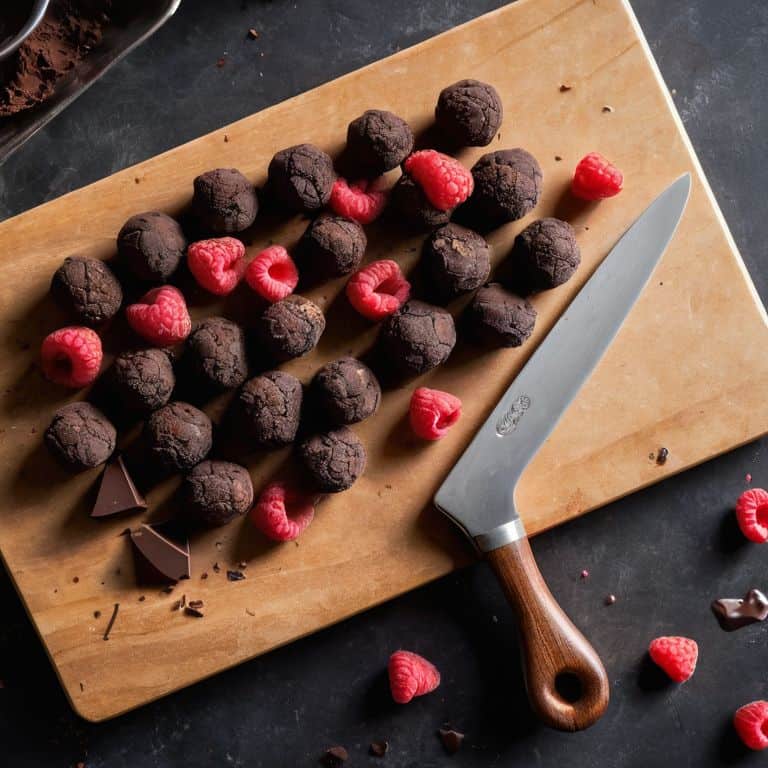
Can I flavor my truffles with ingredients other than vanilla or nuts?
The possibilities are endless, my friend! Feel free to experiment with other flavorings like espresso, citrus zest, or even a pinch of flaky sea salt. You can also infuse your truffles with the warmth of spices like cinnamon or cardamom, or the brightness of fruit like raspberries or orange liqueur.