I still remember the first time I struggled with a guide to royal icing consistency in my pastry kitchen. It was a nightmare – my icing was too runny, and my decorations looked like they belonged on a kindergartener’s art project. I was determined to master the technique, and after years of trial and error, I’ve learned that achieving the perfect consistency is not just about following a recipe, but about understanding the why behind it. My experience as a chocolatier and pastry consultant has taught me that temperature control is key to getting it just right.
In this article, I’ll share my honest, no-hype advice on how to achieve the perfect royal icing consistency. You’ll learn the practical tips and tricks I’ve gathered from my years of experience, from measuring ingredients to adjusting temperature and humidity. My goal is to empower you with the knowledge to create stunning decorations that will elevate your baked goods to the next level. By the end of this guide, you’ll be well on your way to mastering a guide to royal icing consistency and creating beautiful, professional-looking treats that will impress anyone.
Table of Contents
Guide Overview: What You'll Need
Total Time: 30 minutes to 1 hour
Estimated Cost: $5 – $15
Difficulty Level: Easy
Tools Required
- Electric Mixer (stand or handheld)
- Measuring Cups
- Measuring Spoons
- Piping Bags (optional)
- Piping Tips (optional)
Supplies & Materials
- Powdered Sugar
- Meringue Powder
- Water
- Food Coloring (optional)
- Flavor Extracts (optional)
Step-by-Step Instructions
- 1. First, let’s start with the foundation of achieving the perfect royal icing consistency, which is to understand the role of temperature in this process. I always say that temperature is the most important ‘ingredient’ in pastry, and when it comes to royal icing, it’s no different. Make sure your workspace and ingredients are at room temperature, as this will affect how your icing comes together.
- 2. Next, you’ll need to prepare your ingredients, and I’m a firm believer in using only the highest quality components. For royal icing, you’ll need powdered sugar, egg whites, and water. Measure your ingredients precisely, as the ratio of sugar to egg whites to water is crucial. I recommend using a digital scale to ensure accuracy.
- 3. Now, let’s move on to mixing our royal icing. In a large bowl, combine your powdered sugar and egg whites, and mix until you get a smooth, lump-free consistency. It’s essential to mix slowly and gently to avoid incorporating air into the mixture, which can lead to a too-thin icing.
- 4. With your mixture smooth, it’s time to add the water. This is where most people go wrong, as adding too much water can result in an icing that’s too runny. Add the water gradually, mixing well after each addition, until you reach your desired consistency. Remember, it’s easier to add more water than it is to remove it, so take your time.
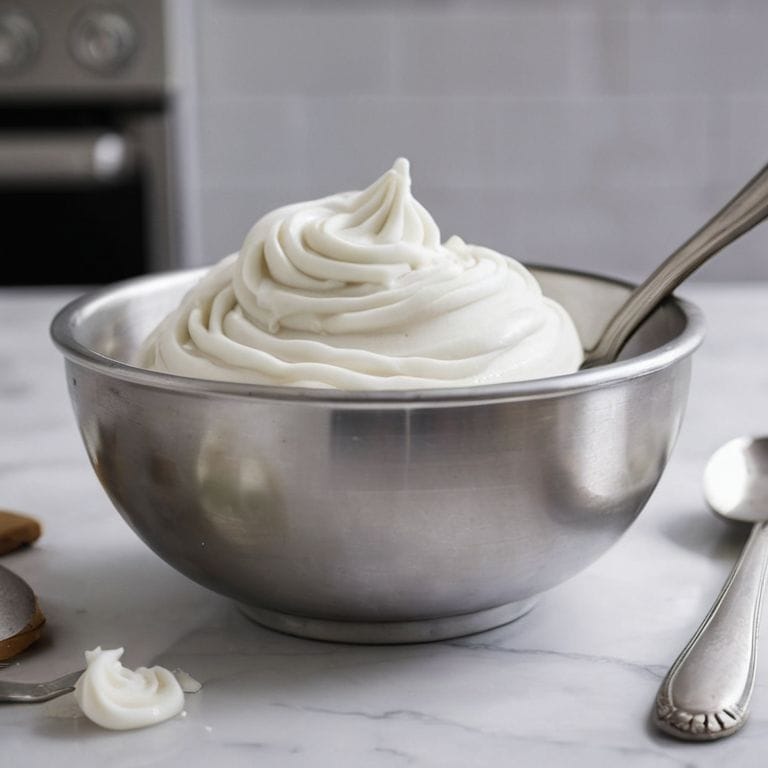
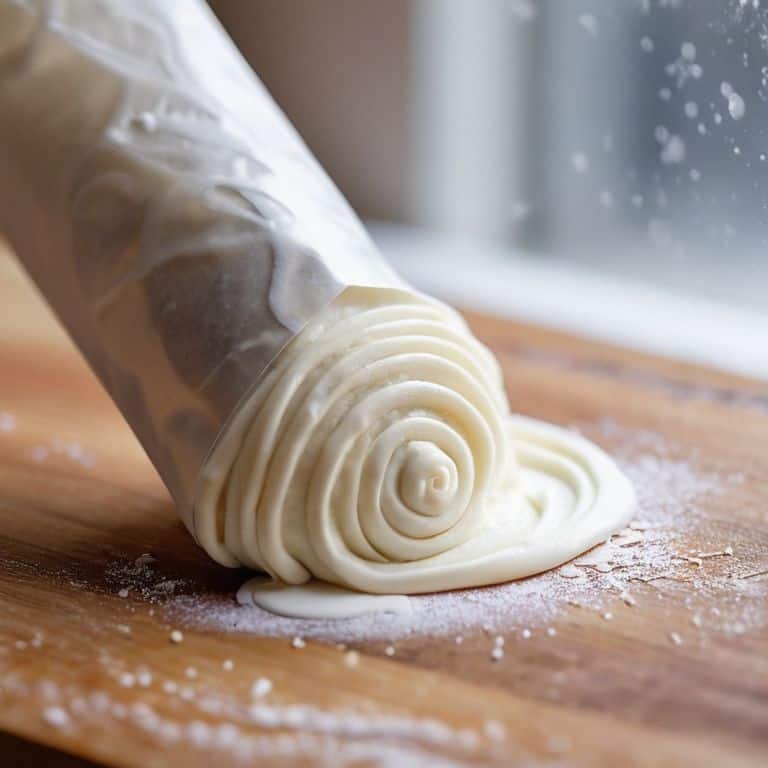
- 5. Once you’ve achieved the right consistency, it’s time to test the icing. I like to use the ’10-second test’ – drizzle a small amount of icing onto a surface, and if it holds its shape for 10 seconds before starting to spread, you’re golden. If it’s too thin, it will spread immediately, and if it’s too thick, it won’t spread at all.
- 6. Now that you’ve got your royal icing to the right consistency, it’s time to color and flavor it, if desired. I recommend using high-quality food coloring and flavorings, as these can affect the overall taste and appearance of your final product. Mix well to ensure the color and flavor are evenly distributed.
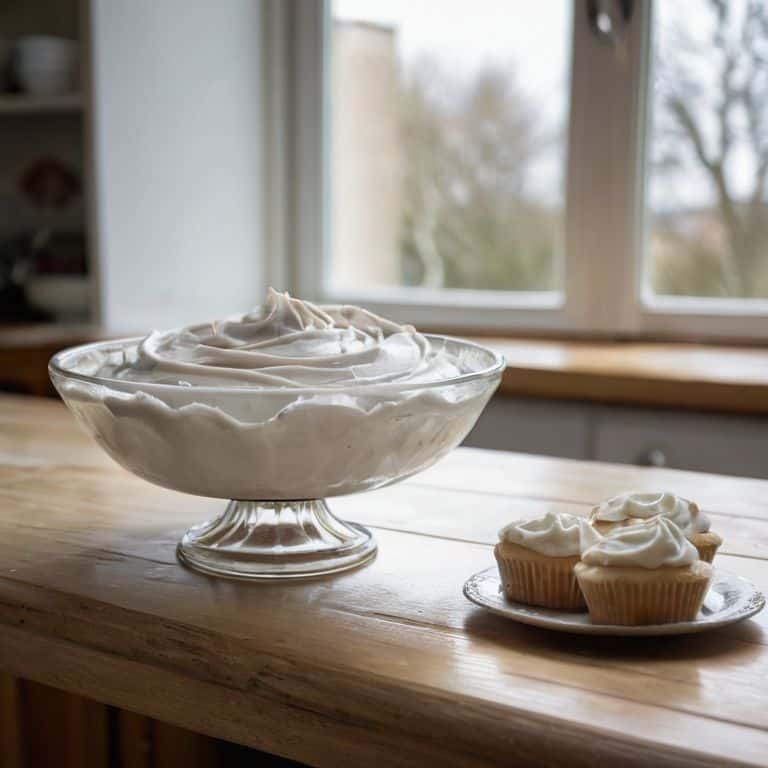
- 7. Finally, it’s time to use your perfectly consistent royal icing to decorate your baked goods. Remember to work in a cool, dry environment, as heat and humidity can cause the icing to become too thin and difficult to work with. With practice and patience, you’ll be creating beautifully decorated cakes and cookies in no time.
A Guide to Royal Icing Consistency
As I always say, achieving the perfect royal icing for cake decorating is an art that requires patience and practice. One of the most common mistakes beginners make is not allowing the icing to mature, which can lead to a lack of strength and flexibility. To avoid this, I recommend letting your royal icing sit at room temperature for at least 24 hours before using it for decorating. This will allow the ingredients to fully incorporate and the icing to develop its full potential.
When it comes to tips for achieving smooth royal icing, I swear by the importance of using high-quality ingredients and precise measurements. Don’t skimp on the vanilla or substitute inferior powdered sugar – it will show in the final result. Additionally, make sure to sift your powdered sugar thoroughly to remove any lumps or air pockets that can disrupt the smooth flow of the icing. By taking these extra steps, you’ll be well on your way to creating royal icing consistency for flooding that’s nothing short of perfection.
For those just starting out, I recommend experimenting with simple royal icing recipes for beginners to get a feel for the ingredients and the process. Don’t be discouraged if your first attempts don’t turn out exactly as you hoped – troubleshooting royal icing problems is all part of the learning process. With time and practice, you’ll develop the skills and intuition needed to create stunning, professional-looking decorations that will impress even the most discerning palates.
The Sweet Spot for Cake Decorating
The Sweet Spot for Cake Decorating
Now that we’ve mastered the art of achieving the perfect royal icing consistency, it’s time to talk about where it all comes together – cake decorating. I’ve spent years perfecting my technique, and I can confidently say that the key to stunning decorations lies in finding that sweet spot where icing and design meet. When your royal icing is just right, you’ll be amazed at the level of detail and intricacy you can achieve.
With the right consistency, you can create everything from delicate borders to intricate flowers and patterns. It’s all about feeling the icing come together under your fingertips, knowing exactly when to stop and start, and trusting your instincts to guide your brushstrokes.
Troubleshooting Royal Icing Nightmares
Troubleshooting Royal Icing Nightmares
We’ve all been there – a batch of icing that’s too runny, too thick, or just plain uncooperative. To rescue your royal icing, first identify the culprit: overmixing, incorrect temperature, or poor humidity. If it’s too thin, try whipping in a small amount of powdered sugar. If it’s too thick, add a tiny amount of water, but beware – it’s easier to add than to remove excess moisture. For icings that are too sticky or too dry, adjust your environment: work in a cooler space or use a dehumidifier to stabilize the air. Remember, patience and precision are key to taming even the most unruly royal icing.
Mastering the Art of Royal Icing: 5 Essential Tips
- Use room temperature ingredients to ensure consistency and ease of mixing
- Tap into the power of precise measurements, as even a slight deviation can affect the icing’s flow and set
- Invest in a high-quality turntable for effortless cake rotation and decoration, saving you time and reducing stress
- Don’t overmix your royal icing, as this can lead to a stiff, unworkable consistency that’s prone to cracking
- Experiment with different flavor profiles, like lemon or almond extract, to add a unique twist to your royal icing and elevate your baked goods to the next level
Key Takeaways for Mastering Royal Icing Consistency
Understanding the sweet spot for royal icing consistency is crucial, and it’s all about finding the perfect balance between being too runny and too thick, which can make or break your cake decorating experience.
Temperature and humidity play a significant role in achieving the ideal consistency, and being aware of these factors can help you adjust your icing accordingly, ensuring that your decorations turn out as planned.
Practice and patience are key to mastering royal icing consistency, and don’t be discouraged by initial failures – with time and experience, you’ll develop the skills to troubleshoot common issues and create stunning, professional-looking decorations.
The Royal Road to Perfection
Royal icing consistency is not just a matter of measurement, it’s an intuitive dance between temperature, timing, and touch – master this waltz, and your decorations will be nothing short of edible art.
Juliette Le Roux
Mastering the Art of Royal Icing Consistency
In our journey to achieving the perfect royal icing consistency, we’ve covered the essential steps and troubleshooting tips to help you navigate the most common challenges. From understanding the importance of temperature and humidity to mastering the sweet spot for cake decorating, it’s clear that precision and patience are key to success. By following these guidelines and practicing your skills, you’ll be well on your way to creating beautifully decorated cakes that impress and delight. Remember, the art of royal icing is all about finding that delicate balance between texture and consistency, and with time and practice, you’ll develop the skills to achieve it effortlessly.
As you continue to hone your royal icing skills, keep in mind that perfection is a journey, not a destination. It’s the subtle nuances and attention to detail that set a true master apart from the rest. So, don’t be discouraged by setbacks or failures – instead, use them as opportunities to learn and grow. With dedication and a willingness to experiment, you’ll unlock the secrets of royal icing and discover a world of creative possibilities. And when you finally achieve that perfect, glass-like finish, you’ll know that all your hard work and perseverance have paid off, and the sense of pride and accomplishment will be truly sweet.
Frequently Asked Questions
How do I adjust the consistency of royal icing for different types of cakes and decorations?
To adjust royal icing consistency, consider the cake type and decoration. For delicate designs, aim for a thinner consistency, around 10-15 seconds of flow time. For piping borders or intricate work, thicken it to 20-25 seconds. For smooth, even coverage, like on a fondant cake, you want a slightly thicker consistency, about 30 seconds.
What are the most common mistakes to avoid when mixing royal icing to achieve the perfect consistency?
To avoid common mistakes, don’t overmix or undermix your royal icing. Overmixing leads to a stiff, unworkable icing, while undermixing results in a too-runny consistency. I also see many bakers neglecting to sift their powdered sugar, which introduces lumps and air pockets, affecting the overall texture. Trust me, these simple oversights can be disastrous for your decorating plans.
Can I salvage royal icing that has become too thin or too thick, or is it better to start over from scratch?
Don’t throw it away just yet. If your royal icing is too thin, try whisking in a small amount of powdered sugar. If it’s too thick, add a tiny bit of water. But be cautious, my friends – it’s a delicate balance. If you’ve gone too far, it’s sometimes better to start fresh to avoid a decorating disaster.