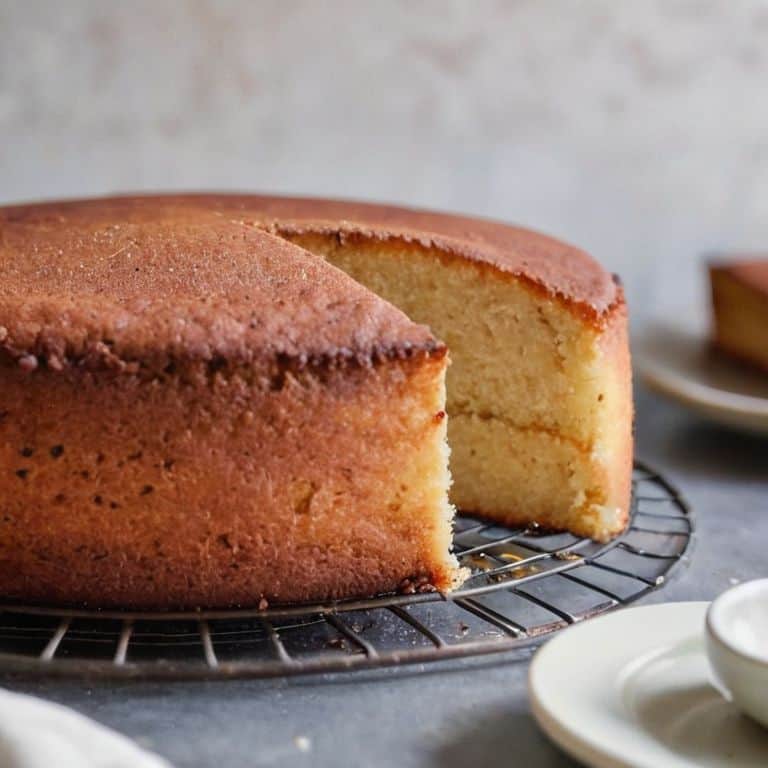
I still remember the first time I attempted to bake a cake in my tiny Belgian apartment – it was a disaster. The cake emerged from the oven with a massive crack down the middle, and I was left wondering how to prevent a cake from cracking in the first place. It was a hard lesson to learn, but one that sparked my obsession with understanding the science behind baking. As a Master Pastry Chef, I’ve spent years perfecting my craft, and I’ve come to realize that the key to a flawless cake lies in the details – the temperature, the technique, and the ingredients all play a crucial role in determining the final outcome.
In this article, I’ll share my expertise on how to prevent a cake from cracking, and provide you with practical, no-nonsense advice on how to achieve a perfectly baked cake every time. I’ll walk you through the common mistakes that can lead to a cracked cake, and offer simple yet effective solutions to ensure that your cakes turn out moist, delicious, and visually stunning. Whether you’re a beginner or an experienced baker, my goal is to empower you with the knowledge and skills to take your baking to the next level, and to help you understand that with a little practice and patience, perfection is within reach.
Table of Contents
Guide Overview: What You'll Need
Total Time: 1 hour 15 minutes
Estimated Cost: $10 – $20
Difficulty Level: Easy
Tools Required
- Oven thermometer (for accurate temperature)
Supplies & Materials
- Cake pan non-stick or greased
- Baking powder fresh, not expired
- Butter or oil for greasing the pan
- Water for proper hydration
- Cake recipe ingredients follow a trusted recipe
Step-by-Step Instructions
- 1. First, let’s start with the foundation of a perfect cake: ensuring your ingredients are at room temperature. This might seem like a minor detail, but trust me, it’s crucial for a smooth and even baking process. Take your eggs, butter, and milk out of the fridge at least an hour before you start mixing, and let them sit at room temperature.
- 2. Next, it’s time to _sift and measure_ your dry ingredients, including flour, sugar, and any leavening agents. I like to use a digital scale to get my measurements just right, as this helps maintain consistency in my cakes. Make sure to sift your ingredients into a large bowl to incorporate air and ensure they’re well combined.
- 3. Now, let’s talk about temperature control. Preheat your oven to the exact temperature specified in your recipe, and invest in an oven thermometer to ensure accuracy. I also recommend using a water bath or a steam generator to maintain a stable oven environment, which will help prevent sudden temperature drops that can cause your cake to crack.
- 4. When it comes to mixing your batter, it’s essential to _avoid overmixing_. Mix your wet and dry ingredients separately and gently fold them together using a rubber spatula. Stop mixing as soon as the ingredients are combined, and don’t overbeat your batter. This will help preserve the delicate structure of your cake and prevent it from becoming too dense.
- 5. Once you’ve poured your batter into a greased and floured cake pan, make sure to smooth the top evenly. This will help your cake bake uniformly and prevent any weak spots that could lead to cracking. Use a offset spatula or a knife to create a smooth, even surface, and don’t worry if it’s not perfect – a small imperfection or two won’t affect the overall structure of your cake.
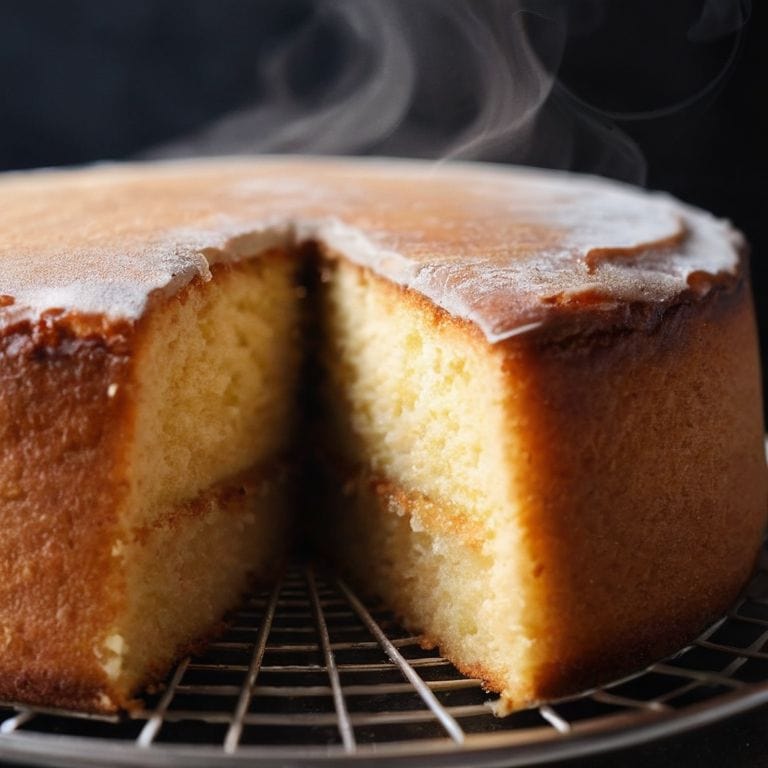
- 6. Now it’s time to bake your cake, and this is where patience is key. Resist the temptation to open the oven door or check on your cake too frequently, as this can cause the temperature to fluctuate and lead to cracking. Instead, set a timer and let your cake bake undisturbed for the recommended amount of time. When it’s done, remove it from the oven and let it cool in the pan for a few minutes before transferring it to a wire rack to cool completely.
- 7. Finally, to ensure your cake cools evenly and _prevents cracking_, it’s essential to let it cool slowly and naturally. Avoid placing your cake in front of a fan or using any other method to speed up the cooling process, as this can cause it to cool too quickly and lead to cracking. Instead, let it cool to room temperature on a wire rack, and then store it in an airtight container to keep it fresh.
Cracking the Code
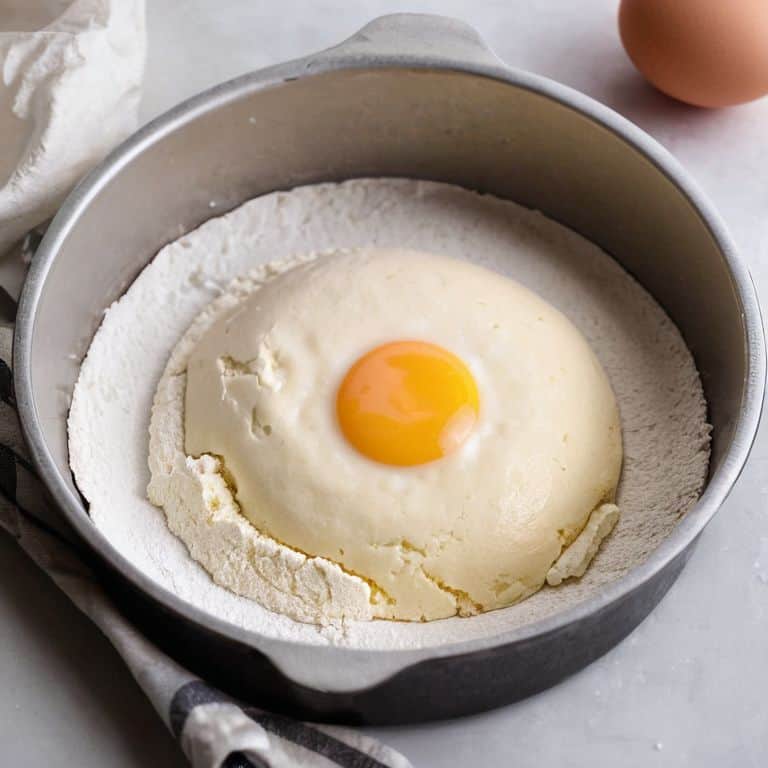
As I delve deeper into the world of cake perfection, I’ve found that cake pan preparation methods play a crucial role in preventing cracks. It’s essential to ensure that your cake pan is properly greased and floured, creating a smooth surface for the cake to release from. I’ve also noticed that using room temperature ingredients can significantly impact the final result, as it allows for a more even mixture and better emulsification of the batter.
When it comes to mixing, it’s vital to avoid overmixing, as this can lead to a dense and rigid cake structure. Instead, I recommend gently folding the ingredients together until they’re just combined, allowing the cake to retain its delicate texture. By doing so, you’ll be able to achieve a light and airy crumb, which is less prone to cracking.
In my experience, optimizing baking time is also critical in preventing cracks. This involves carefully monitoring the cake’s progress and removing it from the oven when it’s still slightly tender in the center. By doing so, you’ll be able to prevent the cake from becoming overcooked and brittle, reducing the likelihood of cracks forming. With practice and patience, you’ll be able to master the art of cake baking and create stunning desserts that are both delicious and visually appealing.
Overmixing the Silent Killer
When I think back to my early days as a pastry chef, I recall the number of times I fell victim to overmixing. It’s a silent killer, really – your batter looks perfect, but the end result is a dense, cracked cake. The reason is simple: overmixing develops the gluten in the flour, leading to a tough, inflexible crumb that’s prone to cracking. To avoid this, I always stop mixing as soon as my ingredients come together in a cohesive mass. It’s a delicate balance, but one that’s crucial to achieving that perfect, tender crumb.
I like to think of it as a gentle whisper, rather than a forceful fold. By being mindful of my mixing technique, I can ensure that my cakes retain their moisture and structure, without succumbing to the pitfalls of overmixing. It’s a technique that requires patience and practice, but trust me, the end result is well worth it.
Room Temp the Secret Ingredient
Room temperature is the often-overlooked secret to a crack-free cake. I recall a particularly disastrous cake failure in my early days as a pastry chef, where I had meticulously measured every ingredient, only to have the cake emerge from the oven with a gaping crack. It wasn’t until I adjusted my kitchen’s temperature that I saw a significant improvement. Now, I insist that my students invest in a reliable thermometer to ensure their workspace is at the ideal temperature. This simple step can make all the difference in the final product’s texture and appearance. By maintaining a consistent room temperature, you’ll be amazed at how it can elevate your baking to the next level.
Cracking the Code: 5 Essential Tips to Save Your Cake
- My number one tip is to ensure all ingredients are at room temperature before starting, as this helps to create a smooth and even batter
- Resist the temptation to overmix, as this can lead to a dense and cracked cake – mix wet and dry ingredients separately and gently fold them together
- Use the right type of flour for the job, as some types are more prone to cracking than others – I swear by cake flour for its tender and delicate crumb
- Don’t overbake, as this can cause the cake to dry out and crack – invest in a good oven thermometer to ensure you’re baking at the right temperature
- Finally, don’t open the oven door too often, as this can cause the cake to sink or crack – patience is key when it comes to baking the perfect cake, so let it do its thing
Key Takeaways to a Crack-Free Cake
I’ve learned that ensuring all ingredients are at room temperature is crucial, as it allows for a more even distribution of heat and a lower risk of cracking
Avoiding overmixing is also vital, as it can lead to a dense, tough crumb that’s more prone to cracking – instead, mix wet and dry ingredients separately and gently fold them together
By understanding the importance of temperature and mixing technique, home bakers can elevate their skills and create cakes that are not only visually stunning but also delicious and crack-free, just like the ones I’ve perfected in my own pastry kitchen
The Cracking Point
A cake cracks not because of the heat, but because of the hurry; patience, my friends, is the yeast that makes perfection rise.
Juliette Le Roux
The Finishing Touches
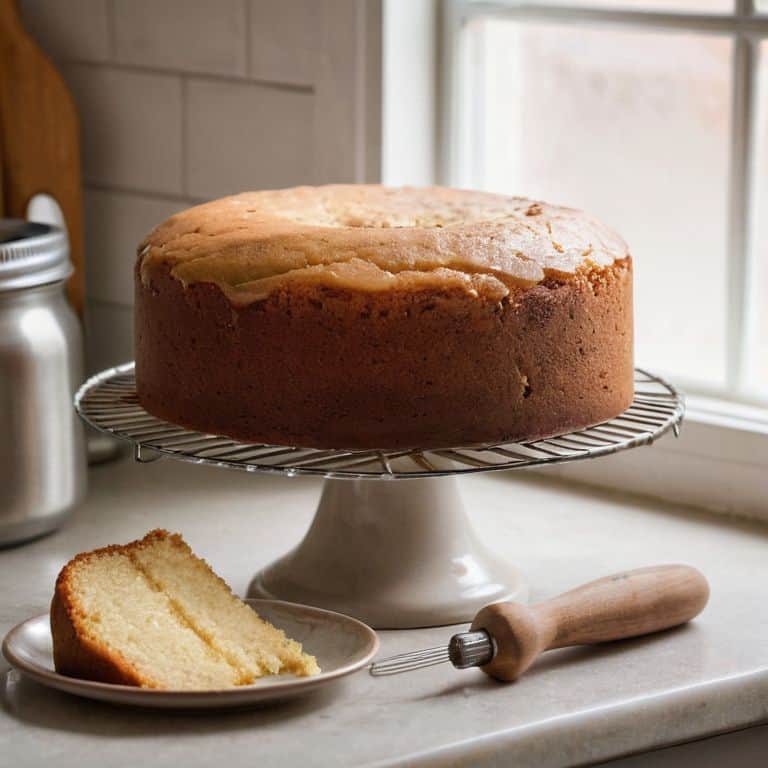
As we conclude our journey to a crack-free cake, let’s recap the essential elements: maintaining room temperature ingredients, avoiding overmixing, and carefully monitoring our cake’s progress. These subtle yet crucial details can make all the difference between a beautifully baked cake and a disappointing, cracked disaster. By mastering these techniques and paying close attention to the temperature, you’ll be well on your way to creating stunning, professional-grade cakes that impress and delight.
So, the next time you’re tempted to throw in the towel and blame it on the recipe, remember that perfection is achievable with practice, patience, and a deep understanding of the craft. As a chocolatier and pastry consultant, I’ve seen firsthand the transformative power of dedication and attention to detail. With these principles guiding you, I have no doubt you’ll unlock the secrets to creating breathtaking, crack-free cakes that showcase your skill and artistry, and leave everyone wanting more.
Frequently Asked Questions
What role does the type of flour used play in preventing a cake from cracking?
The type of flour is crucial – I only use high-quality, low-protein flours like cake flour or pastry flour, as they produce a tender crumb and less tension, reducing the likelihood of cracking.
How do I adjust my cake recipe to prevent cracking in high-altitude baking?
At high altitudes, I adjust my cake recipe by increasing moisture and reducing leavening agents. I also decrease oven temperature by 1-2% for every 1,000 feet of altitude. It’s all about balance – and don’t forget to use room temperature ingredients, as we discussed earlier, to ensure even baking and prevent those dreaded cracks.
Can overbaking or underbaking contribute to a cake cracking, and if so, how can I determine the perfect baking time?
The age-old question of baking time. Yes, overbaking or underbaking can definitely cause cracking. To determine the perfect baking time, I always say: ‘check, don’t chance.’ Invest in a thermometer, and don’t rely on the recommended time alone. For me, it’s all about the internal temperature – 190°F to 195°F is my sweet spot.