I still remember the day I decided to redesign my own kitchen island – it was a game-changer for my entire home. As I delved into the world of how to design a kitchen island, I realized that it’s not just about adding a functional piece of furniture, but about creating a beautiful focal point that brings warmth and personality to the heart of your home. So many of us get caught up in the idea that a kitchen island has to be purely functional, but I’m here to tell you that it can be so much more than that.
In this article, I’ll be sharing my honest, no-hype advice on how to design a kitchen island that’s both functional and visually stunning. I’ll walk you through my favorite tips and tricks for choosing the perfect materials, designing a layout that works for you, and adding those special touches that make your kitchen island truly unique. Whether you’re a seasoned designer or just starting to plan your dream kitchen, I promise that you’ll come away from this article with a clear understanding of how to create a kitchen island that’s not only beautiful, but also reflects your personal style and meets your everyday needs.
Table of Contents
Guide Overview: What You'll Need
Total Time: 4 hours 30 minutes
Estimated Cost: $100 – $300
Difficulty Level: Intermediate
Tools Required
- Table Saw (for cutting lumber)
- Drill Press (for precise drilling)
- Hand Saw (or circular saw for cutting curves)
- Sander (for smoothing out wood surfaces)
- Tape Measure (for accurate measurements)
- Level (for ensuring the island is level)
- Clamp (for holding pieces together during assembly)
- Drill (with screwdriver and drill bits)
Supplies & Materials
- 2-in x 4-in lumber (for the frame)
- 3/4-in plywood (for the top and shelves)
- MDF or wood veneer (for the exterior finish)
- Wood glue (for bonding wood pieces)
- 2 1/4-in wood screws (for assembling the frame)
- 1 1/4-in wood screws (for attaching the top and shelves)
- Wood filler (for filling gaps and holes)
- Paint or stain (for finishing the wood)
- Decorative trim (for adding a finished look)
- Casters or legs (for mobility and support)
Step-by-Step Instructions
- 1. First, let’s start by assessing the layout of your kitchen to determine the ideal location for your island. Consider the workflow of your kitchen, taking into account the positions of your sink, stove, and refrigerator. You want to create a comfortable and efficient path between these areas, often referred to as the “kitchen triangle.” Think about how you move around your kitchen and where you spend most of your time – this will help you decide on the perfect spot for your island.
- 2. Next, measure your kitchen carefully to decide on the optimal size for your island. Take into account any obstacles, such as doorways, windows, or narrow pathways. You’ll want to ensure that there’s enough clearance around the island for comfortable movement. I like to leave about 36-42 inches of space between the island and any surrounding cabinets or appliances. Don’t forget to consider the height of your island as well – you’ll want it to be at a comfortable height for food preparation and socializing.
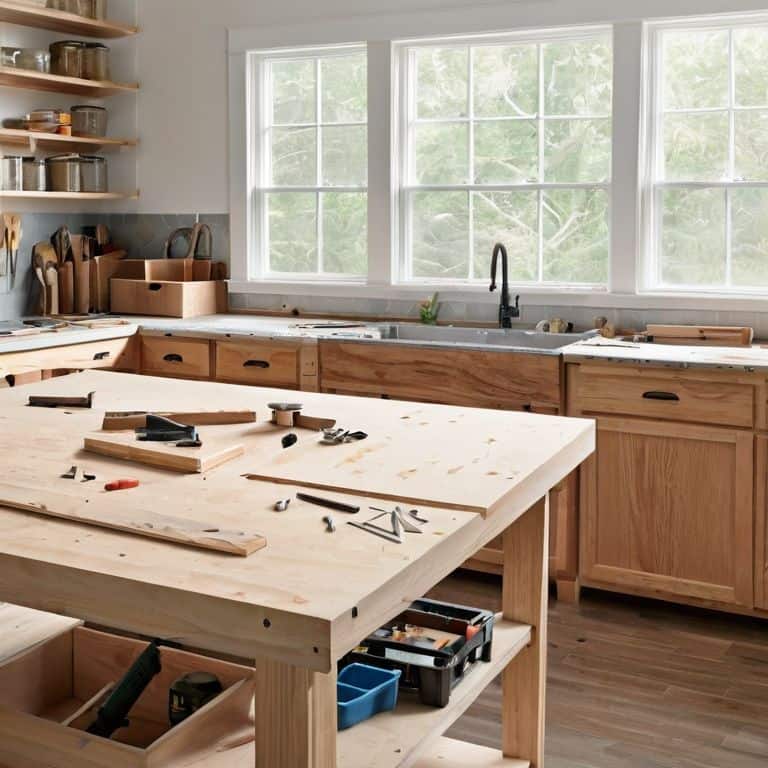
- 3. Now it’s time to think about the functionality of your island. What do you want to use it for? Do you need extra storage for cookbooks, utensils, or appliances? Perhaps you’d like to include a sink, stove, or wine fridge? Make a list of your must-haves and nice-to-haves to help guide your design decisions. For me, a beautiful ceramic tile or * butcher block * countertop is a must-have – it adds warmth and texture to the space.
- 4. With your design goals in mind, start brainstorming the style and aesthetic of your island. Do you prefer a modern, sleek look or a more traditional, rustic feel? Consider the materials, colors, and textures you’ll use to bring your vision to life. I adore using reclaimed wood or metal accents to add depth and visual interest to the space. Don’t be afraid to collect inspiration from various sources, such as design blogs, magazines, or social media.
- 5. Once you have a clear idea of your design, it’s time to start selecting the materials and finishes for your island. Think about the durability and maintenance requirements of each material – you’ll want to choose something that can withstand the wear and tear of daily use. I’m a big fan of using quartz countertops and stainless steel appliances for their durability and ease of cleaning.
- 6. Now, let’s talk about lighting – it’s an often-overlooked aspect of kitchen design, but it can make a huge impact on the ambiance and functionality of your space. Consider adding some pendant lights or under-cabinet lighting to create a warm and inviting glow. This will not only make your island a beautiful focal point but also provide ample lighting for food preparation and socializing.
- 7. Finally, don’t forget to add some personal touches to make your island truly special. This could be a beautiful vase or centerpiece that adds a pop of color and texture to the space. Perhaps you’d like to display some of your favorite cookbooks or kitchen gadgets? Whatever you choose, make sure it reflects your personality and style – after all, your kitchen island should be a reflection of you and your love of cooking and entertaining.
Designing Your Dream Island
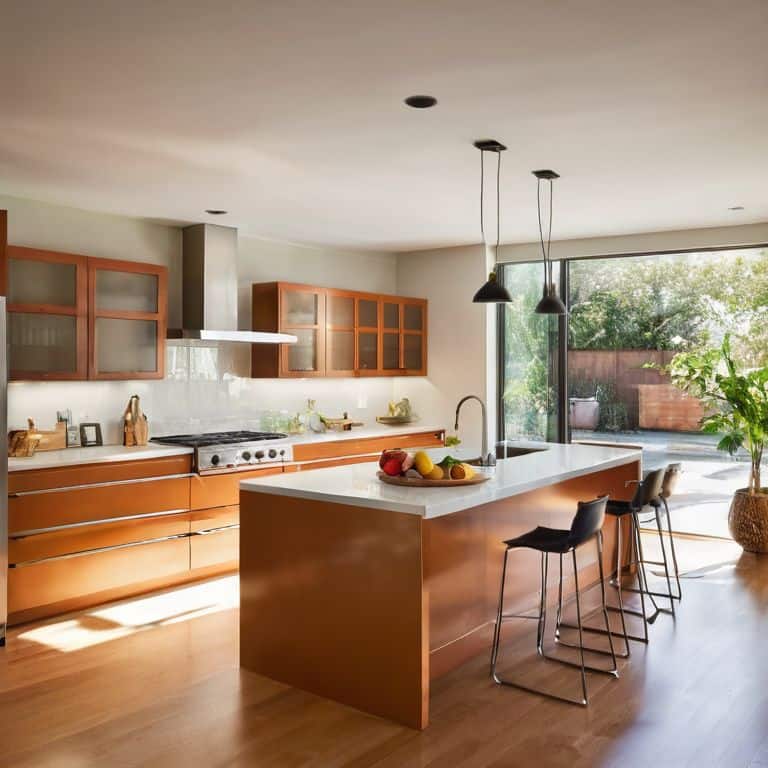
As I delve into the world of kitchen island design, I’m reminded of the importance of custom kitchen island designs that reflect our personal style. For me, it’s all about creating a space that’s both functional and visually stunning. When designing your dream island, consider the role that kitchen island lighting ideas can play in setting the tone for your entire kitchen. Whether you opt for pendant lights, recessed lighting, or a combination of both, the right lighting can make your island a warm and inviting hub.
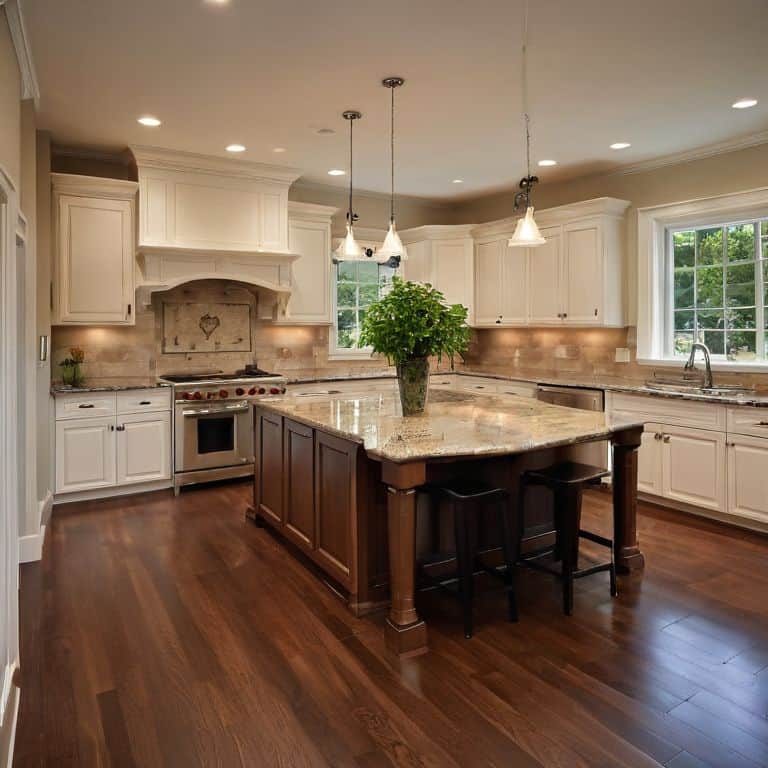
To make the most of your island, think about maximizing kitchen island storage through clever use of cabinets, drawers, and shelves. This not only keeps your kitchen organized but also creates a sense of calm and serenity. I also love incorporating beautiful kitchen island countertop materials, such as marble or butcher block, to add a touch of elegance to the space.
As you bring your design to life, don’t forget to consider the practical aspects, like kitchen island electrical outlets. By carefully planning the placement of these outlets, you can ensure that your island is not only beautiful but also functional. With a little creativity and planning, you can create a kitchen island that’s truly the heart of your home.
Illuminating Ideas Kitchen Island Lighting
When it comes to lighting your kitchen island, I always say that it’s all about creating a warm and inviting ambiance. You want your island to be a beacon of warmth in the heart of your home, don’t you? Consider installing pendant lights above your island – not only do they provide ample task lighting, but they also add a touch of sophistication to the space. I personally adore pendant lights with a soft, warm glow, as they create a cozy atmosphere that’s perfect for baking and socializing.
For a more layered lighting look, you could also incorporate under-cabinet lighting or a stylish table lamp to add some visual interest to your island. Remember, the key is to create a lighting scheme that’s both functional and beautiful – after all, your kitchen island should be a stunning focal point in the room!
Maximizing Storage and Electrical Outlets
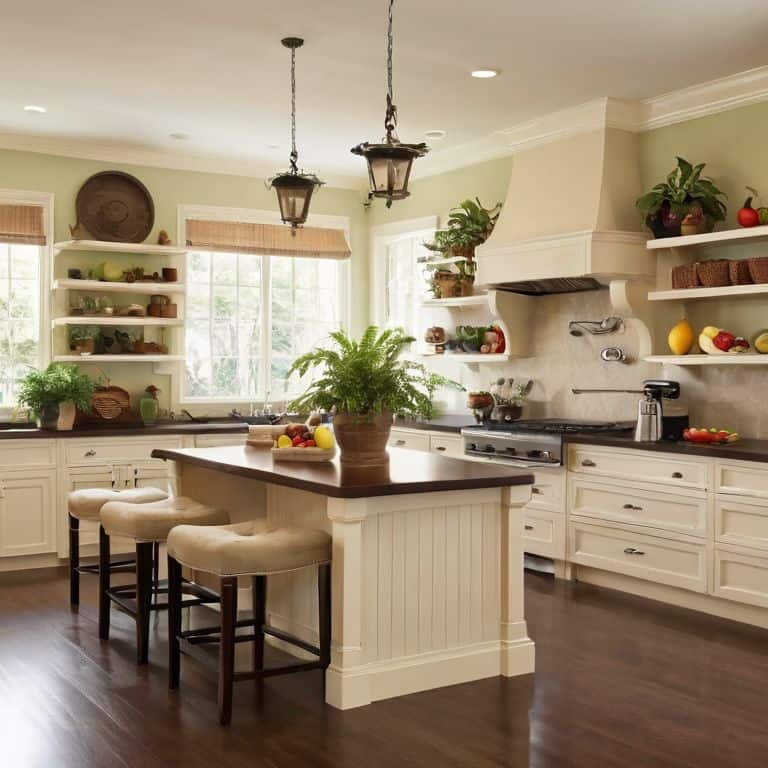
To create a truly functional and beautiful kitchen island, it’s essential to think about storage and accessibility. I like to incorporate a mix of open shelving and closed cabinets to keep essentials within easy reach while maintaining a sense of visual balance. Consider adding drawers or baskets to store utensils, linens, or cookbooks, keeping your countertops clutter-free.
In terms of electrical outlets, I recommend installing them strategically, perhaps on the sides or back of the island, to keep cords organized and out of sight. This not only enhances the aesthetic but also ensures safety and convenience, allowing you to plug in appliances or charge your devices while keeping your kitchen looking stylish and serene.
Island Essentials: 5 Tips to Bring Your Dream Kitchen to Life
- Choose a shape that serenades your soul: Select a kitchen island shape that not only fits your space but also resonates with your personal style, whether it’s a sleek rectangle, a warm curve, or a chic square
- Marble, wood, or something bold: Pick materials that tell your story, from the elegance of marble to the warmth of wood, or maybe something entirely unique that reflects your adventurous spirit
- Light it up with love: Layer your lighting to create a warm ambiance, from soft overhead lights to warm under-cabinet glows, making your kitchen island a beacon of hospitality
- Storage that’s a work of art: Incorporate storage solutions that are not only functional but also visually stunning, think beautiful baskets, sleek drawers, or open shelves that display your treasures
- Make it a masterpiece with color: Don’t be afraid to add a pop of color or a soothing hue to your kitchen island, whether through paint, accessories, or natural materials, to create a space that feels truly yours
Key Takeaways for Your Dream Kitchen Island
Create a functional and beautiful focal point in your kitchen by considering the island’s purpose, size, and style to ensure it complements the overall aesthetic of the room
Balance form and function by incorporating thoughtful lighting, ample storage, and cleverly placed electrical outlets to maximize the island’s potential and create a warm, inviting atmosphere
Make your kitchen island truly sing by adding personal touches, such as decorative accessories, a statement countertop, or a pop of color, to reflect your unique style and personality
Designing from the Heart
A kitchen island is more than just a functional piece – it’s a canvas for your personal style, a reflection of the warmth and love that goes into every meal, and a testament to the beauty of everyday moments shared with family and friends.
Olivia Bennett
Bringing Your Vision to Life
As we’ve explored the world of kitchen island design, I hope you’ve fallen in love with the idea of creating a space that’s not only functional, but also a beautiful reflection of your personal style. From illuminating ideas for lighting to maximizing storage and electrical outlets, we’ve covered the essential steps to crafting your dream island. Remember, it’s all about finding the perfect balance between form and function, and making intentional design choices that bring you joy. Whether you’re a busy homeowner or an avid baker, your kitchen island should be a heart of the home that draws people in and makes them feel welcome.
As you begin your own kitchen island design journey, I want to leave you with a final thought: your kitchen is a canvas, waiting for your unique brushstrokes and creative expression. Don’t be afraid to think outside the box, experiment with different styles, and make your space truly yours. With a little patience, imagination, and inspiration, you can create a kitchen island that’s not only a stunning focal point, but also a warm and inviting hub that brings people together and makes memories that last a lifetime.
Frequently Asked Questions
What are the most popular materials to use when building a kitchen island?
For me, the most popular materials for building a kitchen island are all about blending form and function. I adore working with beautiful woods like oak and walnut, as well as sleek options like quartz and marble – they add such warmth and sophistication to the space!
How can I determine the ideal size and shape of my kitchen island based on my kitchen's layout?
To determine the ideal size and shape of your kitchen island, consider the workflow of your kitchen – think about how you move between the sink, stove, and refrigerator. Measure the paths you take most often and leave about 3-4 feet of clearance around the island for comfortable navigation.
What are some creative ways to incorporate seating into my kitchen island design?
For a cozy touch, consider adding a built-in banquette or a pair of stylish stools to your island design. You could also incorporate a breakfast bar with a gorgeous quartz or marble countertop, perfect for casual dining and conversation.