I still remember the day I realized that how to organize a baker’s pantry wasn’t just about stuffing all my baking supplies into a single space. I was in the midst of preparing for a styled brunch party, and my kitchen was a chaotic mess. As I searched for my favorite ceramic mixing bowls and matching utensils, I felt frustrated by the clutter and disorganization. It was then that I decided to take a step back and rethink my approach to pantry organization. I wanted my baker’s pantry to be a warm and inviting space that inspired creativity and made me excited to whip up a storm.
In this article, I’ll share my personal secrets for transforming your baker’s pantry into a beautifully functional space. You’ll learn how to purge and categorize your baking supplies, create a visually pleasing storage system, and maintain your newly organized pantry with ease. I’ll provide you with practical styling tips and honest advice on how to make the most of your space, regardless of its size. By the end of this guide, you’ll be equipped with the knowledge and inspiration to turn your baker’s pantry into a haven that sparks joy and creativity in your baking journey.
Table of Contents
Guide Overview: What You'll Need
Total Time: 2 hours 30 minutes
Estimated Cost: $50 – $100
Difficulty Level: Intermediate
Tools Required
- Tape Measure (for measuring shelves)
- Level (to ensure shelves are straight)
- Drill (with screwdriver and drill bits)
- Utility Knife (with extra blades)
- Step Stool (for reaching high shelves)
- Label Maker (for labeling containers)
Supplies & Materials
- Shelving Units (customizable to fit your space)
- Stackable Containers (various sizes for storing ingredients)
- Adhesive Hooks (for hanging baking utensils)
- Basket Inserts (for organizing small items like spices)
- Chalkboard Labels (for labeling shelves and containers)
- Six inches of 1×4 Lumber (for creating custom shelves or dividers)
Step-by-Step Instructions
- 1. First, let’s start by clearing out our baker’s pantry and giving it a good dusting. Take everything out, and I mean everything – from the flour canisters to the cookie cutters. This will give us a chance to see what we’re working with and get rid of any expired or unused items. As we’re taking things out, let’s make a mental note of the items we use most frequently, so we can make sure they’re easily accessible in our newly organized pantry.
- 2. Next, let’s think about the layout of our pantry. We want to create a system that makes sense for us and our baking habits. Consider the types of ingredients you use most often and group them together. For example, you might have a section for baking supplies, a section for spices, and a section for snacks. Don’t worry too much about the specifics just yet – we’ll get to that in a minute.
- 3. Now it’s time to categorize our ingredients and supplies. Let’s start by grouping similar items together – all the types of flour, sugar, and baking powder, for instance. This will make it easier to find what we need when we need it. We can also use this opportunity to get rid of any duplicates or items that are no longer useful. As we’re categorizing, let’s think about the aesthetic we want to achieve in our pantry – do we want it to be bright and colorful, or more minimalist and monochromatic?
- 4. With our ingredients and supplies grouped and categorized, it’s time to think about storage solutions. We want to use containers and baskets that are both functional and beautiful. Consider using glass jars or canisters for dry ingredients like flour and sugar, and baskets or bins for items like cookie cutters and baking utensils. Let’s choose containers that fit our personal style and the overall mood we’re trying to create in our pantry.
- 5. Let’s move on to the organization of our pantry shelves. We want to make sure that our most frequently used items are at eye level, so they’re easy to grab when we need them. Less frequently used items can be stored on higher or lower shelves. Consider using a step stool or ladder to make it easy to reach those top shelves. As we’re organizing our shelves, let’s think about the visual flow of our pantry – we want it to be easy to navigate and pleasing to the eye.
- 6. Now it’s time to think about labels and signage. We want to make it easy to identify what’s inside each container or on each shelf, so let’s use labels or chalkboard signs to mark everything. This will also add a touch of whimsy to our pantry and make it feel more personalized. Consider using a label maker or writing the labels by hand – whichever method feels more fun and creative to you.
- 7. Finally, let’s add some personal touches to our pantry to make it feel truly special. This might be a favorite cookbook or kitchen gadget, a vase of fresh flowers, or a fun piece of artwork. Whatever it is, let’s make sure it reflects our personality and style, and makes us feel happy and inspired to be in the kitchen. As we’re adding these final touches, let’s take a step back and admire our beautifully organized pantry – it’s a space that’s truly our own, and it’s ready to inspire us to create all sorts of delicious treats.
Organizing Bliss
As I delve into the world of pantry organization, I find myself obsessed with maximizing pantry storage space. It’s all about creating a harmonious balance between form and function. I like to think of my baker’s pantry as a treasure trove of possibilities, where every jar and container has its own special place. To achieve this, I swear by custom pantry shelving solutions that cater to my unique baking needs.
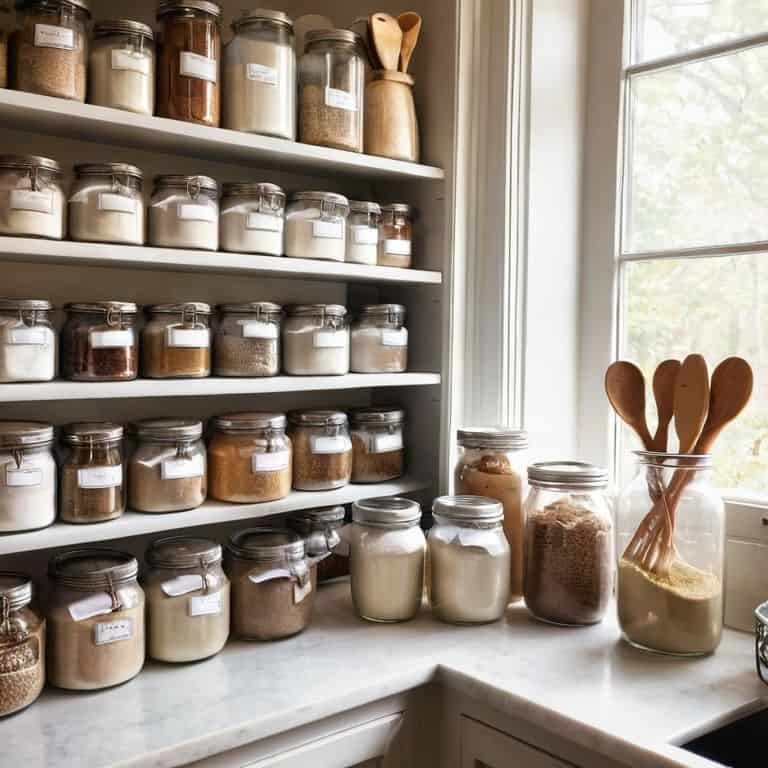
When it comes to organizing baking supplies efficiently, I’m all about labeling and categorizing ingredients. There’s something so satisfying about seeing rows of neatly labeled jars, each one filled with a different type of flour or sugar. It’s not just about aesthetics, though – it’s also about creating a system that makes sense. I like to group similar ingredients together, making it easy to find what I need in a pinch. And, of course, optimal flour and sugar storage conditions are a must to keep my ingredients fresh and ready to use.
As I put the finishing touches on my pantry, I step back to admire my handiwork. The baker’s pantry layout ideas I’ve implemented have truly transformed the space into a warm and inviting haven. It’s a place where I can let my creativity shine, surrounded by the tools and ingredients I love. With everything in its place, I can focus on what really matters – whipping up a storm and sharing my creations with the people I love.
Custom Shelving for Baking Supplies
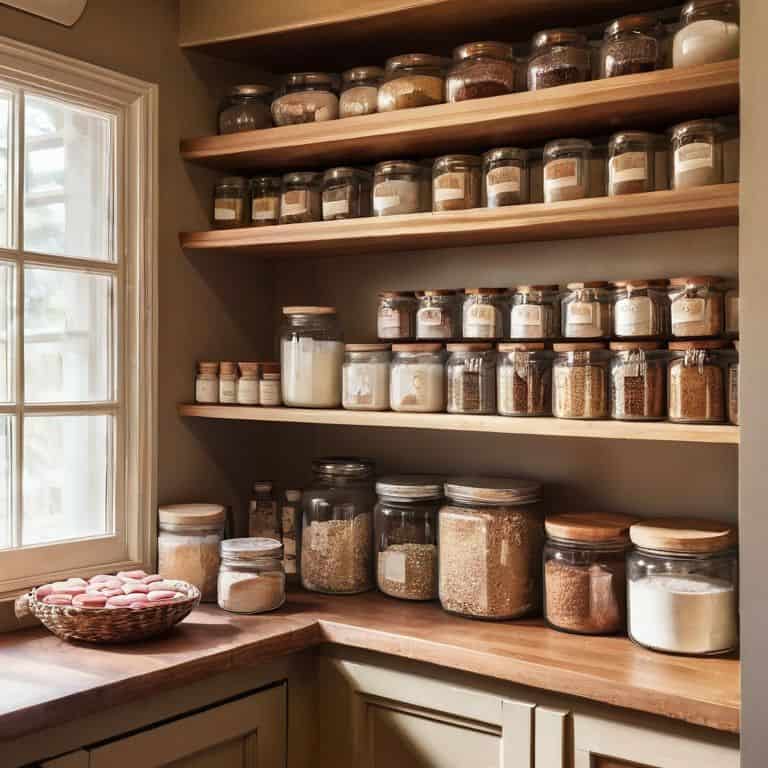
To take my pantry to the next level, I invested in custom shelving that caters specifically to my baking supplies. It’s been a game-changer! Now, my flour, sugar, and baking powders are neatly stacked on beautiful, wooden shelves that add a touch of warmth to the space. The shelves are designed to fit my most-used ingredients, making them easily accessible whenever I need them.
I chose a soft, white finish for my custom shelves to complement the light, airy feel of my kitchen. The result is a visually stunning display of my baking essentials that doubles as a decorative element. It’s amazing how something as simple as custom shelving can elevate the entire look and feel of my pantry, making it a true reflection of my love for baking and beautiful design.
Maximizing Pantry Storage Space
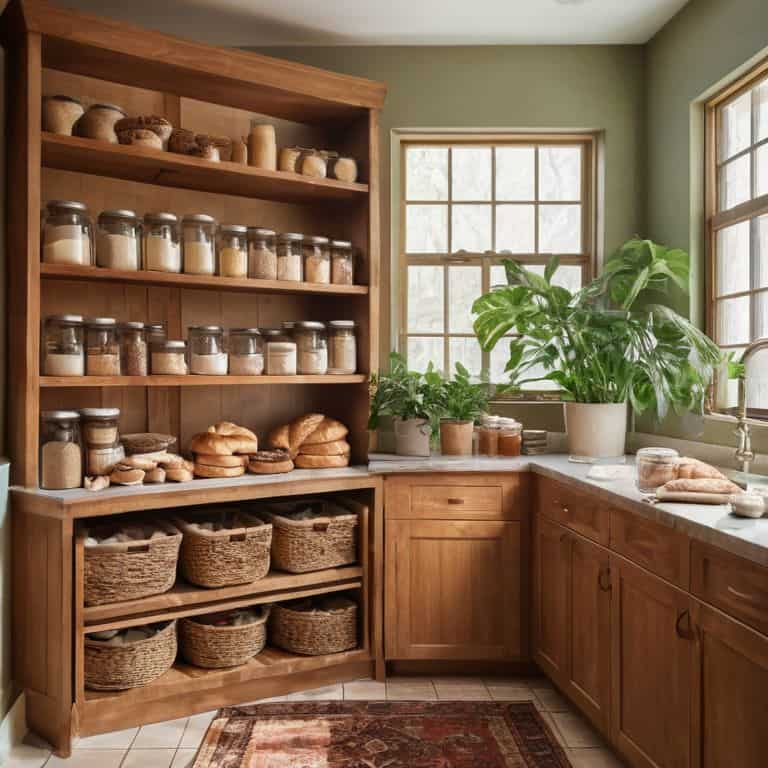
To truly maximize pantry storage space, I like to think outside the box – or in this case, the shelf. Consider investing in beautiful, stackable ceramic containers that not only add a touch of elegance but also keep your dry goods fresh and organized. I adore using vintage apothecary jars for a whimsical touch, while also utilizing the often-wasted space on the top shelf for less frequently used items, like special occasion serving dishes or out-of-season baking decorations.
By doing so, you’ll not only free up more room for your everyday essentials but also create a visually pleasing display that adds to the warm ambiance of your pantry. Plus, the satisfaction of seeing your carefully curated collection of ceramics and bakeware is sure to spark joy every time you step into your kitchen.
Pantry Perfection: 5 Essential Tips to Get You Baking in Bliss
- Assign a Home for Each Ingredient: Group similar items together, like flour, sugar, and baking powder, and store them in a designated area to keep your pantry clutter-free and your mind at ease
- Label, Label, Label: Beautiful labels can add a touch of warmth and personality to your pantry, making it easier to find what you need and adding a decorative element to your space
- Store Heavy Items Below: Keep your pantry safe and functional by storing heavy items, like mixers and appliances, on lower shelves or in easy-to-access areas
- Utilize Vertical Space: Make the most of your pantry’s walls by installing shelves, hooks, or a pegboard to hang items like baking sheets, utensils, and linens, keeping them organized and within reach
- Edit and Curate Your Collection: Regularly go through your pantry and remove any expired, unused, or unnecessary items, making room for the things that bring you joy and inspire your baking creations
Sweet Sanctuary Takeaways
Embrace the joy of organizing your baker’s pantry by turning it into a warm and inviting space that sparks creativity and inspiration
Maximize your pantry’s potential with custom shelving, clever storage solutions, and a dash of personal style to make your baking supplies shine
Remember, a beautifully organized baker’s pantry is not just about function – it’s about creating a haven that nourishes both body and soul, one delicious baked good at a time
The Heart of the Kitchen
A baker’s pantry is not just a storage space, but a sanctuary where creativity and joy come to life – and it all begins with a little bit of intentional organization and a lot of love.
Olivia Bennett
Sweet Serenity: The Baker's Pantry of Your Dreams
As we’ve explored the world of baker’s pantry organization, I hope you’ve fallen in love with the idea of transforming your space into a warm and welcoming haven. From maximizing pantry storage space to incorporating custom shelving for your baking supplies, every detail counts in creating a space that sparks joy and inspires creativity. By implementing these simple yet effective strategies, you’ll be well on your way to whipping up a storm in a kitchen that truly feels like the heart of your home.
So, go ahead and take the first step towards creating your own baker’s paradise. Remember, it’s all about embracing the beauty of functional design and infusing your space with personality. As you stand in your newly organized pantry, surrounded by the soft glow of warm lighting and the soothing scent of fresh ingredients, I hope you’ll feel the same sense of serenity and excitement that I do every time I step into my own kitchen. Happy baking, and may your pantry be the sweet sanctuary you’ve always dreamed of!
Frequently Asked Questions
How can I best categorize and group my baking supplies to maintain a clutter-free pantry?
For a clutter-free pantry, I group my baking supplies by category: flours, sugars, and chocolates. I also separate essentials like baking powder and vanilla extract into easy-to-reach spots. And, of course, my favorite ceramics and decorative jars get prime real estate – it’s all about creating a visually pleasing space that sparks joy!
What types of storage containers are best for keeping ingredients like flour and sugar fresh and organized?
For storing ingredients like flour and sugar, I adore using beautiful, airtight ceramic containers – they keep everything fresh and add a touch of elegance to my pantry shelves. Plus, they’re easy to clean and come in a variety of sizes to fit my baking needs.
Are there any creative ways to utilize the often-wasted space on the back of a pantry door for additional storage or organization?
One of my favorite hacks is to use the back of the pantry door for extra storage. I love installing a pegboard or a magnetic strip to hang my favorite baking utensils, or even a slim shelf for spices and oils. It’s amazing how much more organized my pantry feels with this little trick!