I still remember my early days as a pastry instructor, watching students struggle with the concept of how to proof yeast. They’d often tell me that proofing yeast was a mysterious, hit-or-miss process – a sort of baking voodoo that required a dash of magic and a pinch of luck. But I’m here to tell you that’s just not true. The truth is, proofing yeast is a straightforward, scientific process that can be mastered with a little practice and patience. In fact, I believe that understanding how to proof yeast is the key to unlocking a world of baking possibilities, from fluffy bread to sweet pastries.
As we dive into the world of yeast proofing, I want to assure you that this article will give you the no-nonsense advice you need to succeed. You won’t find any fancy gadgets or complicated techniques here – just simple, practical tips that will help you proof yeast like a pro. By the end of this guide, you’ll know exactly how to proof yeast with confidence, and you’ll be well on your way to becoming a skilled baker. So, let’s get started on this journey together, and discover the joy of working with yeast – it’s a game-changer for any home baker!
Table of Contents
Guide Overview: What You'll Need
Total Time: 10 – 15 minutes
Estimated Cost: $0 – $5
Difficulty Level: Easy
Tools Required
- Measuring Cups for water and sugar
- Thermometer optional, for checking water temperature
Supplies & Materials
- Active Dry Yeast 1 teaspoon or 1 packet
- Sugar 1 teaspoon
- Warm Water 1 cup, at 100 degrees Fahrenheit to 110 degrees Fahrenheit
Step-by-Step Instructions
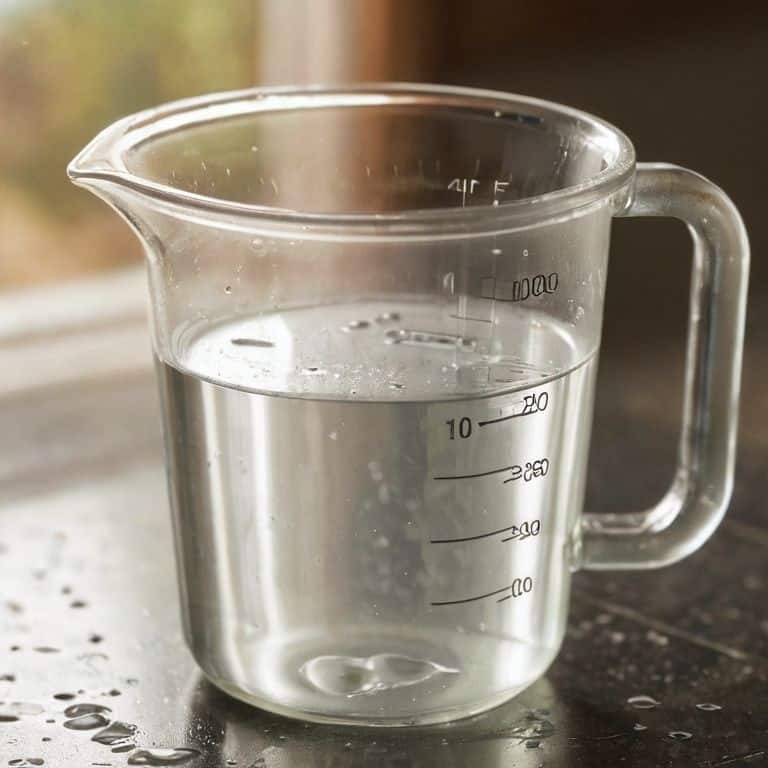
- 1. First, let’s start by understanding that proofing yeast is a simple process that requires just a few basic ingredients, including warm water, sugar, and of course, the yeast itself. To begin, fill a small bowl with 1/2 cup of warm water – not hot, not cold, but just right at around 100°F to 110°F.
- 2. Next, add 1 teaspoon of sugar to the warm water and stir until it’s completely dissolved. This sugar is food for the yeast, and it will help to activate it and get it ready for baking. Make sure the sugar is fully dissolved, as any remaining granules can affect the yeast’s ability to activate properly.
- 3. Now it’s time to add the yeast to the mixture. Typically, you’ll want to use 1 teaspoon of active dry yeast or 1 tablespoon of fresh yeast. Sprinkle the yeast over the surface of the water and let it sit for about 5 minutes, allowing it to rehydrate and become fully saturated.
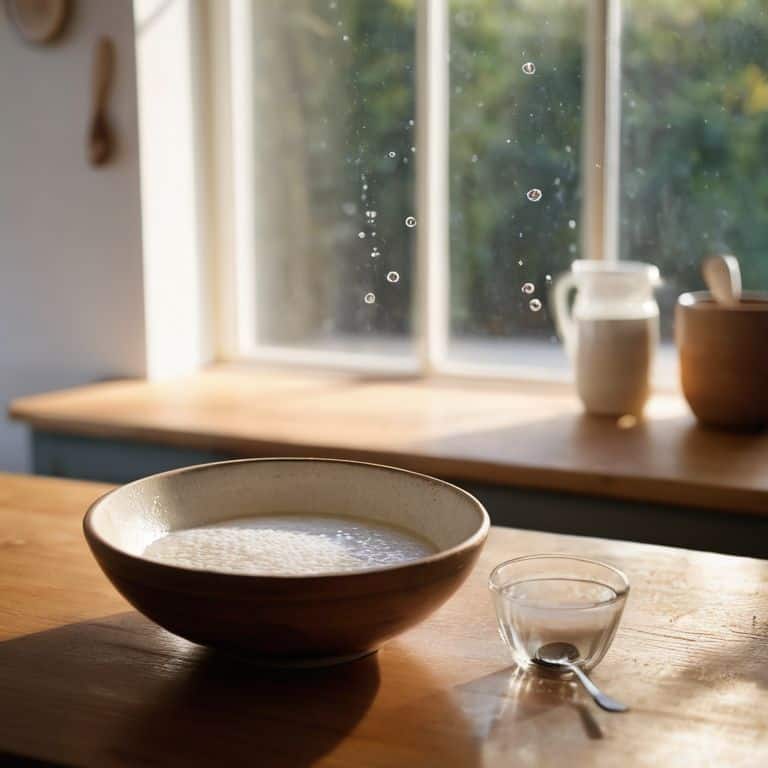
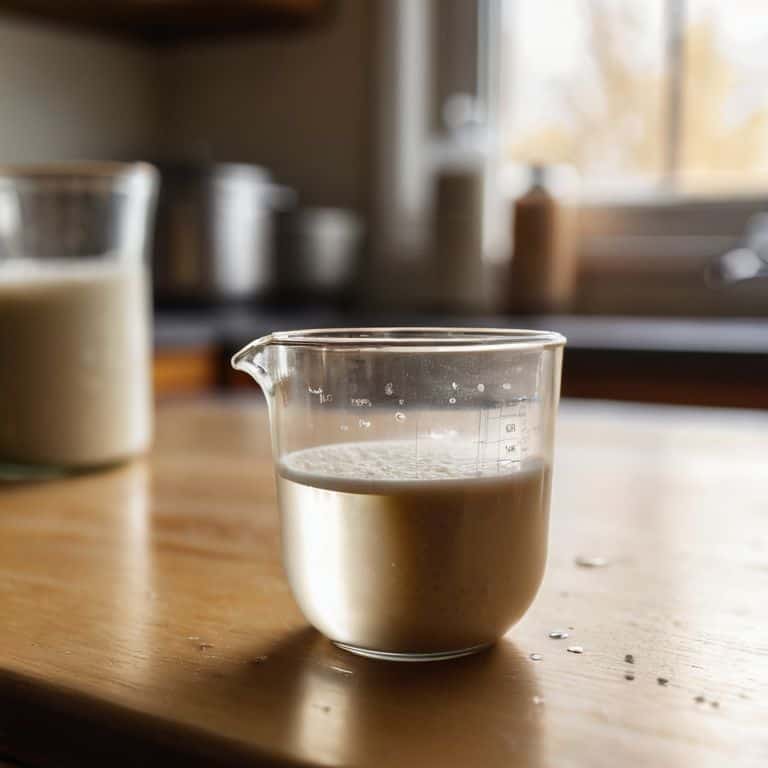
- 4. After 5 minutes have passed, stir the mixture gently to distribute the yeast evenly. You should start to see some frothy activity on the surface of the liquid, which indicates that the yeast is beginning to ferment and release carbon dioxide gas. This is a great sign that your yeast is alive and well.
- 5. Continue to let the mixture sit for another 5 to 10 minutes, allowing the yeast to fully activate and become nice and foamy. You can help to speed up the process by covering the bowl with a cloth or plastic wrap, which will trap the heat and moisture and encourage the yeast to ferment more quickly.
- 6. Once the yeast has fully activated and the mixture has become thick and creamy, you can be confident that your yeast is ready to use in your recipe. To test the yeast, simply look for a thick, creamy foam on the surface of the liquid, which should be nearly double in volume from when you first added the yeast.
- 7. Finally, it’s time to add the yeast mixture to your recipe and start baking. Remember to always use fresh yeast for the best results, and to store any leftover yeast in the refrigerator or freezer to keep it fresh for your next baking project. With these simple steps, you’ll be well on your way to becoming a yeast whisperer and baking like a pro in no time.
How to Proof Yeast
When it comes to yeast activation methods, I always stress the importance of using the right technique to get your yeast going. One common mistake beginners make is using water that’s too hot, which can kill the yeast. Instead, aim for an optimal water temperature between 100°F and 110°F. This will help to gently awaken the yeast and get it ready for baking.
As you’re waiting for your yeast to activate, you might be wondering what’s happening behind the scenes. Essentially, the yeast is feeding on sugars and starting to produce carbon dioxide gas. This process is known as yeast blooming, and it’s a crucial step in the proofing process. By understanding how yeast works, you’ll be better equipped to troubleshoot any issues that arise and get consistently great results from your baked goods.
To ensure you’re getting the best out of your yeast, be mindful of common yeast proofing mistakes, such as using old or inactive yeast, or not providing enough nutrients. By following a few simple guidelines and being patient, you’ll be well on your way to becoming a yeast expert and baking delicious treats with confidence. Remember, using sugar to feed yeast is just one part of the equation – it’s all about creating the right environment for your yeast to thrive.
Optimal Water Temperature Secrets
To activate yeast, water temperature is crucial. I always say, between 100°F and 110°F is the sweet spot. Any hotter, and you risk killing the yeast; any cooler, and it might not activate properly. Think of it like waking up a sleepy giant – you want to coax it gently, not shock it into action.
When mixing yeast with water, aim for a temperature that’s similar to a warm bath. This will help the yeast dissolve and start fermenting, releasing those lovely bubbles that make your dough rise. Remember, precision is key, so take the time to check that temperature – it’s worth the extra minute, I promise!
Yeast Activation Methods Revealed
Now that we’ve covered the basics of proofing yeast, let’s dive deeper into the activation methods that will make your yeast spring to life. I like to think of it as waking up a sleepy giant – with the right technique, your yeast will start fermenting in no time. One of my favorite methods is the “sugar trick,” where I add a small amount of sugar to the warm water before adding the yeast. This gives the yeast a little snack to get started, and trust me, it makes all the difference.
By using this method, you’ll be able to see the yeast activate within minutes, and you’ll know you’re on the right track for a delicious, airy loaf. Remember, the key is to create an environment that’s conducive to yeast growth, and with a little practice, you’ll be a pro at activating your yeast in no time.
Yeast Proofing Mastery: 5 Essential Tips to Get You Rising
- Use a digital thermometer to ensure your water is within the ideal temperature range of 100°F to 110°F for optimal yeast activation
- Always use a clean and sanitized environment when proofing yeast to prevent contamination and competition from other microorganisms
- Select the right type of yeast for your recipe, as active dry yeast, instant yeast, and sourdough starters have different proofing requirements and characteristics
- Monitor the yeast’s progress and adjust the proofing time accordingly, as over-proofing can lead to a less active or even dead yeast population
- Store yeast in the refrigerator or freezer to maintain its potency and extend its shelf life, and always check the expiration date before using it in your recipe
Key Takeaways for Mastering Yeast Proofing
Always remember that yeast is a living organism and needs the right environment to activate, which includes optimal water temperature and a nourishing sugar source
Proofing yeast is not just about mixing it with water, but understanding the science behind how it ferments and multiplies, allowing you to troubleshoot common issues and achieve consistent baking results
By mastering the art of yeast proofing, you’ll unlock the doors to a wide range of delicious baked goods, from crusty breads to sweet pastries, and gain the confidence to experiment with new recipes and ingredients
The Art of Yeast Awakening
Proofing yeast is not just about adding warmth and sugar, it’s about creating an environment where these microscopic magicians can thrive, and that’s where the true magic of baking begins.
Beatrice Quinn
The Proof is in the Pudding: Mastering Yeast Activation

As we’ve explored the world of yeast proofing, it’s clear that understanding the science behind this process is key to unlocking your full baking potential. From yeast activation methods to the secrets of optimal water temperature, each step plays a crucial role in ensuring your baked goods rise to the occasion. By following these guidelines and practicing your skills, you’ll be well on your way to becoming a yeast whisperer, capable of coaxing even the most reluctant yeast into action.
So, the next time you’re tempted to skip the proofing step or wonder why your dough isn’t rising, remember that baking is 90% science and 10% magic. With patience, practice, and a willingness to learn, you’ll be creating delicious, yeast-based treats that will impress even the most discerning palates. As you continue on your baking journey, keep in mind that the art of baking is a continuous learning process, and the joy of discovery is just as important as the end result.
Frequently Asked Questions
What happens if I add yeast to water that's too hot, will it kill the yeast?
If you add yeast to water that’s too hot, it will indeed kill the yeast. I always say, yeast is like a delicate dance partner – it needs gentle warmth to thrive. Water that’s too hot, typically above 120°F, will destroy the yeast’s cellular structure, making it impossible for fermentation to occur.
Can I proof yeast in a cold environment, or will it slow down the process?
While yeast can still activate in cooler temperatures, it will significantly slow down the process. Ideally, you want to proof yeast in a warm, draft-free environment, around 75°F to 80°F, to get the best results. Anything below 70°F will put your yeast to sleep, so to speak, making the proofing process much longer.
How do I know for sure if my yeast is active and ready to use in a recipe?
To ensure your yeast is active, look for visible signs of fermentation: bubbles, foam, or a slightly puffed surface. You can also check the mixture’s temperature; it should be slightly warmer than the surrounding environment. If you’re still unsure, try the simple test I outline in my textbook – mix 1 teaspoon of sugar, 1 teaspoon of active dry yeast, and 1/2 cup of warm water, then wait for 5-10 minutes; if it foams, your yeast is ready to go!