As I stand in my bespoke cake studio, surrounded by the sweet scent of success, I’m reminded of the humble beginnings of every great dessert: the crust. And what better foundation than a guide to making a perfect graham cracker crust? I’ve lost count of how many times I’ve been asked to share my secrets for crafting the ideal base, one that’s both crunchy and buttery. It’s a question that gets to the heart of my passion for baking: the pursuit of perfection in every layer, every texture, and every flavor.
In this article, I promise to share my honest, no-hype advice for creating a sublime graham cracker crust. You’ll learn the essential techniques for selecting the finest ingredients, from the richness of high-quality butter to the subtle depth of pure vanilla. I’ll walk you through my tried-and-true method for blending, pressing, and baking the perfect crust, one that will elevate your desserts to new heights. By the end of this guide, you’ll be equipped with the knowledge and confidence to create your own masterpiece crusts, and I couldn’t be more excited to share this journey with you.
Table of Contents
- Guide Overview: What You'll Need
- Step-by-Step Instructions
- A Guide to Making a Perfect Graham Cracker Crust
- Avoiding Common Mistakes in Baking a Perfect Pie Crust
- Uncovering Graham Cracker Crust Recipes for Success
- Elevating Your Baking: 5 Essential Tips for a Perfect Graham Cracker Crust
- Key Takeaways for Crafting the Perfect Graham Cracker Crust
- The Art of Perfection
- The Perfect Finishing Touch
- Frequently Asked Questions
Guide Overview: What You'll Need
Total Time: 30 minutes to 1 hour
Estimated Cost: $10 – $20
Difficulty Level: Easy
Tools Required
- Food Processor (for grinding graham crackers)
- Measuring Cups (dry and liquid)
- Measuring Spoons
- Mixing Bowl
- Whisk
- 9 inches Springform Pan (for baking crust)
Supplies & Materials
- Graham Crackers (about 1 1/2 cups)
- Granulated Sugar (about 1/4 cup)
- Melted Unsalted Butter (about 1/2 cup)
- Salt (a pinch)
- Water (as needed)
Step-by-Step Instructions
- 1. To begin crafting the perfect graham cracker crust, start by preheating your oven to 350°F (175°C). This will ensure that your crust bakes evenly and sets properly. Gather your ingredients, including 1 1/2 cups of graham cracker crumbs, 1/4 cup of granulated sugar, and 6 tablespoons of high-quality butter, melted.
- 2. In a medium-sized bowl, combine the graham cracker crumbs and sugar. Whisk these ingredients together until they are well incorporated, ensuring an even distribution of the sugar throughout the crumbs. This mixture will form the foundation of your crust, so take your time to get it just right.
- 3. Next, pour the melted butter over the graham cracker mixture and stir until the crumbs are evenly moistened. Be careful not to overmix, as this can lead to a dense crust. You want the crumbs to be coated in butter, but still retain some of their texture.
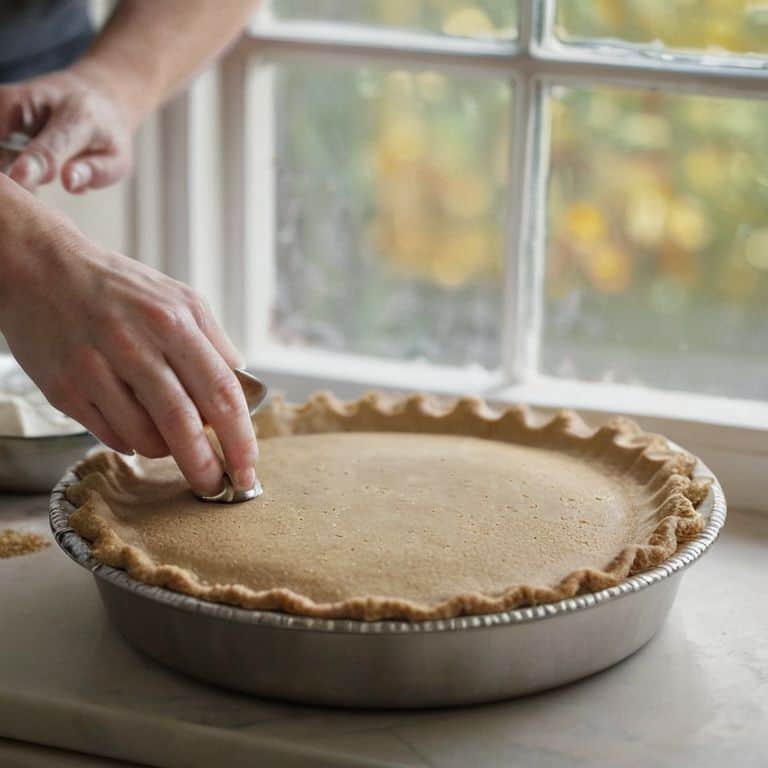
- 4. Press the graham cracker mixture into the bottom of a 9-inch springform pan, making sure to evenly cover the entire surface. Use the bottom of a measuring cup or your fingers to press the crumbs into the corners of the pan and up the sides about 1 inch. This will help create a uniform crust.
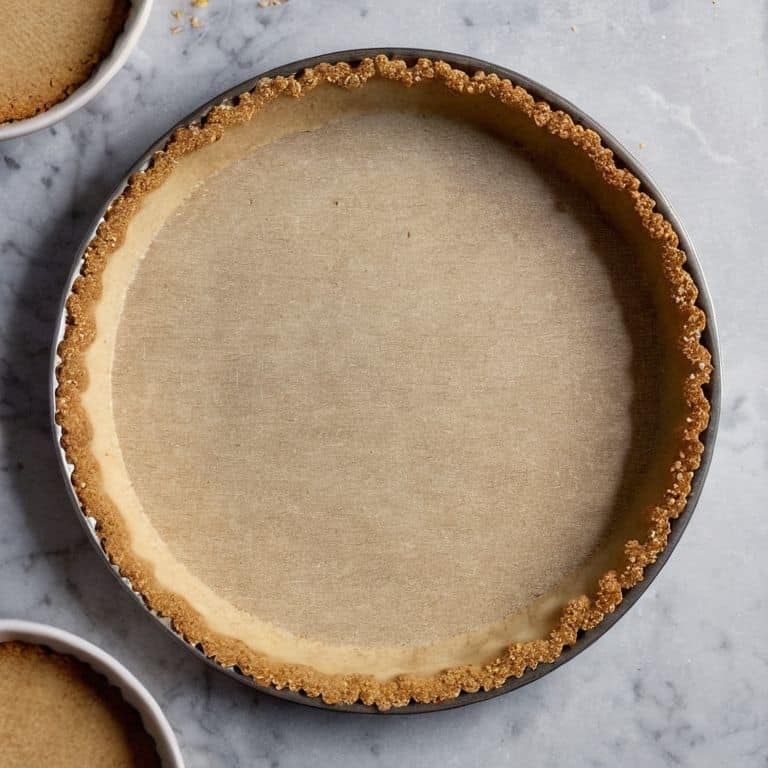
- 5. Place the springform pan on a baking sheet lined with parchment paper and bake the crust for 10-12 minutes, or until it is lightly browned. Keep an eye on the crust during the last few minutes of baking, as it can quickly go from perfectly toasted to burnt.
- 6. Remove the crust from the oven and let it cool completely in the pan. This is a crucial step, as you want the crust to be completely cooled before filling it with your desired filling. Resist the temptation to rush this process, as a warm crust can lead to a compromised structure.
- 7. Once the crust is cooled, you can fill it with your favorite filling, such as a creamy cheesecake or a fruity tart. Be gentle when adding the filling, as you don’t want to damage the crust. With these steps, you’ll be well on your way to creating a perfect graham cracker crust that will elevate your baked goods to new heights.
A Guide to Making a Perfect Graham Cracker Crust
As I always say, the key to a sublime graham cracker crust lies in the quality of ingredients. Using a high-quality, unsalted butter will make all the difference in the world. I also recommend experimenting with different types of graham crackers to find the one that suits your taste preferences. Some people swear by the classic honey-flavored crackers, while others prefer a more neutral-tasting option.
When it comes to baking a perfect pie crust, one common mistake is not allowing the crust to chill for the right amount of time. I like to think of this step as the pause that refreshes, giving the crust a chance to set and become more stable. A good rule of thumb is to chill the crust for at least 30 minutes to an hour before filling and baking. This will help prevent the crust from becoming too soggy or misshapen.
For those looking to take their graham cracker crust to the next level, I recommend trying a homemade graham cracker mixture. This can be a fun and rewarding project, allowing you to customize the flavor and texture of your crust to suit your needs. Whether you’re making a classic cheesecake or a more elaborate dessert, a well-crafted graham cracker crust is sure to elevate your baking game.
Avoiding Common Mistakes in Baking a Perfect Pie Crust
As I always say, the devil is in the details, and when it comes to crafting a sublime graham cracker crust, it’s the subtle nuances that can make all the difference. One of the most common mistakes I see is overmixing the crust mixture, which can lead to a tough, dense base that’s more akin to cardboard than crunchy perfection. To avoid this, I recommend mixing your ingredients just until they come together in a cohesive mass, then stopping immediately.
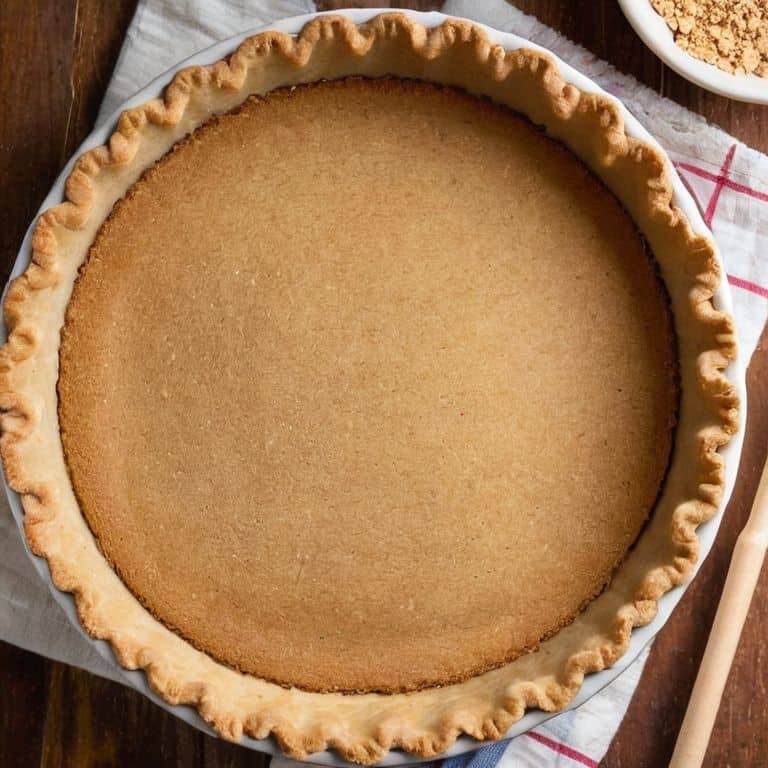
Another pitfall to watch out for is insufficient baking time, which can result in a crust that’s pale and lacking in texture. Keep a close eye on your crust as it bakes, and don’t be afraid to give it a few extra minutes if needed. Remember, a perfectly baked crust is golden brown and fragrant, with a delicate crunch that gives way to a tender, buttery center.
Uncovering Graham Cracker Crust Recipes for Success
As I delve into the world of graham cracker crusts, I’m reminded of the countless recipes I’ve tested and perfected over the years. From classic combinations to innovative twists, the key to success lies in the balance of flavors and textures. I’ve found that a traditional graham cracker crust recipe, infused with the warmth of cinnamon and the richness of brown sugar, provides a sturdy foundation for a variety of fillings. Whether you’re crafting a decadent chocolate tart or a refreshing lemon meringue pie, the right graham cracker crust can elevate your creation to new heights.
By experimenting with different types of crackers, spices, and binding agents, you can unlock a universe of possibilities for your graham cracker crusts. I encourage you to explore and adapt recipes to suit your taste preferences, always keeping in mind the importance of balance and harmony in your creations.
Elevating Your Baking: 5 Essential Tips for a Perfect Graham Cracker Crust
- Use high-quality graham crackers that are fresh and have a good texture to ensure your crust holds together beautifully
- Select a high-quality butter with a high fat content, as this will significantly enhance the flavor and texture of your crust
- Blend your graham crackers into a fine crumb to achieve a uniform texture, making it easier to press into your pan
- Avoid overbaking your crust, as this can cause it to become too dark and develop an unpleasant flavor
- Chill your crust in the refrigerator for at least 30 minutes before baking to help it hold its shape and prevent it from shrinking or becoming misshapen
Key Takeaways for Crafting the Perfect Graham Cracker Crust
Always use high-quality ingredients, including real butter and pure vanilla extract, to enhance the flavor and texture of your graham cracker crust
Ensure the crust is evenly baked and golden brown by keeping a close eye on it during the baking process and rotating the pan as needed
Allow the crust to cool completely before filling to prevent it from becoming soggy or compromised, and to guarantee a sturdy base for your pie or dessert
The Art of Perfection
A perfect graham cracker crust is not just a foundation, it’s the first brushstroke on the canvas of a masterpiece, setting the tone for a symphony of flavors and textures that will leave your senses singing.
Alison Lawson
The Perfect Finishing Touch
As we conclude our journey to creating the perfect graham cracker crust, let’s revisit the essential elements that make it truly exceptional. From the initial selection of high-quality ingredients to the meticulous blending and baking process, every step plays a crucial role in achieving that ideal balance of crunch and flavor. By avoiding common pitfalls, such as overmixing or underbaking, and instead focusing on technique and patience, you’ve successfully laid the groundwork for a truly sublime dessert experience. Whether you’re a seasoned baker or just beginning to explore the world of pastry arts, the sense of accomplishment that comes from crafting something with your own hands is undeniable.
As you place your perfectly baked pie on the table, adorned with a beautifully crafted graham cracker crust, remember that the art of baking is not just about following a recipe, but about creating a moment of joy and connection with others. So, don’t be afraid to experiment, to try new flavors and designs, and to push the boundaries of what’s possible with this versatile and delicious crust. With practice and dedication, you’ll find that the simple act of baking can become a profound expression of love, care, and culinary artistry.
Frequently Asked Questions
What is the ideal ratio of graham cracker crumbs to sugar for a perfectly balanced crust?
For a sublime graham cracker crust, I swear by a ratio of 2 1/4 cups of crumbs to 1/4 cup of granulated sugar. This harmonious balance allows the buttery, crunchy texture of the crackers to shine while the sugar subtly enhances the flavor, creating a delicate equilibrium that will elevate your desserts to new heights.
Can I use a food processor to crush the graham crackers, or is it better to do it by hand?
While a food processor can speed up the process, I prefer to crush graham crackers by hand for better texture control. Simply place the crackers in a plastic bag and gently roll a rolling pin over them until you achieve the desired fineness. This method ensures a more even crumb and prevents over-processing, which can lead to a dense crust.
How do I prevent the crust from becoming too dark or burnt during the baking process?
To prevent the crust from becoming too dark or burnt, I recommend keeping a watchful eye on it during the baking process. You can also cover the edges with foil or a pie shield to shield them from excessive heat, ensuring a beautifully golden crust that’s both delicate and delicious.