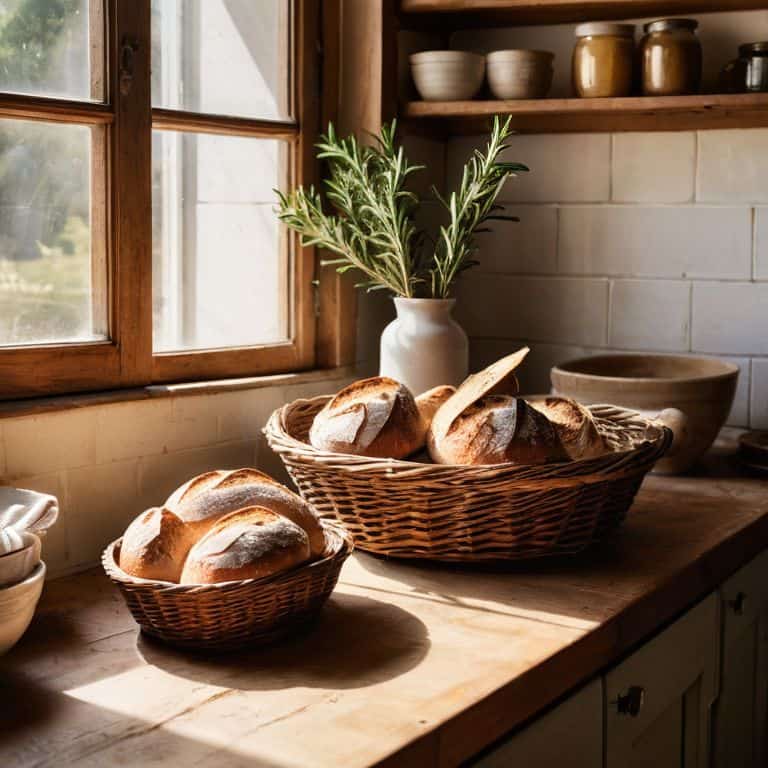
I still remember the first time I bit into a perfectly baked sourdough loaf – it was like a symphony of flavors and textures that left me hooked. As I delved deeper into the world of sourdough, I realized that there’s a common myth surrounding a guide to the sourdough bread trend: that it’s only for experienced bakers. But the truth is, with the right guidance, anyone can create a delicious, crusty loaf that’s full of character. My journey took me to farmers’ markets, vintage cookbook stores, and countless hours experimenting with sourdough in my own kitchen, all in pursuit of mastering a guide to the sourdough bread trend.
As I share my own story and lessons learned, I want to ask you: what’s holding you back from rising to the occasion and becoming a sourdough master? Is it the intimidation of working with wild yeast, or the fear of failing to produce that perfect crust? Whatever your struggle, this article promises to deliver honest, no-hype advice on how to navigate the world of sourdough, from creating your own starter to crafting beautiful, delicious loaves that will impress anyone. By the end of this guide, you’ll be equipped with the knowledge and confidence to join the sourdough revolution and bake like a pro.
Table of Contents
Guide Overview: What You'll Need
Total Time: 7 days to 2 weeks
Estimated Cost: $10 – $30
Difficulty Level: Intermediate
Tools Required
- Large mixing bowl (stainless steel or glass)
- Measuring cups (dry and liquid)
- Wooden spoon (for mixing)
- Dutch oven or bread stone (for baking)
- Scale (digital or analog)
Supplies & Materials
- Bread flour (unbleached and unbromated)
- Water (filtered or bottled)
- Salt (unrefined and non-iodized)
- Sugar (optional for sourdough starter)
- Cheesecloth or a clean cotton cloth (for covering the bowl)
Step-by-Step Instructions
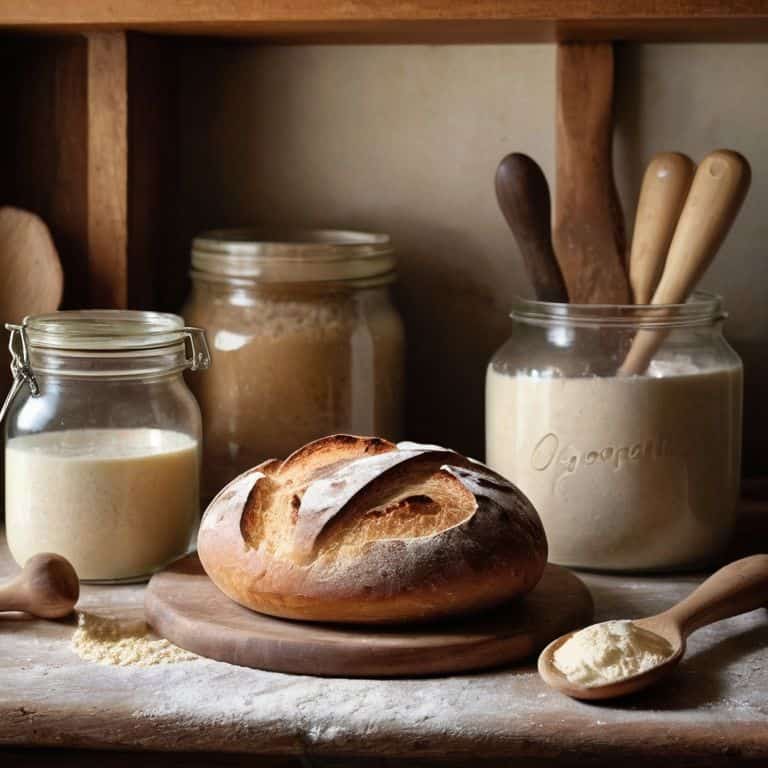
- 1. First, let’s start with the basics: to create a sourdough starter, you’ll need to mix equal parts of flour and water in a clean glass or ceramic container. I like to use a vintage Mason jar that I found at a local thrift store, it adds a touch of character to the process. Fill the container with 1/2 cup of warm water and 1/2 cup of flour, then stir until it’s smooth and there are no lumps.
- 2. Next, find a warm and cozy spot for your starter to live, I mean, to ferment. This could be a sunny windowsill or a spot near a radiator, just make sure it’s not too hot or too cold. The ideal temperature for fermentation is between 75°F to 80°F. Let the mixture rest for 24 to 48 hours, this will allow the wild yeast and bacteria to start colonizing.
- 3. Now it’s time to feed your starter, and I mean, really feed it. You’ll need to discard half of the starter and add another 1/2 cup of flour and 1/2 cup of water. This process is called “feeding the starter” and it’s essential to create a healthy and active culture. Repeat this process every 24 hours for the next 5 to 7 days, this will help your starter to become more robust and bubbly.
- 4. After 5 to 7 days of feeding and caring for your starter, it’s time to mix the dough. In a large bowl, combine 1 cup of warm water, 1/4 cup of active sourdough starter, and 3 to 4 cups of bread flour. Mix the ingredients until they form a shaggy dough, then cover the bowl with a damp cloth and let it rest for 20 to 30 minutes.
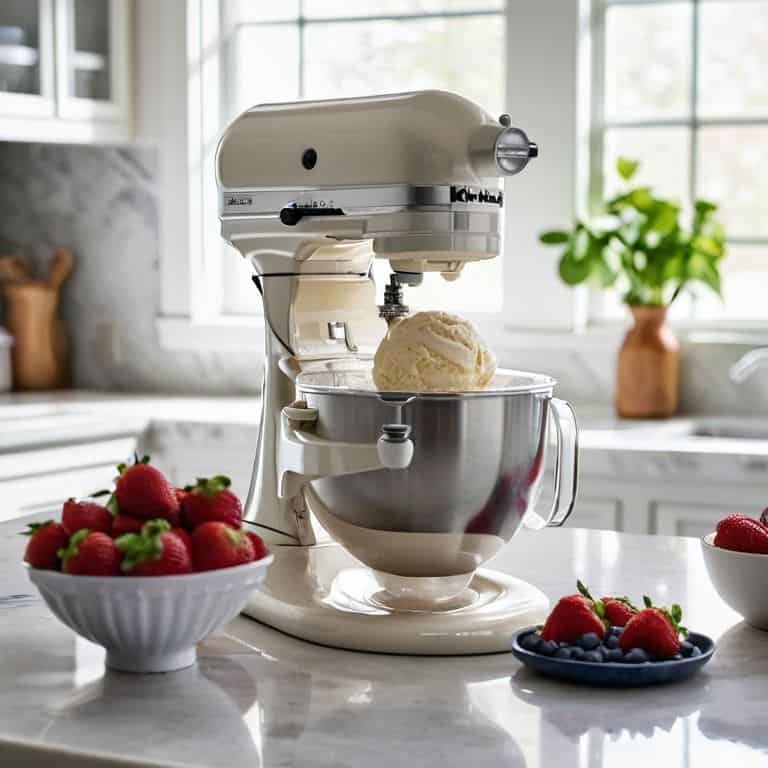
- 5. Next, add the salt and mix, I like to use a flaky sea salt that I found at a local farmers’ market. Add 1 to 2 teaspoons of salt to the dough and mix until it’s fully incorporated. Then, knead the dough for 5 to 10 minutes, until it becomes smooth and elastic. You can use a stand mixer with a dough hook attachment or do it the old-fashioned way, by hand.
- 6. Now it’s time to let the dough rise, and this is where the magic happens. Place the dough in a lightly oiled bowl, cover it with plastic wrap or a damp towel, and let it rise in a warm and cozy spot for 4 to 6 hours, or until it has doubled in size. You can also retard the rise by placing the dough in the refrigerator overnight, this will help to develop a more complex flavor.
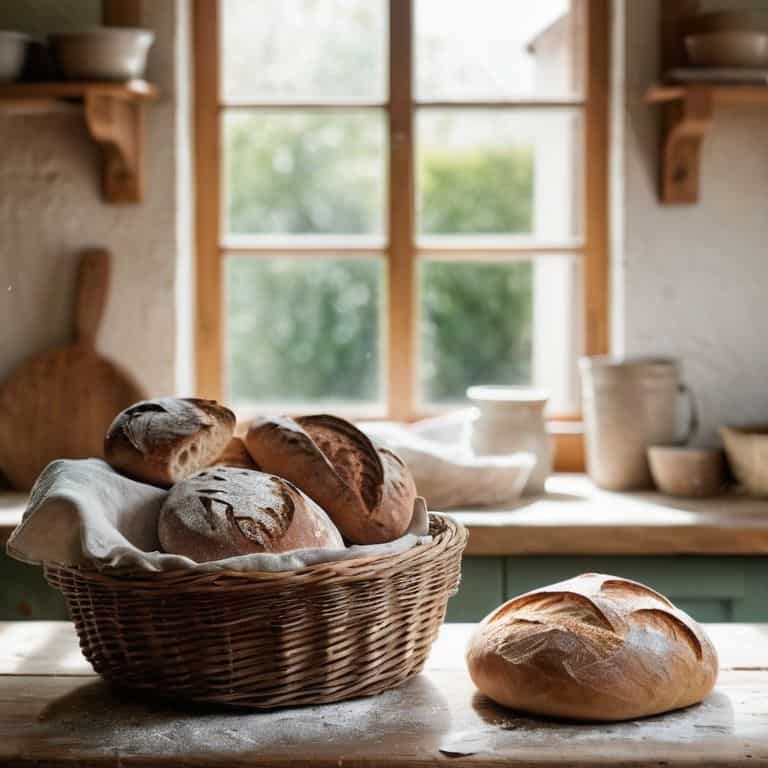
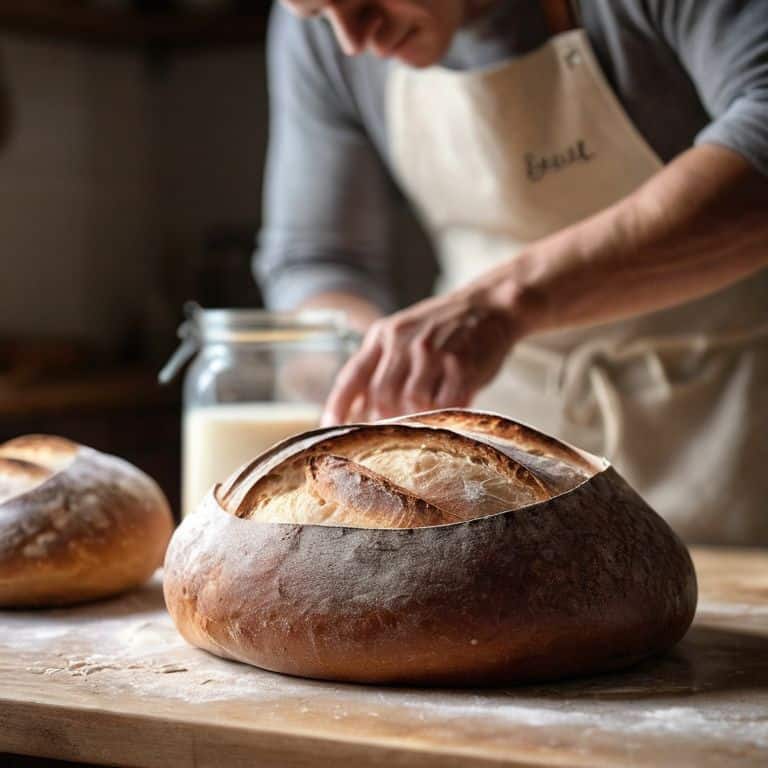
- 7. Finally, shape and bake the bread, this is the most exciting part of the process. Gently deflate the dough and shape it into a round or oblong loaf. Place the loaf onto a baking sheet or a pizza stone that’s been preheated in the oven. Bake the bread at 450°F for 25 to 40 minutes, or until it’s golden brown and sounds hollow when tapped on the bottom. Let the bread cool on a wire rack for at least 1 hour before slicing, this will help to preserve the crusty texture.
Rise to the Sourdough Trend
As I delve deeper into the world of sourdough, I’m constantly fascinated by the sourdough starter maintenance required to keep these natural wonders alive. It’s a labor of love, really – feeding, nurturing, and coaxing them into producing that perfect loaf. I’ve met bakers who swear by the benefits of sourdough over commercial bread, citing the unique flavors and textures that can’t be replicated by mass-produced alternatives.
One of the most intriguing aspects of sourdough is its rich history in different cultures. From the crusty baguettes of France to the hearty rye breads of Eastern Europe, each region has its own twist on this ancient art form. As a beginner, it’s exciting to explore sourdough recipe variations that can help you find your own unique voice in the baking world. Whether you’re drawn to the simplicity of a classic recipe or the creativity of innovative flavor combinations, there’s a sourdough recipe out there waiting to be discovered.
As I experiment with new recipes and techniques, I’m reminded of the importance of temperature in sourdough baking. It’s a delicate balance between warmth and coolness, with even the slightest variation affecting the final product. By mastering this subtle dance, bakers can unlock the full potential of their sourdough, coaxing out complex flavors and textures that will leave even the most discerning palates in awe.
Temperature Tips for Perfect Loaves
As I delved deeper into the world of sourdough, I discovered that temperature plays a crucial role in crafting the perfect loaf. It’s not just about throwing ingredients together, but rather coaxing the dough to life with precise conditions. I recall a conversation with a seasoned baker who swore by the importance of a consistent temperature, around 75°F to 78°F, for optimal fermentation.
This narrow temperature range allows the yeast to thrive, resulting in a beautifully balanced crumb and crust. By paying attention to temperature, home bakers can replicate the professional results they admire, and I’ve found that this attention to detail is what sets exceptional sourdough apart from the rest.
Unlocking Sourdough Starter Secrets
As I delve deeper into the world of sourdough, I’m fascinated by the mystical nature of sourdough starters. These naturally occurring mixtures of wild yeast and bacteria hold the key to creating bread that’s truly alive. I’ve spent hours talking to bakers, learning about their relationships with their starters, and the ways in which they coax and nurture them to produce the perfect loaf. From feeding schedules to favorite ingredients, every baker has their own secrets for keeping their starter happy and healthy.
I’ve even begun experimenting with my own starter, naming her “Luna” and watching as she bubbles and ferments on my kitchen counter. It’s amazing to think that this tiny, thriving ecosystem is the foundation of something as delicious and satisfying as a warm, crusty loaf of sourdough bread. As I continue to learn and explore, I’m excited to unlock more of the secrets surrounding these incredible starters.
Rise to the Occasion: 5 Essential Tips for Mastering the Sourdough Bread Trend
- I’ve found that creating a sourdough starter from scratch is an act of patience and love, and it’s the foundation of a truly exceptional loaf
- Temperature control is key: I’ve learned that the ideal temperature for rising is between 75°F to 78°F, which helps to create a perfectly balanced crumb
- Experimenting with different types of flour is a journey of discovery – I’ve fallen in love with the unique characteristics of artisanal flours and the stories behind them
- Don’t be afraid to get your hands dirty: I believe that shaping the dough is an art form, and it’s where the magic happens – every fold and twist tells a story
- Observing and listening to the dough is crucial: I’ve come to realize that every batch of sourdough is unique, and paying attention to its rhythms and patterns is the secret to creating truly exceptional bread
Sourdough Essentials to Keep in Mind
I’ve found that creating a sourdough starter from scratch is an act of patience and devotion, requiring a deep understanding of the delicate balance between flour, water, and time
Temperature control is crucial when it comes to achieving the perfect rise – a consistent environment can make all the difference between a dense, flat loaf and a light, airy masterpiece
Experimenting with unique ingredients and flavor profiles can elevate your sourdough game, but it’s the stories and traditions behind each recipe that truly bring this ancient craft to life
The Heart of the Loaf
Sourdough is more than just a recipe, it’s a reflection of our desire for community, for tradition, and for a deeper connection to the food we eat and the people we share it with.
David Dunne
Rise to the Occasion: A Sourdough Journey
As I reflect on our journey through the world of sourdough, I’m reminded of the dedication and passion that drives each baker to create something truly special. From unlocking the secrets of a healthy sourdough starter to mastering the perfect temperature for a flawless loaf, every step in the process is a testament to the art of baking. Whether you’re a seasoned pro or just starting out, the sourdough trend offers a unique opportunity to connect with a community that values tradition, creativity, and delicious food.
As we conclude this guide, I want to leave you with a final thought: the true beauty of sourdough lies not just in the bread itself, but in the stories and connections it brings to our lives. So, go ahead, take a bite of that freshly baked loaf, and let the flavors of community and tradition transport you to a world where passion and creativity come together in perfect harmony.
Frequently Asked Questions
What are the most common mistakes to avoid when creating and maintaining a sourdough starter?
When it comes to sourdough starters, I’ve found that overmixing and inconsistent feeding schedules are common pitfalls. Many enthusiasts also overlook the importance of patience, expecting their starter to thrive overnight. Trust me, I’ve been there – but with a little love and dedication, your starter will become the heart of your baking journey.
How do I know when my sourdough bread is fully proofed and ready to bake?
The moment of truth! I check for full proofing by gently poking the dough – if it springs back slowly, it’s ready. I also look for a noticeable increase in size and a few large bubbles on the surface. It’s all about observing those subtle signs that say, “I’m ready to rise to new heights in the oven!
Can I use a sourdough starter to make other types of baked goods, such as cakes or cookies?
I love experimenting with sourdough beyond bread. Yes, you can use a sourdough starter to make cakes, cookies, and even pancakes. The tangy flavor adds a unique twist to traditional treats. I’ve had success with sourdough chocolate cake and sourdough sugar cookies – the starter adds a depth of flavor that’s just incredible.