I still remember the day I realized that temperature precision was the secret to elevating my pastries from good to sublime. I was working in a 3-Michelin-star restaurant, and our head chef would always say, “A good pastry chef is only as good as their ability to control temperature.” At first, I thought it was just a cliché, but as I delved deeper into the world of pastry-making, I discovered that learning how to use a kitchen thermometer was the key to unlocking a whole new level of creativity and consistency in my craft.
In this article, I’ll share my personal story of how mastering the art of temperature control transformed my approach to pastry-making. You’ll learn the practical tips and techniques I’ve gathered over the years, from the importance of calibrating your thermometer to the subtle art of temperature manipulation. By the end of this guide, you’ll know exactly how to use a kitchen thermometer to take your baking to the next level, and you’ll be equipped with the confidence to experiment with new recipes and techniques. Whether you’re a seasoned pro or a beginner, my goal is to empower you with the knowledge and skills to create truly exceptional pastries that will impress even the most discerning palates.
Table of Contents
- Guide Overview: What You'll Need
- Step-by-Step Instructions
- Thermometer Secrets Revealed
- Thermometer Mastery: 5 Essential Tips to Elevate Your Cooking
- My Top 3 Takeaways for Mastering Your Kitchen Thermometer
- The Thermometer's Verdict
- Bringing it all Together: The Art of Thermometer Mastery
- Frequently Asked Questions
Guide Overview: What You'll Need
Total Time: 10 minutes
Estimated Cost: $10 – $20
Difficulty Level: Easy
Tools Required
- Kitchen Thermometer (digital or analog)
Supplies & Materials
- None Just the thermometer and the item being cooked or heated, such as oil or water, which is typically already in the kitchen.
Step-by-Step Instructions
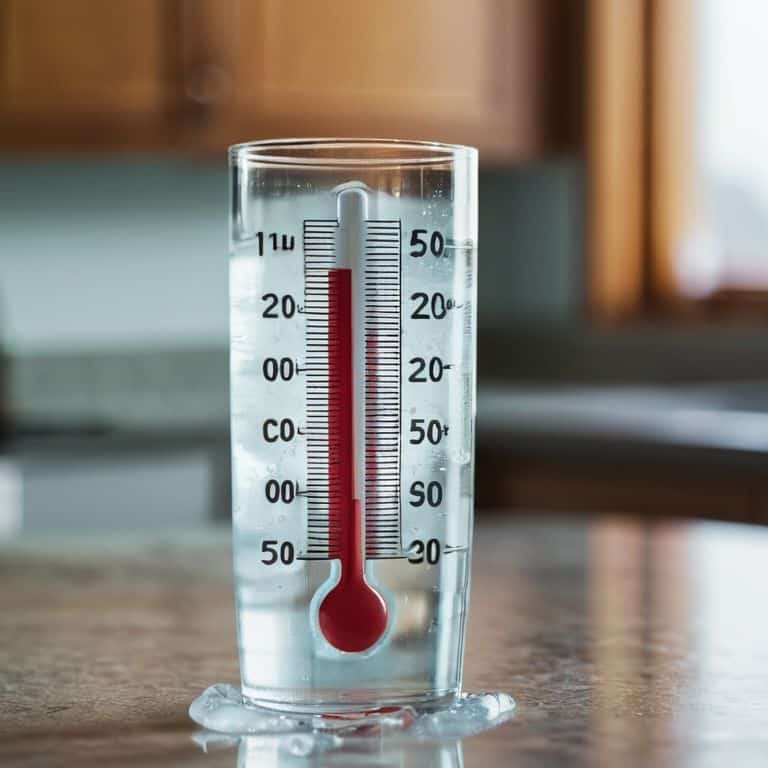
- 1. First, let’s start with the basics: calibrating your thermometer is essential to ensure accuracy in your temperature readings. To do this, fill a glass with ice and add water until the glass is about half full. Stir the mixture well, then insert the thermometer probe into the ice water, making sure it doesn’t touch the sides or bottom of the glass. Wait for about a minute until the temperature stabilizes, and it should read around 32°F (0°C). If it doesn’t, you’ll need to adjust your thermometer according to the manufacturer’s instructions.
- 2. Next, choose the right thermometer for the job. There are different types of thermometers, including digital, analog, and infrared. For most kitchen tasks, a digital thermometer is the most convenient and accurate. When selecting a digital thermometer, look for one with a quick response time, high accuracy, and a wide temperature range. It’s also important to consider the type of probe it comes with, as some are more suited for certain tasks than others.
- 3. Now, let’s talk about insertion depth, which is critical for getting accurate readings. The general rule of thumb is to insert the probe about 2-3 inches into the thickest part of the food, avoiding any bones or fat. For example, when checking the internal temperature of a roast chicken, you would insert the probe into the thickest part of the breast or thigh, making sure not to touch any bones. This ensures you’re getting a reading from the coolest part of the meat.
- 4. When using your thermometer to check internal temperatures, it’s essential to do so towards the end of the cooking time. This is because the temperature will continue to rise after the food is removed from the heat source, a phenomenon known as “carryover cooking.” For instance, when cooking a steak to medium-rare, you would use your thermometer to check the internal temperature when it’s about 5°F (3°C) below your desired final temperature, as it will continue to cook a bit after being removed from the heat.
- 5. To get the most out of your thermometer, understand the temperature zones of your oven or stove. This means knowing the hot spots and cooler areas, which can significantly affect your cooking results. By using your thermometer to map out these zones, you can adjust your cooking techniques accordingly, ensuring more consistent results. For example, if you find that one part of your oven is significantly hotter than the rest, you can rotate your dishes to cook more evenly.
- 6. Maintaining your thermometer is also crucial for its longevity and accuracy. After each use, clean the probe with soap and warm water, and dry it thoroughly to prevent rust. For digital thermometers, check the battery level regularly and replace them as needed. It’s also a good idea to store your thermometer in a protective case when not in use to prevent damage.
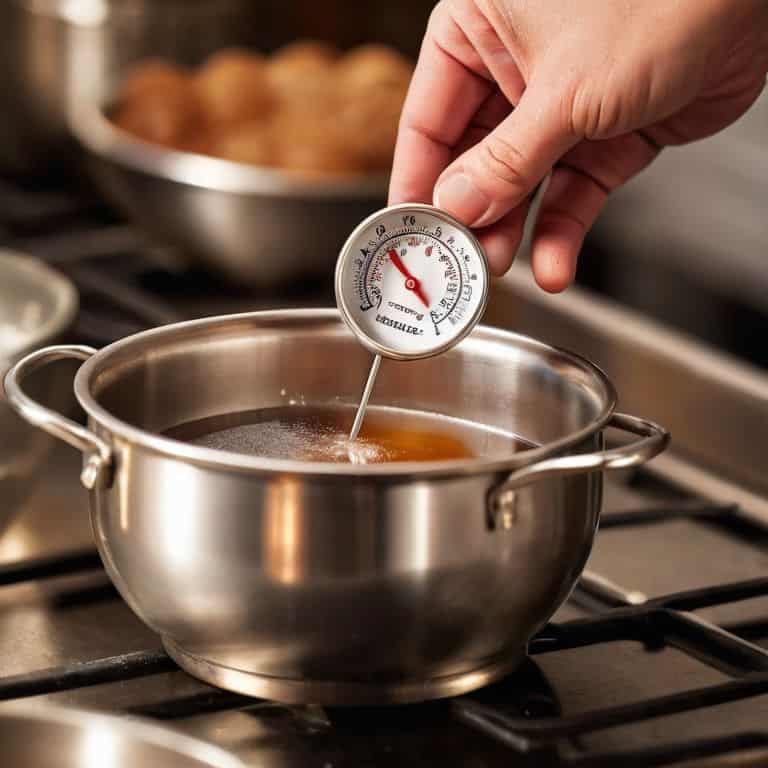
- 7. Finally, practice makes perfect when it comes to using a kitchen thermometer effectively. The more you use it, the more comfortable you’ll become with how it works and how to interpret its readings. Start by using it for simple tasks like checking the temperature of your oil for frying or the internal temperature of roasted meats. As you gain more experience, you can move on to more complex recipes that require precise temperature control, such as making chocolates or caramels.
Thermometer Secrets Revealed
As I delve deeper into the world of precise temperature control, I’d like to share some thermometer secrets that have taken my pastry game to the next level. One crucial aspect is accurate temperature measurement, which can make or break a delicate sugar syrup or a perfectly tempered chocolate. To ensure my thermometers are always spot on, I regularly check their calibration using simple techniques that I’ve learned from my days as a chocolatier in Belgium.
When it comes to candy making temperature control, precision is key. A single degree off can result in a batch of misformed caramels or crystallized sugars. That’s why I always rely on my trusty thermometer to guide me through the process. By understanding the ideal temperature ranges for specific candies, I can confidently create intricate confections that impress even the most discerning palates. For instance, my sugar syrup temperature guide is always within arm’s reach, ensuring that I never miss the mark.
In my kitchen, oven temperature precision is also paramount. I’ve invested in a high-quality kitchen thermometer that provides pinpoint accuracy, allowing me to fine-tune my baking techniques with ease. Whether I’m crafting delicate meringues or rich, velvety cakes, I know that my thermometer has got my back. By combining this precision with a deep understanding of thermometer calibration techniques, I can push the boundaries of what’s possible in the world of pastry arts.
Calibrating for Accuracy
To ensure my thermometer is always spot on, I calibrate it regularly. This simple step is often overlooked, but trust me, it’s crucial. I fill a glass with ice and water, stir until the temperature stabilizes, and then insert the thermometer, waiting for it to reach 32°F (0°C). If it’s off, I adjust it according to the manufacturer’s instructions. This ritual may seem tedious, but it’s essential for achieving the perfect temper or cooking the flakiest pastry.
By calibrating my thermometer, I can rely on its readings and focus on the art of pastry-making. It’s all about precision and attention to detail – the foundation of my craft. With a calibrated thermometer, I can confidently create intricate desserts, knowing that my temperatures are accurate and my results will be flawless.
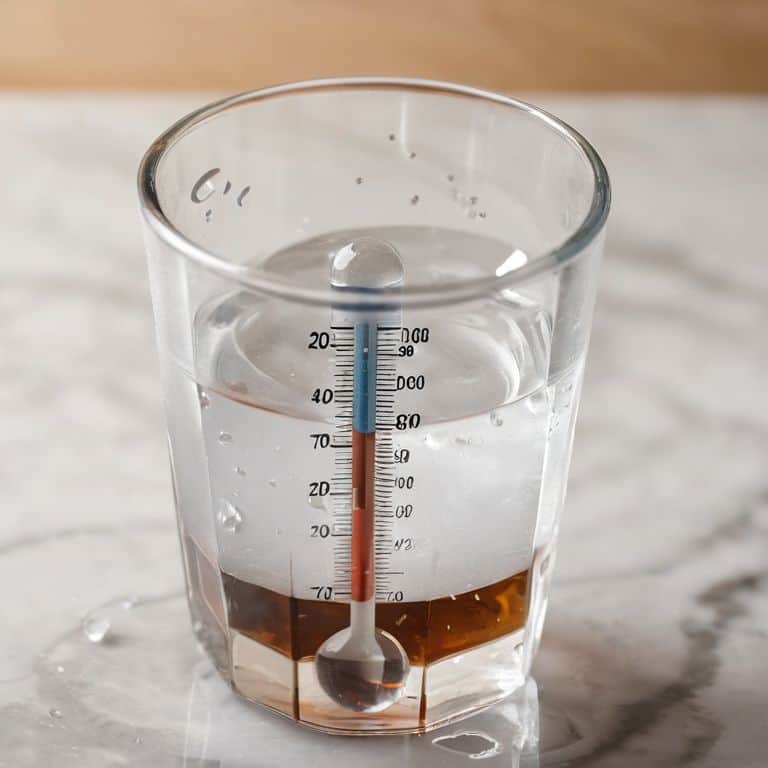
Sugar Syrup Temperature Hacks
When working with sugar syrups, temperature is crucial. I recall a masterclass where I demonstrated how to craft the perfect caramel sauce, and it all came down to precise temperature control. To achieve that flawless, glass-like finish, you need to heat your sugar syrup to exactly 300°F (149°C). Any higher, and you risk burning the sugars; any lower, and you’ll end up with a sauce that’s too runny.
I’ve developed a simple hack to ensure you hit that sweet spot every time: use your thermometer to monitor the syrup’s temperature, and remove it from the heat just before it reaches 300°F. The residual heat will carry it over the line, resulting in a perfectly cooked caramel sauce. Trust me, this technique is a game-changer for any pastry chef or home baker looking to elevate their dessert game.
Thermometer Mastery: 5 Essential Tips to Elevate Your Cooking
- Choose the right thermometer for the job, whether it’s a digital instant-read or an old-school analog model, and understand its limitations and strengths
- Calibrate your thermometer regularly to ensure accuracy, especially when working with sensitive ingredients like chocolate or sugar syrups
- Always insert the thermometer probe into the thickest part of the food, avoiding bone or fat, for a precise internal temperature reading
- Respect the temperature thresholds for different cooking techniques, such as caramelization or gelation, to achieve the perfect texture and flavor
- Practice, practice, practice – the more you use your thermometer, the more intuitive it becomes, and the better you’ll understand the nuances of temperature control in your kitchen
My Top 3 Takeaways for Mastering Your Kitchen Thermometer
Precision is key: I’ve learned that even a single degree off can make all the difference in the texture and consistency of your final product, whether you’re crafting the perfect sugar syrup or tempering chocolate
Calibration is crucial: don’t assume your thermometer is accurate right out of the box – take the time to calibrate it properly and you’ll be amazed at the difference it makes in your baking and cooking
Temperature control is an art: with practice and patience, you can develop a sense of how temperature affects different ingredients and techniques, allowing you to create truly innovative and show-stopping desserts that will leave your friends and family in awe
The Thermometer's Verdict
A kitchen thermometer is not just a tool, it’s the guardian of your craft, the keeper of the precise temperatures that separate the extraordinary from the ordinary, and the key to unlocking the secrets of the most intricate desserts.
Juliette Le Roux
Bringing it all Together: The Art of Thermometer Mastery
As we’ve explored the world of kitchen thermometers, it’s clear that precision is the backbone of creating exceptional dishes. From calibrating for accuracy to leveraging sugar syrup temperature hacks, the journey to mastery is both nuanced and rewarding. By following the steps outlined in this guide, you’ll be well on your way to unlocking the full potential of your thermometer and taking your baking and cooking to new heights. Whether you’re a seasoned pro or just starting out, remember that the key to success lies in understanding the why behind each technique, and then practicing until it becomes second nature.
As you continue on your culinary journey, I encourage you to embrace the pursuit of perfection with every dish you create. Don’t be afraid to experiment, to push the boundaries of what’s possible, and to always, always strive for that perfect temperature. With dedication and practice, you’ll find that the humble kitchen thermometer becomes an extension of your own creativity, a tool that helps you craft dishes that are not just delicious, but truly sublime. So go ahead, take the leap, and watch your culinary creations soar to new and exciting heights.
Frequently Asked Questions
What is the ideal temperature range for tempering chocolate using a kitchen thermometer?
For perfect tempering, I aim for a narrow range: between 88°F and 90°F for dark chocolate, and 86°F to 88°F for milk chocolate. Any deviation, and you risk blooming or streaks. Trust me, precision is key here – I can feel it, but your kitchen thermometer will be your best friend in achieving that silky, snappy finish.
How often should I calibrate my kitchen thermometer to ensure accuracy in my pastry recipes?
I calibrate my thermometer every 3-6 months, or when I notice a slight drift in readings. For pastry, precision is key, so I also recalibrate after extreme temperature changes or if I’ve dropped the thermometer. Trust me, it’s a habit that ensures my chocolate sculptures and sugar work turn out flawless every time.
Can I use a kitchen thermometer to measure the temperature of ingredients other than sugar syrup, such as caramel or honey?
Absolutely, my friend! Your kitchen thermometer is not limited to sugar syrup. I use mine to precision-craft caramel and honey temperatures as well. For caramel, I aim for 350°F, while honey is best at 180°F. The key is understanding each ingredient’s unique thermal personality, and your thermometer is the ultimate translator.