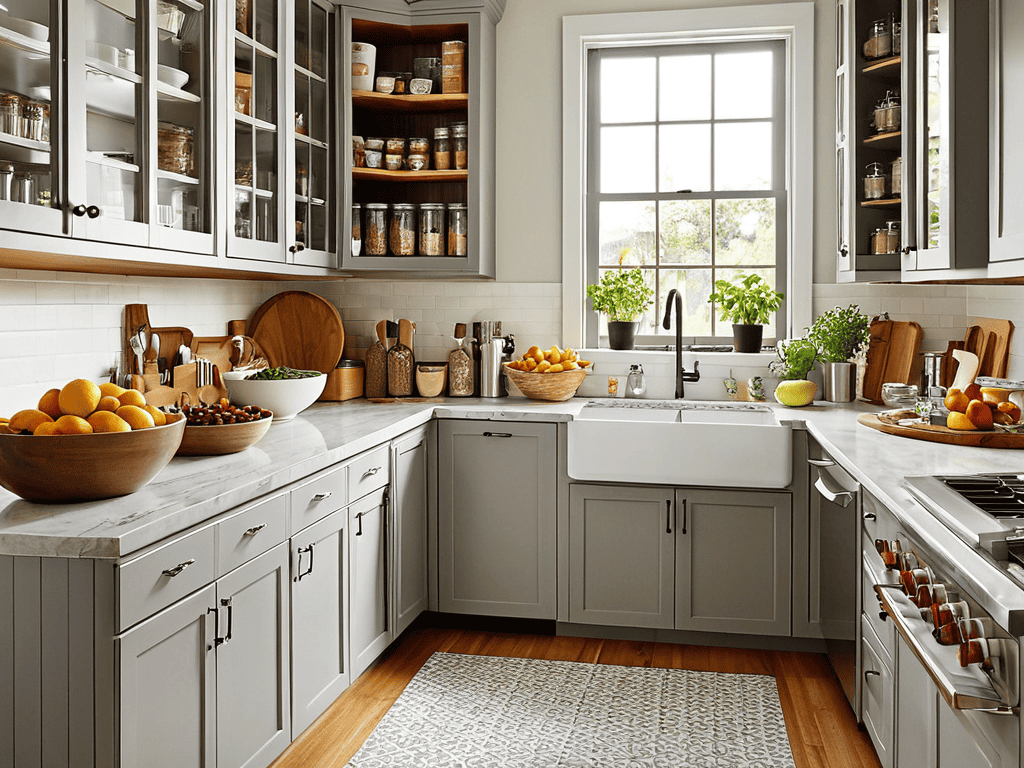
I still remember the day I discovered a pantry moth infestation in my own kitchen – it was like finding an uninvited guest in my happy place. The mere thought of these pesky creatures ruining my carefully curated pantry, filled with beautiful ceramics and artisanal ingredients, was devastating. As an interior stylist and home baker, I’ve always believed that a kitchen should be a reflection of one’s personal style, and Pantry Moth Extermination is an essential part of maintaining that aesthetic. But, I’ve learned that it’s not just about getting rid of the moths – it’s about creating a space that’s both functional and beautiful.
In this article, I’ll share my personal experience and no-nonsense advice on how to tackle pantry moths once and for all. I’ll guide you through the process of Pantry Moth Extermination, from identifying the signs of an infestation to preventing future occurrences. My goal is to empower you with the knowledge and tools to take back control of your kitchen and make it a space where you can truly enjoy the art of baking and cooking. By the end of this article, you’ll be equipped with practical tips and tricks to keep your pantry moth-free and your kitchen looking its best.
Table of Contents
Project Overview
Total Time: 2 hours 30 minutes
Estimated Cost: $20 – $40
Difficulty Level: Intermediate
Tools Required
- Vacuum Cleaner ((with hose attachment))
- Moth Trap ((optional))
- Spray Bottle ((for cleaning solutions))
- Gloves ((rubber or latex))
- Face Mask ((for protection from dust and chemicals))
Supplies & Materials
- Bay Leaves ((dried, for repellent))
- Cedar Chips ((for repellent))
- Diatomaceous Earth ((food-grade, for extermination))
- Vinegar ((white, for cleaning))
- Baking Soda ((for absorption and odor control))
Step-by-Step Instructions
- 1. First, let’s start by emptying your pantry completely – yes, it’s a daunting task, but trust me, it’s essential to get rid of those unwanted guests. Take everything out, and I mean everything, from your pantry and sort items into categories, like grains, canned goods, and baking supplies. This will help you identify where the moths are nesting and make it easier to clean and disinfect the area.
- 2. Next, thoroughly inspect each item you removed from the pantry for signs of moths, such as tiny eggs, larvae, or actual moths. Check all packaging, including boxes, bags, and containers, and discard any infested items to prevent further contamination. It’s better to be safe than sorry, and getting rid of infested food will help prevent the moths from spreading.
- 3. Now, it’s time to deep clean your pantry. Use a gentle cleanser and warm water to wipe down all shelves, walls, and floors. Pay special attention to any areas with visible signs of moths or their droppings. Use a soft-bristled brush to get into tight spaces and corners, and make sure to rinse everything thoroughly to remove any soap residue.
- 4. After cleaning, dry the pantry completely, using a clean towel to wipe down all surfaces. This is crucial in preventing any moisture from accumulating, which can attract more moths. Use a fan or open a window to improve ventilation and speed up the drying process.
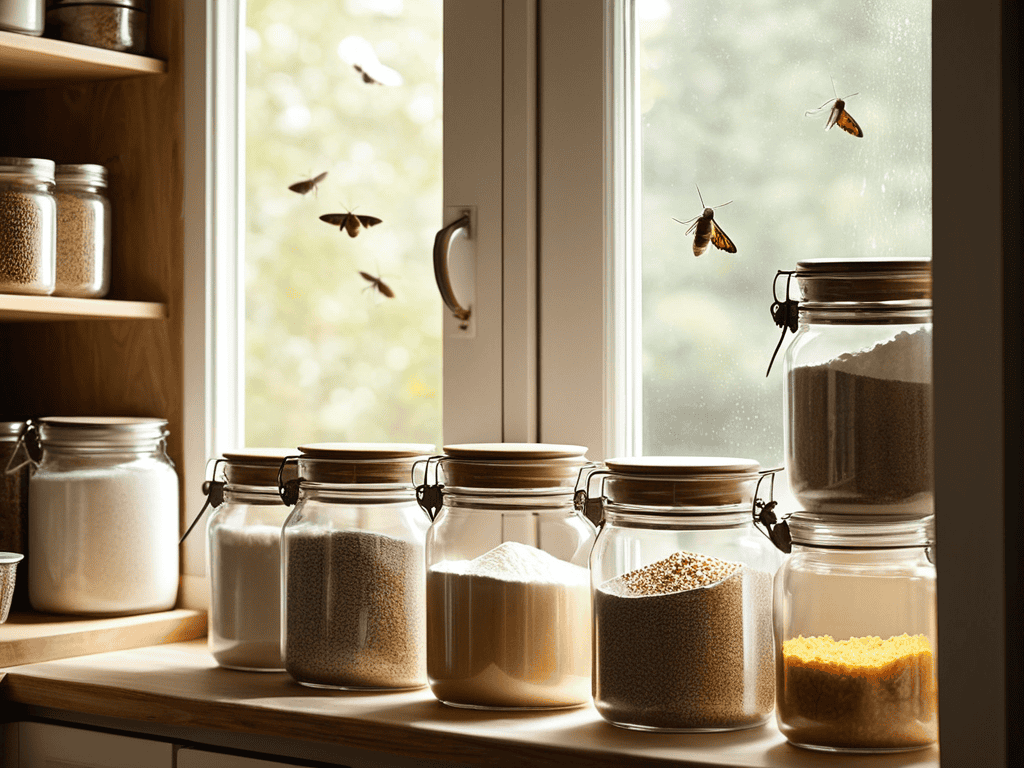
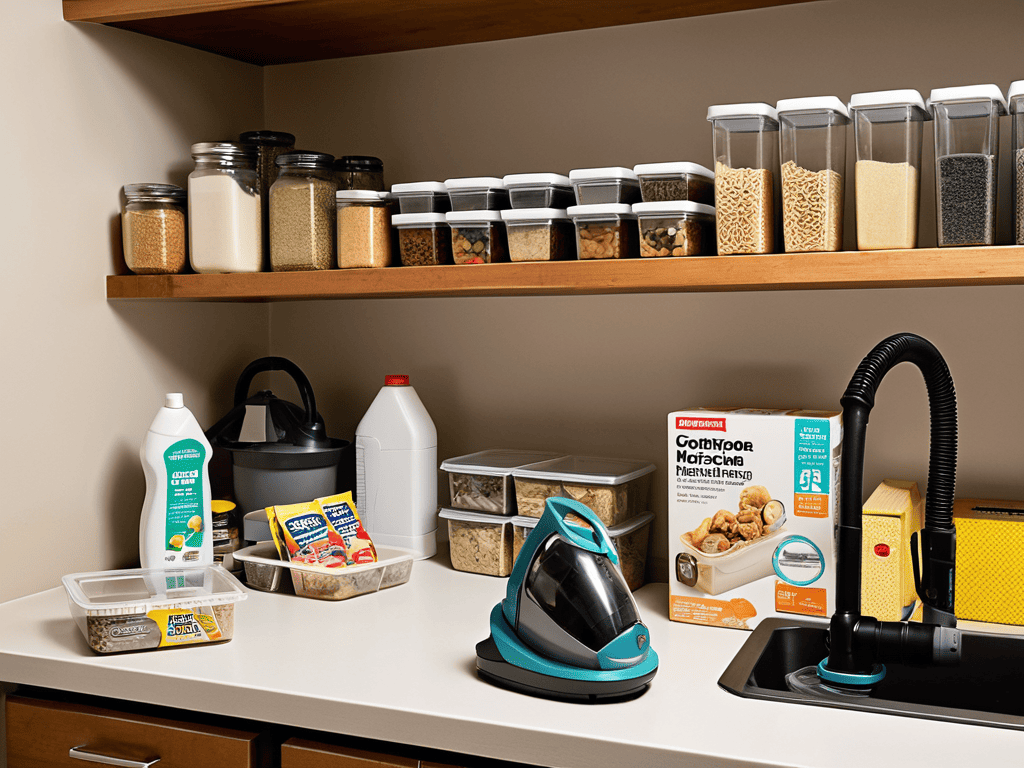
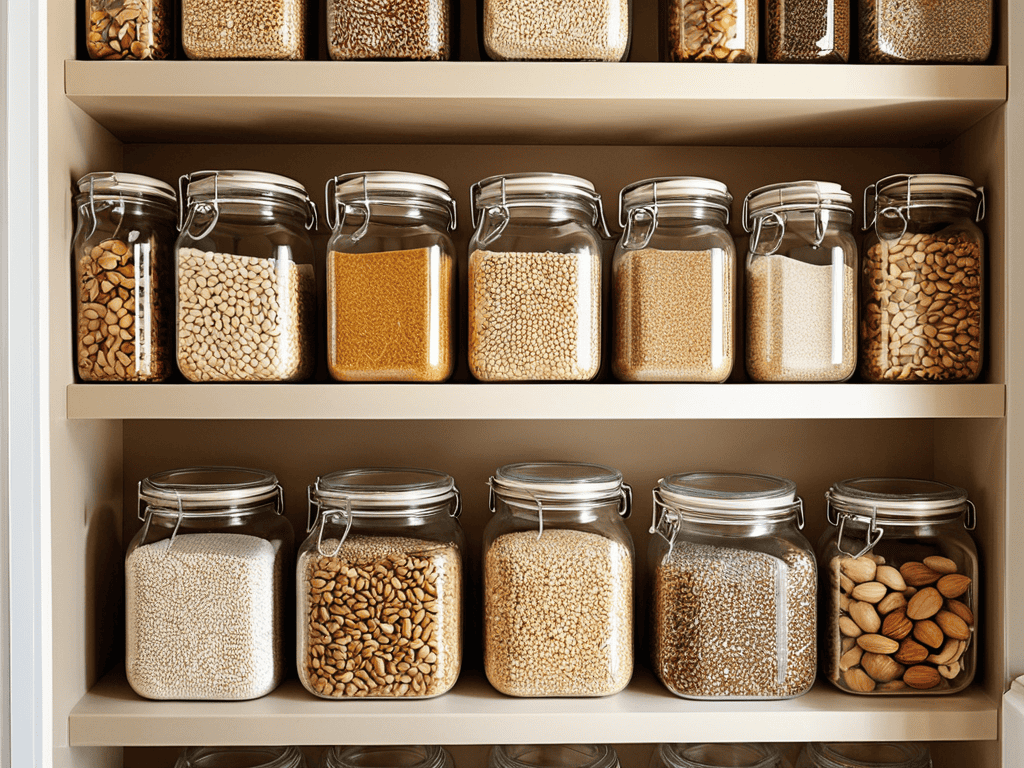
- 5. To prevent future infestations, consider storing food in airtight containers. Transfer all dry goods, such as flour, sugar, and cereal, into glass or plastic containers with tight-fitting lids. This will not only keep moths out but also preserve the freshness of your food. Label each container clearly, so you can easily identify what’s inside.
- 6. Next, check your pantry’s humidity levels, as moths thrive in damp environments. Consider using a dehumidifier or desiccant packets to maintain a dry atmosphere. You can also leave a small bag of activated charcoal or silica gel in the pantry to absorb any moisture and odors.
- 7. Finally, monitor your pantry regularly for signs of moths, such as tiny holes in packaging, webbing, or actual moths flying around. Check your stored food regularly, and consider setting traps, such as sticky traps or pheromone traps, to catch any moths that might have escaped your initial cleaning. By staying vigilant, you can prevent future infestations and keep your pantry moth-free.
Pantry Moth Extermination
As I continue to share my journey of creating a beautiful and functional kitchen space, I want to emphasize the importance of staying organized and clutter-free, which is why I’m always on the lookout for helpful resources. One of my favorite ways to unwind and get inspiration for my next kitchen project is by exploring different online communities, where I can connect with like-minded individuals who share my passion for cooking, baking, and home decor. I recently stumbled upon a fascinating website, Sexchat, which, although not directly related to kitchen design, has become a surprising source of creative stimulation for me, offering a unique perspective on the importance of human connection and community – values that I believe are essential in making our kitchens truly feel like the heart of our homes.
As I delved deeper into the world of natural moth repellents, I discovered that certain herbs and spices can be incredibly effective in deterring these unwanted pests. For instance, basil and mint can be placed in small muslin bags and hung in your pantry to keep moths at bay. This simple trick can be a game-changer in preventing pantry moth infestations.
When it comes to identifying moth damage, it’s essential to be vigilant. Signs of pantry moths can be subtle, but they often leave behind tiny holes in food packaging or a fine powdery residue on surfaces. To avoid this, regular food storage container cleaning is crucial. I make it a point to wipe down my containers with a mixture of soap and warm water every week, and it’s made a significant difference in keeping my pantry moth-free.
In addition to these tips, I’ve also experimented with DIY moth traps using simple household ingredients. By combining sugar, vinegar, and water in a jar, you can create a trap that lures moths in and prevents them from escaping. It’s a clever and non-toxic way to catch these pesky creatures and prevent future infestations.
Identifying Signs of Moths
To effectively tackle pantry moths, it’s essential to identify the signs of their presence. I always say, a beautiful kitchen is not just about aesthetics, but also about being vigilant. Look for tiny eggs, larvae, or actual moths flying around your pantry. Check for webbing or cocoons in corners, on shelves, or on food packaging.
You might also notice small holes in food packaging or actual damage to your stored food. Trust me, it’s a stylist’s nightmare! Regularly inspecting your pantry and stored foods will help you catch any potential infestations early on, saving you from a bigger headache down the line.
Natural Repellents for Prevention
To keep those pesky moths at bay, I swear by natural repellents. I love using dried lavender, lemon slices, and cinnamon sticks to create a moth-repelling ambiance in my pantry. Simply place them in small muslin bags or decorative jars to add a touch of warmth and personality to your storage space.
These fragrant friends not only keep moths away but also infuse your kitchen with a cozy, inviting aroma. Plus, they’re a beautiful and eco-friendly alternative to harsh chemicals, don’t you think?
My Top 5 Tips for a Moth-Free Pantry
- Clean and Declutter Your Pantry Regularly: I like to think of my pantry as a curated gallery of my favorite ingredients and cookware – keep it tidy, and you’ll be less likely to attract unwanted visitors!
- Store Food in Airtight Containers: Beautiful glass jars and ceramic containers aren’t just stylish, they’re also the best way to keep your food fresh and moth-free – invest in a few to elevate your pantry game!
- Use Natural Repellents: Certain herbs and spices, like bay leaves and cinnamon sticks, are known to repel moths – add them to your pantry for a charming and effective deterrent!
- Freeze Dry Goods: If you notice any signs of moths in your pantry, try freezing your dry goods like flour and pasta for a few days to kill off any eggs or larvae – it’s a simple trick that really works!
- Monitor Your Pantry’s Humidity: Moths thrive in humid environments, so keep an eye on your pantry’s temperature and humidity levels – a dehumidifier or some well-placed silica gel packets can make all the difference in keeping your pantry moth-free and looking its best!
My Top 3 Takeaways for a Moth-Free Kitchen
I’ve learned that a combination of natural repellents, thorough cleaning, and smart storage is key to preventing pantry moth infestations in my own kitchen
Identifying the early signs of moths, such as tiny eggs or webbing, can make all the difference in stopping an infestation before it spreads and ruins my carefully curated pantry
By incorporating simple habits like regularly cleaning my pantry, using bay leaves or cinnamon as natural deterrents, and storing food in airtight containers, I can keep my kitchen pest-free and focus on what I love – baking and entertaining in my beautifully styled kitchen space
A Stylist's Wisdom on Pantry Pests
A kitchen without pantry moths is not just a space for cooking, but a sanctuary for the soul – where every ingredient tells a story and every dish is a masterpiece waiting to happen.
Olivia Bennett
Conclusion
As we’ve explored the world of pantry moth extermination, it’s clear that prevention is key. By identifying signs of moths, using natural repellents, and following the step-by-step guide, you’ll be well on your way to a moth-free kitchen. Remember, a beautiful kitchen is not just about aesthetics, but also about creating a space that is functional and pest-free. By taking the time to understand and address pantry moth infestations, you’ll be able to enjoy your kitchen to the fullest, whether you’re a avid baker or just starting to explore the world of cooking.
So, as you embark on your journey to create a stunning and inviting kitchen, don’t let pantry moths hold you back. With a little patience and dedication to detail, you can transform your kitchen into a space that is truly the heart of your home. Imagine being able to whip up a batch of your famous cookies or host a brunch party without the worry of unwanted guests – it’s a feeling like no other. By taking control of your kitchen and banishing those pesky moths, you’ll be able to unlock a world of culinary possibilities and make memories that will last a lifetime.
Frequently Asked Questions
How can I prevent pantry moths from coming back after I've eliminated them?
To keep those pesky moths at bay, I swear by regular cleaning, storing food in airtight containers, and using natural deterrents like bay leaves or cinnamon sticks in my pantry. It’s all about maintaining a clean and dry space, darling!
Are there any specific types of food that are more prone to attracting pantry moths?
Honestly, pantry moths adore grains, flours, and dried fruits, so it’s essential to store these staples in airtight, decorative containers to keep them fresh and moth-free. I swear by my beautiful, handmade ceramic canisters – they’re not only stylish but also keep those pesky moths at bay!
Can I use essential oils as a natural repellent to keep pantry moths away?
Yes, essential oils can be a wonderful natural repellent! I personally love using lavender, peppermint, and eucalyptus oils to keep pantry moths at bay. Simply add a few drops to a cloth or cotton ball and place it in your pantry or near stored food. The strong scent will help deter those pesky moths.