As I stood in my kitchen, staring down at a batch of stubborn royal icing, I couldn’t help but think about the countless times I’ve heard that achieving the perfect consistency is a matter of luck. But I’m here to tell you that’s just not true – with a guide to royal icing consistency, you can master the technique and take your cake decorating to the next level. I’ve spent years perfecting my craft, and I’ve learned that it’s all about understanding the nuances of royal icing and how to work with it, not against it.
In this article, I’ll be sharing my honest, no-hype advice on how to achieve the perfect royal icing consistency. You’ll learn how to troubleshoot common issues and develop a keen sense of touch and sight to determine when your icing is ready to use. Whether you’re a beginner or an experienced decorator, my goal is to give you the confidence and skills to create beautiful, professional-looking cakes that will impress anyone. With my guidance, you’ll be well on your way to mastering a guide to royal icing consistency and unlocking a world of creative possibilities.
Table of Contents
- Guide Overview: What You'll Need
- Step-by-Step Instructions
- A Guide to Royal Icing Consistency
- Finding Your Flow: 5 Essential Tips for Mastering Royal Icing Consistency
- Key Takeaways for Mastering Royal Icing Consistency
- Finding Harmony in Royal Icing
- Bringing It All Together: Mastering Royal Icing Consistency
- Frequently Asked Questions
Guide Overview: What You'll Need
Total Time: 30 minutes to 1 hour
Estimated Cost: $5 – $10
Difficulty Level: Easy
Tools Required
- Electric Mixer (stand or handheld)
- Measuring Cups
- Measuring Spoons
- Piping Bags (for testing consistency)
- Piping Tips (small round tips)
Supplies & Materials
- Powdered Sugar also known as confectioner’s sugar
- Meringue Powder or egg whites
- Water
- Food Coloring (optional)
Step-by-Step Instructions
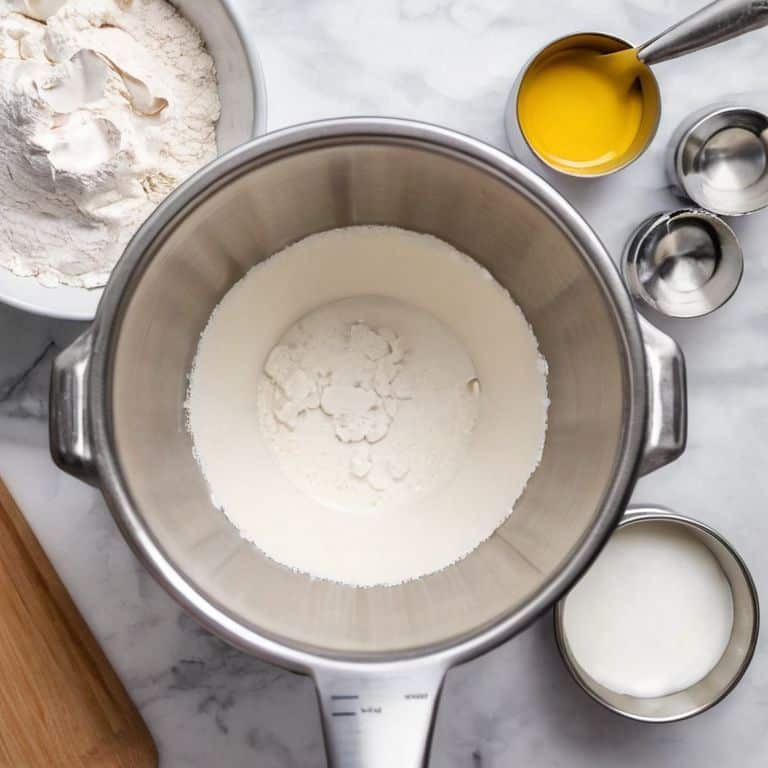
- 1. To start mastering the perfect royal icing consistency, begin by understanding that it’s all about finding the right balance between being too thin and too thick. You want your icing to be smooth and pliable, allowing you to create intricate designs and patterns with ease. Start by preparing your royal icing according to your recipe, making sure to sift your powdered sugar and use room temperature egg whites for the best results.
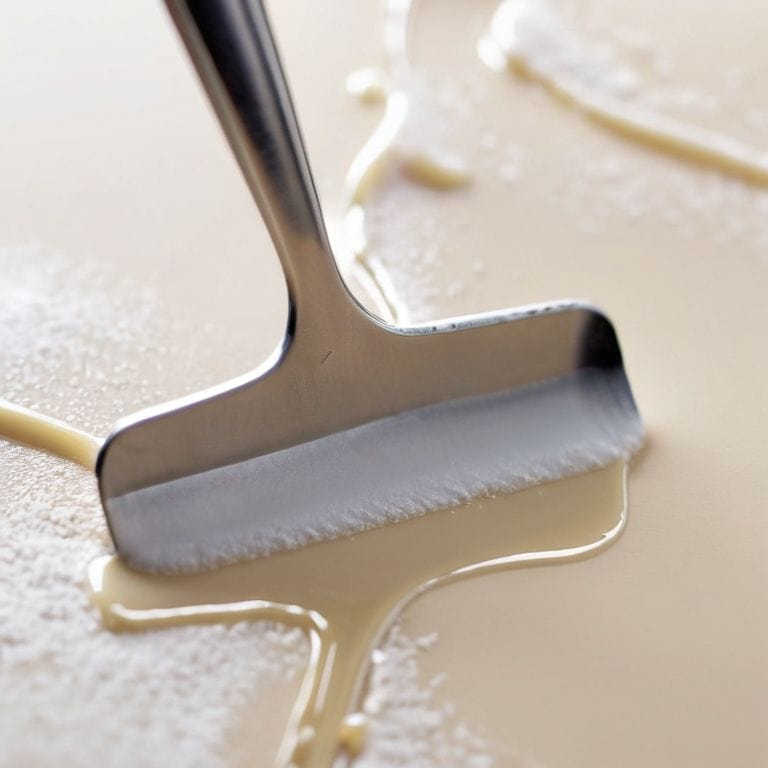
- 2. Next, it’s time to test the consistency of your royal icing. This is where patience comes into play, as you may need to adjust the icing several times to get it just right. Use a spatula or spoon to drizzle a small amount of icing onto a flat surface, observing how it flows and holds its shape. If it’s too thin, it will spread out quickly and lose its definition, while icing that’s too thick will hold its shape but be difficult to work with.
- 3. To achieve the perfect consistency, you’ll need to add small amounts of liquid to your icing, mixing well between each addition. This could be water, egg white, or a combination of both, depending on your recipe and the humidity of your environment. It’s essential to add liquid gradually, as it’s much easier to thin out icing than it is to thicken it once it’s become too runny.
- 4. Now that you’re adjusting the consistency of your royal icing, it’s crucial to understand the different stages of thickness and how they relate to various decorating techniques. For example, a thicker icing is ideal for creating three-dimensional decorations, such as flowers and borders, while a thinner icing is better suited for piping fine lines and details. Practice switching between these different consistencies to become more versatile in your decorating.
- 5. As you work with your royal icing, remember that environmental factors can significantly impact its consistency. Temperature, humidity, and even the type of surface you’re working on can cause your icing to dry out or become too sticky. To combat this, make sure to work in a stable environment, and consider using a turntable or other rotating surface to keep your cake or decorations easily accessible.
- 6. Once you’ve achieved the desired consistency, it’s time to put your icing to the test. Practice piping borders, creating intricate designs, and crafting three-dimensional decorations to get a feel for how the icing performs. This hands-on experience will help you develop a sense of muscle memory, allowing you to intuitively adjust the consistency of your icing as needed.
- 7. Finally, don’t be discouraged if it takes some time to develop your skills and find the perfect royal icing consistency. Experimentation is key, and it’s essential to be patient and gentle when working with this delicate medium. With practice and persistence, you’ll become more comfortable and confident in your abilities, and your royal icing decorations will begin to shine with professionalism.
A Guide to Royal Icing Consistency
As I always say, mastering royal icing consistency is an art that requires patience and practice. When it comes to royal icing for cake decorating, achieving the perfect consistency can make all the difference. To ensure a smooth finish, it’s essential to understand how to adjust the consistency for different decorating techniques, such as flooding or piping.
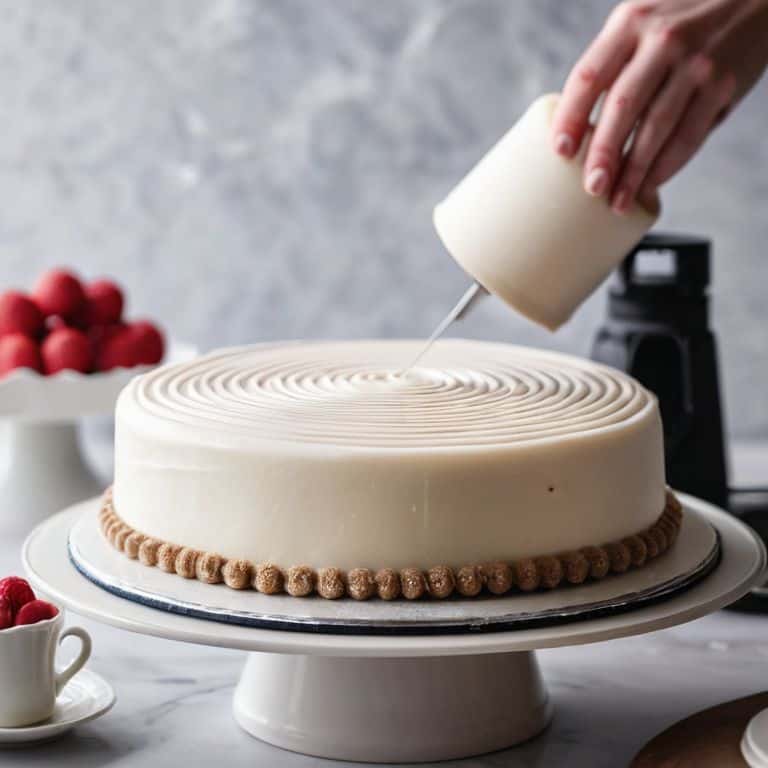
For beginners, tips for achieving smooth royal icing can be a game-changer. One of my favorite tricks is to use a turntable to spin the cake while I’m working on it, allowing me to access all sides easily. This simple hack can help you achieve a smooth royal icing finish and avoid any air pockets or bubbles. Additionally, when coloring your royal icing, remember to start with a small amount of dye and gradually add more until you reach the desired shade.
When it comes to troubleshooting royal icing problems, I always advise my students to take a step back and assess the situation. If your royal icing is too thin, try adding a small amount of powdered sugar to thicken it. On the other hand, if it’s too thick, you can try adding a tiny amount of water. By following these simple tips and practicing regularly, you’ll be well on your way to becoming a royal icing expert and creating beautiful, professional-looking cakes.
The Sweet Spot for Smooth Finishes
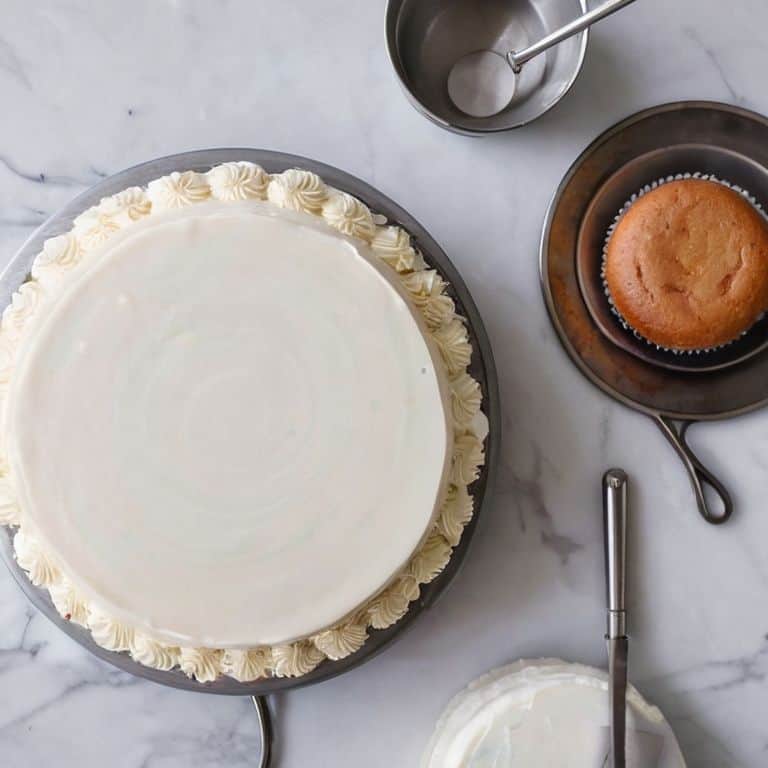
To achieve a smooth finish, it’s all about finding that sweet spot where your royal icing is neither too thin nor too thick. I like to think of it as the “goldilocks zone” – not too runny, not too stiff, but just right. When you hit this spot, your icing will glide effortlessly across your cake, leaving a flawless, even coat that’s perfect for adding intricate details or textures.
For me, the key to smooth finishes is all about the consistency of the icing. If it’s too thin, it will pool at the bottom of your cake, while icing that’s too thick will be difficult to spread evenly. But when you get it just right, the results are nothing short of magical. Your cake will be transformed into a beautiful, velvety canvas, just waiting for your creative touch.
Troubleshooting Royal Icing Problems
When working with royal icing, it’s not uncommon to encounter a few bumps along the way. If your icing is too thin, you might find that it’s pooling at the bottom of your cake or not holding its shape. On the other hand, if it’s too thick, it can be difficult to achieve a smooth finish. To troubleshoot, try adjusting the consistency by adding small amounts of water or powdered sugar. Remember, it’s all about finding that perfect balance.
If you’re still having trouble, take a step back and assess your environment. Is it too humid or dry? This can affect the icing’s consistency and performance. By making a few simple adjustments, you can get back on track and achieve the beautiful, smooth finish you’re aiming for.
Finding Your Flow: 5 Essential Tips for Mastering Royal Icing Consistency
- Start with the right ratio: Experiment with different powdered sugar to liquid ratios to find your ideal consistency, as this can vary depending on your environment and the type of decoration you’re aiming for.
- Temperature matters: Keep in mind that temperature and humidity can affect your royal icing’s consistency – if it’s too warm or humid, your icing might become too thin, while cold conditions can make it too stiff.
- Add liquids with caution: When adjusting your royal icing’s consistency, add liquids (such as water or egg whites) gradually, as it’s much easier to thin out icing than it is to thicken it once it’s become too runny.
- Resting is key: Allow your royal icing to rest for a short period after mixing, as this enables the ingredients to fully incorporate and the icing to reach its optimal consistency for decorating.
- Practice makes perfect: The more you work with royal icing, the more instinctive you’ll become at judging its consistency – don’t be discouraged if it takes a few trials to get it just right, as experience is the best teacher in mastering this delicate balance.
Key Takeaways for Mastering Royal Icing Consistency
Understanding the perfect consistency is crucial for achieving smooth finishes and intricate designs with royal icing, and it’s all about finding the balance between being too thin and too thick
Troubleshooting common issues like icing that’s too runny or too stiff is easier when you know the right adjustments to make, whether it’s adding more powdered sugar or a small amount of water
Practice makes perfect, so don’t be discouraged if it takes a few attempts to get the hang of working with royal icing – with patience and the right techniques, you’ll be creating beautiful, professional-looking cakes in no time
Finding Harmony in Royal Icing
The perfect royal icing consistency is not just a technical achievement, but a sensory experience – it’s the whispered promise of a smooth finish, the gentle caress of a piped border, and the proud display of a cake that’s as much art as it is dessert.
Chloé Dubois
Bringing It All Together: Mastering Royal Icing Consistency
As we’ve explored in this guide to royal icing consistency, achieving the perfect balance is crucial for smooth finishes and intricate designs. We’ve walked through the step-by-step process of preparing royal icing, from measuring ingredients to mixing and testing consistency. The sweet spot for royal icing consistency is not just about achieving a specific texture, but also about understanding how it will behave under different conditions, such as temperature and humidity. By mastering this skill, you’ll be able to create cakes that are not only visually stunning but also durable and long-lasting.
As you continue on your cake decorating journey, remember that practice is key to developing your skills. Don’t be discouraged if it takes time to get the hang of working with royal icing – with patience and persistence, you’ll be creating breathtaking designs in no time. The world of cake decorating is all about experimentation and creativity, so don’t be afraid to try new things and push the boundaries of what’s possible with royal icing. With this guide as your foundation, you’ll be well on your way to becoming a royal icing expert and creating cakes that are truly unforgettable.
Frequently Asked Questions
How do I adjust the consistency of royal icing for different types of cake designs, such as intricate piping or smooth surfaces?
For intricate piping, I thin my royal icing to a consistency similar to honey, while for smooth surfaces, I aim for a slightly thicker consistency, like soft butter. This allows for crisp, delicate details or a flawless, even coat – it’s all about finding that perfect balance for your design.
What are some common mistakes to avoid when mixing royal icing to achieve the perfect consistency?
When mixing royal icing, beware of overmixing, as it can lead to a stiff, unworkable consistency. Also, be mindful of adding too much liquid at once, causing the icing to become too thin. Start with small increments and adjust as needed to find that perfect balance – it’s all about finesse, my friends!
Can you provide tips on how to store and reuse royal icing to maintain its optimal consistency over time?
To keep your royal icing fresh and reusable, I recommend storing it in airtight containers at room temperature. If you won’t be using it for a while, consider freezing it – just thaw and re-whip when you’re ready. This way, you can maintain that perfect consistency and get back to decorating with ease.