As I sit in my studio, surrounded by half-finished cakes and the best tools for working with fondant, I’m reminded of the countless hours I’ve spent perfecting my craft. Working with fondant can be a daunting task, especially for beginners. It’s easy to get overwhelmed by the plethora of tools available, and it’s hard to know where to start. But, I believe that with the right tools and a little bit of practice, anyone can create stunning fondant designs that elevate their cakes from ordinary to extraordinary.
In this listicle, I’ll be sharing my top 5 favorite tools that have helped me achieve smooth, flawless finishes and intricate designs. From must-have basics to game-changing gadgets, I’ll walk you through the essential tools you need to take your fondant work to the next level. By the end of this article, you’ll know exactly which tools to invest in and how to use them to create breathtaking fondant creations. Whether you’re a seasoned pro or just starting out, my goal is to empower you with the knowledge and confidence to unleash your creativity and make your cake decorating dreams a reality.
Table of Contents
- My Go-To Smoother
- The Fondant Friend You Never Knew You Needed
- A Ball Tool for Beautiful Details
- The Perfect Palette for Color Mixing
- A Turntable for the Perfect Display
- Bringing it All Together: 3 Essential Takeaways
- The Art of Fondant
- Bringing Your Fondant Creations to Life
- Frequently Asked Questions
My Go-To Smoother
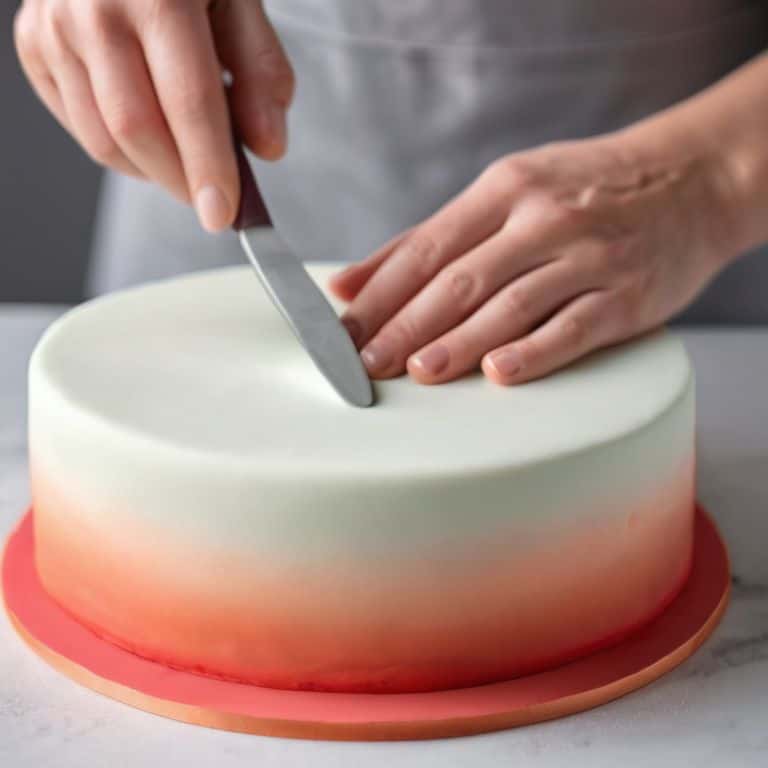
When it comes to working with fondant, having the right tools can make all the difference. My favorite smoother is one that I’ve had in my toolkit for years, and it never fails to deliver a flawless finish. I use it to smooth out any air pockets or imperfections in the fondant, making sure my cake is perfectly even and smooth. It’s amazing how much of a difference this simple tool can make in the overall appearance of your cake. By taking the time to properly smooth out your fondant, you’ll be able to achieve a professional-looking finish that’s sure to impress. I also like to use a gentle touch when smoothing out the fondant, as this helps to prevent any wrinkles or creases from forming.
The Fondant Friend You Never Knew You Needed
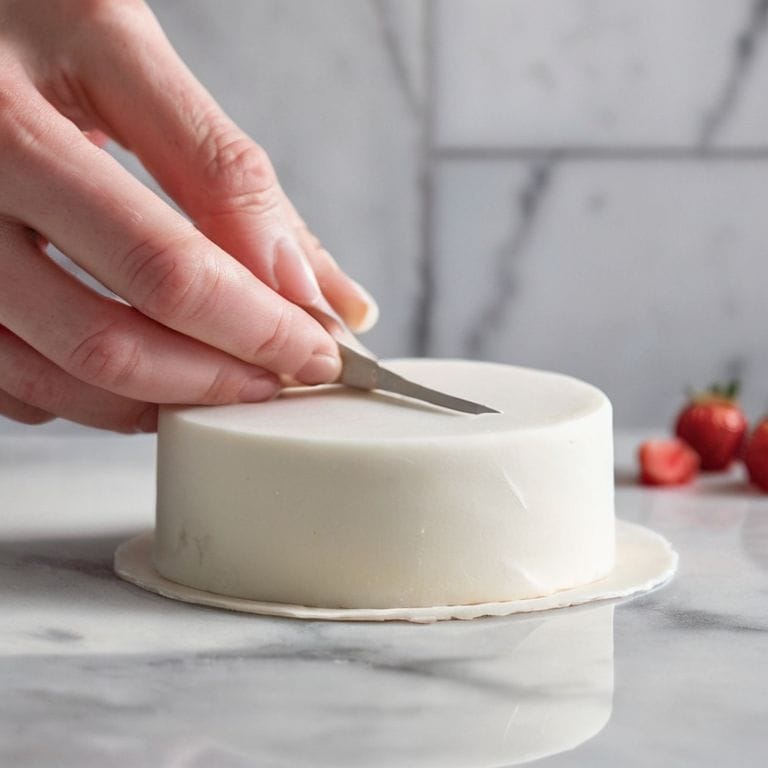
One of the most underrated tools in my fondant toolkit is my fondant cutter. This handy little tool is perfect for cutting out intricate designs and shapes from fondant, and it’s so much easier to use than a traditional knife or pastry cutter. I love using it to create delicate patterns and designs on my cakes, and it’s especially useful when working with smaller pieces of fondant. The fondant cutter is also great for creating uniform shapes and sizes, which is perfect for creating intricate designs or patterns. By using a fondant cutter, you’ll be able to achieve a level of precision and accuracy that would be difficult to achieve with other tools.
A Ball Tool for Beautiful Details
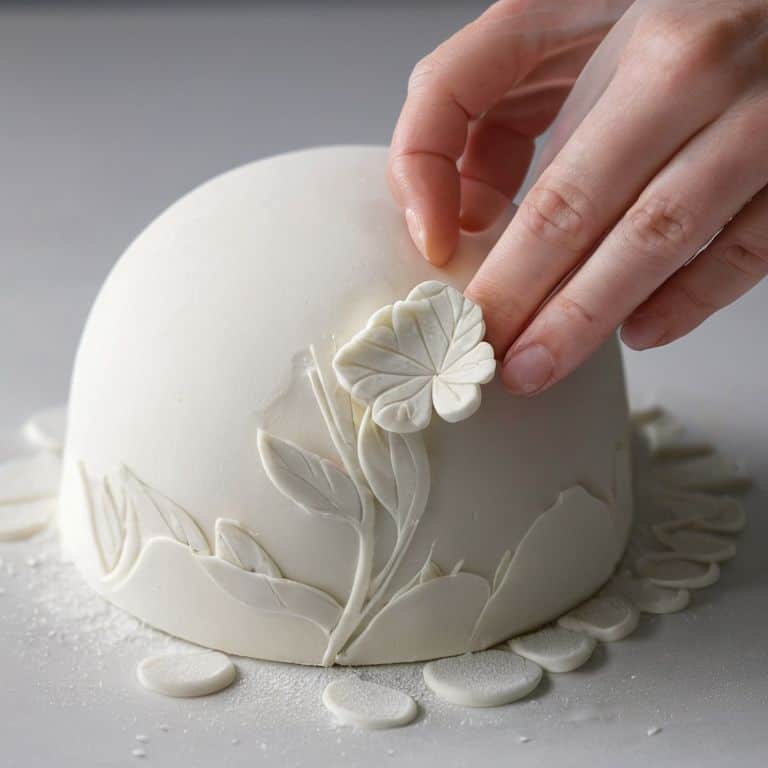
When it comes to adding details to your fondant cakes, a ball tool is an essential item to have in your toolkit. I use mine to create intricate textures and patterns on my cakes, and it’s especially useful for creating realistic flower petals and leaves. The ball tool is also great for adding subtle details to your cake, such as tiny bumps or ridges, which can help to create a more realistic and lifelike appearance. To get the most out of your ball tool, be sure to use it in combination with other tools, such as a veining tool or a modeling stick, to create a wide range of different effects and textures. By experimenting with different techniques and tools, you’ll be able to achieve a level of detail and realism that’s sure to impress.
The Perfect Palette for Color Mixing
As a cake artist, I know how important it is to have a good palette for mixing and blending colors. That’s why I always use a high-quality palette when working with fondant. My favorite palette is one that’s specifically designed for cake decorating, with separate wells for each color and a large mixing area in the center. This makes it easy to mix and match different colors to create unique and custom shades. I also love that my palette is easy to clean, which is a must when working with fondant and other messy materials. By having a good palette, you’ll be able to achieve a wide range of different colors and effects, from soft pastels to bold and bright hues.
A Turntable for the Perfect Display
Once you’ve finished decorating your cake, it’s time to display it in all its glory. That’s where a turntable comes in – it’s the perfect way to show off your cake from every angle. I love using my turntable to display my finished cakes, as it allows me to easily rotate the cake and view it from different perspectives. This is especially useful when taking photos or videos of your cake, as it allows you to capture the perfect shot from any angle. By using a turntable, you’ll be able to showcase your cake in a way that’s both elegant and professional, and it’s a great way to add a touch of drama and flair to your cake displays. Whether you’re a professional cake decorator or just starting out, a turntable is an essential item to have in your toolkit.
Bringing it All Together: 3 Essential Takeaways
As you embark on your fondant journey, remember that the right tools can make all the difference between a beautiful, professional finish and a frustrating experience
Investing in quality fondant tools is not just about the initial cost, but about the countless hours of joy and creativity they’ll bring to your cake decorating process
By combining these must-have tools with a little patience and practice, you’ll unlock the full potential of fondant and turn your cakes into breathtaking works of art that inspire and delight
The Art of Fondant
With the right tools, fondant transforms from a mere ingredient into a canvas of endless possibility, where every delicate touch and subtle nuance brings your edible masterpiece to life.
Chloé Dubois
Bringing Your Fondant Creations to Life
As we’ve explored the best tools for working with fondant, it’s clear that each one plays a unique role in helping you achieve professional-looking results. From the precision of fondant smoothers to the versatility of modeling tools, these essentials will elevate your cake decorating game. By investing in these must-have items, you’ll be well on your way to creating stunning, realistic designs that showcase your artistry. Whether you’re a beginner or an experienced decorator, having the right tools at your disposal can make all the difference in the world.
Now that you’re equipped with the knowledge of these incredible tools, it’s time to unleash your creativity and bring your fondant creations to life. Remember, the key to mastering fondant is practice, patience, and a willingness to experiment. Don’t be afraid to try new techniques, push the boundaries of what’s possible, and make mistakes – they’re an essential part of the learning process. With these tools and a dash of imagination, you’ll be crafting breathtaking cakes that inspire and delight everyone who lays eyes on them.
Frequently Asked Questions
How often should I clean and maintain my fondant tools to ensure they remain in good condition?
To keep your fondant tools in top shape, I recommend cleaning them after each use and storing them in a dry place. A quick wipe with a damp cloth and mild soap usually does the trick. For more thorough maintenance, dedicate some time each month to sanitizing and drying your tools – it’s a small habit that will extend their lifespan and ensure smooth fondant work.
Can I use the same tools for working with fondant and gum paste, or are there specific tools for each?
While some tools can be used for both fondant and gum paste, I find that certain tasks require specialized tools. For example, my favorite fondant smoothers are too gentle for gum paste, which often needs a bit more persuasion. That being said, tools like ball tools and veiners can be used for both, with a little adjustment in technique.
What are some common mistakes to avoid when using fondant tools, and how can I troubleshoot issues like sticking or tearing?
When working with fondant tools, I’ve found that common mistakes like sticking or tearing can be avoided by ensuring your tools are dusted with cornstarch and your fondant is at room temperature. If issues arise, try gently kneading the fondant or adjusting your tool’s pressure – it’s all about finding that sweet spot!