I still remember the first time I struggled to achieve smooth buttercream on one of my cakes. It was a disaster – lumpy, uneven, and completely unphotogenic. I had heard that to get smooth buttercream, you just needed to use a high-quality mixer and the right ingredients, but I soon discovered that it’s not that simple. The truth is, mastering the art of how to get smooth buttercream requires a combination of technique, patience, and practice. I’ve spent years perfecting my skills, and now I’m excited to share my knowledge with you, so you can avoid the frustrations I faced and learn the secrets to creating breathtakingly beautiful cakes.
In this article, I’ll take you through my step-by-step process for achieving silky smooth buttercream that will elevate your cakes from ordinary to extraordinary. You’ll learn the essential tips and tricks I’ve gathered from my experience as a cake artist, from preparing the perfect consistency to mastering the art of even application. My goal is to empower you with the confidence and skills to create stunning cakes that showcase your unique style and creativity. Whether you’re a beginner or an experienced baker, I’ll provide you with honest, practical advice on how to get smooth buttercream that will make your cakes truly unforgettable.
Table of Contents
Guide Overview: What You'll Need
Total Time: 30 minutes to 1 hour
Estimated Cost: $10 – $20
Difficulty Level: Easy
Tools Required
- Stand Mixer (or Hand Mixer)
- Whisk Attachment
- Measuring Cups (dry and liquid)
- Rubber Spatula
Supplies & Materials
- Unsalted Butter (at room temperature)
- Confectioners Sugar (sifted)
- Whole Milk (or alternative milk)
- Pure Vanilla Extract
Step-by-Step Instructions
- 1. First, let’s start with the basics: to achieve smooth buttercream, you’ll need to ensure your ingredients are at room temperature. This means taking your butter and eggs out of the fridge a few hours before you start decorating. I like to think of this step as setting the stage for a beautiful cake – it’s all about creating the right conditions for success.
- 2. Next, you’ll need to prepare your buttercream mixture. In a large mixing bowl, combine your softened butter and a pinch of salt. Yes, you read that right – a pinch of salt! It may seem like an unusual ingredient, but trust me, it makes a big difference in bringing out the flavors. Now, use an electric mixer to cream the butter until it’s light and fluffy, almost like whipped cream. This is where the magic starts to happen, and your mixture begins to take on a life of its own.
- 3. Now it’s time to add the sugar to your mixture. I always say that the key to a great buttercream is to add the sugar gradually, allowing each portion to fully incorporate before adding the next. This helps prevent lumps from forming and ensures a silky smooth finish. Start by adding a small amount of sugar, mixing until it’s fully incorporated, and then repeat the process until you’ve added all the sugar.
- 4. With your sugar fully incorporated, it’s time to add any flavorings or colorings you like. This is where you can get really creative and make your cake truly unique. Whether you’re using a few drops of vanilla extract or a handful of edible gold dust, now’s the time to add that special something that will make your cake stand out. Just be sure to mix well after each addition to ensure everything is fully incorporated.
- 5. Now we’re getting to the fun part – the actual decorating! To achieve a smooth finish, you’ll want to use a turntable to spin your cake as you work. This allows you to access all sides of the cake easily and ensures an even coat of buttercream. Start by applying a thin layer of buttercream to your cake, using an offset spatula to spread it evenly. Don’t worry too much about perfection at this stage – we’ll get to that in the next step.
- 6. With your initial layer of buttercream applied, it’s time to crumb-coat your cake. This involves using a small amount of buttercream to create a thin, even layer that will help trap any stray crumbs or imperfections. Use your offset spatula to spread the buttercream, working in small sections to ensure an even coat. Once you’ve applied the crumb-coat, pop your cake in the fridge for about 10 minutes to set before moving on to the final layer.
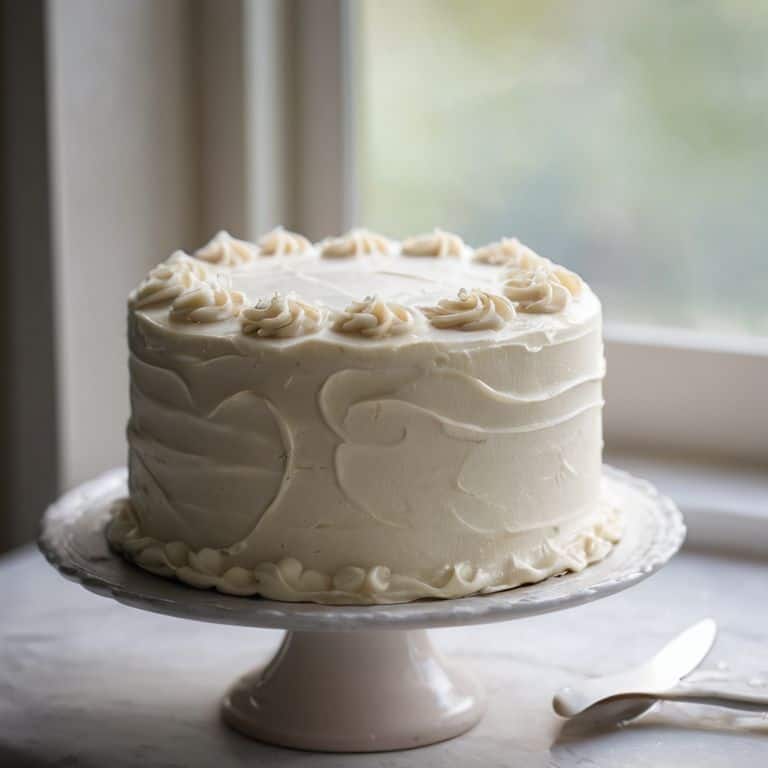
- 7. The final layer of buttercream is where the magic happens – this is where you’ll achieve that silky smooth finish you’ve been dreaming of. Remove your cake from the fridge and apply a generous amount of buttercream, using your offset spatula to spread it evenly. Work in small sections, using long, smooth strokes to create a flawless finish. As you work, be sure to spin your cake regularly to ensure an even coat and to catch any imperfections before they set.
Unlock Smooth Buttercream Secrets

As I delve deeper into the world of buttercream, I’ve discovered that smoothing out buttercream is an art that requires patience and practice. One of the most crucial tips for achieving a silky smooth finish is to ensure your buttercream is at room temperature. This may seem like a minor detail, but trust me, it makes all the difference. When your buttercream is too cold, it can be difficult to work with, and you may end up with a finish that’s more akin to a rugged landscape than a smooth canvas.
Another common mistake that can lead to uneven buttercream is overmixing. Buttercream consistency tips are essential to achieving a smooth finish, and overmixing can throw off the entire balance. To avoid this, mix your buttercream just until the ingredients come together, then stop. Don’t overbeat, as this can introduce air into the mixture and lead to a finish that’s more puffy than smooth. By following these simple buttercream frosting techniques, you’ll be well on your way to creating a stunning, professional-looking cake.
For those just starting out, I recommend experimenting with a simple buttercream recipe for beginners. This will allow you to get a feel for the consistency and texture of the buttercream without overwhelming yourself with complex ingredients or techniques. As you become more comfortable, you can begin to experiment with different flavors and decorations, always keeping in mind the importance of tips for achieving smooth frosting. With practice and patience, you’ll be creating breathtaking cakes that are almost too beautiful to eat.
Buttercream Frosting Techniques for Beginners
As a beginner, it’s essential to master the basics of buttercream frosting techniques. I always recommend starting with a simple offset spatula to get a feel for the frosting’s consistency and movement. Practice spreading and smoothing the buttercream on a flat surface, like a turntable or a piece of parchment paper. This will help you develop the touch and finesse needed to create a seamless finish.
For a flawless finish, try the “push-pull-fold” method: push the frosting towards you, pull it back, and then fold it over itself. This gentle manipulation will help eliminate air pockets and create a smooth, even surface. Remember, patience is key – take your time, and don’t be afraid to experiment and adjust your technique as you go. With practice, you’ll be achieving silky smooth buttercream like a pro!
Smoothing Out Buttercream Tips and Common Mistakes
As I work with buttercream, I’ve learned that it’s all about finesse. To achieve that silky smooth finish, it’s essential to pay attention to temperature and consistency. If your buttercream is too warm, it will be too soft and prone to sagging; if it’s too cold, it will be stiff and difficult to spread evenly. I always make sure to let my buttercream come to room temperature before working with it. Another common mistake is over-mixing, which can incorporate too much air and lead to a bubbly, uneven finish.
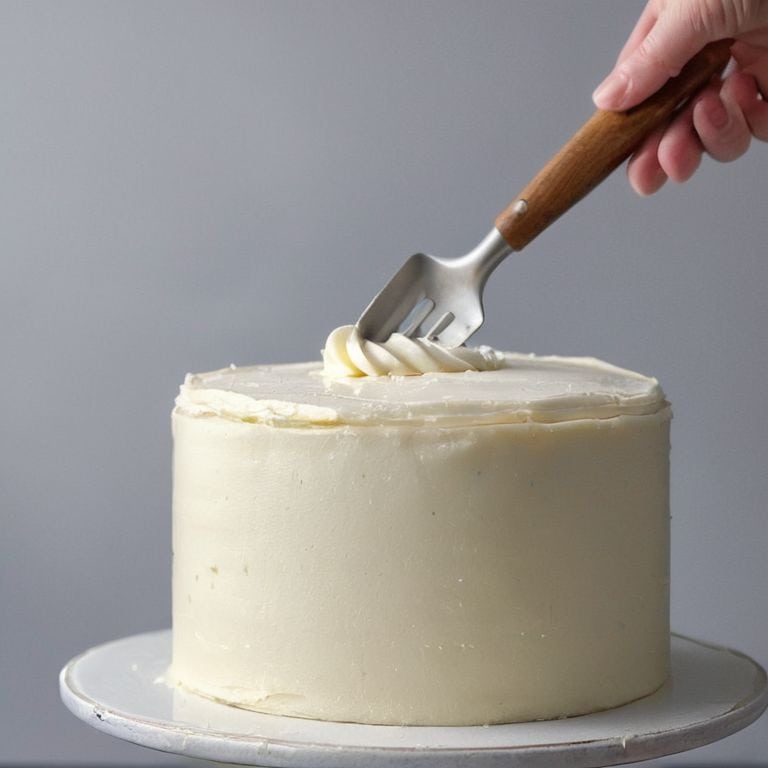
When smoothing out my buttercream, I use a gentle touch and a steady hand. I find that using a turntable can be incredibly helpful, as it allows me to access all sides of the cake with ease. I also make sure to use a bench scraper or offset spatula to remove any excess buttercream and create a sharp edge. By taking my time and being mindful of these details, I can achieve a finish that’s truly flawless.
My Top 5 Secrets to Achieving Silky Smooth Buttercream
- Use room temperature ingredients to ensure a silky smooth consistency, as cold butter or cream can lead to a lumpy, uneven finish
- Select the right type of sugar, as fine sugars like castor or superfine sugar will dissolve more easily and create a smoother buttercream
- Don’t overmix your buttercream, as this can introduce air and lead to an uneven, aerated finish – stop mixing as soon as the ingredients come together
- Experiment with different ratios of butter to sugar to find your perfect balance, as too much sugar can make the buttercream too sweet and stiff, while too much butter can make it too rich and soft
- Use a turntable to spin your cake as you smooth the buttercream, allowing you to access all sides and create a perfectly even, smooth finish with ease
Key Takeaways for Achieving Silky Smooth Buttercream
Always use room temperature ingredients to ensure a stable and pliable buttercream that’s easier to work with and less prone to lumps or air pockets
Mastering the right consistency is crucial: if your buttercream is too thin, it won’t hold its shape, and if it’s too thick, it can’t be smoothed evenly – practice makes perfect in finding this sweet spot
Never underestimate the power of patience and the right tools, such as a bench scraper or a turntable, to help you achieve a flawless, smooth finish that elevates your cake from ordinary to extraordinary
The Buttercream Philosophy
Smooth buttercream is not just a technique, it’s a state of mind – it’s about patience, precision, and a passion for perfection, where every stroke of the spatula is a brushstroke of beauty.
Chloé Dubois
Unlocking the Power of Smooth Buttercream
As we’ve explored the world of smooth buttercream together, I hope you’ve gained a deeper understanding of the importance of temperature control and the value of patience in achieving that perfect finish. From the initial preparation of your ingredients to the final smoothing of your buttercream, every step plays a crucial role in creating a cake that’s not just delicious, but also a masterpiece of elegance and simplicity. By mastering the techniques outlined in this guide, including the use of high-quality ingredients and the implementation of effective smoothing strategies, you’ll be well on your way to creating cakes that inspire and delight.
As you continue on your journey to buttercream perfection, remember that practice is key and that every mistake is an opportunity to learn and grow. Don’t be afraid to experiment and try new things – it’s often the unexpected combinations and techniques that lead to the most stunning creations. With dedication and a willingness to learn, you’ll unlock the full potential of smooth buttercream and discover a world of endless possibilities in cake design and decoration.
Frequently Asked Questions
What's the best way to avoid air pockets when smoothing out buttercream?
To avoid air pockets, I gently vibrate my offset spatula against the cake as I smooth the buttercream, or use a turntable to spin the cake slowly, allowing me to inspect and fill any gaps seamlessly. It’s all about finesse and patience – your buttercream will thank you!
How do I achieve a sharp edge on my cake without the buttercream getting too soft or too hard?
To achieve a sharp edge, I recommend chilling your cake for about 10 minutes to set the buttercream, then using a turntable and a small offset spatula to create a clean line. If the buttercream starts to soften, pop it in the fridge for a few minutes to firm up – it’s all about finding that perfect balance!
Can I still get smooth buttercream if I'm using a mixer instead of whipping it by hand?
Absolutely, you can still achieve smooth buttercream with a mixer. I actually prefer using my stand mixer to ensure consistency and save time. Just be sure to scrape down the sides and beat on low to avoid incorporating air, which can lead to a fluffy but uneven finish.