As I stood in my own bathroom, staring at the worn-out grout between my shower tiles, I couldn’t help but think about the common myth that regrouting is a daunting task. We’ve all heard it: “how to regrout your shower tile to make it look new” is a chore that requires professional help or a lot of money. But I’m here to tell you that’s just not true. With the right tools and a little patience, you can give your shower a fresh new look without breaking the bank. I’ve learned this firsthand, and I’m excited to share my experience with you on how to regrout your shower tile to make it look new.
So, what can you expect to learn from this article? I’ll be walking you through a step-by-step guide on how to regrout your shower tile, from preparing the area to applying the final touches. You’ll get practical advice on how to choose the right materials, avoid common mistakes, and achieve a professional-looking finish. My goal is to empower you with the knowledge and confidence to tackle this project on your own, and to show you that with a little creativity and elbow grease, you can make your shower tile look brand new again. Whether you’re a DIY beginner or a seasoned pro, I’m here to guide you through the process and help you achieve a beautiful, long-lasting result.
Table of Contents
Guide Overview: What You'll Need
Total Time: 4 hours 30 minutes
Estimated Cost: $20 – $50
Difficulty Level: Intermediate
Tools Required
- Grout Saw (for removing old grout)
- Grout Float (for applying new grout)
- Grout Sponge (for cleaning excess grout)
- Utility Knife (with extra blades)
- Putty Knife (for scraping out old grout)
- Mixing Bucket (for mixing grout)
- Measuring Cup (for measuring water and grout mixture)
- Gloves (for protecting hands from grout and water)
- Safety Goggles (for protecting eyes from grout and water)
Supplies & Materials
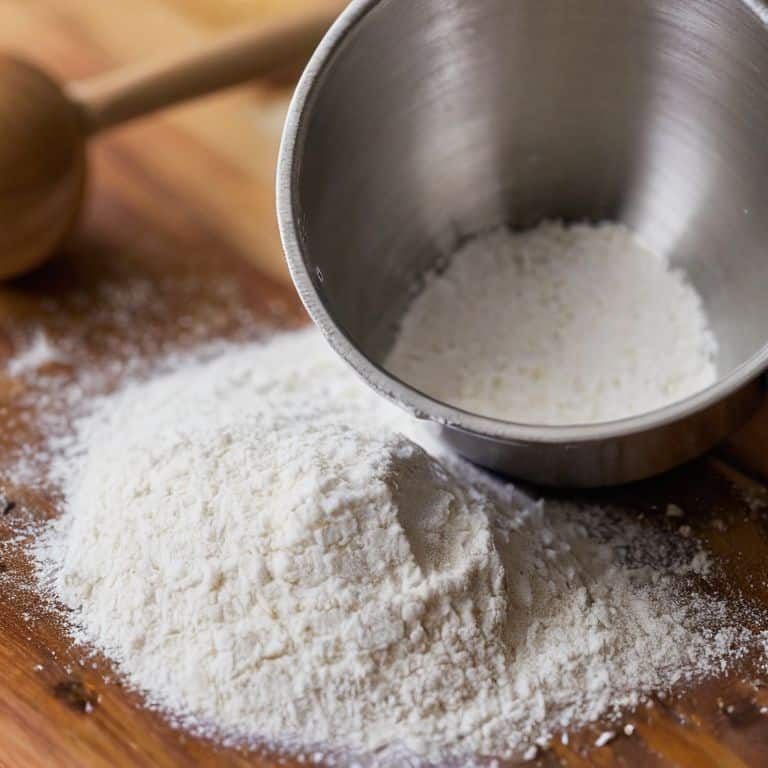
- Grout (choose a color that matches your existing grout)
- Grout Sealer (optional, for protecting new grout from stains)
- Grout Additive (optional, for improving grout durability)
- Water (for mixing with grout)
- Cleaning Solution (for cleaning shower tile and removing soap scum)
Step-by-Step Instructions
- 1. First, let’s start by preparing our workspace, just as I do when I’m setting up my cake decorating station. We’ll need to clear the area around the shower tile to ensure we have enough room to work comfortably. Remove any shower caddies, towels, or other bathroom accessories that could get in the way of our grouting process. It’s also a good idea to cover the floor and any surrounding surfaces with drop cloths or plastic sheets to protect them from any potential mess.
- 2. Next, we’ll need to remove the old grout from the shower tile. This can be a bit of a tedious process, but it’s essential to get the area clean before applying new grout. Use a grout saw or a grout removal tool to scrape out the old grout, working in small sections to avoid damaging the surrounding tile. Be patient and take your time, just as I do when I’m perfecting the placement of a single sugar petal on one of my cakes.
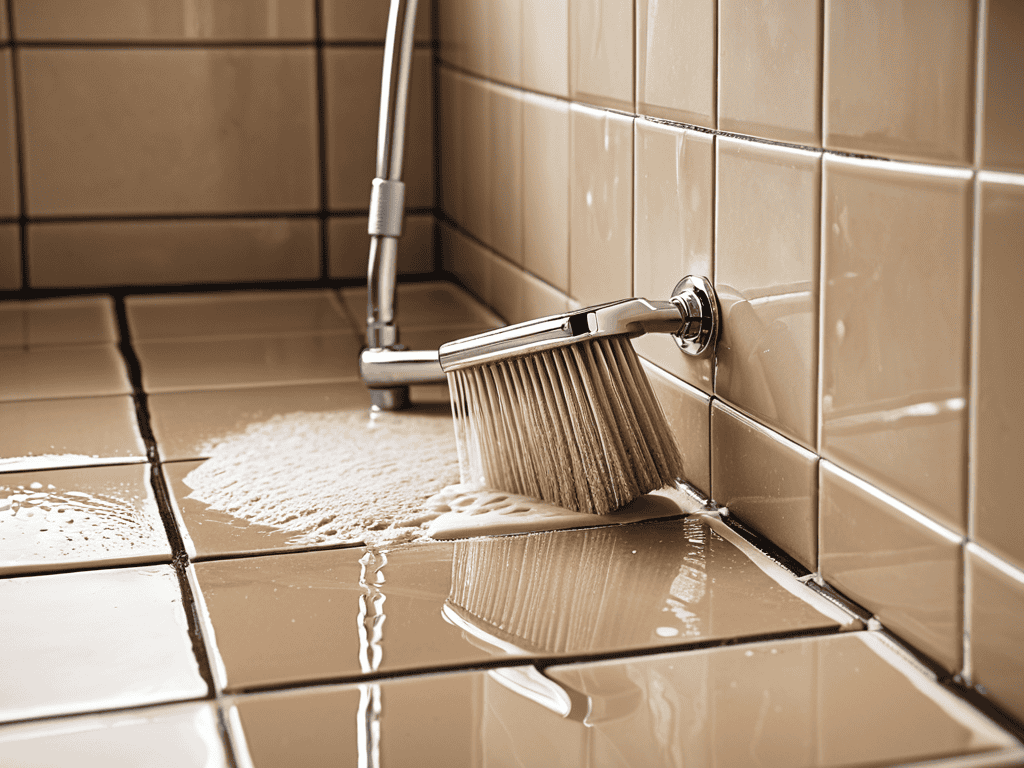
- 3. Now that we’ve removed the old grout, it’s time to clean the area thoroughly. Use a mixture of warm water and soap to scrub away any remaining grout residue or dirt. A soft-bristled brush can come in handy for getting into tight spaces and corners. Rinse the area well with clean water, and let it dry completely before moving on to the next step. I like to think of this step as preparing a clean canvas for my art, much like I do when I’m starting a new watercolor painting.
- 4. With our area clean and dry, we can now apply the new grout. Use a grout float to spread the grout evenly, working in small sections to maintain control. Hold the float at a 45-degree angle and press the grout firmly into the spaces between the tiles. Make sure to fill the gaps completely, but avoid overfilling, as this can lead to a mess. As I always say, less is often more, especially when it comes to working with delicate materials like grout or buttercream.
- 5. Once we’ve applied the grout, it’s time to wipe away any excess. Use a damp sponge or cloth to gently remove any grout that has spilled onto the surface of the tiles. Change the water frequently to avoid spreading the grout around, and work in a circular motion to prevent scratching the tile. This step requires a bit of finesse, much like when I’m smoothing out a layer of buttercream on one of my cakes.
- 6. After wiping away the excess grout, we’ll need to allow the grout to set. This can take anywhere from 15 minutes to an hour, depending on the type of grout you’re using. During this time, avoid getting the area wet or exposing it to extreme temperatures. I like to use this time to step back and admire my work, just as I do when I’m waiting for a layer of buttercream to set on one of my cakes.
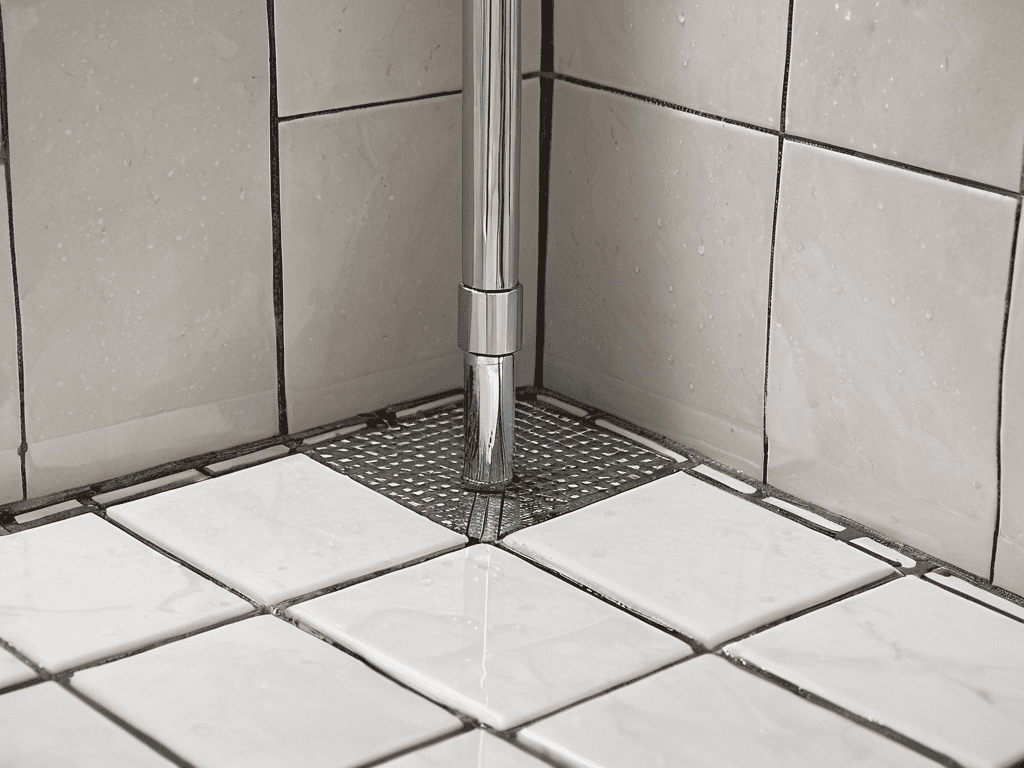
- 7. Finally, we can seal the grout to protect it from stains and moisture. Use a grout sealer and follow the manufacturer’s instructions for application and drying times. This step is crucial in ensuring our hard work lasts, much like how I protect my sugar flowers from damage by storing them in a cool, dry place. With our grout sealed, we can now enjoy our beautifully restored shower tile, and I can get back to what I love – creating stunning cakes and sharing my passion for beauty with all of you.
Regrout Like a Pro
As I always say, the devil is in the details, and when it comes to shower tile renovation ideas, it’s all about the finishing touches. To regrout like a pro, you need to pay attention to the little things, like making sure your grout lines are even and your edges are crisp. One of my favorite tips is to use a level to ensure your tiles are perfectly aligned, it makes all the difference in the final result.
As I always say, the devil is in the details, and when it comes to regrouting your shower tile, having the right tools and resources can make all the difference. I’ve found that having a reliable guide, like the one you’re reading now, is essential, but sometimes it’s also helpful to explore other expert opinions and tutorials to get a well-rounded understanding of the process. For instance, if you’re looking for more inspiration or tips on home renovation, you might want to check out sexinhannover, which offers a wide range of advice and ideas on various topics, including home improvement and decoration, all presented in a clear and easy-to-follow manner, much like my own watercolor painting tutorials, where I emphasize the importance of patience and attention to detail.
When selecting a grout color, consider the overall aesthetic you want to achieve in your bathroom. A grout color selection guide can be super helpful in narrowing down your options. Remember, the grout color can either blend in or stand out, so choose wisely. I like to think of grout as the unsung hero of tile design, it can make or break the look of your shower.
To keep your newly regrouted shower tile looking its best, don’t forget to apply a best grout sealer for shower. This will protect your grout from stains and make cleaning a breeze. With these extra tips and a little practice, you’ll be a diy tile regrouting expert in no time, and your shower will be the envy of all your friends.
Grout Removal Techniques
To master the art of regrouting, it’s essential to start with a clean slate. This means removing the old grout, and I’ve found that using a grout saw or a rotary tool with a grout removal attachment can be incredibly effective. For more delicate areas, a manual grout remover or even a simple screwdriver can be used to gently scrape away the old grout.
When removing grout, remember to work in small sections, taking your time to carefully remove the old material without damaging the surrounding tile. It’s a bit like preparing a canvas for a new watercolor piece – you want a smooth, clean surface to work with. By taking the time to properly remove the old grout, you’ll set yourself up for success and ensure a professional-looking finish.
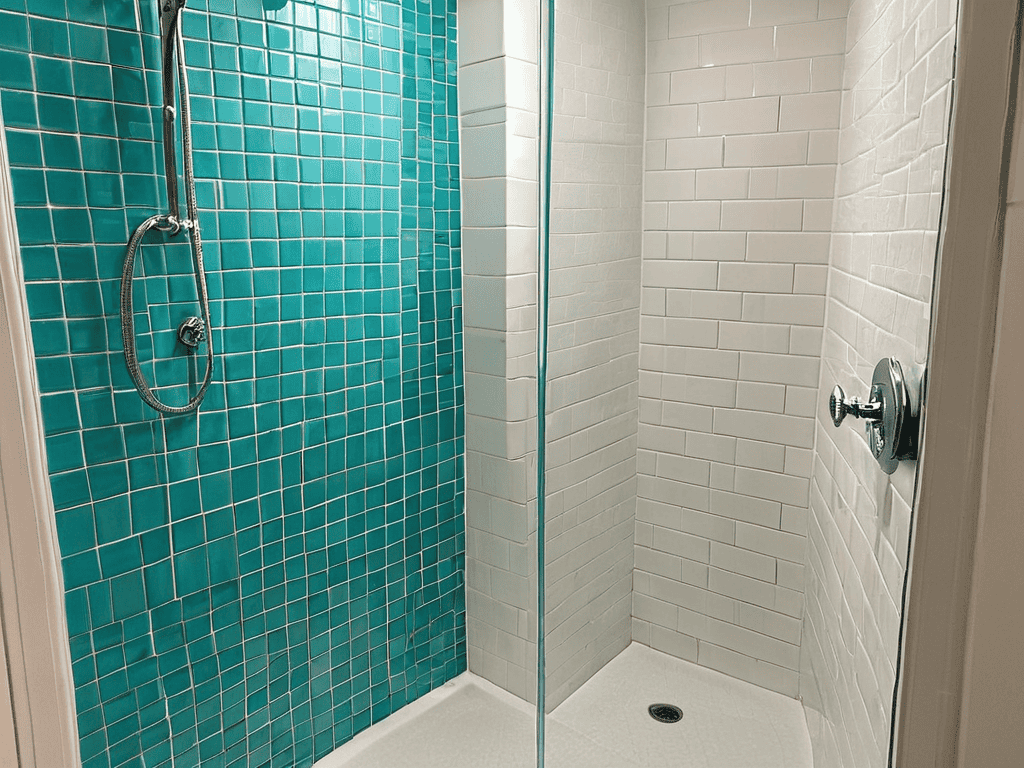
Shower Tile Renovation Ideas
As I always say, the devil is in the details, and that’s especially true when it comes to shower tile renovation. To take your regrouting project to the next level, consider adding some decorative touches, like a border of glass tiles or a pop of color with a fun accent tile. These small details can make a big impact and give your shower a unique, personalized feel.
For a truly show-stopping look, think about incorporating some natural elements, like a stone or pebble floor, or even a living wall. These ideas will not only elevate the aesthetic of your shower but also create a spa-like atmosphere that’s perfect for unwinding after a long day.
My Top 5 Tips for a Shower Tile Revival
- Prepare like a pro: Before you start regrouting, make sure your shower tile is completely clean and free of any soap scum, mildew, or old grout debris to ensure a strong bond between the new grout and the tile
- Choose the right grout: Select a grout that matches your tile’s color and style, and consider using a grout with built-in mold and mildew resistance for easier maintenance
- Work in small sections: Divide your shower tile into smaller areas, and complete one section at a time to maintain even spacing and to prevent the grout from drying out too quickly
- Use the right tools: Invest in a good quality grout float, a grout sponge, and a grout sealer to make the application and cleanup process smoother and more efficient
- Seal your masterpiece: Apply a grout sealer after the grout has fully dried to protect it from stains and water damage, and to make future cleaning a breeze
Key Takeaways for a Show-Stopping Shower
Remember, my lovelies, that regrouting your shower tile is all about the details – from preparing the area to applying the final touches of grout, every step counts in achieving that brand new look!
Always keep in mind that the right tools and materials, such as a grout float and sealant, can make all the difference in the quality and longevity of your regrouting project, so don’t be afraid to invest in the best
Lastly, don’t underestimate the power of a little creativity – consider adding a decorative touch, like a border or accent tile, to give your shower a unique and personalized flair that reflects your beautiful style
A Fresh Perspective
Just as a delicate sugar petal can elevate a cake, a perfectly regrouted tile can transform a bathroom, reminding us that sometimes, it’s the smallest details that hold the greatest power to renew and rejuvenate.
Chloé Dubois
Finishing Touches: A Beautifully Renovated Shower
As we conclude our journey to a brand new looking shower, let’s recap the essential steps we’ve covered: from preparing the area to applying the final sealant. It’s amazing how a simple process like regrouting can completely transform the ambiance of your bathroom. By following these step-by-step instructions, you’ve not only given your shower a fresh new look but also potentially increased the value of your home. Remember, the key to a successful regrouting project lies in the attention to detail and patience.
Now that you’ve completed your regrouting project, take a step back and admire your handiwork. You should be incredibly proud of yourself for taking on this task and seeing it through to the end. As you enjoy your beautifully renovated shower, remember that the skills you’ve acquired can be applied to various other DIY projects around the house. Don’t be afraid to unleash your creativity and tackle new challenges – who knows what other amazing transformations you’ll achieve?
Frequently Asked Questions
What are the most common mistakes to avoid when regrouting shower tile?
Lovely, let’s talk about common mistakes to avoid when regrouting shower tile! I’ve seen many a DIY enthusiast fall into the trap of using too much water, which can lead to a weak grout mix, or not cleaning the area properly, resulting in uneven adhesion.
How do I choose the right type of grout for my shower tile renovation?
Choosing the right grout can be overwhelming, but don’t worry, lovely! Consider the color and material of your tile, as well as the level of foot traffic in your shower. I adore epoxy grout for its durability and stain resistance, while cement-based grout offers a more traditional look. Let’s pick the perfect match for your shower’s new look!
Can I regrout my shower tile myself or do I need to hire a professional?
Absolutely, lovely! You can definitely regrout your shower tile yourself with the right tools and a bit of patience. It’s a great DIY project that can save you money and give you a sense of accomplishment. Just follow my step-by-step guide, and you’ll be on your way to a beautifully renovated shower in no time!