I still remember my first attempts at how to knead dough by hand like they were yesterday. As a young pastry student, I was convinced that kneading was all about brute force and endurance. I’d spend hours pushing and pulling the dough, only to end up with a dense, tough loaf. It wasn’t until I learned the science behind kneading that I began to grasp the true art of developing gluten. The common myth that kneading is all about strength and stamina is not only frustrating but also misguided. In reality, mastering the technique of how to knead dough by hand requires a deep understanding of the dough’s composition and the importance of precision.
As we dive into the world of hand kneading, I promise to share with you the practical advice and no-nonsense techniques that have helped my students and me achieve consistent, mouthwatering results. You’ll learn how to develop the perfect gluten, how to recognize the signs of over- or under-kneading, and how to troubleshoot common issues. By the end of this article, you’ll be equipped with the knowledge and confidence to tackle even the most challenging doughs, and you’ll understand the science behind kneading that makes all the difference. Whether you’re a beginner or an experienced baker, I invite you to join me on this journey to master the art of how to knead dough by hand.
Table of Contents
Guide Overview: What You'll Need
Total Time: 10 to 20 minutes
Estimated Cost: free – $0 (using existing ingredients and equipment)
Difficulty Level: Easy
Tools Required
- Clean surface (such as a countertop or pastry mat)
- Lightly floured surface (for kneading)
- Dough scraper or pastry blade (optional)
Supplies & Materials
- Dough (prepared according to recipe)
Step-by-Step Instructions
- 1. First, let’s start by preparing our workspace and ingredients, as a clean and organized environment is essential for focusing on the kneading process. Ensure your dough is at room temperature, and you have a lightly floured surface to work on. I always emphasize the importance of measuring ingredients accurately to guarantee the best results.
- 2. Next, turn your dough out onto the floured surface, and gently press down on it to release any air bubbles that may have formed. This step is crucial in developing the gluten in your dough, which will ultimately affect the texture of your final baked goods. Now, take a moment to observe the dough’s consistency and note any areas that may require extra attention.
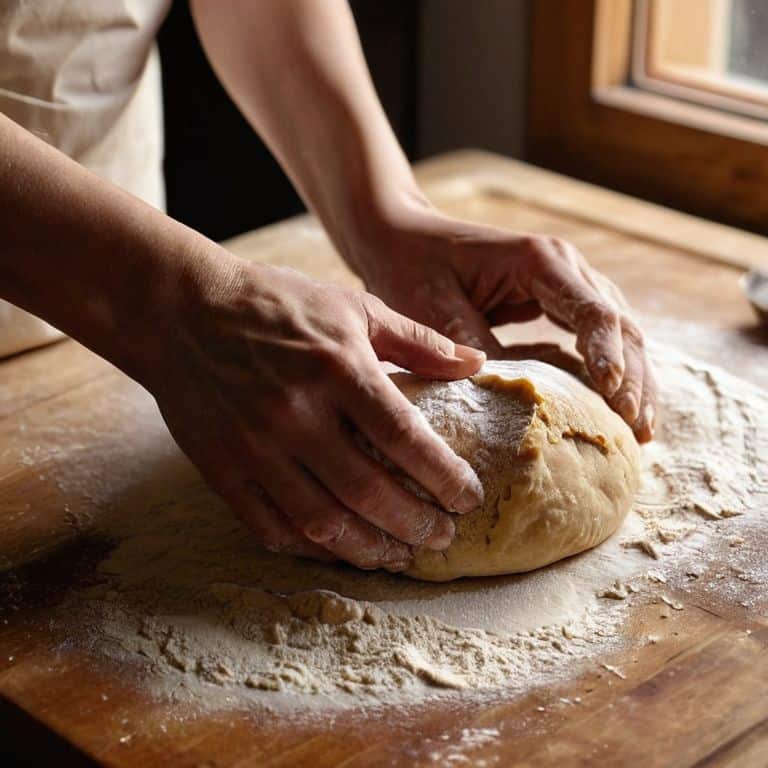
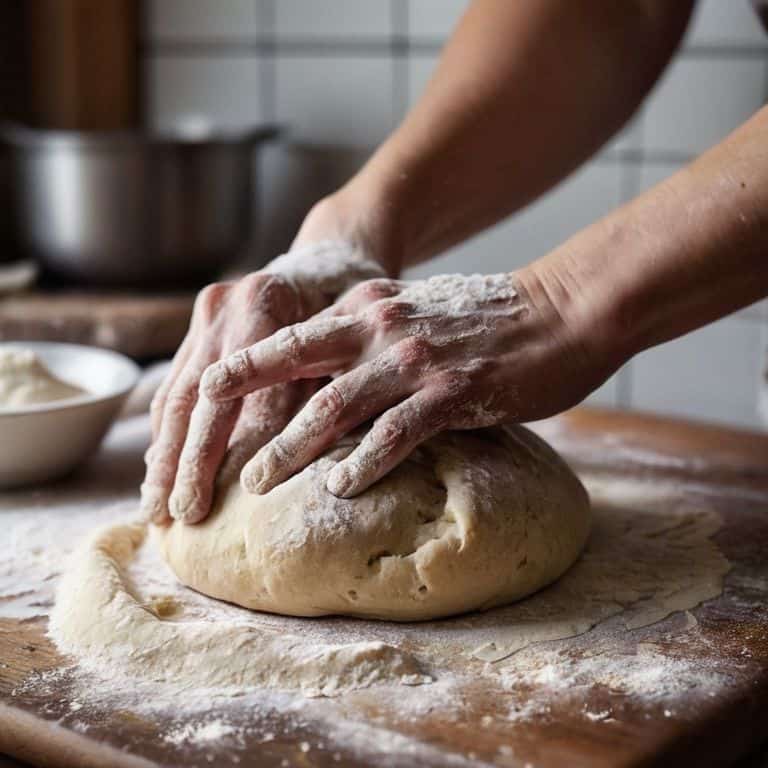
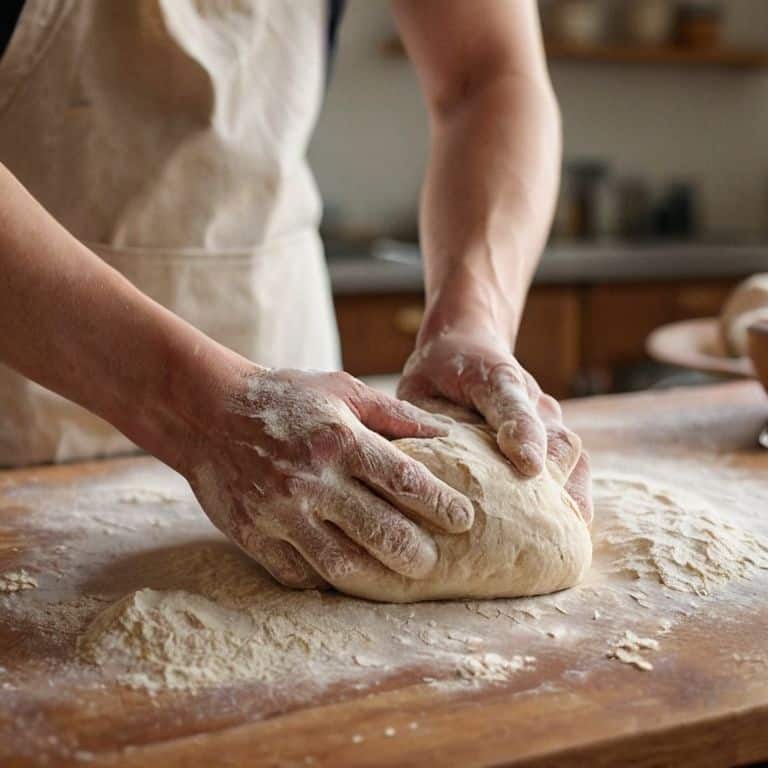
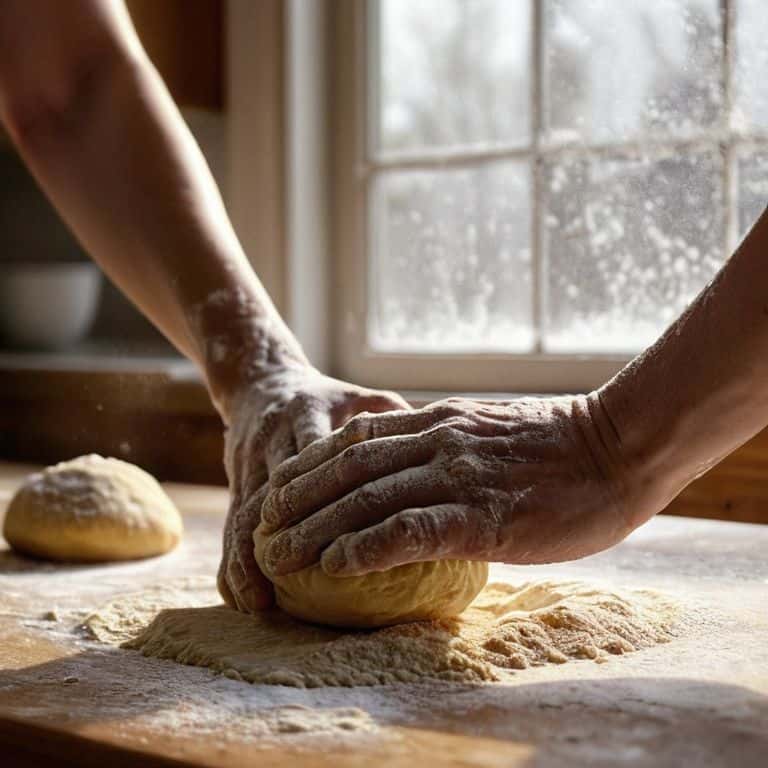
- 3. Begin the kneading process by placing the heel of your hand on the center of the dough and pushing down, then folding the dough back onto itself. Repeat this motion, moving your hands around the dough in a circular pattern, ensuring you’re covering the entire surface. Remember to apply gentle yet firm pressure, as excessive force can lead to over-working the dough.
- 4. As you continue kneading, pay close attention to the dough’s transformation, noticing how it starts to become smoother and more elastic. This is a sign that the gluten is developing, and your dough is on its way to becoming the perfect foundation for your baked goods. Keep kneading for about 10 minutes, or until you notice this change in texture.
- 5. Now, let’s talk about the importance of maintaining a consistent rhythm while kneading. Try to establish a steady pace, moving your hands in a smooth, flowing motion. This will help you develop a sense of connection with the dough, allowing you to better understand its needs and respond accordingly. Don’t be afraid to take breaks if you need to, as kneading can be a physically demanding process.
- 6. As you near the end of the kneading process, take a moment to evaluate the dough’s texture. It should be smooth, elastic, and slightly springy to the touch. If you notice any areas that are still rough or uneven, don’t hesitate to give them a bit more attention. Remember, the key to successful kneading is patience and attention to detail.
- 7. Finally, once you’ve completed the kneading process, shape your dough into a ball or log, depending on your desired final product. Gently place it into a lightly oiled bowl, cover it with plastic wrap or a damp towel, and let it rest in a warm, draft-free area. This will allow the dough to relax and redistribute the gluten, ensuring it’s ready for the next stage of the baking process.
Mastering Hand Kneading
As you continue to practice hand kneading techniques for beginners, you’ll start to develop a sense of how the dough should feel and respond to your touch. This is crucial in developing gluten in dough, which gives bread its structure and texture. To achieve the perfect balance, it’s essential to understand the role of flour in the process. I recommend using high-protein flours, such as bread flour or all-purpose flour with a high protein content, to produce a more robust gluten network.
When working with sticky dough, it’s not uncommon to encounter challenges. Tips for kneading sticky dough include using a lightly floured surface, a dough scraper, or even a stand mixer with a dough hook attachment. However, for those seeking a more traditional approach, kneading dough for sourdough bread requires a gentle yet firm touch. By mastering this technique, you’ll be able to coax the dough into submission, allowing the natural yeast and bacteria to flourish.
To take your hand kneading skills to the next level, consider experimenting with different types of flour, such as whole wheat or rye, to create unique and complex flavor profiles. Remember, the key to successful hand kneading lies in understanding the dough fermentation process, which involves allowing the yeast to break down the sugars and produce carbon dioxide. By combining this knowledge with patience and practice, you’ll be well on your way to creating delicious, crusty bread that’s sure to impress.
Developing Gluten With Ease
To develop gluten with ease, it’s essential to understand its role in dough. Gluten is a network of protein strands that gives dough its strength and elasticity. As we knead, we’re encouraging these strands to form and connect, creating a robust and flexible structure. By applying the right amount of pressure and motion, we can coax the gluten into developing evenly, resulting in a dough that’s both strong and supple.
I like to think of developing gluten as a gentle persuasion, rather than a forceful manipulation. With each fold and push, we’re guiding the dough towards its full potential, allowing it to relax and then re-engage, gradually building up its resilience and texture. By doing so, we’ll be rewarded with a beautifully risen loaf, full of air pockets and a satisfying crumb.
Tips for Taming Sticky Dough
When working with sticky dough, it’s essential to be gentle yet firm. I always say, “Don’t fight the dough, guide it.” To tame sticky dough, try lightly dusting your work surface with flour or using a small amount of water to help it come together. Remember, the key is to make subtle adjustments, as over-correcting can lead to tough, dense bread.
By using a combination of gentle pressure and minimal additional flour or water, you’ll be able to coax even the stickiest of doughs into submission. With practice, you’ll develop a sense of when to apply more or less pressure, and your dough will begin to respond beautifully to your touch.
Kneading Know-How: 5 Essential Tips for Hand Kneading Success
- Keep your ingredients at room temperature to ensure the dough comes together smoothly and evenly
- Use a light touch when starting to knead, gradually increasing pressure as the dough develops to avoid over-working
- Make sure to knead on a well-floured surface to prevent sticking and to keep your dough from becoming too dense
- Pay attention to the dough’s texture and consistency, using the ‘windowpane test’ to check for proper gluten development
- Knead in a rhythmic, push-fold-turn motion, using the heel of your hand to push down and your fingers to fold the dough back up, repeating for 10-15 minutes or until the dough reaches your desired consistency
Key Takeaways for Mastering Hand Kneading
Understand that developing gluten is crucial for the structure of your baked goods, and it can be achieved with the right techniques and patience
Recognize the importance of temperature, flour type, and hydration in determining the stickiness of your dough, and learn to adjust these factors to achieve a smooth, pliable dough
Practice makes perfect: mastering hand kneading requires time and repetition to develop the necessary skills and intuition to troubleshoot common issues and produce consistently high-quality results
The Heart of Hand Kneading
Kneading dough by hand is not just about mixing ingredients, it’s about understanding the symphony of gluten, water, and time – with every push, pull, and fold, you’re conducting a culinary orchestra that will ultimately yield a bread that’s as much a reflection of your patience as it is of your skill.
Beatrice Quinn
Mastering the Art of Hand Kneading: A Conclusion
As we conclude our journey into the world of hand kneading, let’s summarize the key points that will help you develop the perfect gluten and make your baked goods rise like a dream. We’ve covered the essential steps, from preparing your dough to mastering the techniques of hand kneading, and tips for taming sticky dough. By following these guidelines and practicing regularly, you’ll be well on your way to becoming a skilled baker, capable of producing delicious, homemade treats that will impress friends and family alike.
As you continue to hone your hand kneading skills, remember that baking is 90% science and 10% magic. With patience, persistence, and a deep understanding of the underlying chemistry, you’ll unlock the secrets to creating truly sublime baked goods. So don’t be afraid to get your hands dirty, experiment with new recipes, and push the boundaries of what’s possible – the world of artisanal breads and pastries awaits, and with these skills, you’ll be well on your way to baking perfection.
Frequently Asked Questions
What's the ideal temperature and environment for kneading dough to ensure optimal gluten development?
For optimal gluten development, I recommend kneading dough in a room with a consistent temperature between 75°F to 78°F (24°C to 25°C) and a relatively low humidity level. This environment allows the dough to relax and develop evenly, making it easier to achieve that perfect balance of strength and tenderness.
How do I know when I've kneaded the dough enough, and what are the signs of over-kneading?
To determine if you’ve kneaded enough, look for a smooth, elastic dough that springs back when poked. Over-kneading signs include a dense, shiny surface and a tough, rigid texture – if you notice these, stop immediately, as you’ve likely developed the gluten too much.
Can I use a stand mixer with a dough hook attachment to knead dough, or is hand kneading always the best option?
While hand kneading is my first love, a stand mixer with a dough hook attachment can be a wonderful timesaver. It’s perfect for larger batches or when you’re short on time. Just be sure to monitor the dough’s development, as overmixing can occur. I recommend using the dough hook for the initial kneading, then finishing with a few minutes of hand kneading to ensure the perfect gluten structure.