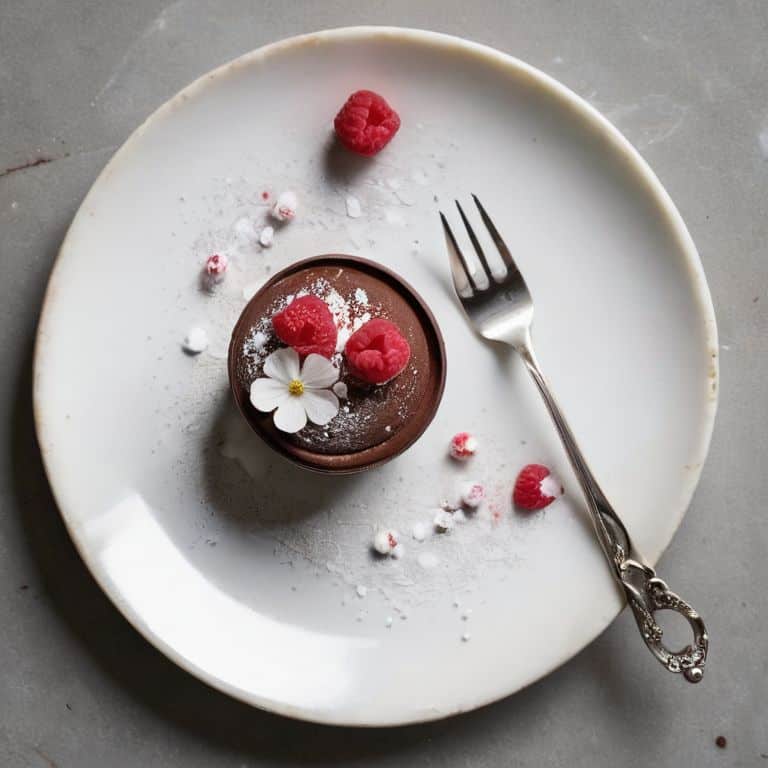
I still remember the day I stumbled upon a small bakery in the heart of the city, and it changed my perspective on a guide to choosing backdrops for food photography. The owner, a passionate baker, had transformed her shop into a cozy haven, with the most inviting backdrops that made her pastries look like pieces of art. It was then that I realized the importance of a well-chosen backdrop in food photography – it’s not just about the food, but about telling a story. As I delved deeper into the world of food photography, I discovered that many photographers struggle with selecting the perfect backdrop, often resorting to generic or bland options that fail to elevate their dishes.
As someone who’s spent countless hours experimenting with different backdrops, I’m excited to share my practical tips and tricks for choosing the perfect setting for your food photography. In this article, I’ll take you through the process of selecting backdrops that will make your baked masterpieces shine, from understanding the role of color and texture to experimenting with unique and creative materials. Whether you’re a professional photographer or a passionate food blogger, this guide will provide you with the honest, no-hype advice you need to take your food photography to the next level, and help you create stunning images that showcase your culinary creations in the best possible light.
Table of Contents
- Guide Overview: What You'll Need
- Step-by-Step Instructions
- A Guide to Choosing Backdrops
- Setting the Scene: 5 Essential Tips for Choosing Backdrops in Food Photography
- Key Takeaways for Stunning Food Photography Backdrops
- The Art of Framing Flavor
- Bringing Your Vision to Life
- Frequently Asked Questions
Guide Overview: What You'll Need
Total Time: 1 hour 15 minutes
Estimated Cost: $20 – $100
Difficulty Level: Easy
Tools Required
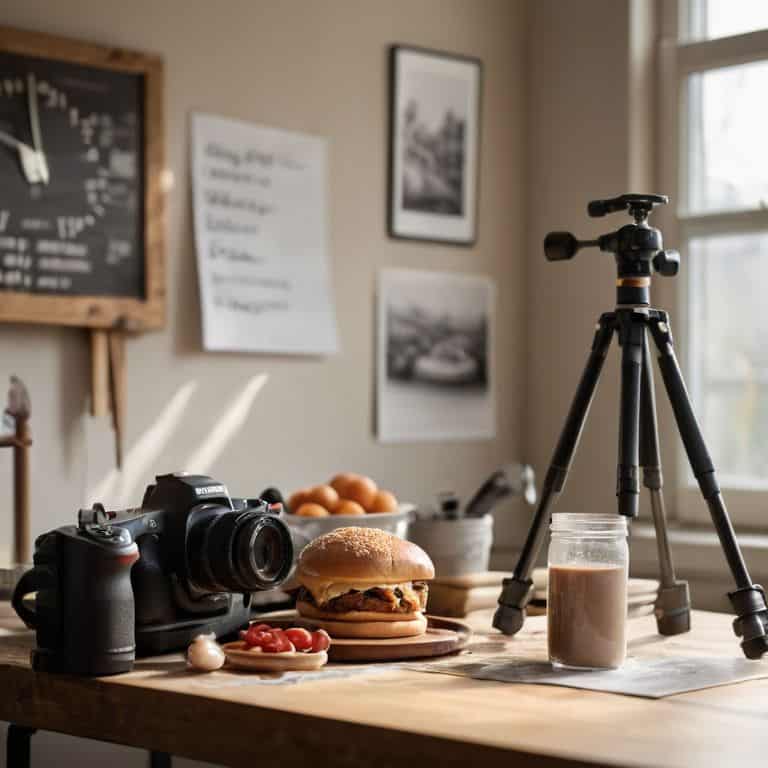
- Camera with manual focus and aperture control
- Tripod for stable camera positioning
- Measuring Tape for measuring backdrop sizes up to 6 feet
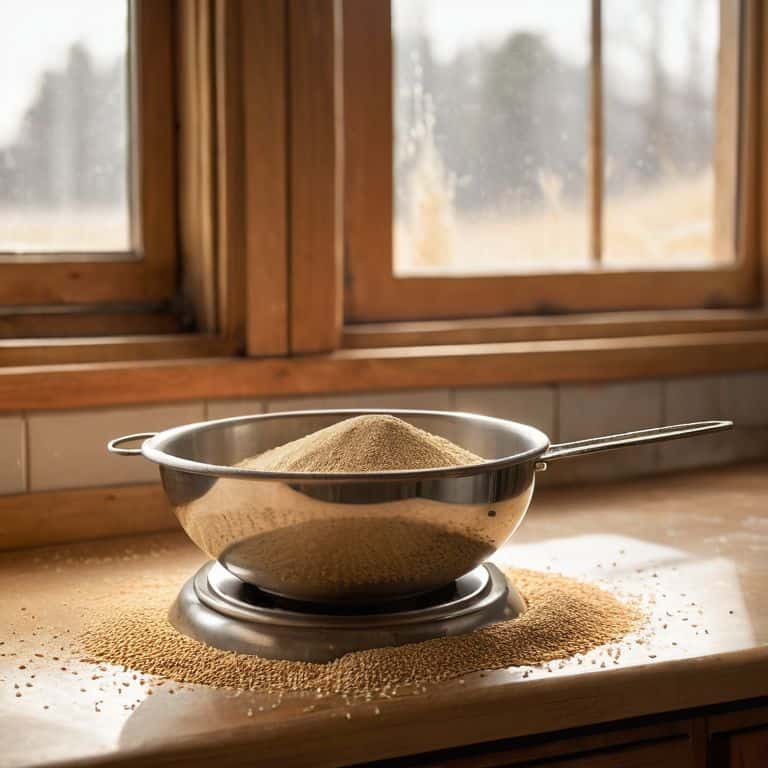
Supplies & Materials
- Colored Paper Rolls available in various colors and 3 feet wide
- Fabric Backdrops such as cotton or polyester in sizes up to 9 feet by 12 feet
- Reclaimed Wood for a rustic backdrop, cut to 2 inches by 4 inches lumber
- Pop-Up Backdrop Stand for easy setup and teardown, with a maximum height of 7 feet
Step-by-Step Instructions
- 1. First, start by understanding the mood and atmosphere you want to convey with your food photography. Think about the type of baked goods you’re photographing and the story you want to tell with your images. Are you going for a rustic, homemade feel or a sleek, modern aesthetic? This will help guide your choice of backdrop and overall visual style.
- 2. Next, consider the colors of your baked goods and the props you’ll be using in the photo shoot. You want your backdrop to complement, not clash with, the colors of your subjects. For example, if you’re photographing a batch of warm, golden-brown cookies, a cool-toned backdrop might create an interesting contrast, while a warm-toned backdrop might create a cozy, inviting atmosphere.
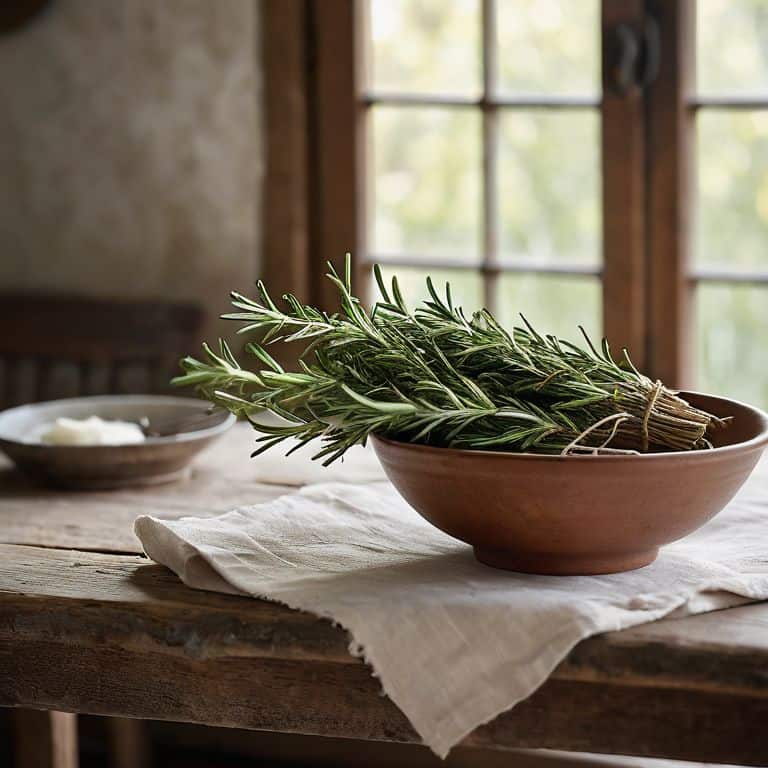
- 3. Now, experiment with different textures to add depth and interest to your photos. You might try using a vintage wooden table, a marble countertop, or even a colorful piece of fabric as a backdrop. Texture can help create a sense of tactility and make your photos feel more engaging and dynamic.
- 4. When it comes to choosing a specific backdrop, think about the scale and proportion of your subject. If you’re photographing a small, delicate pastry, you might want to use a smaller, more intimate backdrop to create a sense of focus and emphasis. On the other hand, if you’re photographing a large, show-stopping cake, you might want to use a larger, more dramatic backdrop to match the scale of the subject.
- 5. Don’t be afraid to get creative and think outside the box when it comes to backdrops. You might try using a natural setting, like a park or a garden, or even creating a makeshift backdrop using everyday objects, like a piece of cardboard or a vintage window. The key is to have fun and experiment with different options until you find the one that works best for your photo shoot.
- 6. Once you’ve chosen your backdrop, pay attention to the lighting and how it interacts with your subject and the surrounding environment. Natural light can be a powerful tool in food photography, but it can also be unpredictable, so be prepared to adjust your setup and experiment with different lighting scenarios to find the one that works best for your shot.
- 7. Finally, refine your composition by paying attention to the placement of your subject within the frame. Consider the rule of thirds, leading lines, and other compositional techniques to create a visually appealing and balanced photo. Don’t be afraid to move your subject around, adjust the props, and experiment with different angles until you find the perfect shot.
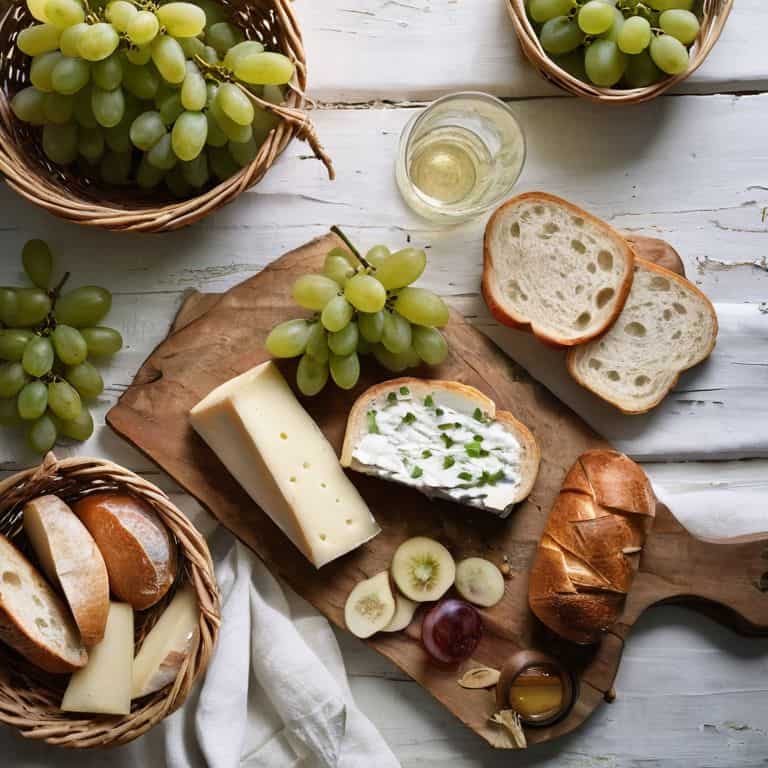
A Guide to Choosing Backdrops

As I delve into the world of food photography, I’ve come to realize that food styling tips for beginners are just as crucial as the backdrop itself. It’s about creating a narrative that draws the viewer in, making them want to be a part of the story. I’ve found that using natural textures and materials for backdrops, such as wood or stone, can add a warmth and authenticity to the image.
When it comes to selecting backdrop materials for photography, I’ve experimented with a variety of options, from DIY photography studio setups to more traditional materials like canvas or paper. Each has its own unique characteristics that can enhance or detract from the overall mood of the image. For instance, a diy photography studio setup can be a great way to add a personal touch to your photos, while also keeping costs low.
In my experience, the key to capturing stunning food photography lies in the details, including photography composition rules and food photography lighting essentials. By paying attention to these elements, you can create images that are not only visually appealing but also tell a story. Whether you’re a seasoned photographer or just starting out, I encourage you to experiment with different backdrops and styles to find what works best for you and your unique vision.
Diy Backdrop Materials for Photography
As I experiment with photography, I’ve found that creating my own backdrops can be a fun and creative process. One of my favorite DIY materials is reclaimed wood – the rustic texture adds a warm, organic feel to my photos. I’ve also had success with vintage fabrics, like linen or burlap, which can add a beautiful, earthy tone to my images. Another great option is painted canvas or cardboard, which can be customized to fit my desired color palette. With a little creativity, the possibilities are endless, and I love the challenge of finding unique materials to elevate my food photography.
Food Styling Tips for Beginners
As I delve into the world of food styling, I’m reminded of my visits to bustling farmers’ markets, where the vibrant displays of fresh produce and artisanal goods inspire my own creative approach to presenting baked goods. For beginners, it’s essential to keep it simple and focus on the hero of the shot: the food. I’ve learned from seasoned stylists that a light touch is key – a sprinkle of powdered sugar, a few fresh herbs, or a drizzle of honey can elevate a dish from ordinary to extraordinary.
By experimenting with different props and backdrops, you can add depth and context to your images, telling a story that draws the viewer in. I’ve found that vintage cookbooks, with their beautiful illustrations and rustic charm, can be a great source of inspiration for styling ideas. Remember, the goal is to create a visually appealing narrative that complements the food, rather than overpowering it.
Setting the Scene: 5 Essential Tips for Choosing Backdrops in Food Photography
- Let the food be the hero: choose a backdrop that complements your dish without overpowering it
- Consider the color palette: think about the hues and tones in your food and select a backdrop that enhances them
- Texture matters: mix it up with different textures, from rustic wood to sleek marble, to add depth to your images
- Keep it simple, keep it real: sometimes the best backdrops are the ones that look like they’re straight out of a home kitchen
- Experiment and have fun: don’t be afraid to try out new and unusual backdrops to give your food photography a unique twist
Key Takeaways for Stunning Food Photography Backdrops
As you experiment with backdrops, remember that the goal is to enhance your baked goods, not overwhelm them – simplicity can be just as powerful as intricate designs
By combining food styling tips, such as playing with textures and colors, with the right backdrop, you can elevate your food photography from basic to breathtaking
Whether you opt for DIY materials or invest in professional backdrops, the most important thing is to have fun and let your personality shine through in your food photography journey
The Art of Framing Flavor
A backdrop is more than just a canvas for your culinary creations – it’s a whispered promise of the story behind every bite, a visual hug that invites the viewer to savor the moment.
David Dunne
Bringing Your Vision to Life
As I reflect on our journey through the world of food photography backdrops, I’m reminded that the art of setting the scene is just as important as the dish itself. We’ve explored the key principles of choosing backdrops that complement our culinary creations, from considering the color palette to experimenting with different textures. By applying these principles and getting creative with DIY materials, you’ll be well on your way to capturing stunning images that tell a story and evoke emotions. Whether you’re a seasoned photographer or just starting out, the world of food photography is full of possibilities, and I hope this guide has inspired you to push the boundaries of your creativity.
As you continue to explore the world of food photography, remember that it’s not just about the technical aspects – it’s about sharing your passion and connecting with others through the stories you tell. So, don’t be afraid to experiment, try new things, and have fun with the process. With practice and patience, you’ll develop your own unique style and voice, and your images will become a reflection of your love for food, photography, and the people you share it with. Keep shining, and never stop celebrating the beauty of the baking world, one delicious image at a time.
Frequently Asked Questions
What are some common mistakes to avoid when choosing a backdrop for food photography?
When it comes to choosing backdrops, I’ve seen many beginners fall into the trap of overly busy patterns or clashing colors. Avoid using backdrops that compete with your dish for attention – instead, opt for simple, complementary colors that let your culinary masterpiece shine. Trust me, I’ve learned this the hard way, and it makes all the difference in capturing that perfect shot.
How can I ensure that my backdrop complements the colors and textures of my baked goods?
To ensure your backdrop complements your baked goods, consider the colors and textures you’re working with. For example, a warm, wooden backdrop can enhance the earthy tones of a crusty sourdough, while a soft, pastel background can make delicate macarons pop. Experiment with different materials and hues to find the perfect harmony.
Are there any specific backdrop materials or styles that are particularly well-suited for capturing high-quality images of bread or pastries?
For capturing high-quality images of bread or pastries, I swear by natural textures like reclaimed wood, vintage doors, or even distressed stone. These materials add warmth and depth to your photos, echoing the rustic charm of a freshly baked loaf. Plus, they provide a beautiful contrast to the soft, fluffy textures of pastries.