I still remember the day I realized that not all chocolate is created equal, especially when it comes to best types of chocolate for baking. As a baking consultant with a decade of experience in managing a test kitchen, I’ve seen my fair share of disappointing bakes that could have been saved with a better understanding of chocolate. The common myth that any type of chocolate will do is a recipe for disaster, and I’m here to tell you that it’s just not true. The right chocolate can elevate your bakes from mediocre to sublime, and it’s time to separate fact from fiction.
In this article, I’ll share my no-nonsense approach to selecting the best types of chocolate for baking, gleaned from years of rigorous testing and experimentation. You’ll learn how to choose the perfect chocolate for your needs, whether you’re a beginner or an experienced baker. I’ll cut through the marketing hype and give you practical advice on what to look for in a high-quality chocolate, and how to get the most out of it in your bakes. By the end of this guide, you’ll be equipped with the knowledge to make informed decisions and take your baking to the next level.
Table of Contents
- Guide Overview: What You'll Need
- Step-by-Step Instructions
- Best Types of Chocolate for Baking
- Unlocking the Secrets of Exceptional Chocolate Baking: 5 Expert Tips
- Key Takeaways for the Discerning Baker
- The Chocolate Connoisseur's Mantra
- Conclusion: Crafting the Perfect Bake with the Right Chocolate
- Frequently Asked Questions
Guide Overview: What You'll Need
Total Time: 1 hour 15 minutes
Estimated Cost: $10 – $30
Difficulty Level: Easy
Tools Required
- Double Boiler (or a heatproof bowl)
Supplies & Materials
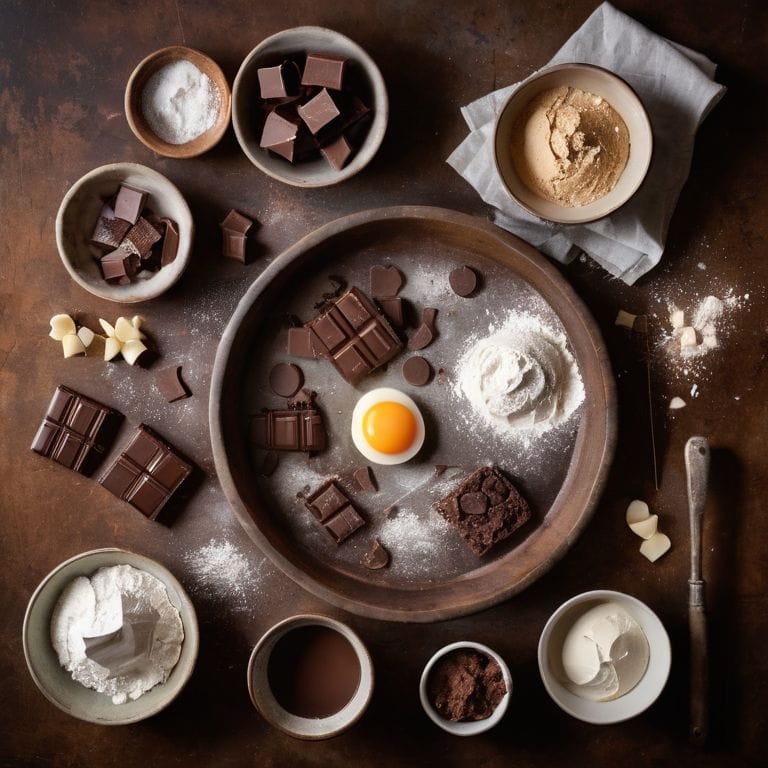
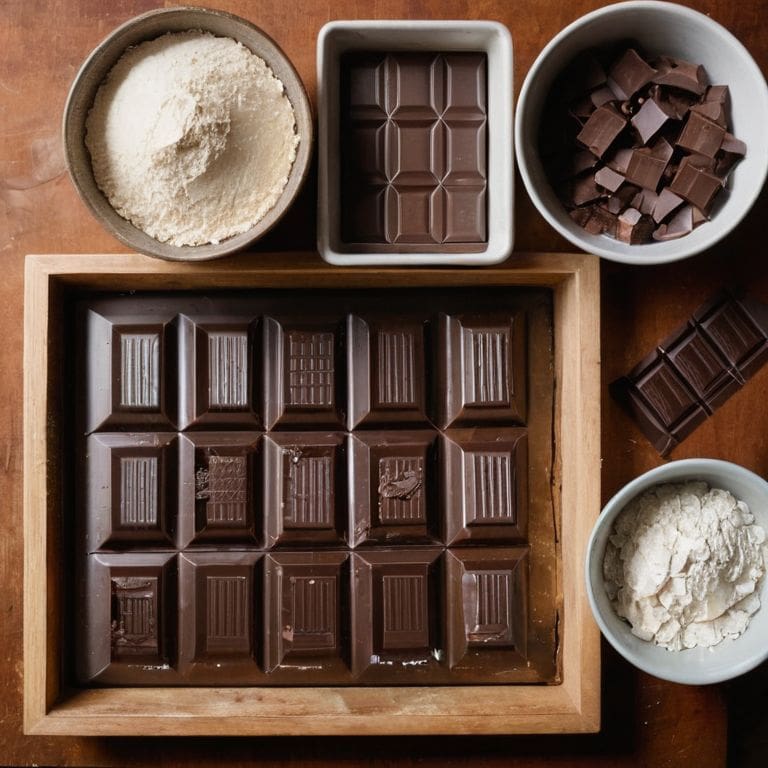
- Dark Chocolate at least 70% cocoa solids
- Milk Chocolate for sweeter recipes
- White Chocolate for unique flavor combinations
- Semisweet Chocolate Chips for cookies and muffins
- Cocoa Powder for intense chocolate flavor
Step-by-Step Instructions
- 1. First, let’s start with the foundation of any great chocolate-based bake: understanding the different types of chocolate. I’ve spent years perfecting my croissant recipe, and I can tell you that using the right type of chocolate makes all the difference. You’ll want to familiarize yourself with dark, milk, and white chocolate, as well as their various cocoa percentages. It’s essential to note that higher cocoa percentages typically result in a richer, more intense flavor.
- 2. Next, you’ll want to invest in quality chocolate products. I’m not talking about the cheap stuff you find in most supermarkets; I’m talking about chocolate that’s been carefully crafted to provide the best flavor and texture. Look for chocolate with high cocoa content, minimal ingredients, and a smooth, even finish. I’ve got a spreadsheet ranking my favorite chocolate brands, and I can tell you that it’s worth doing your research to find the best.
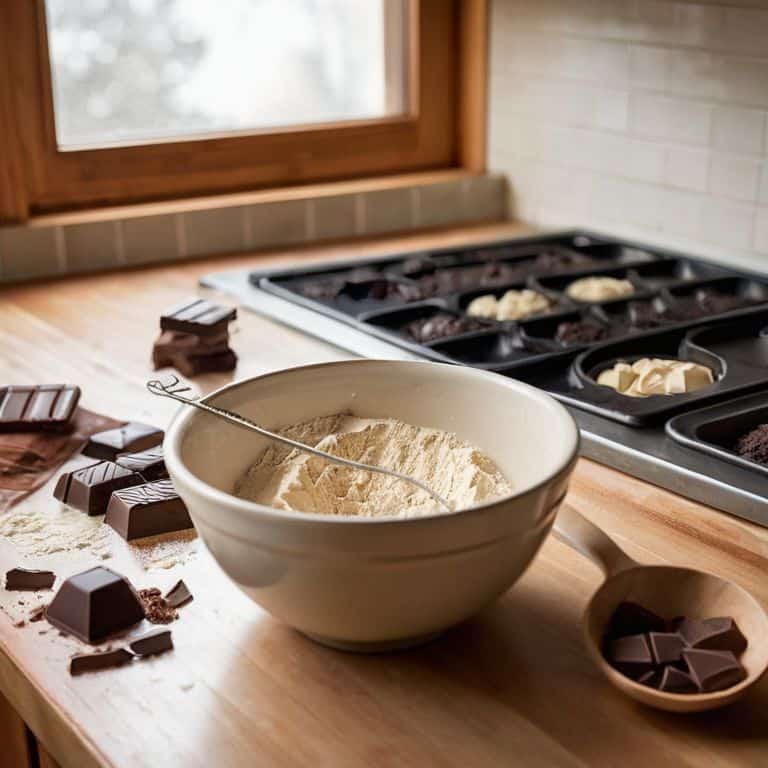
- 3. Now that you’ve got your chocolate, it’s time to prepare it for baking. This means chopping, grating, or melting your chocolate to the right consistency. I like to use a combination of chopping and grating to get a mix of textures in my bakes. Be careful not to overheat your chocolate, as this can cause it to seize up and become unusable.
- 4. With your chocolate prepared, it’s time to choose the right recipe. I’ve developed and tested hundreds of recipes over the years, and I can tell you that the right recipe makes all the difference. Look for recipes that complement the type of chocolate you’re using, and don’t be afraid to experiment with different flavor combinations. I’ve found that pairing chocolate with complementary flavors like nuts, fruit, or spices can elevate your bakes to the next level.
- 5. Once you’ve chosen your recipe, it’s time to start baking. This is where the magic happens, and your carefully selected and prepared chocolate comes together with other ingredients to create something truly special. I like to use my vintage stand mixers to get the job done, as they provide a level of precision and control that’s hard to match with modern machines. Remember to keep an eye on your bakes as they cook, as the right level of doneness can make all the difference in the final product.
- 6. As your bakes cool, it’s time to taste and adjust. This is where you get to experience the fruits of your labor and make any necessary adjustments to your recipe. I like to keep a detailed record of my bakes, including notes on flavor, texture, and overall performance. This helps me refine my recipes over time and ensures that I’m always producing the best possible results.
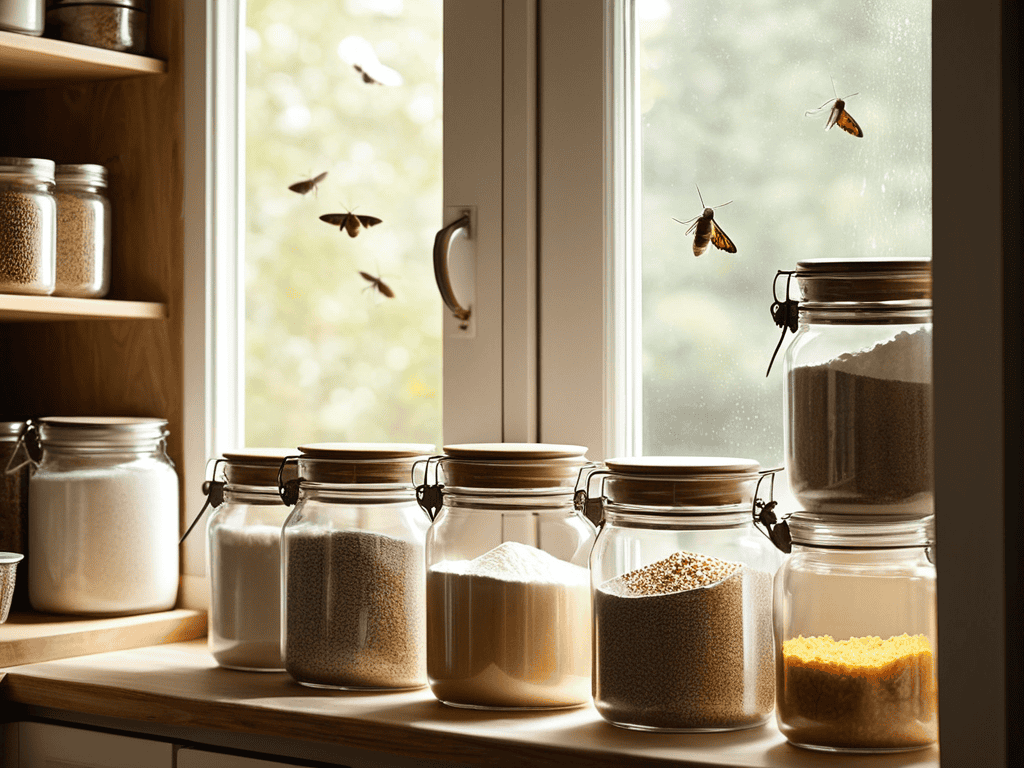
- 7. Finally, it’s time to store your bakes and keep them fresh for as long as possible. I’ve found that proper storage is essential for maintaining the quality of your bakes, and I always recommend using airtight containers or zip-top bags to keep things fresh. With the right storage and a bit of practice, you’ll be able to enjoy your delicious chocolate bakes for days to come.
Best Types of Chocolate for Baking
When it comes to dark chocolate substitution, I’ve found that it’s all about balance. You can’t just swap out one type of chocolate for another without considering the flavor profile and texture. For instance, if a recipe calls for milk chocolate, using a dark chocolate with a high cocoa content can result in a completely different taste experience. To achieve the best results, I recommend experimenting with small batches to find the perfect substitution.
Baking with cocoa nibs is another great way to add depth and complexity to your treats. These small pieces of cocoa beans have a unique texture and flavor that can elevate even the simplest of recipes. I’ve had great success using cocoa nibs in chocolate chip cookie variations, where they add a nice crunch and a burst of flavor. When working with cocoa nibs, it’s essential to understand the melting technique, as they can be quite temperamental.
In my experience, the quality of the cocoa powder can make or break a recipe. That’s why I always look for best cocoa powder brands that offer a rich, intense flavor. Whether you’re making a classic cake or a batch of milk chocolate vs dark chocolate treats, the right cocoa powder can make all the difference. By investing in high-quality ingredients and mastering techniques like chocolate melting, you’ll be well on your way to creating truly exceptional baked goods.
Dark Chocolate Substitution Secrets
When it comes to dark chocolate substitution, I’ve found that a little experimentation can go a long way. If a recipe calls for a specific percentage of cocoa solids, don’t be afraid to try swapping it out with something similar. For example, if a recipe requires 70% dark chocolate, you can often get away with using 65% or 75% instead. The key is to understand how the different percentages will affect the final flavor and texture of your baked goods.
In my test kitchen, I’ve developed a handy substitution chart that helps me navigate these nuances. By considering factors like sugar content, cocoa butter percentage, and flavor profile, I can confidently substitute one type of dark chocolate for another. It’s all about finding that perfect balance, and with a little practice, you’ll be making like-for-like substitutions like a pro.
Milk vs Dark Chocolate Baking
When it comes to milk vs dark chocolate baking, the choice ultimately depends on the desired flavor profile. Milk chocolate adds a sweeter, creamier taste, while dark chocolate provides a richer, more intense flavor. I’ve found that milk chocolate is ideal for baked goods like cakes and cookies, where a milder flavor is preferred. On the other hand, dark chocolate is perfect for brownies and truffles, where its bold flavor can shine.
In my experience, the key to successfully using either type of chocolate is to balance its flavor with other ingredients. For example, pairing dark chocolate with nuts or espresso can enhance its depth, while combining milk chocolate with vanilla or caramel can create a smoother taste. By understanding how to harness the unique characteristics of each, you can create baked goods that are truly exceptional.
Unlocking the Secrets of Exceptional Chocolate Baking: 5 Expert Tips
- Always opt for high-cocoa-content chocolate for deeper, richer flavors in your baked goods
- Understand the role of sugar in your chocolate: it’s not just about sweetness, but also about texture and balance
- Experiment with different types of milk in your chocolate recipes to find the perfect complement to your cocoa
- Don’t underestimate the power of resting time: letting your chocolate-based dough or batter sit can greatly enhance flavor development
- Invest in high-quality chocolate storage to preserve the integrity and freshness of your cocoa – it’s worth every penny for the serious baker
Key Takeaways for the Discerning Baker
I’ve found that investing in high-quality chocolate is crucial for achieving professional-grade baked goods, and it’s worth noting that some of the best types of chocolate for baking are often overlooked in favor of more popular brands
Understanding the nuances of dark chocolate substitution and the differences between milk and dark chocolate in baking can elevate your creations from good to exceptional, and I’ve developed a set of guidelines to help you make informed decisions
By applying the principles outlined in this guide, including my top picks for baking chocolate and expert tips for working with different types of chocolate, you’ll be well on your way to creating truly unforgettable treats that will impress even the most discerning palates
The Chocolate Connoisseur's Mantra
When it comes to baking, the type of chocolate you choose is not just a matter of taste, but a testament to your dedication to craftsmanship – settle for nothing less than the best, and your pastries will be the proof.
David Grant
Conclusion: Crafting the Perfect Bake with the Right Chocolate
As I wrap up this journey through the world of chocolate for baking, it’s clear that understanding the nuances of chocolate types is crucial for achieving that perfect bake. From the depth of _dark chocolate_ to the richness of _milk chocolate_, each has its place and purpose. By mastering the art of choosing the right chocolate for your recipe, you’re not just adding flavor, you’re elevating the entire baking experience. Whether you’re a seasoned baker or just starting out, remembering that _quality matters_ and investing in the good stuff will make all the difference in your creations.
So, the next time you’re in the kitchen, surrounded by the tools of your craft and the promise of a new recipe, I hope you’ll remember the power of exceptional ingredients. Baking is not just about following a recipe; it’s about creating something that brings joy, comfort, and love to those who taste it. With the right chocolate, you’re not just baking – you’re crafting moments, and that’s a truly _sweet_ reward.
Frequently Asked Questions
What are the best cocoa percentages for baking different types of desserts?
For baking, I swear by specific cocoa percentages. For cakes and cookies, 30-40% is ideal, while brownies and truffles demand 60-70%. For a deeper flavor, I use 80-90% in sauces and glazes. It’s all about balance – and I’ve got the data to back it up.
How do I store chocolate to preserve its flavor and texture for optimal baking results?
For optimal flavor and texture, I store chocolate in a cool, dry place, away from direct sunlight. I recommend using airtight containers to maintain humidity control, keeping dark and milk chocolates separate to prevent flavor transfer. This simple step ensures your chocolate stays fresh and ready for baking.
Can I substitute high-end chocolate with more affordable options without sacrificing the quality of my baked goods?
While I’m a firm believer in using high-quality chocolate, I’ve found that some affordable options can be decent substitutes. Look for chocolate with high cocoa content and minimal additives. For example, a decent dark chocolate bar with 70% cocoa solids can work in a pinch, but be aware that flavor and texture may vary slightly.