I still remember the first time I tried how to use stencils with royal icing on one of my cakes – it was a game-changer. The precision and elegance it added to my design was unparalleled. However, I’ve often heard people say that working with stencils and royal icing is too complicated, or that it’s only for experienced cake decorators. I’m here to tell you that’s just not true. With the right techniques and a little practice, anyone can master the art of using stencils with royal icing to create stunning, professional-looking cakes.
In this article, I’ll be sharing my personal tips and tricks for how to use stencils with royal icing to take your cake decorating skills to the next level. I’ll walk you through the process step-by-step, from preparing your stencil and royal icing to achieving a smooth, even finish. You’ll learn how to choose the right stencil design for your cake, how to mix the perfect consistency of royal icing, and how to troubleshoot common issues that may arise. By the end of this guide, you’ll have the confidence and skills to create beautiful, intricate designs on your cakes using stencils and royal icing.
Table of Contents
Guide Overview: What You'll Need
Total Time: 1 hour 15 minutes
Estimated Cost: $10 – $30
Difficulty Level: Easy
Tools Required
- Piping bag (with small round tip)
- Turntable (optional)
- Offset spatula (for smoothing icing)
- Toothpicks (for stabilizing stencils)
Supplies & Materials
- Royal icing (in various colors)
- Stencils (made of plastic, metal, or acetate, in various designs)
- Wax paper (or parchment paper, for lining surfaces)
- Food-grade tape (for securing stencils to surfaces)
- Icing smoothers (or small, damp brushes, for removing excess icing)
Step-by-Step Instructions
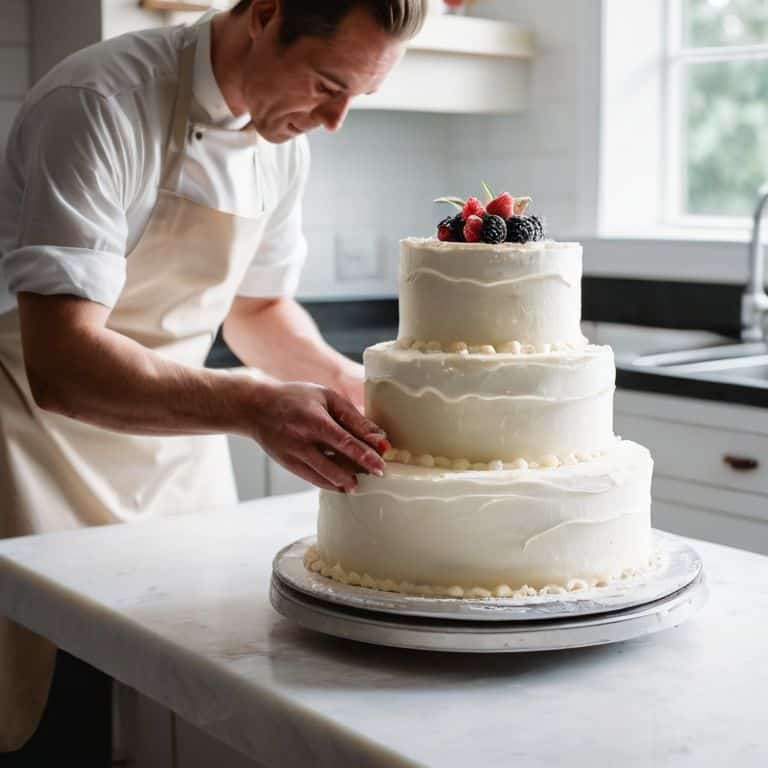
- 1. To start, gather your tools and materials, including your stencil of choice, royal icing, a piping bag, and a turntable or cake stand to display your masterpiece. Make sure your workspace is clean and dry, as any moisture can affect the quality of your royal icing.
- 2. Next, prepare your royal icing by mixing it to the right consistency – you want it to be thick enough to hold its shape, but still pipable. If you’re new to working with royal icing, don’t worry if it takes a few tries to get it just right. I like to think of it as a sculptural medium, waiting for you to bring your vision to life.
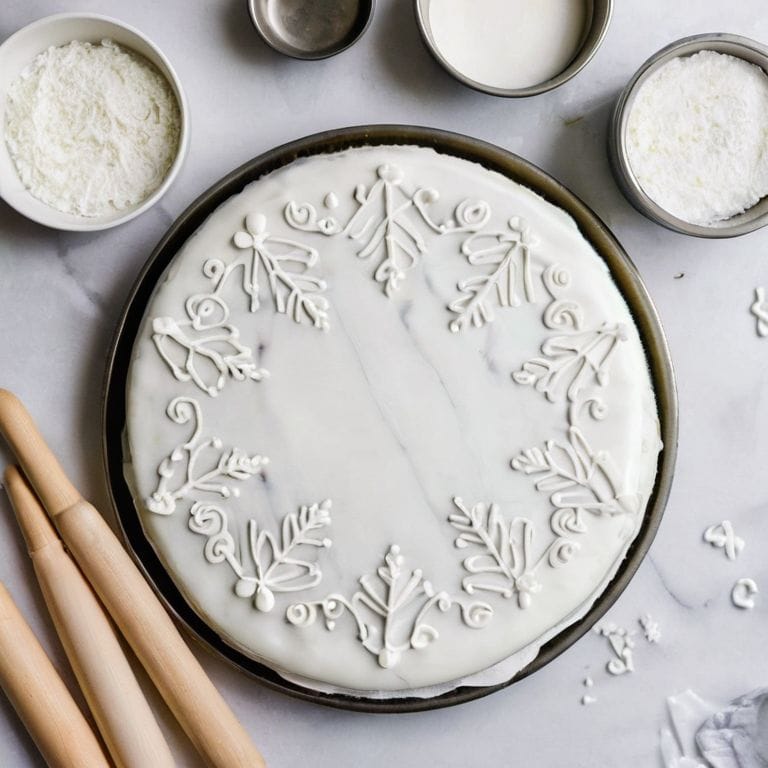
- 3. Now it’s time to place your stencil on the cake. For best results, use a small amount of shortening or piping gel to secure the stencil to the cake, making sure it’s centered and even. This will help prevent the royal icing from seeping under the edges of the stencil and give you a crisp, clean design.
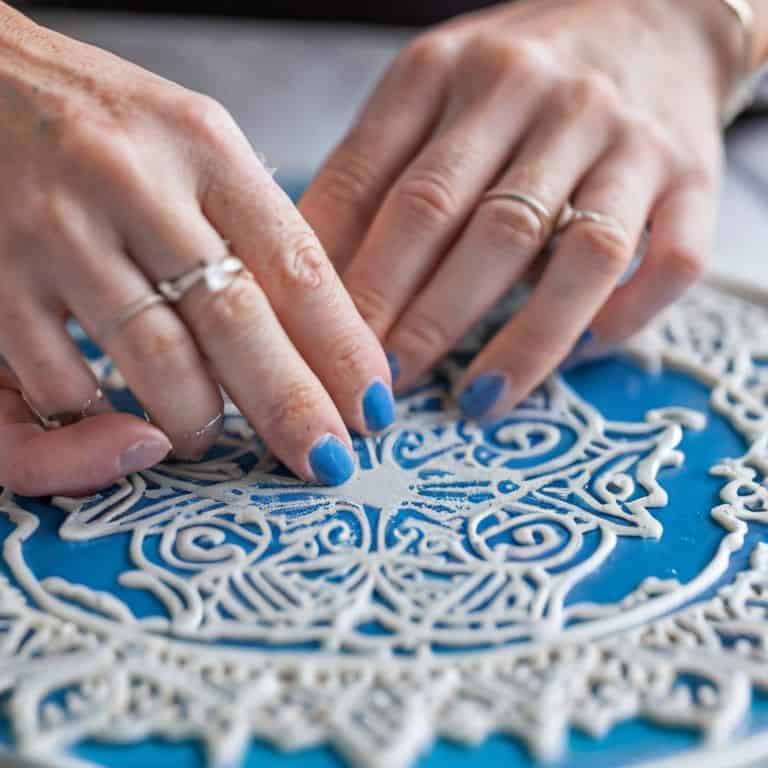
- 4. With your stencil in place, fill a piping bag with your prepared royal icing and pipe a steady stream onto the design. Start from the outside and work your way in, using gentle, consistent pressure to fill in the details. Don’t worry if it gets a bit messy – we can refine the edges later.
- 5. Once you’ve filled in the entire design, carefully remove the stencil to reveal your handiwork. If there are any imperfections or smudges, now is the time to fix them. Use a small paintbrush or a toothpick to gently remove any excess royal icing and smooth out the edges.
- 6. To add an extra touch of elegance, experiment with layering different colors or textures of royal icing. This can add depth and dimension to your design, making it truly unique and eye-catching. Just be sure to let each layer dry completely before adding the next, to prevent the colors from bleeding or becoming muddy.
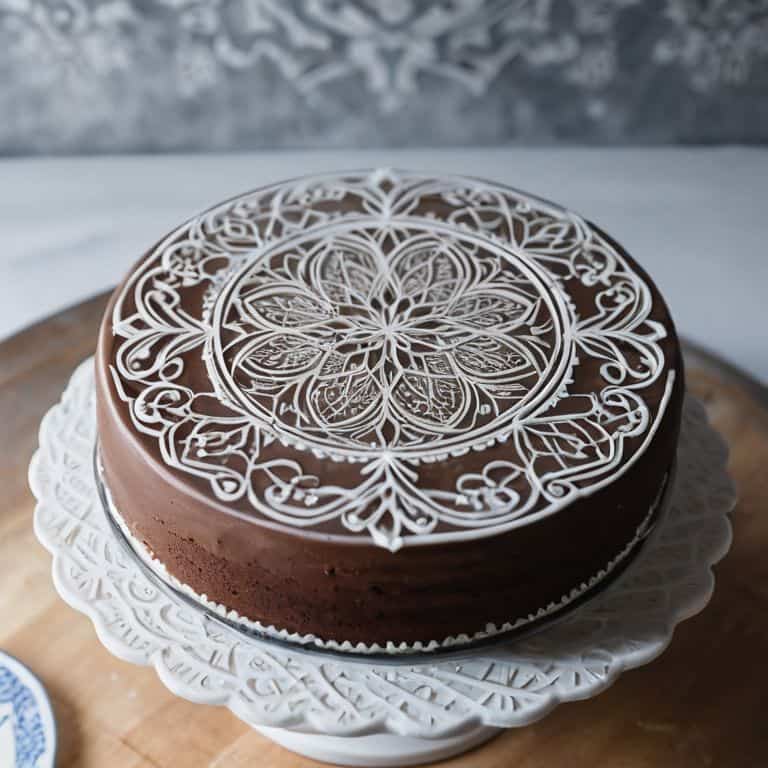
- 7. Finally, step back and admire your finished masterpiece. Take a moment to appreciate the intricate details and beautiful patterns you’ve created using your stencil and royal icing. With a little practice, you’ll be creating stunning works of art that are sure to impress friends and family alike.
Mastering Stencil Magic
As I delve deeper into the world of stencil magic, I want to share with you some essential tips for achieving flawless designs. One crucial aspect is mastering the royal icing consistency for stenciling, which can make all the difference in your final result. When the icing is too thin, it can be difficult to control, while icing that’s too thick may not spread evenly. Finding that perfect balance is key to creating stunning, intricate designs.
When it comes to stencil design ideas, the possibilities are endless. I love experimenting with different patterns and themes, especially when it comes to decorating cookies. For a more dramatic effect, you can even try using an airbrush with royal icing stencils to add subtle shading and depth to your designs. This technique can elevate your creations from simple decorations to true works of art.
To ensure your stenciled designs turn out perfectly, it’s also important to be mindful of common mistakes with royal icing stencils. One frequent error is applying too much icing, which can lead to a messy, uneven finish. To avoid this, make sure to scrape off excess royal icing gently but firmly, allowing the design to set before handling. With practice and patience, you’ll be well on your way to mastering the art of stencil magic and creating breathtaking decorations that showcase your unique style.
Avoiding Common Stencil Mistakes
As I guide you through the world of stenciling with royal icing, I want to share some common pitfalls to watch out for. One of the most frequent mistakes is applying too much royal icing, which can cause it to bleed under the stencil, resulting in blurry edges. To avoid this, gently spread a small amount of icing onto the stencil, making sure to cover the entire design. Another mistake is not allowing the icing to set properly before removing the stencil, which can lead to smudging and distortion.
By being mindful of these potential errors, you’ll be able to achieve crisp, clean lines and intricate details that will elevate your cake designs to the next level. Remember, practice makes perfect, so don’t be discouraged if it takes a few attempts to get the hang of it – with patience and attention to detail, you’ll be creating stunning stenciled masterpieces in no time.
Royal Icing Consistency Secrets
To truly master stencil magic, it’s essential to understand the importance of royal icing consistency. I like to think of it as the backbone of my designs – it can make or break the overall effect. When working with stencils, you want your royal icing to be smooth and pliable, yet firm enough to hold its shape. I achieve this by adjusting the consistency of my icing to a perfect balance between thick and thin. It’s a delicate dance, but one that’s worth mastering.
By getting the consistency just right, you’ll be able to achieve crisp, clean lines and intricate details that will take your designs to the next level. I often compare it to watercolor painting – just as the right brushstroke can make all the difference, the right royal icing consistency can elevate your stencil work from good to breathtaking.
Unlocking Stencil Perfection: 5 Essential Tips
- Choose the right royal icing consistency: it should be thick enough to hold its shape, but still flow smoothly through the stencil
- Select stencils that complement your cake’s design: from delicate florals to geometric patterns, the right stencil can elevate your cake from ordinary to extraordinary
- Experiment with different stencil materials: from plastic to metal, each material can produce unique effects and textures
- Pay attention to stencil placement: consider the rule of thirds and balance when positioning your stencil to create a visually stunning design
- Don’t be afraid to layer and combine stencils: mixing and matching different patterns and designs can add depth and interest to your cake, making it a true showstopper
Bringing It All Together: 3 Key Takeaways
I’ve learned that the right royal icing consistency is crucial – it should be smooth, yet hold its shape, much like the delicate petals on my favorite watercolor flowers
Mastering the art of stenciling with royal icing takes patience and practice, but with my step-by-step guide, you’ll be well on your way to creating stunning cake designs that showcase your unique style
Remember, the perfect stencil design is all about balance and harmony – don’t be afraid to experiment and find the look that works best for you and your cake, and don’t forget to choose a beautiful cake stand to showcase your masterpiece
The Art of Stenciling
With stencils and royal icing, the possibilities are endless, but it’s the delicate balance between precision and creativity that turns a simple design into a masterpiece, reminding us that the true magic lies not in the tools, but in the gentle touch of the artist’s hand.
Chloé Dubois
Embracing the Art of Stencil Magic

As we conclude our journey through the world of stencils and royal icing, let’s recap the essential elements that will elevate your cake decorating skills. We’ve covered the step-by-step guide to using stencils with royal icing, and dived into the secrets of mastering stencil magic, including the importance of royal icing consistency and avoiding common mistakes. By grasping these fundamentals, you’ll be well on your way to creating stunning, professional-looking cakes that showcase your unique style and flair.
Now, as you embark on your own stencil decorating adventures, remember that the true beauty of this art form lies in its endless possibilities. Don’t be afraid to experiment, push boundaries, and make mistakes – for it’s in these moments of creative freedom that you’ll discover your true potential and develop a style that’s uniquely yours. With stencils and royal icing as your tools, the world of cake decorating is yours to transform and inspire.
Frequently Asked Questions
What is the ideal thickness for royal icing when using stencils to achieve crisp designs?
For crisp stencil designs, I aim for a royal icing consistency that’s similar to thin honey. If you drag a spatula through it, it should leave a trail that takes about 10 seconds to disappear. This thickness allows for smooth, even flow through the stencil, resulting in sharp, defined edges and intricate details.
How do I prevent royal icing from bleeding under the stencil and ruining my design?
To prevent royal icing from bleeding under the stencil, make sure it’s the right consistency – not too thin. I like to use a thicker icing for stenciling, almost like toothpaste. Also, gently tap out any air bubbles and use a small offset spatula to spread the icing evenly, applying gentle pressure. This should help keep your design crisp and clean.
Can I reuse stencils with royal icing, or is it best to use a new one for each cake to ensure cleanliness and precision?
While it’s technically possible to reuse stencils with royal icing, I always recommend using a new one for each cake to ensure cleanliness and precision. Royal icing can be quite stubborn to clean, and even the tiniest leftover bits can affect the design. Trust me, the extra cost is worth it for the flawless finish and peace of mind!