As I sit amidst my watercolor paintings and half-finished cake designs, I often think about the myths surrounding a guide to making a simple sugar rose. Many believe it’s a tedious, impossible task, reserved for the most skilled decorators. But I’m here to tell you that’s just not true. With the right techniques and a bit of patience, anyone can create a stunning sugar rose that elevates their cake from ordinary to extraordinary. I’ve seen it time and time again in my own journey, from visiting botanical gardens for inspiration to collecting unique cake stands that showcase my creations.
In this article, I promise to share my honest, no-fuss approach to crafting the perfect sugar rose. You won’t find any overly complicated instructions or unrealistic expectations here. Instead, I’ll guide you through a step-by-step process that’s both easy to follow and fun to execute. By the end of this practical guide, you’ll be equipped with the skills and confidence to create your own beautiful sugar roses, and I just can’t wait to see what you’ll create! Whether you’re a beginner or an experienced decorator, my goal is to inspire you to think of sugar and buttercream as versatile mediums for artistic expression.
Table of Contents
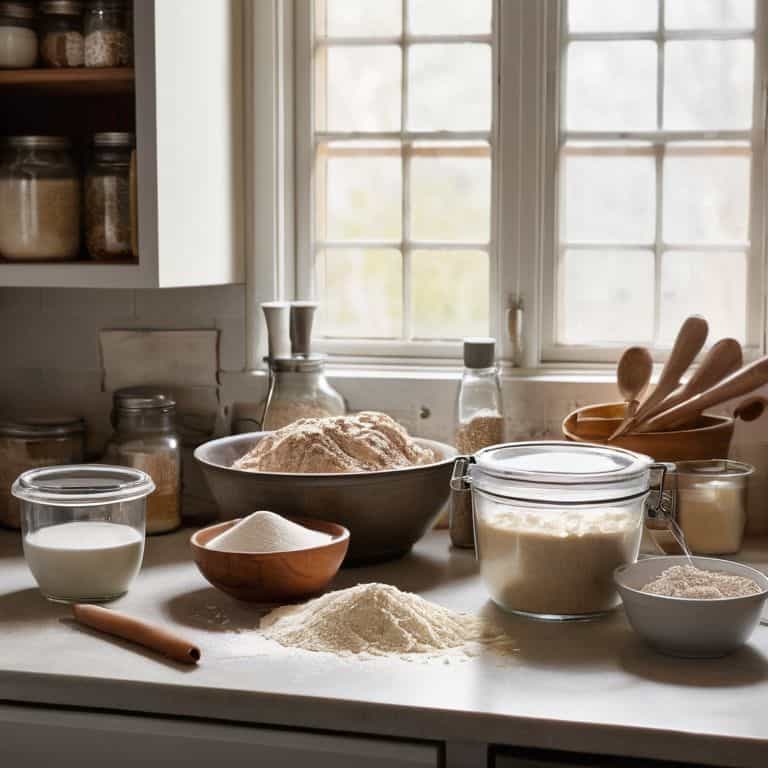
Guide Overview: What You'll Need

Total Time: 1 hour 15 minutes
Estimated Cost: $10 – $20
Difficulty Level: Easy
Tools Required
- Piping bag (with a small round tip)
- Wax paper (for shaping the rose)
- Scissors (for trimming excess sugar paste)
- Rolling pin (for thinning out the sugar paste)
- Shaping tools (e.g., toothpicks, skewers, or a modeling tool)
Supplies & Materials
- Granulated sugar
- Water
- Food coloring (optional)
- Gelatin
- Corn syrup
Step-by-Step Instructions
- 1. To start crafting our simple sugar rose, we need to prepare our sugar paste, also known as gum paste or fondant. This is the medium that will bring our rose to life, so it’s essential to get it just right. I like to use a high-quality, store-bought fondant and then knead it until it becomes pliable and easy to work with.
- 2. Next, we’ll divide our sugar paste into smaller portions, as we’ll be working with one portion at a time to create the individual rose petals. It’s crucial to keep the unused portions wrapped tightly in plastic wrap to prevent them from drying out. For a simple rose, we’ll need about 5-7 petals, depending on the size we’re aiming for.
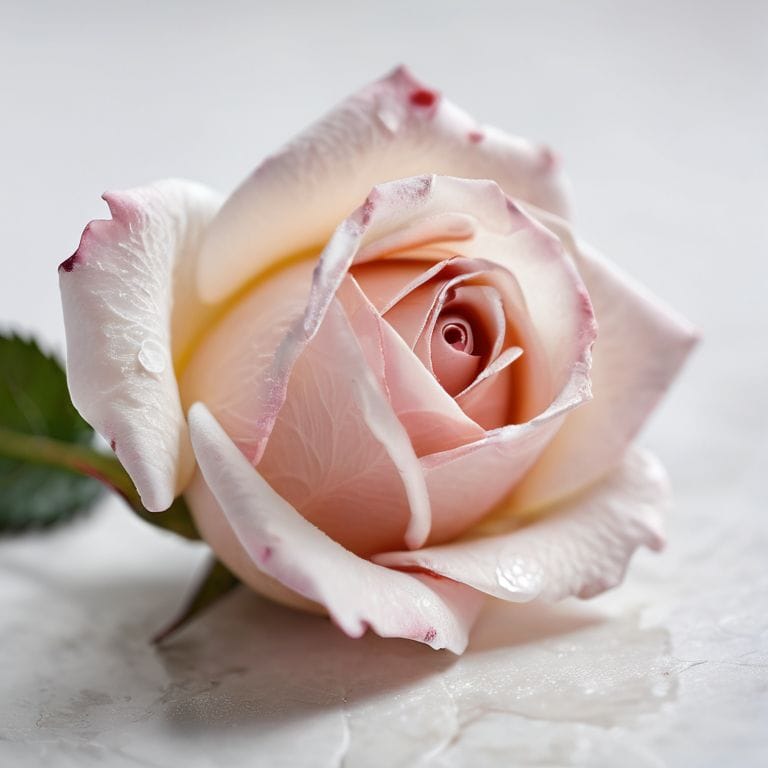
- 3. Now, let’s focus on coloring our sugar paste. For a realistic rose, we want to achieve a soft, natural color. I recommend using a small amount of peach or pink food coloring and kneading it into the sugar paste until the color is evenly distributed. Remember, it’s easier to add more color than it is to remove excess, so start with a small amount and gradually build up to your desired shade.
- 4. With our colored sugar paste ready, it’s time to roll out each portion into thin sheets, about 1/16 inch thick. This will help us achieve the delicate, almost translucent quality of real rose petals. As we roll, make sure to rotate the sugar paste regularly to ensure even thinning and to prevent it from becoming misshapen.
- 5. Using a rose petal cutter or a similar shaped cookie cutter, cut out our petal shapes from the rolled-out sugar paste. You can also use a knife to cut the shapes by hand, but I find that a cutter gives a more uniform and precise shape. Gently press the cutter into the sugar paste, and then lift it up to reveal your perfectly cut petal.
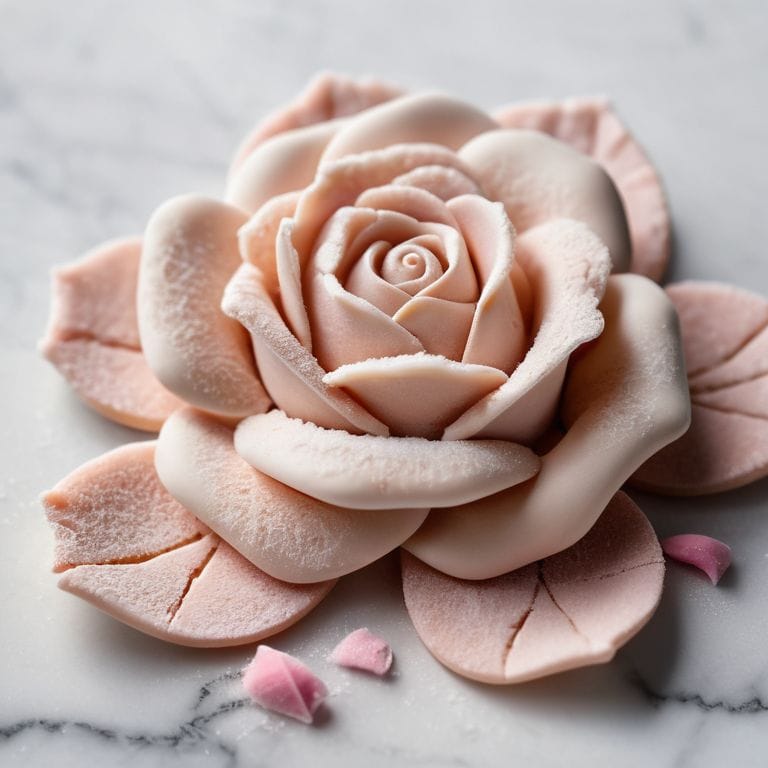
- 6. To create the natural curves and texture of a real rose petal, we’ll use a ball tool or a similar shaping tool to gently press and shape each petal. Start at the center of the petal and work your way outwards, using light, gentle strokes to create the delicate curves and veins of the petal. This step requires patience, but it’s where the magic happens, and our sugar rose begins to look truly lifelike.
- 7. As we shape each petal, we’ll start to assemble our rose. Begin with the center of the rose, using a small amount of edible glue or water to attach the first petal. Then, gradually add more petals around the center, overlapping them slightly as you go to create a natural, layered look. Make sure to leave a small portion of each petal unattached at the base, as this will help us secure the rose to our cake or cake stand later.
- 8. Finally, to add an extra touch of realism to our sugar rose, we can use a small, dry paintbrush to dust the rose with luster dust or shimmer powder. This gives the rose a beautiful, soft sheen that catches the light, making it look even more realistic and appealing. And with that, our simple sugar rose is complete, ready to adorn your next cake or pastry creation.
A Guide to Making Simple Sugar Roses
As I always say, the key to creating stunning sugar roses is in the details of sugar paste molding techniques. It’s essential to understand how to work with the sugar paste to achieve the desired shape and texture. One of my favorite tips is to use a combination of edible flower decoration ideas to add some extra flair to your design. This can include using different colors, shapes, and sizes of petals to create a unique and eye-catching look.
When it comes to shaping the petals, I find that sugar rose petal shaping is an art form in itself. It requires patience, precision, and a gentle touch to achieve the perfect curve and delicate edge. To help you achieve this, I recommend using a gumpaste color mixing guide to ensure that your petals are the perfect shade to complement your cake. By experimenting with different colors and techniques, you can create a truly one-of-a-kind sugar rose that will elevate your cake to new heights.
In terms of design, I’m a big fan of simple sugar flower designs that allow the beauty of the sugar rose to shine through. By keeping the design clean and elegant, you can create a show-stopping cake that’s sure to impress. Remember, the goal is to create a beautiful work of art that’s almost too pretty to eat – almost! With a little practice and patience, you’ll be creating gorgeous sugar roses like a pro, and your cakes will be the talk of the town.
Mastering Gumpaste Color Mixing for Realistic Roses
To achieve a realistic rose, the color of the gumpaste is crucial. I like to think of color mixing as an art form in itself, where a dash of this and a pinch of that can entirely transform the final result. For a classic rose, you’ll want to mix a combination of soft pinks, peaches, and whites. I find that starting with a base color and then gradually adding subtle shades helps to create a natural, ombre-like effect.
When mixing, remember that it’s all about layering and blending. A little tip I like to share is to test your colors on a small, inconspicuous area first, allowing you to adjust the hues without ruining your entire batch of gumpaste. This way, you can ensure your rose petals have that gorgeous, soft dimension that makes them look almost… real.
Unlocking Sugar Paste Molding Techniques
Unlocking Sugar Paste Molding Techniques
As I delve into the world of sugar roses, I’m reminded of the importance of mastering sugar paste molding techniques. To achieve delicate, realistic petals, it’s essential to understand how to manipulate and shape the sugar paste. I like to think of sugar paste as a pliable canvas, waiting to be coaxed into beautiful forms. By applying gentle pressure and using the right tools, you can create intricate details and textures that bring your sugar roses to life.
With practice, you’ll develop a sense of how the sugar paste responds to your touch, allowing you to craft petals that are both delicate and durable. I encourage you to experiment with different molding techniques, such as using veiners or molding tools, to add depth and dimension to your sugar roses. Remember, the key to success lies in patience and attention to detail – with every delicate petal, you’re one step closer to creating a stunning sugar rose that will elevate your cakes to new heights.
Elevating Your Sugar Rose Game: 5 Essential Tips
- Use a turntable to display and work on your sugar rose, allowing you to access all sides easily and ensuring a balanced, symmetrical design
- Experiment with different gumpaste colors and mixing techniques to achieve a realistic, ombre-effect on your rose petals
- Invest in a set of high-quality, sharp tools specifically designed for sugar crafting, as they will make a significant difference in the precision and delicacy of your rose details
- Don’t be afraid to add imperfections and subtle texture to your sugar rose, as these unique touches will give your design a more organic, handmade feel
- Practice, practice, practice – the key to mastering the simple sugar rose is repetition, so don’t be discouraged if your early attempts don’t turn out as expected, and remember to have fun with the process
Key Takeaways for Crafting Simple Sugar Roses
Always start with a well-prepared gumpaste, ensuring it’s pliable and evenly colored, as this foundation is crucial for creating realistic and delicate sugar rose petals
Mastering the technique of gradual layering and shaping is essential, as it allows for the creation of natural, soft curves and textures that bring the sugar rose to life
Remember, practice makes perfect, so don’t be discouraged if your first attempts don’t yield the desired results – with patience, attention to detail, and a gentle touch, you’ll soon be crafting sugar roses that are almost indistinguishable from their real counterparts
The Art of Simplicity
A simple sugar rose is not just a decoration, but a declaration of the beauty that can be found in the delicate details, and the patience that unfolds into a masterpiece.
Chloé Dubois
Bringing Your Sugar Rose to Life
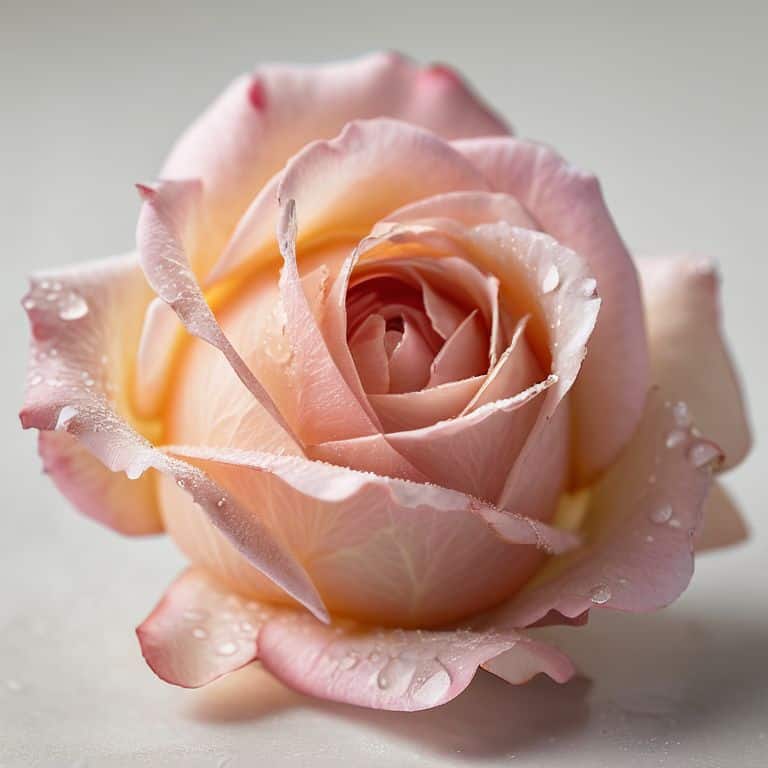
As we conclude this guide to making a simple sugar rose, let’s recap the essential steps we’ve covered: from unlocking sugar paste molding techniques to mastering gumpaste color mixing for realistic roses. These fundamental skills will serve as the foundation for your future sugar flower creations. Remember, the key to crafting a beautiful sugar rose lies in the details, such as the delicate shape of the petals and the subtle color transitions. By practicing patience and precision, you’ll be able to create stunning sugar roses that will elevate any cake to a work of art.
Now that you’ve embarked on this journey to create your own simple sugar rose, I encourage you to experiment and innovate with different colors, shapes, and designs. Don’t be afraid to make mistakes – they can often lead to new and exciting discoveries. As you continue to hone your skills, remember that the true beauty of sugar flower crafting lies in the therapeutic process of creation, and the joy of bringing a delicate, edible work of art to life. Keep pushing the boundaries of what’s possible with sugar and buttercream, and most importantly, have fun!
Frequently Asked Questions
What type of sugar paste is best for creating delicate rose petals?
For delicate rose petals, I swear by gum paste or a combination of fondant and gum paste. The added gum gives the paste a delicate pliability, allowing for thin, realistic petals that can be molded and shaped with ease. Trust me, it makes all the difference in achieving those gorgeous, lifelike rose details!
How do I achieve a natural, soft color transition on my sugar rose?
To achieve a natural, soft color transition on your sugar rose, try layering thin, translucent washes of colored gumpaste. I like to start with a light base tone and gradually build up depth with softer, more muted shades, blending gently as I go. This technique gives my roses a beautifully subtle, ombre-like effect.
Can I use a simple sugar rose as a centerpiece for a larger cake design, or are they better suited as individual decorations?
Absolutely, a simple sugar rose can elevate a larger cake design as a beautiful centerpiece. I love using them as a focal point, surrounded by delicate greenery or subtle piping, to create a stunning visual effect. It’s all about balance and harmony – the rose adds a touch of elegance, while the surrounding design provides context and depth.