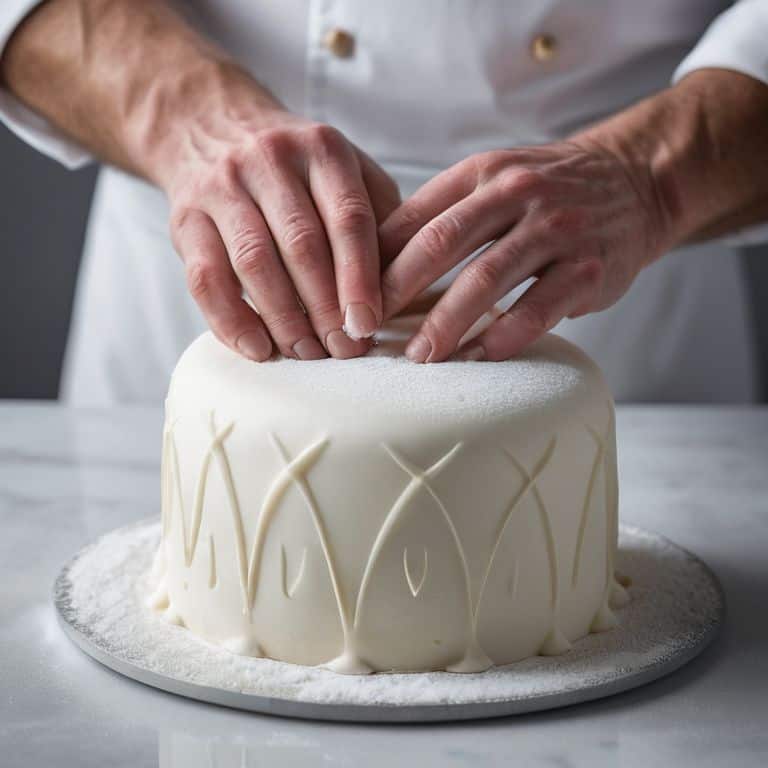
I still remember the first time I attempted to pipe a perfect shell border – it was a disaster. The border was uneven, the peaks were too pointy, and the whole thing looked like it had been piped by a novice. But I was determined to master the technique, and after months of practice, I finally got it just right. The key to success, I found, was not just about the piping technique itself, but about understanding the importance of temperature in achieving the perfect consistency.
In this article, I’ll share my honest, no-hype advice on how to pipe a perfect shell border. I’ll walk you through the exact steps I take to prepare my piping bag, the ideal consistency for the buttercream, and the subtle tricks I use to achieve a smooth, even finish. Whether you’re a beginner or an experienced baker, you’ll learn how to create a flawless French shell border that will elevate your cakes and pastries to the next level. By the end of this guide, you’ll have the confidence and skills to pipe like a pro, and you’ll understand the satisfaction of creating something truly beautiful and delicious.
Table of Contents
Guide Overview: What You'll Need
Total Time: 1 hour 15 minutes
Estimated Cost: $10 – $30
Difficulty Level: Intermediate
Tools Required
- Piping Bag (with round tip)
- Turntable (optional)
- Offset Spatula (for smoothing)
- Measuring Cups (for accurate measurements)
- Food Scale (for precise ingredient weighing)
Supplies & Materials
- Buttercream Frosting (or preferred piping material)
- Piping Gel or Coloring (optional for color)
- Wax Paper (for practice piping)
- Cake or Surface (to pipe the shell border onto)
- Water (for thinning frosting if necessary)
Step-by-Step Instructions
- 1. First, let’s start with the foundation of a perfect shell border: the right consistency of royal icing. I like to think of it as the backbone of our design, providing the structure and stability we need to create something truly beautiful. To achieve this, I recommend using a combination of powdered sugar, egg whites, and a touch of lemon juice, mixed to a smooth and pliable consistency that’s not too stiff, but not too runny either.
- 2. Next, we need to prepare our piping bag and tip. I always say that the quality of your tools is just as important as the quality of your ingredients, so invest in a good piping bag and a round tip that’s specifically designed for creating smooth, rounded borders. Make sure to fit the piping bag with the tip and give it a good twist to prevent any air pockets from forming.
- 3. Now it’s time to fill our piping bag with the royal icing. I like to use a gentle squeezing motion to fill the bag, making sure not to introduce any air into the mixture. This is where patience comes in – take your time and fill the bag slowly, making sure to get every last bit of icing out of the bowl.
- 4. With our piping bag ready, let’s talk about the piping technique. To create a perfect shell border, you’ll want to hold the piping bag at a 90-degree angle to the surface, with the tip just barely touching the surface. Apply gentle pressure to the bag, allowing the icing to flow smoothly and consistently.
- 5. As we start piping, focus on creating a smooth, consistent flow of icing. Don’t worry too much about the shape at this stage – just focus on getting the icing to flow evenly and smoothly. You can always adjust the shape later, but if the icing isn’t flowing correctly, you’ll never get the desired effect.
- 6. Now, let’s talk about the actual shell border design. To create the classic shell shape, you’ll want to move the piping bag in a smooth, arcing motion, applying gentle pressure to the bag as you go. Remember to keep the tip close to the surface and use a light touch – you want to create a delicate, lacy pattern, not a thick, clumsy one.
- 7. As you continue piping, pay attention to the temperature and humidity of your workspace. These factors can affect the consistency and flow of the icing, so make sure you’re working in a cool, dry environment. If the icing starts to get too thin or too thick, adjust your piping technique accordingly – you may need to adjust the pressure or the angle of the piping bag.
- 8. Finally, let’s talk about finishing touches. Once you’ve completed the shell border, take a step back and evaluate your work. You may need to make some adjustments to the shape or the size of the shells, or add some additional details to really make the design pop. Remember, the key to a perfect shell border is attention to detail, so don’t be afraid to take your time and get it just right.
Mastering Shell Borders
As I reflect on my journey to mastering shell borders, I realize that piping bag techniques for beginners are often overlooked. It’s essential to understand that the right consistency is crucial for achieving a smooth, even design. I always tell my students to focus on developing a feel for the piping bag, much like a musician develops a sense of rhythm. With practice, you’ll be able to gauge the perfect pressure to apply, resulting in beautiful, delicate shells.
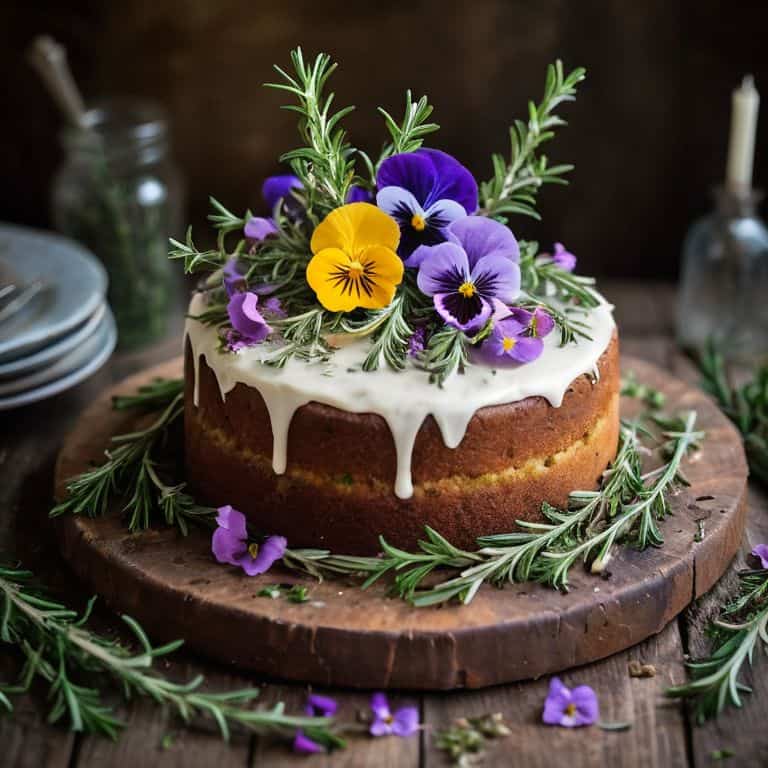
When it comes to shell border design ideas, the possibilities are endless. I encourage my students to experiment with different patterns and techniques, such as varying the size and shape of the shells or incorporating other decorative elements. However, it’s also important to be mindful of common piping mistakes to avoid, such as applying too much pressure, which can result in a messy, uneven border. By paying attention to these details, you’ll be able to create stunning, professional-looking borders that elevate your cakes to the next level.
To achieve tips for smooth buttercream piping, it’s essential to focus on piping consistency for perfect shells. This means ensuring that your buttercream is at the right temperature and consistency, neither too thin nor too thick. With the right consistency, you’ll be able to pipe smooth, even shells that are the perfect finishing touch for your cakes. By mastering these techniques, you’ll be well on your way to creating beautiful, professional-looking desserts that are sure to impress.
Avoiding Common Shell Mistakes
When it comes to piping a perfect shell border, even the smallest misstep can throw off the entire design. I’ve seen it time and time again – a border that’s almost flawless, except for one tiny mistake that draws the eye. To avoid this, I always remind my students to keep their piping bag at room temperature, as cold bags can cause the buttercream to stiffen and pipe unevenly. It’s also crucial to maintain a consistent pressure, as applying too much or too little can result in an uneven border.
By being mindful of these common pitfalls, you’ll be well on your way to creating shell borders that are truly breathtaking. Remember, practice makes perfect, so don’t be discouraged if it takes a few tries to get it just right. With patience and attention to detail, you’ll be piping like a pro in no time.
Piping Bag Secrets Revealed
To truly master the art of shell borders, one must understand the nuances of their piping bag. I always say that a good piping bag is like an extension of your own hand – it needs to feel comfortable, intuitive. The right bag, combined with the perfect consistency of buttercream, can make all the difference. I prefer to use a traditional French piping bag made from cotton, as it allows for a more subtle control over the flow of the buttercream.
When filling my piping bag, I make sure to remove any air pockets, as these can cause unevenness in the shell border. A smooth, consistent flow is essential for achieving that perfect, delicate curve. By paying attention to these small details, you’ll be well on your way to creating shell borders that are truly flawless.
The Art of Perfection: 5 Essential Tips for Piping a Flawless Shell Border
- Piping consistency is key: ensure your buttercream or royal icing is at room temperature and has the right viscosity for smooth, even flow
- Choose the right piping tip: a small, round tip is ideal for creating delicate shell borders, but experiment with different sizes for varying effects
- Control the pressure: apply gentle, consistent pressure to the piping bag to maintain a steady flow and avoid bursts or unevenness
- Temperature matters: a cool, dry environment is crucial for preventing the piped border from melting or becoming too soft, so adjust your workspace accordingly
- Practice, practice, practice: piping a perfect shell border takes time and patience, so don’t be discouraged by initial mistakes – keep trying until you achieve the desired result
Key Takeaways for the Perfect Shell Border
I’ve found that the temperature of my piping bag and the consistency of my royal icing are crucial in achieving a flawless shell border – it’s all about finding that sweet spot
Mastering the right piping technique is essential, and it’s not just about squeezing the bag, but also about controlling the flow and pressure to create smooth, even borders
Practice may not make perfect, but it’s the only way to develop the muscle memory and finesse required to pipe intricate shell borders – don’t be discouraged by initial failures, as they’re an opportunity to refine your technique
The Art of Perfection
A perfect shell border is not just about the piping, it’s about the harmony of texture, temperature, and touch – it’s the culmination of a thousand tiny details that elevate a dessert from mere mortal creations to sublime masterpieces.
Juliette Le Roux
The Perfect Finishing Touch
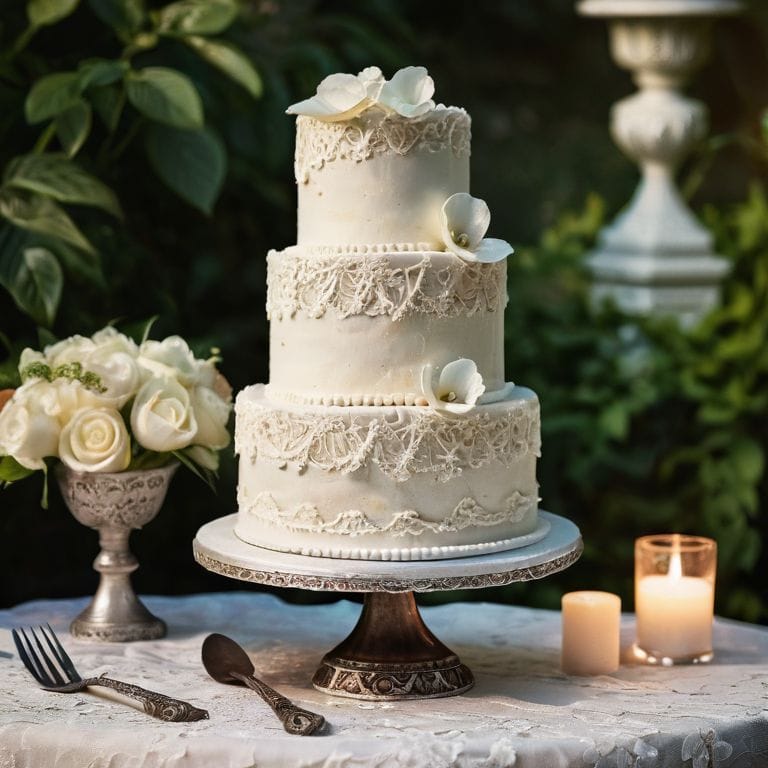
As we conclude our journey to mastering the art of piping a perfect shell border, let’s recap the essential elements that will elevate your pastry game: precision temperature control, mastering the right consistency of your piping bag contents, and understanding the nuances of your piping technique. By combining these skills with patience and practice, you’ll be well on your way to crafting borders that are not only visually stunning but also a testament to your dedication to the craft. Whether you’re a seasoned pastry chef or an enthusiastic home baker, the pursuit of perfection is what drives us to innovate and push beyond the boundaries of what’s thought possible.
So, as you embark on your own shell border journey, remember that it’s the culmination of small, meticulous details that ultimately leads to a truly breathtaking finish. Don’t be afraid to experiment, to push the limits of what you thought was achievable, and most importantly, to trust the process. With every delicate swirl and precision-placed peak, you’re not just decorating a pastry – you’re creating a masterpiece that will leave a lasting impression on all who lay eyes on it.
Frequently Asked Questions
What is the ideal consistency for royal icing when piping a shell border?
For a flawless shell border, your royal icing should have the consistency of thick honey – it should flow smoothly, but hold its shape. Think 20-22 seconds on the flow test. Any thinner, and it’ll be too runny; any thicker, and it won’t pipe evenly. Trust me, I’ve spent years perfecting this ratio, and it’s the key to a beautiful border.
How do I achieve a smooth, rounded shape for each shell in the border?
To achieve a smooth, rounded shape, focus on maintaining a consistent piping pressure and temperature. I always say, ‘temperature is the unsung hero of pastry.’ Ensure your buttercream or ganache is at the ideal temperature, around 22°C to 24°C, and squeeze the piping bag with a gentle, steady touch. Practice makes perfect, so don’t be discouraged if it takes a few tries to get it just right.
Can I use a regular piping bag and tip for shell borders, or is a specialized tip required?
While you can use a regular piping bag and tip, I swear by specialized shell border tips – they make all the difference. The unique shape and size of these tips help create those perfect, delicate curves. Trust me, it’s worth investing in one for professional-looking results.