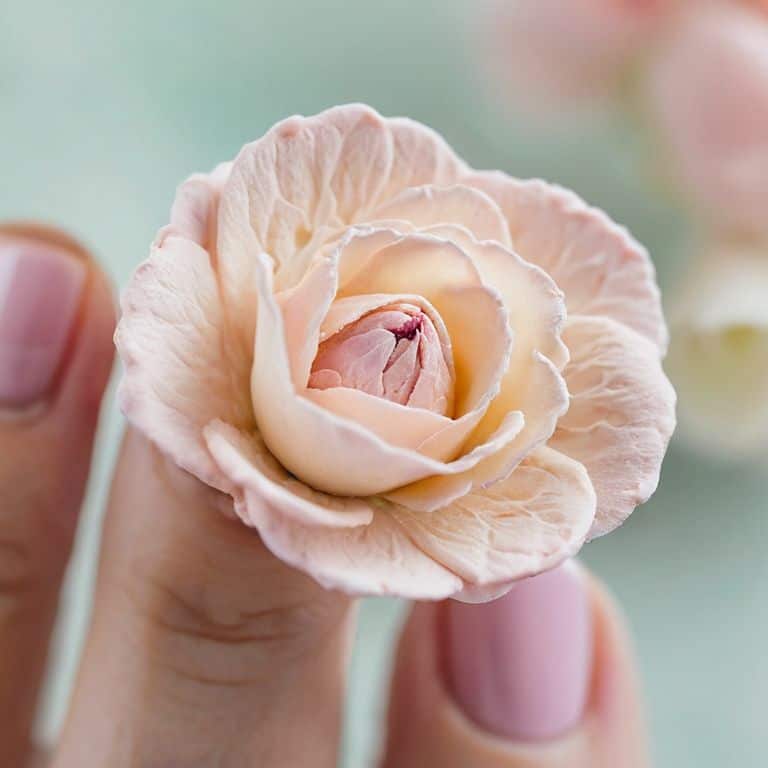
As I sit amidst my collection of unique cake stands, surrounded by the soft, golden light of my studio, I am reminded of the countless times I’ve been asked to share my secrets for creating exquisite buttercream flowers. It’s a question that always brings a smile to my face, because I believe that mastering the art of making these delicate blooms is the key to elevating any cake into a true masterpiece. That’s why I’m excited to share with you a guide to making buttercream flowers, a comprehensive tutorial that will walk you through every step of the process, from preparing the perfect buttercream to crafting intricate, realistic petals.
In this article, I promise to deliver honest, practical advice on how to create stunning buttercream flowers that will take your cake decorating skills to the next level. You’ll learn the techniques I’ve honed over years of practice, from the importance of using high-quality ingredients to the subtle tricks of shaping and coloring your flowers to achieve a lifelike appearance. Whether you’re a beginner or an experienced decorator, my goal is to empower you with the knowledge and confidence to create breathtaking buttercream flowers that will make your cakes truly unforgettable.
Table of Contents
- Guide Overview: What You'll Need
- Step-by-Step Instructions
- A Guide to Making Buttercream Flowers
- Blooming Beauty Essential Flower Piping Techniques for Beginners
- Petals of Perfection Mastering Buttercream Consistency
- Petals of Wisdom: 5 Essential Tips for Crafting Exquisite Buttercream Flowers
- Time to Bloom: 3 Key Takeaways for Creating Stunning Buttercream Flowers
- The Art of Floral Perfection
- Bringing Your Buttercream Flowers to Life
- Frequently Asked Questions
Guide Overview: What You'll Need
Total Time: 2 hours 30 minutes
Estimated Cost: $20 – $40
Difficulty Level: Intermediate
Tools Required
- Piping Bag (with round and star tips)
- Turntable (optional, for display)
- Wax Paper (for practicing flower shapes)
- Offset Spatula (for smoothing and shaping)
- Piping Tool (for creating flower centers)
Supplies & Materials
- Buttercream Frosting (homemade or store-bought)
- Food Coloring (for tinting flowers)
- Flower Nail (for creating flower shapes)
- Parchment Paper (for piping flowers)
- Confectioners Sugar (for dusting work surface)
Step-by-Step Instructions
- 1. To begin our journey into the world of buttercream flowers, let’s start with the basics: preparing our buttercream. This involves mixing and coloring the buttercream to achieve the perfect hue for our flowers. I find that using high-quality food coloring and a mix of butter and shortening helps to create a smooth, pliable buttercream that’s ideal for shaping into petals.
- 2. Next, we need to create our piping bags. Fill each bag with a different color of buttercream, making sure to press out as much air as possible before sealing. This will help prevent air pockets from forming and ruining our delicate flower designs. I like to use a variety of piping tips to achieve different petal shapes and sizes.
- 3. Now it’s time to start building our flowers, and the first step is to create the center of the bloom. Using a small round tip, pipe a small dot of buttercream onto a flower nail or a surface covered in parchment paper. This will serve as the base of our flower and help us build the petals around it.
- 4. With our center in place, we can start adding petals to our flower. Hold the piping bag at a 90-degree angle to the flower nail and squeeze out a small amount of buttercream. Use a gentle twisting motion to shape the buttercream into a petal shape, and then release the pressure to create a soft, delicate edge.
- 5. To add more petals to our flower, simply repeat the process of piping and shaping, moving around the center of the bloom as you go. Remember to vary the size and shape of your petals to create a natural, organic look. I like to use a combination of large and small petals to add depth and visual interest to my flowers.
- 6. Once we’ve added all the petals we want to our flower, it’s time to finish the edges. Using a small amount of buttercream and a toothpick or a small knife, gently shape and smooth out the edges of the petals to create a soft, seamless look. This is where the magic happens, and our buttercream flowers start to look truly realistic.
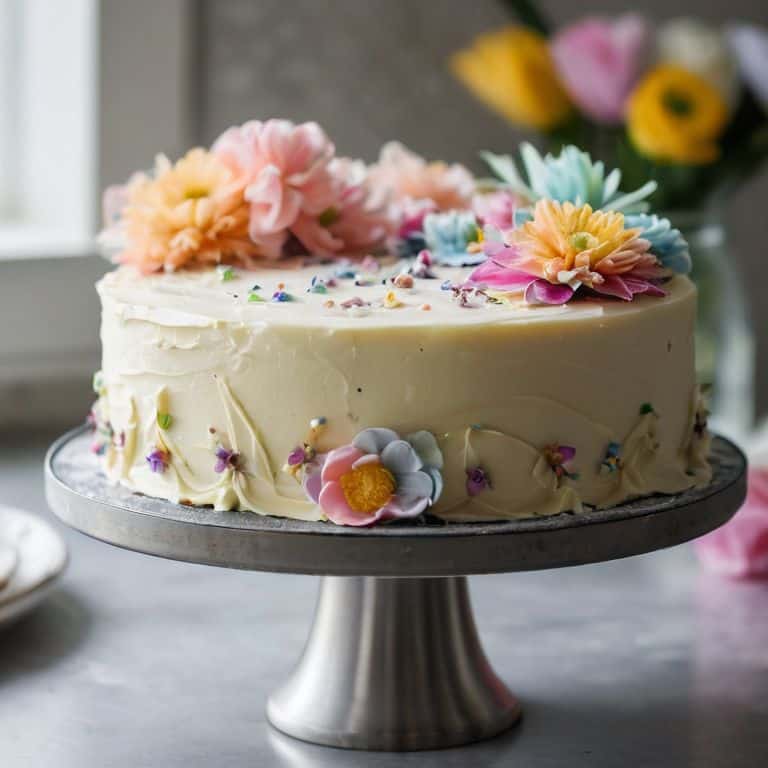
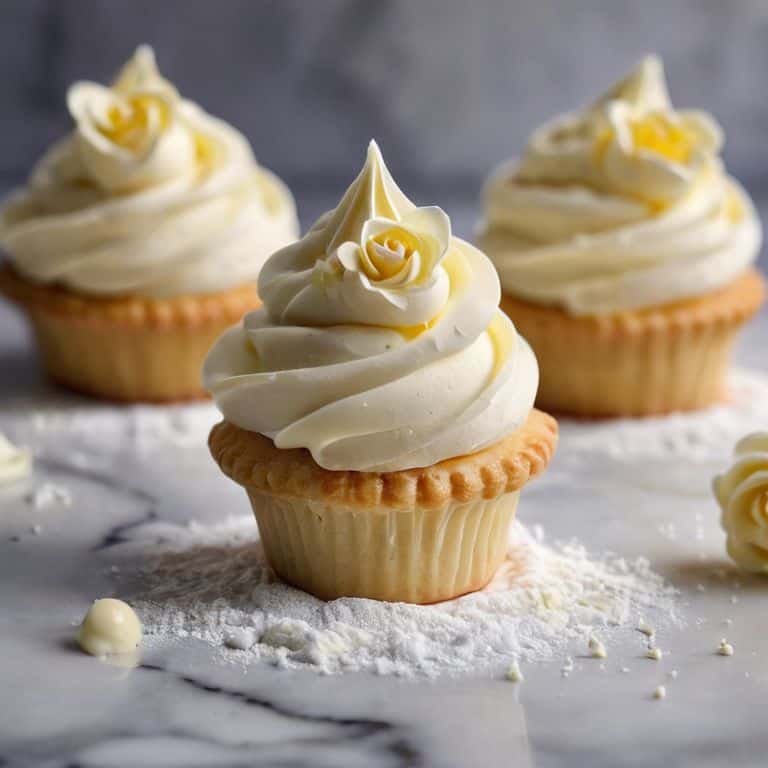
- 7. Finally, to set our flowers in place, we can use a dab of buttercream to attach them to our cake or cake stand. I like to arrange my flowers in a loose, organic pattern, allowing them to spill over the edges of the cake and creating a beautiful, whimsical effect. With a little practice and patience, you’ll be creating stunning buttercream flowers that will elevate your cakes to new heights.
A Guide to Making Buttercream Flowers
As I always say, the key to creating stunning buttercream flowers is all about mastering the basics. One crucial aspect to focus on is buttercream consistency for flowers, as it can make or break the entire design. If the buttercream is too thin, it will be difficult to shape and hold its form, while a thicker consistency can make it challenging to achieve delicate petals. To achieve the perfect consistency, I recommend adjusting the ratio of butter to cream and adding a small amount of powdered sugar to balance it out.
When it comes to coloring buttercream for realistic flowers, I love experimenting with different shades and hues. By adding a touch of food-grade dye, you can create a wide range of colors, from soft pastels to vibrant tones. Remember to start with a small amount of dye and gradually build up the color, as it’s easier to add more than it is to remove excess dye. This technique will help you achieve realistic flower colors that will elevate your cake designs to the next level.
To take your buttercream flowers to new heights, consider combining them with fondant or other decorative elements. Using fondant with buttercream flowers can add an extra layer of texture and visual interest to your designs. Simply shape the fondant into leaves or other shapes and attach them to the cake or flower arrangement using a dab of buttercream or piping gel. This technique will help you create stunning, one-of-a-kind cake designs that are sure to impress.
Blooming Beauty Essential Flower Piping Techniques for Beginners
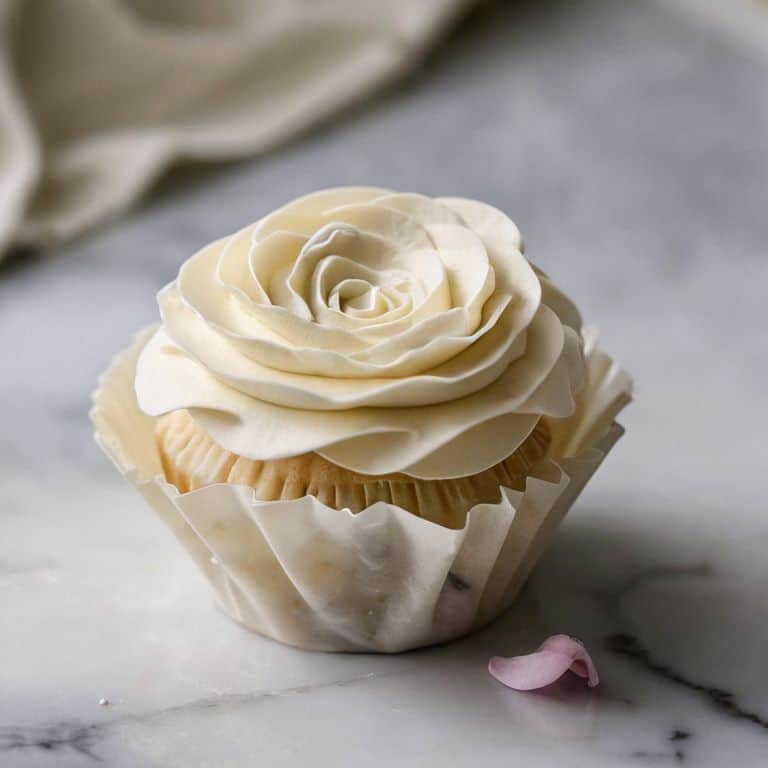
To achieve those delicate, lifelike blooms, it’s essential to master the basics of flower piping. I always start by practicing simple strokes, getting a feel for the consistency of the buttercream and the pressure needed to create smooth, flowing curves. As you become more comfortable, you can experiment with different piping techniques, such as the “cup and fold” method for creating realistic rose petals or the “star tip” for delicate, intricate details.
With a little patience and practice, you’ll be piping gorgeous buttercream flowers in no time. Remember, the key is to keep your movements smooth and deliberate, allowing the buttercream to flow effortlessly from the piping bag. Don’t be afraid to experiment and try new things – it’s all part of the creative process, and I just love seeing the unique touches my students bring to their designs.
Petals of Perfection Mastering Buttercream Consistency
To achieve the perfect petals, it’s essential to master buttercream consistency. I like to think of buttercream as a sculptural medium – it can be molded, shaped, and crafted into exquisite blooms. But before you can start creating, you need to get the consistency just right. For me, that means achieving a smooth, pliable buttercream that’s not too stiff or too soft. I’ve found that the key is to balance the ratio of butter to sugar, and to never overmix.
By getting the consistency spot on, you’ll be able to craft delicate, realistic petals that are the hallmark of beautiful buttercream flowers. It’s all about feel and touch – when you lift a small amount of buttercream with your spatula, it should hold its shape but still be yielding to the touch. With a little practice, you’ll develop a sense of what works best for you, and your buttercream flowers will start to take on a life of their own.
Petals of Wisdom: 5 Essential Tips for Crafting Exquisite Buttercream Flowers
- Allow your buttercream to come to room temperature before piping, as this will ensure it’s pliable and easier to work with, resulting in more delicate, realistic petals
- Experiment with different piping bag tips and sizes to achieve a variety of petal shapes and textures, from delicate roses to showy peonies
- Practice, practice, practice – the key to mastering buttercream flowers is to pipe, pipe, pipe, so don’t be discouraged if your early attempts don’t turn out as expected
- Pay attention to the consistency of your buttercream, as it should be smooth and pliable, but not too thin or too thick, to achieve the perfect bloom
- Add a touch of elegance to your buttercream flowers by dusting them with luster dust or finely chopped nuts, which will give them a beautiful, eye-catching sheen and add depth to your designs
Time to Bloom: 3 Key Takeaways for Creating Stunning Buttercream Flowers
Mastering the perfect buttercream consistency is crucial for creating delicate, realistic petals that will elevate your cakes to new heights of elegance and sophistication
Combining essential flower piping techniques with a little patience and practice will have you crafting gorgeous, professional-looking blooms in no time, from classic roses to delicate cherry blossoms
With the right tools, a steady hand, and a keen eye for detail, you’ll be well on your way to transforming your baked goods into breathtaking works of art, perfect for wowing friends and family or simply brightening up your everyday
The Art of Floral Perfection
As I always say, the true magic of buttercream flowers lies not in the tools, but in the touch – it’s where precision meets passion, and every petal tells a story of its own.
Chloé Dubois
Bringing Your Buttercream Flowers to Life
As we conclude this journey through the world of buttercream flowers, remember that the key to creating stunning, realistic blooms lies in mastering the art of consistency and perfecting your piping techniques. From the initial steps of preparing your buttercream to the final touches of shaping and placing your petals, every detail matters. By following the steps outlined in this guide, you’ve learned how to achieve the right consistency, choose the perfect piping tips, and craft beautiful, delicate flowers that will adorn your cakes with elegance and sophistication.
Now, as you embark on your own cake decorating adventures, I encourage you to view buttercream as a versatile medium, capable of being molded, shaped, and colored to bring your most vivid floral fantasies to life. With practice and patience, you’ll find that creating buttercream flowers is not just about decorating a cake, but about unleashing your creativity and making every dessert a masterpiece that tells a story of love, beauty, and joy.
Frequently Asked Questions
What are some common mistakes to avoid when piping buttercream flowers to ensure they look realistic and delicate?
To achieve realistic and delicate buttercream flowers, beware of over-piping, which can lead to stiff, unnatural petals. Also, avoid applying too much pressure, as this can cause the buttercream to bulge or break. Instead, use gentle, smooth motions to coax your petals into beautiful, lifelike blooms.
How do I achieve consistent colors and shades with my buttercream to create a cohesive look for my flowers?
To achieve consistent colors and shades, I swear by creating a custom color palette for each design. I mix a range of hues and tints in small batches, then test them on a spare cake or parchment paper to ensure they’re just right. This way, I can maintain a cohesive look throughout my buttercream flowers and ensure they’re perfectly in harmony.
Can I use any type of buttercream for making flowers, or are there specific recipes or types that work best for piping and shaping?
While you can use various types of buttercream, I recommend a Swiss or Italian meringue buttercream for piping flowers – their stability and smooth consistency make them ideal for delicate petals and intricate designs.