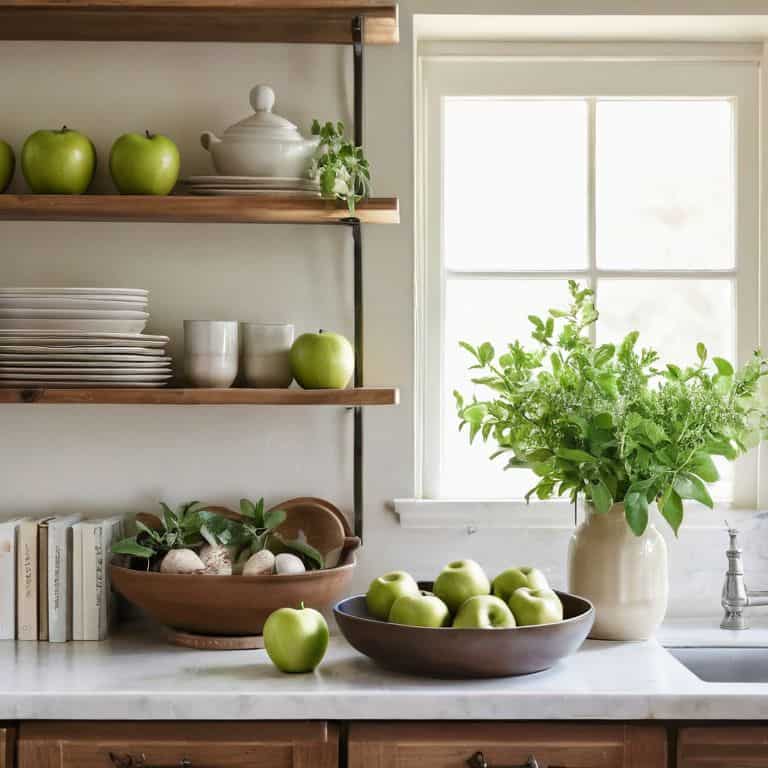
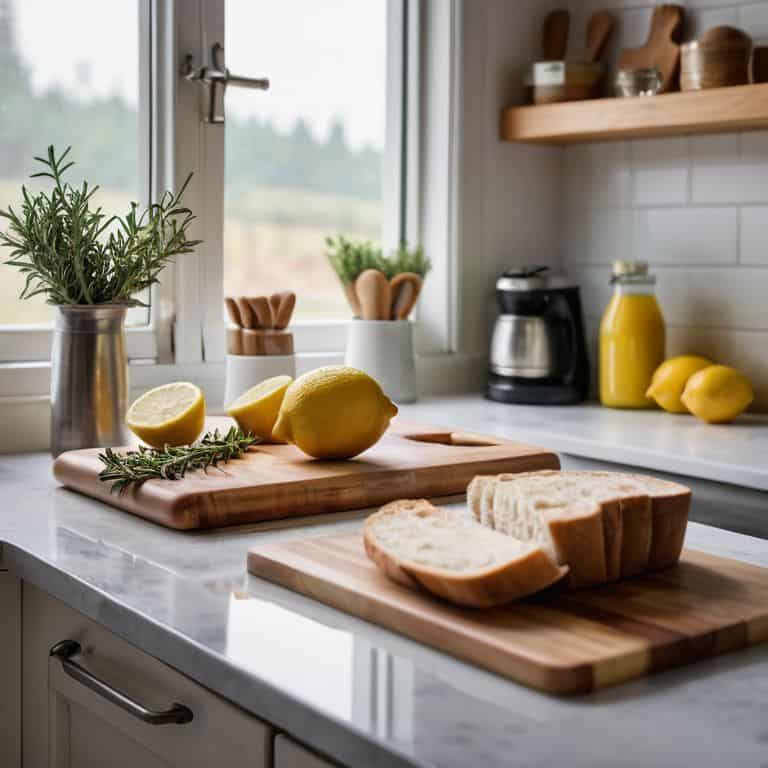
I still remember the day I discovered the secret to capturing mouthwatering food photos – it all started with learning how to use natural light for food photos. I was visiting a quaint little bakery, and the owner, a passionate pastry chef, invited me to take a peek at her photography setup. She simply placed the most gorgeous, flaky croissant near a sunny window, and the result was nothing short of magic. The way the light danced across the layers, highlighting the texture and warmth of the pastry, was truly mesmerizing. It was then that I realized the power of natural light in food photography.
As I delved deeper into the world of food photography, I found that many of us struggle to harness the beauty of natural light. We’ve all been there – trying to snap the perfect shot, only to end up with harsh shadows or unflattering colors. But what if I told you that it’s actually quite simple to master the art of using natural light for food photos? In this article, I’ll share my personal favorite tips and tricks for making the most of natural light, from the best times of day to shoot to the ideal placement of your subject. By the end of this guide, you’ll be equipped with the knowledge to take your food photography to the next level, and capture images that are not only visually stunning but also full of warmth and character.
Table of Contents
- Guide Overview: What You'll Need
- Step-by-Step Instructions
- Sunlit Bites
- Golden Hour Glow Mastering Backlighting in Food Photography
- Knead a Little Sunshine Harnessing Natural Light
- Sunlit Secrets: 5 Essential Tips for Capturing Stunning Food Photos with Natural Light
- Sunlit Serendipity: 3 Key Takeaways
- Capturing the Essence
- Bringing Your Food Photography to Life
- Frequently Asked Questions
Guide Overview: What You'll Need
Total Time: 1 hour 30 minutes
Estimated Cost: $0 – $20
Difficulty Level: Easy
Tools Required
- Camera (any type, including smartphone)
- Tripod (optional, but recommended)
- White cardboard or reflector (for bouncing light)
- Clamps or clips (for securing background or reflectors)
- Measuring tape (for measuring window distance, approximately 24 inches)
Supplies & Materials
- Natural light source (e.g., a window with indirect sunlight)
- Background materials (e.g., wood, marble, or colored paper, approximately 12 inches x 12 inches)
- Food and props (for styling and composition)
- Table or surface (for placing food and camera, approximately 30 inches high)
Step-by-Step Instructions
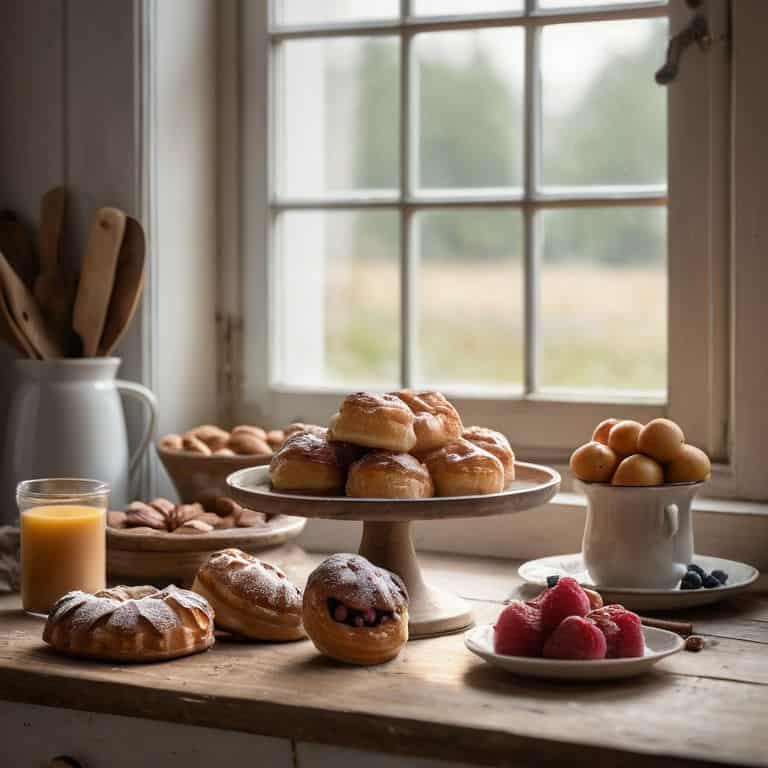
- 1. First, let’s talk about the golden hour, that magical time just before sunset when the light is soft and warm. This is the perfect moment to capture stunning food photos, as the gentle glow enhances the textures and colors of your subject. To make the most of this time, try setting up your shot near a window that faces west, so you can harness the soft, golden light.
- 2. Next, consider the _orientation of your food_ in relation to the light source. You want to position your subject in a way that creates interesting shadows and highlights, adding depth and visual appeal to your photo. Experiment with different angles and arrangements to find the one that works best for your shot.
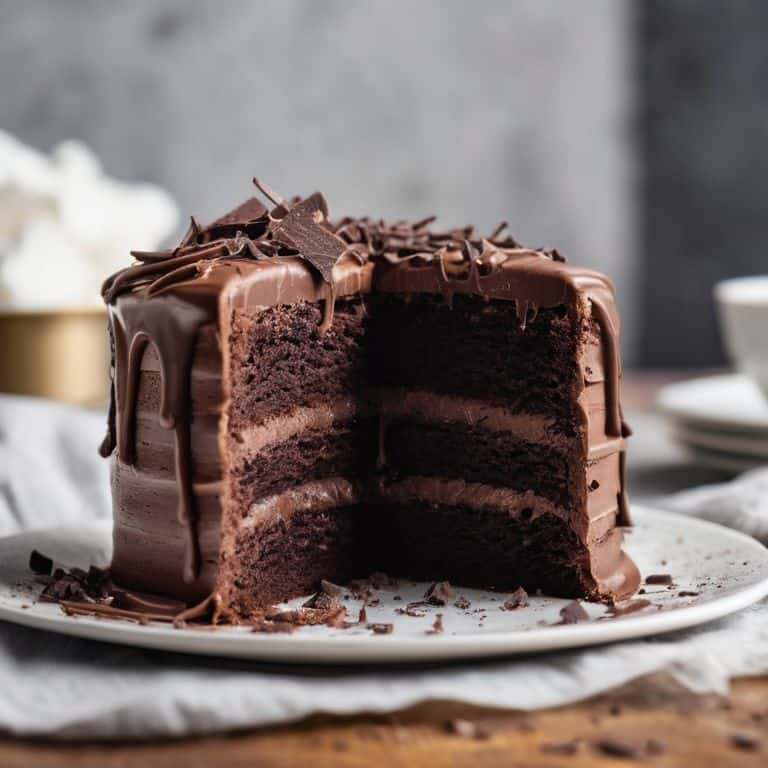
- 3. Now, let’s not forget about the power of reflection. Placing a reflective surface, such as a white plate or a metallic tray, near your food can help bounce natural light onto your subject, reducing harsh shadows and adding a touch of elegance to your photo. This technique is especially useful when working with dark or moody foods.
- 4. When it comes to _styling your shot_, remember that less is often more. A simple, clutter-free background can help your food take center stage, while a few well-placed props can add context and visual interest. Consider using natural elements, such as fresh herbs or edible flowers, to add a pop of color and fragrance to your photo.
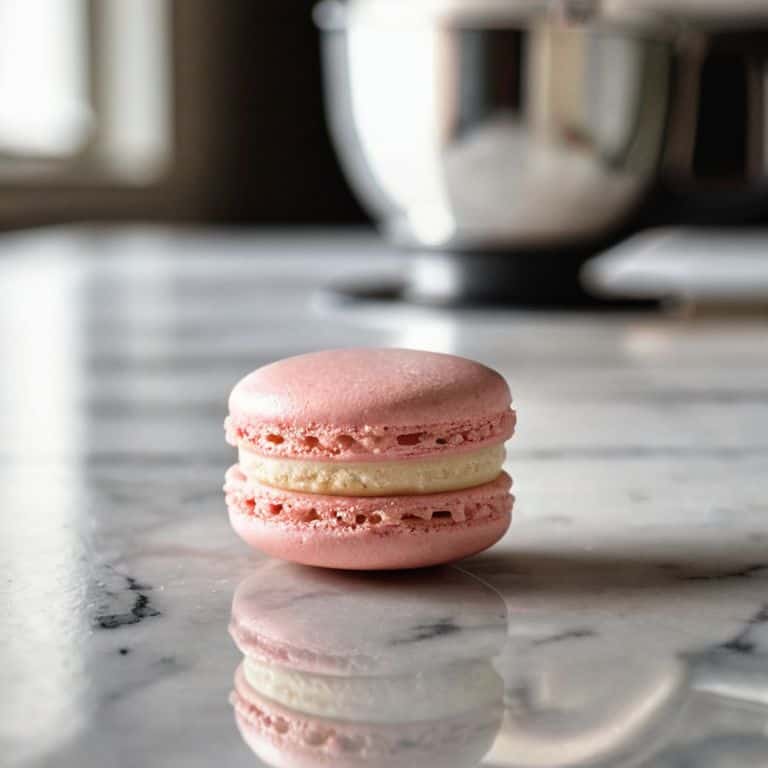
- 5. To capture the perfect shot, you’ll want to _experiment with different apertures_. A wider aperture (smaller f-stop number) will create a shallower depth of field, blurring the background and emphasizing your subject. On the other hand, a narrower aperture (larger f-stop number) will keep more of the image in focus, allowing you to showcase the intricate details of your food.
- 6. Now, let’s talk about working with shadows. While it’s tempting to eliminate shadows altogether, they can actually add a lot of character to your photo. By positioning your food at an angle to the light source, you can create interesting shadows that add depth and dimension to your image. Don’t be afraid to experiment and find the perfect balance of light and shadow.
- 7. Finally, don’t underestimate the importance of _paying attention to the details_. A few stray crumbs or a misplaced garnish can ruin an otherwise perfect shot. Take the time to carefully style your food, and don’t be afraid to make adjustments as you go. With a little patience and practice, you’ll be capturing stunning food photos in no time, and harnessing the power of natural light will become second nature.
Sunlit Bites
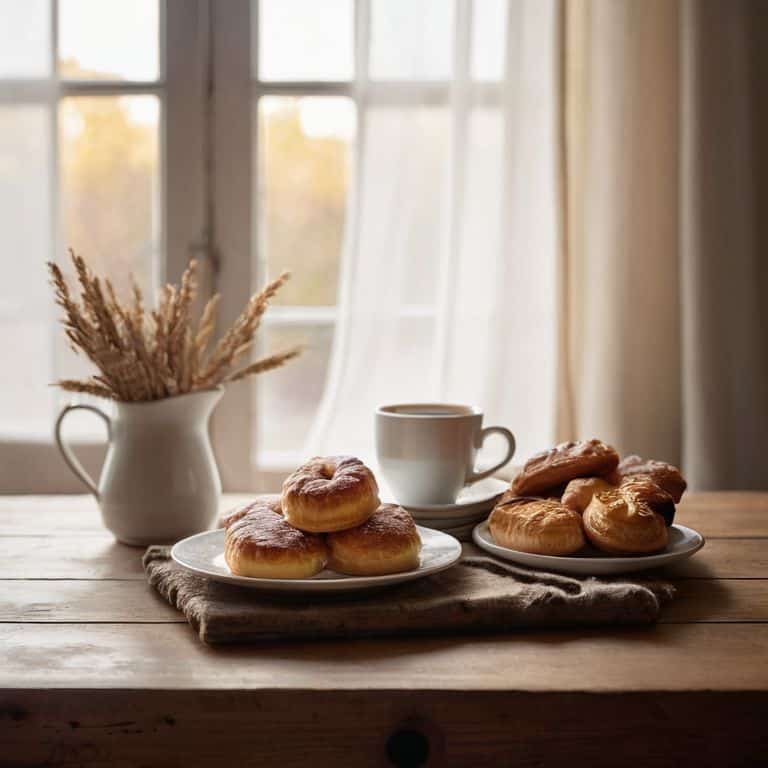
As I experiment with softbox lighting for food, I’ve found that it can be a great alternative to natural light on cloudy days. However, there’s something special about capturing images near a window, where the soft, gentle glow of the sun can add a warm touch to my photographs. I’ve spent countless hours observing how the light changes throughout the day, and I’ve learned to appreciate the golden hour – that magical time when the sun’s rays are soft and warm, casting a beautiful glow on my subjects.
When it comes to food photography, I believe that backlighting can be a powerful tool. By placing my subject in front of a window, I can create a beautiful contrast between light and dark, adding depth and dimension to my images. I’ve also experimented with using mirrors in food styling to bounce light onto my subjects, creating a soft, diffused glow that’s perfect for capturing the textures and details of my dishes.
On an overcast day, I’ve found that food photography can be just as beautiful as on a sunny day. The soft, diffused light can add a moody, atmospheric touch to my images, and I’ve learned to appreciate the unique challenges and opportunities that come with shooting in these conditions. Whether I’m capturing a warm loaf of bread or a delicate pastry, I know that the right light can make all the difference – and I’m always on the lookout for new ways to harness the power of natural light to tell my story.
Golden Hour Glow Mastering Backlighting in Food Photography
As I experiment with backlighting, I’m constantly amazed by the golden hour’s soft, warm glow. It adds a depth to my food photos that’s nothing short of magical. I recall a shoot at a quaint bakery, where the owner’s famous sourdough was perfectly silhouetted against a sun-kissed window. The result was breathtaking – the crust seemed to glow from within, inviting all to take a bite. By positioning my subjects near a window during this fleeting hour, I can create images that exude a sense of comfort and invitation.
The key to mastering this technique lies in balance. I’ve found that gently adjusting the camera’s angle to soften the light, while emphasizing the food’s textures, yields stunning results. The golden hour’s gentle caress can transform even the simplest of dishes into a visual masterpiece, making each photograph a testament to the beauty of natural light in food photography.
Knead a Little Sunshine Harnessing Natural Light
As I reflect on my visits to various bakeries, I’m reminded of the magic that happens when natural light meets freshly baked goods. It’s as if the warmth of the sun coaxes out the textures and colors of the bread, making each loaf look like a masterpiece. I recall a particular afternoon spent at a quaint patisserie, where the owner, Madame Leblanc, carefully placed her signature sourdough near the window. The way the sunlight danced across the crust, highlighting the delicate cracks and crevices, was nothing short of enchanting.
In that moment, I knew I had to capture the essence of this sun-kissed scene. With my camera in hand, I snapped a photo that would later become one of my favorites – a warm, golden-hued image that seemed to radiate the very spirit of the bakery. It was then that I realized the power of natural light in food photography: it’s not just about illuminating the subject, but about telling a story of warmth, comfort, and community.
Sunlit Secrets: 5 Essential Tips for Capturing Stunning Food Photos with Natural Light
- Illuminated Edges: Place your subject near a window or outside during the golden hour to create a warm, inviting glow
- Soft Focus: Use a sheer curtain or a diffuser to soften harsh sunlight and reduce unflattering shadows
- Reflect and Rejoice: Utilize reflective surfaces like white plates, marble countertops, or even a piece of aluminum foil to bounce natural light onto your subject
- Shade and Highlight: Experiment with partial shade to add depth and interest to your photos, highlighting the textures and colors of your dish
- Follow the Sun: Don’t be afraid to move your setup throughout the day to chase the best light – it’s all about finding that perfect balance of warmth and clarity
Sunlit Serendipity: 3 Key Takeaways
I’ve learned that positioning your subject near a sunny window can add a warm, inviting glow to your food photos, making them almost irresistible
Mastering the golden hour can elevate your food photography to the next level, with the soft, gentle light coaxing out the textures and colors of your culinary creations
Experimenting with different angles and compositions during the golden hour can help you capture truly unique and captivating images, telling a story that goes beyond just the food itself
Capturing the Essence
For me, harnessing natural light in food photography isn’t just about technique – it’s about bottling the warmth and intimacy that comes with sharing a meal with loved ones, and serving it up in every shot.
David Dunne
Bringing Your Food Photography to Life
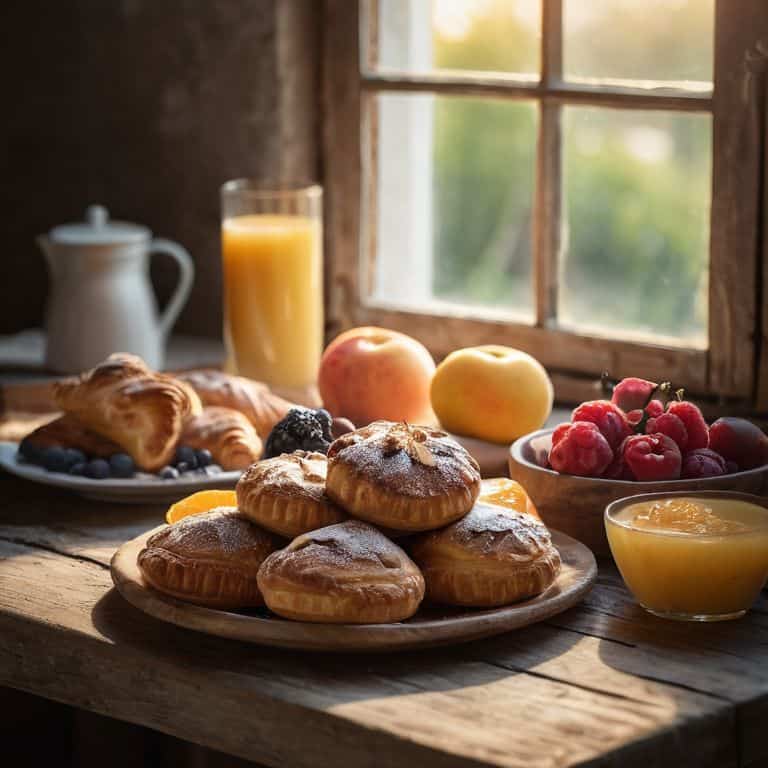
As I reflect on our journey through the world of natural light food photography, I’m reminded of the transformative power of sunlight in capturing the essence of a dish. From the golden hour glow that adds a touch of warmth to our images, to the soft, diffused light that brings out the textures and colors of our subjects, we’ve explored the many ways in which natural light can elevate our food photography. By mastering the art of harnessing this light, we can create images that are not only visually stunning but also authentic and inviting.
So, the next time you’re setting up to shoot a dish, remember to knead a little sunshine into your photography. Don’t be afraid to experiment and push the boundaries of what’s possible with natural light. With practice and patience, you’ll develop a keen eye for the way light interacts with your subject, and your images will begin to tell a story that’s both personal and captivating. As you continue on your own photography journey, I hope you’ll join me in celebrating the beauty of natural light and the art of food photography.
Frequently Asked Questions
How can I adjust my camera settings to make the most of natural light when photographing food?
When it comes to tweaking camera settings for natural light food photography, I swear by a simple trick: keep your ISO low, around 100, and adjust your aperture to prioritize the soft, warm tones of the scene. Experiment with a slightly slower shutter speed to capture the gentle dance of light on your dish.
What are some creative ways to use reflections and shadows to add depth to my food photos when shooting near a window?
I love experimenting with reflections and shadows near a window – it adds a whole new dimension to the shot. Try placing your subject on a reflective surface, like a marble countertop or a metal tray, to catch the soft glow of the window light. You can also play with shadows by angling your subject to create interesting silhouettes, adding depth and visual interest to your photos.
Are there any specific times of day or weather conditions that are best for capturing warm and inviting food photos using natural light?
I’ve found that the golden hour, just before sunset, casts a warm glow that’s perfect for capturing inviting food photos. Overcast days can also provide a soft, gentle light that’s ideal for showcasing textures and colors. And, of course, a sunny morning can add a lovely brightness to your shots – it’s all about experimenting and finding the right moment to snap that perfect photo.