I still remember the first time I attempted to cover a cake with fondant – it was a disaster! The fondant was too sticky, the cake was uneven, and I ended up with a mess that looked nothing like the beautiful creations I had seen online. But I didn’t give up, and after months of practice, I finally mastered the technique. Now, I’m excited to share my knowledge with you in this a guide to covering a cake with fondant, where I’ll walk you through every step of the process, from preparing your cake to achieving a flawless, professional finish.
In this article, I promise to give you the honest, no-hype advice you need to succeed. You’ll learn how to choose the right fondant, prepare your cake for covering, and smooth out any air pockets or imperfections. I’ll share my favorite tips and tricks for achieving a seamless finish, and provide you with the confidence to try new things and experiment with different designs. By the end of this guide, you’ll be well on your way to creating beautiful, fondant-covered cakes that will impress your friends and family. So, let’s get started on this journey together, and turn your baking into beautiful art!
Table of Contents
Guide Overview: What You'll Need
Total Time: 2 hours 30 minutes
Estimated Cost: $20 – $50
Difficulty Level: Intermediate
Tools Required
- Fondant Smoother (for smoothing out fondant)
- Cake Turner (for easily rotating the cake)
- Rolling Pin (for rolling out fondant to desired thickness)
- Sharp Knife (or cake knife for trimming excess fondant)
- Measuring Tape (for measuring the cake size)
- Turntable (optional, for easy display and access)
- Fondant Cutter (or sharp utility knife with extra blades for cutting fondant to size)
Supplies & Materials
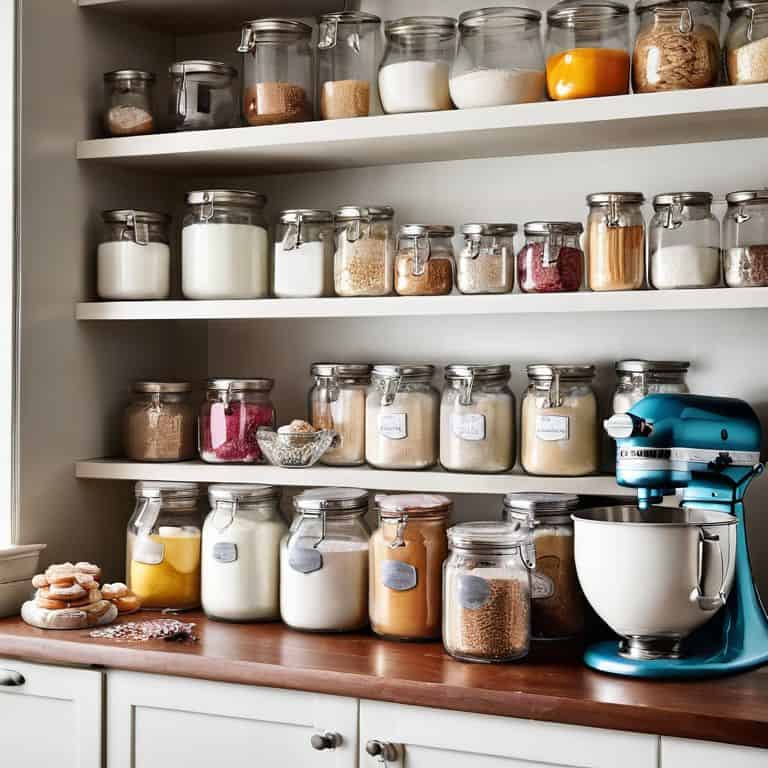
- Fondant (available in various colors)
- Shortening (for kneading and smoothing fondant)
- Corn Syrup (for creating a sticky surface for fondant to adhere to)
- Water (for thinning out corn syrup or fondant if necessary)
- Cake (baked and cooled, any size or type)
- Parchment Paper (for protecting work surface)
Step-by-Step Instructions
- 1. First, let’s start by preparing our cake for the fondant covering process. This involves making sure the cake is completely cooled and crumb-free, as any imperfections will show through the fondant. I like to use a turntable to display my cake, it makes the whole process easier and allows me to access all sides of the cake.
- 2. Next, we need to prepare our fondant. I always knead my fondant before using it to make sure it’s pliable and easy to work with. If your fondant is too sticky, you can add a small amount of cornstarch or powdered sugar to help absorb the moisture. Remember, the key to working with fondant is to be patient and gentle.
- 3. Now it’s time to color our fondant, if desired. I love using gel or paste food coloring to achieve the perfect shade. When adding color, start with a small amount and knead the fondant until the color is evenly distributed. You can always add more color, but it’s harder to remove excess color from the fondant.
- 4. With our fondant ready, let’s move on to covering the cake. Start by applying a thin layer of buttercream or piping gel to the top and sides of the cake. This will act as a “glue” to secure the fondant in place. Make sure to cover the entire surface, but don’t worry too much about evenness at this stage.
- 5. Next, roll out your fondant to the desired thickness, usually around 1/8 inch. I like to use a large, flat surface to roll out my fondant, such as a silicone mat or a lightly floured countertop. Once your fondant is rolled out, carefully place it over the cake, starting at the top and smoothing it down the sides.
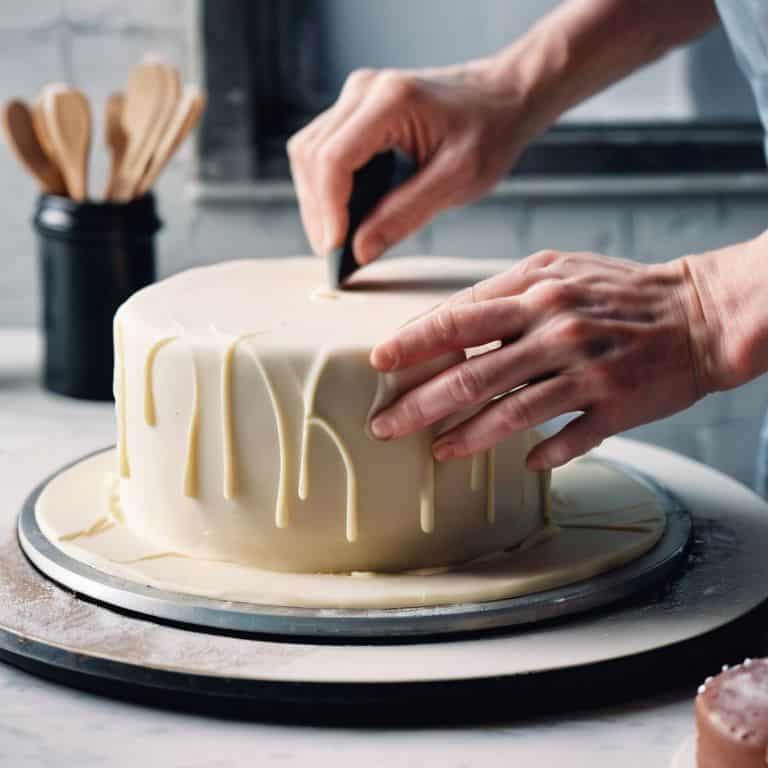
- 6. Now it’s time to smooth out any air pockets or wrinkles in the fondant. I use a combination of my hands and a fondant smoother to achieve a smooth, even finish. Start at the top of the cake and work your way down, making sure to remove any excess fondant as you go.
- 7. Finally, let’s add a decorative touch to our cake. I love using fondant molds or cutters to create intricate designs and patterns. You can also use a small amount of water to attach fondant decorations, such as beads or flowers, to the cake. Remember, the key to creating a beautiful cake is to have fun and be creative.
Mastering Fondant
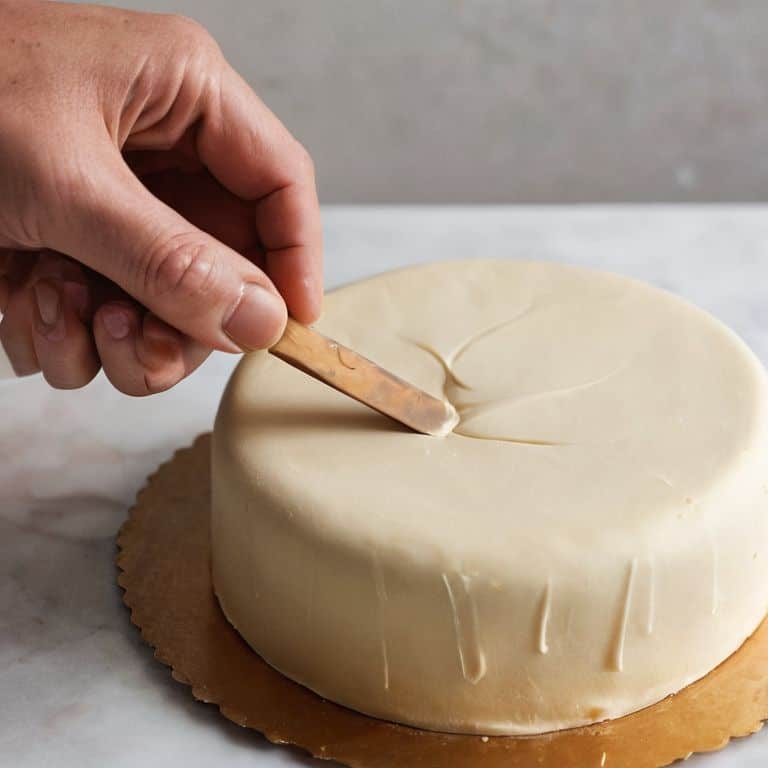
As I delve deeper into the world of fondant, I want to share with you my favorite fondant smoothing techniques that will take your cake decorating to the next level. One of the most important things to remember is to work in small sections, using a gentle touch to smooth out any air pockets or wrinkles. This will help prevent those pesky fondant cracks that can be so frustrating to deal with.
When it comes to achieving sharp cake edges, it’s all about using the right tools for the job. I swear by my trusty fondant smoothers and modeling tools, which are perfect for creating crisp, clean lines. And don’t even get me started on the importance of using beginner-friendly fondant tools – they can make all the difference in helping you achieve a professional-looking finish, even if you’re just starting out.
For those looking to take their fondant game to the next level, I recommend experimenting with different types of fondant for cakes. From classic sugar paste to more modern, vegan-friendly options, there’s a world of possibilities out there just waiting to be explored. And don’t forget to check out my favorite fondant cake decorating ideas on social media for some serious inspiration – you never know what might spark your next creative project!
Beginner Friendly Tools for Sharp Edges
To achieve those razor-sharp edges, you’ll need a few trusty tools by your side. I swear by my fondant smoothers – they’re a game-changer for getting a flawless finish. A sharp knife or a cake sculpting tool is also essential for creating those crisp lines. Don’t worry if you’re new to all this; these tools are incredibly easy to use, and with a bit of practice, you’ll be a pro in no time.
For a more precise edge, I recommend using a turntable to spin your cake as you work. This allows you to access all sides of the cake with ease, ensuring your edges are uniform and sharp. With these simple tools and a bit of patience, you’ll be amazed at how professional your fondant-covered cake looks. Remember, it’s all about taking your time and having fun with the process!
Fondant Smoothing Techniques Revealed
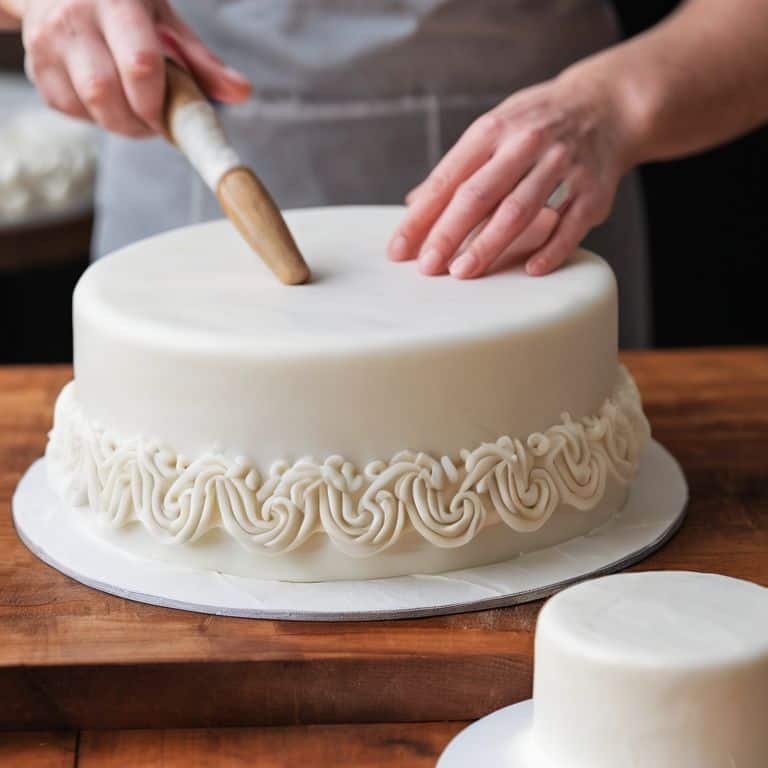
To achieve a silky smooth finish, I rely on a few trusted techniques. First, I gently stretch and smooth the fondant with my hands, working from the top down to remove any air pockets. Next, I use a fondant smoother or a paddle to even out the surface, applying gentle pressure in a circular motion. This helps to eliminate any imperfections and creates a flawless base for further decoration.
By mastering these simple yet effective techniques, you’ll be able to transform your cakes into stunning works of art. Remember, practice makes perfect, so don’t be discouraged if it takes a few attempts to get the hang of it – with patience and persistence, you’ll soon be creating cakes that look like they were plucked straight from a boutique bakery.
Elevating Your Fondant Game: 5 Essential Tips
- Fondant preparation is key: ensure your fondant is at room temperature and kneaded to a smooth, pliable consistency for effortless application
- Select the right fondant for your project: choose between poured, rolled, or sculpting fondant depending on your cake’s design and desired finish
- Prevent air pockets by applying a thin layer of buttercream or jam to the cake before covering it with fondant, ensuring a strong bond and smooth surface
- Use the right tools for a professional finish: invest in a fondant smoother, a turntable, and a sharp fondant cutter to achieve crisp edges and a polished look
- Practice patience and don’t overwork the fondant: smooth out air pockets and wrinkles gently, and avoid over-stretching the fondant to prevent tears and imperfections
Key Takeaways for a Flawless Fondant Finish
Remember, the key to a smooth fondant application lies in preparing your cake surface and using the right amount of fondant for your cake size, ensuring a seamless cover without excess or deficiency
Mastering fondant smoothing techniques, such as using the right tools and gentle, even pressure, can make all the difference between a professional-looking cake and a DIY project, elevating your baking to an art form
Experimenting with different fondant colors and designs, and not being afraid to add your personal touch with decorations or patterns, will help you transform your cake into a one-of-a-kind masterpiece that reflects your creativity and style
The Art of Transformation
As you lay the fondant over your cake, remember that it’s not just a covering, but a canvas waiting for your touch, your creativity, and your love – where every smooth fold and delicate detail tells a story of patience, passion, and the pursuit of beauty.
Chloé Dubois
Bringing Your Fondant Masterpiece to Life
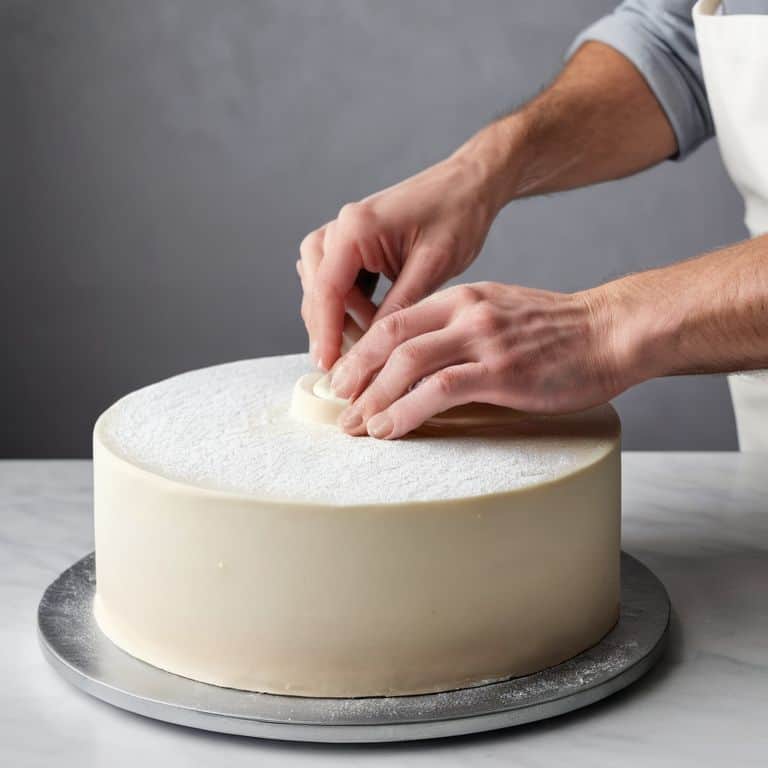
As we conclude this journey through the world of fondant, remember that the key to a beautifully covered cake lies in the details: from the initial preparation of your cake and fondant, to the smooth application of the fondant, and finally, to the meticulous smoothing and edge-shaping. Mastering these steps will elevate your baking from a delicious treat to a true work of art. Don’t forget the importance of the right tools, including sharp smoothers and a turntable, to help you achieve a professional finish. With practice, you’ll find that covering a cake with fondant is not just about technique, but about expression and creativity.
Now, as you stand back to admire your handiwork, remember that the true beauty of cake decorating lies not just in the end result, but in the journey of creation. Don’t be afraid to experiment, to try new things, and to make mistakes – for it’s in these moments that you’ll discover your own unique style and voice. And when you finally place your masterpiece on its stand, surrounded by the beauty of nature, or the elegance of a finely set table, you’ll know that you’ve truly brought your vision to life. So go ahead, take a step back, and let your fondant masterpiece shine!
Frequently Asked Questions
What type of fondant is best for beginners to use when covering a cake?
For beginners, I recommend starting with a high-quality, store-bought fondant that’s pliable and easy to work with. Satin Ice or Choco-Pan fondant are excellent choices – they’re forgiving and simple to smooth, allowing you to focus on developing your skills without added stress.
How do I achieve a smooth, even finish on my cake without any air pockets or bumps?
To achieve a smooth finish, I gently knead my fondant until it’s pliable, then use a fondant smoother or my hands to evenly apply pressure, working from the top down. I also make sure to tap out any air pockets as I go, and finish with a gentle buffing to remove any tiny imperfections.
Can I color my own fondant at home, or is it better to buy pre-colored fondant for specific designs?
While store-bought fondant is convenient, I love coloring my own at home – it’s a great way to achieve unique, custom hues. With just a few drops of gel or paste food coloring, you can tint your fondant to perfectly match your design vision. Plus, it’s a fun, creative process that allows for endless experimentation and personalization.