I still remember the first time I encountered broken buttercream – it was like my world had come crashing down. I was a student at a fine arts college, specializing in sugarcraft, and I had spent hours perfecting my cake design. But, as I was about to add the final touches, my buttercream decided to break on me. I was devastated, but I didn’t give up. I learned how to fix broken buttercream, and it’s been a game-changer for my cake decorating business. Now, I want to share my knowledge with you, so you can avoid the frustration and disappointment that comes with broken buttercream.
In this article, I’ll walk you through my top tips and tricks for reviving your buttercream and turning it into a masterpiece. You’ll learn the simple, yet effective methods for fixing broken buttercream, and how to prevent it from happening in the first place. I’ll share my personal experience and expertise, gained from years of teaching cake decorating online and creating mesmerizing videos for my Instagram followers. By the end of this guide, you’ll be equipped with the skills and confidence to tackle even the most daunting cake decorating challenges, and create beautiful, show-stopping designs that will impress anyone. So, let’s get started and turn that broken buttercream into a work of art!
Table of Contents
- Guide Overview: What You'll Need
- Step-by-Step Instructions
- How to Fix Broken Buttercream
- From Broken to Brilliant: 5 Essential Tips to Revive Your Buttercream
- Reviving Your Buttercream: 3 Essential Takeaways
- The Art of Revival
- Bringing It All Together: Mastering the Art of Fixing Broken Buttercream
- Frequently Asked Questions
Guide Overview: What You'll Need
Total Time: 30 minutes to 1 hour
Estimated Cost: $5 – $15
Difficulty Level: Easy
Tools Required
- Whisk (for mixing)
- Measuring Cups (for accurate measurements)
- Electric Mixer (optional)
Supplies & Materials
- Powdered Sugar (to adjust consistency)
- Butter or Shortening (to adjust consistency and flavor)
- Food Coloring (if needed to match original color)
- Flavor Extracts (if needed to match original flavor)
Step-by-Step Instructions
- 1. First, let’s assess the damage and understand what we’re working with – take a close look at your broken buttercream and determine if it’s too thin, too thick, or just plain separated. This will help you decide the best course of action to take, and I always find that a calm and patient approach is key when dealing with a buttercream emergency.
- 2. Next, if your buttercream is too thin, try adding a small amount of powdered sugar to it – start with a tiny amount, like a teaspoon, and mix well to avoid creating a sugar overload. You can always add more, but it’s much harder to remove excess sugar, so proceed with caution and keep an eye on the consistency.
- 3. Now, if your buttercream is too thick, you’ll want to thin it out with a little bit of liquid – this could be water, milk, or even a flavored extract, depending on the type of cake you’re making and the flavor profile you’re aiming for. Remember to add the liquid slowly, mixing thoroughly between each addition, until you reach the perfect consistency.
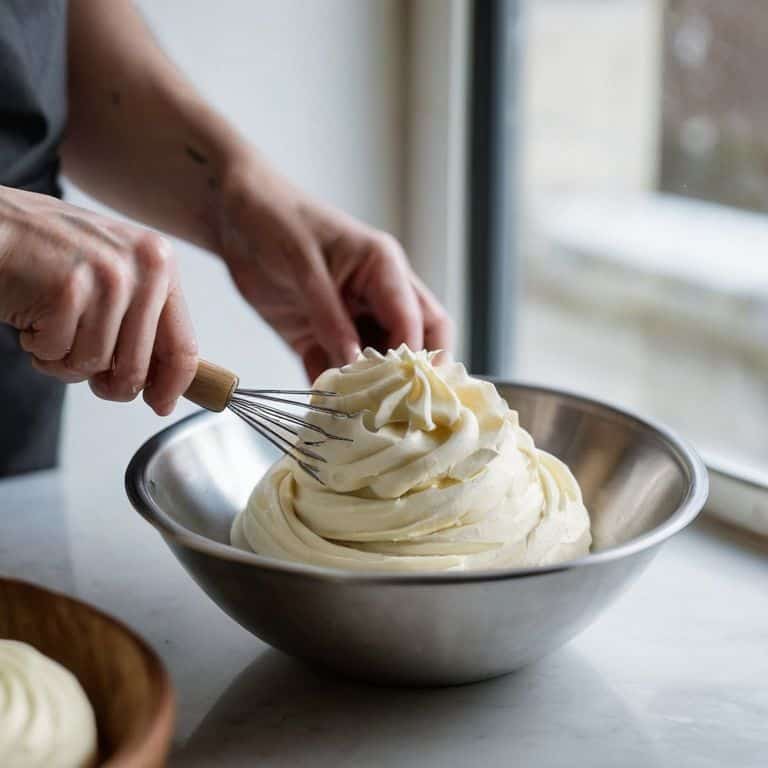
- 4. For separated buttercream, which can be a real challenge to work with, try re-whipping it – yes, you read that right, sometimes the best solution is to simply whip that buttercream back into shape. Use your mixer or a whisk to beat the buttercream until it becomes smooth and creamy once more, and don’t be afraid to add a touch of powdered sugar or liquid if needed to get it just right.
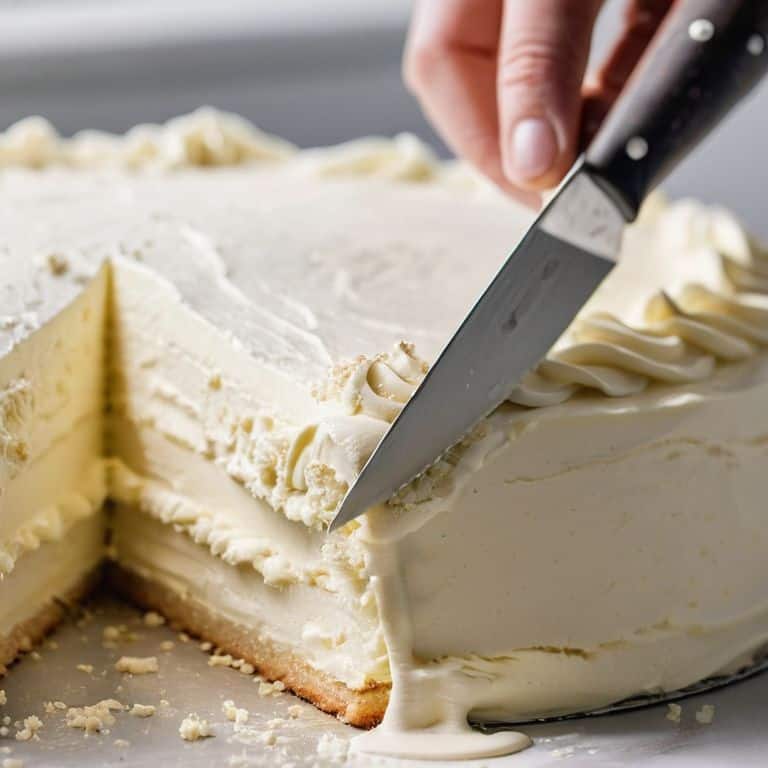
- 5. Once you’ve managed to rescue your buttercream, it’s time to test its consistency – this is a crucial step, as you want to make sure it’s ready for decorating. I like to use the “ribbon test”: lift some of the buttercream with your spatula and let it drizzle back into the bowl – if it forms a smooth, flowing ribbon that holds its shape, you’re good to go.
- 6. With your buttercream now fixed and ready to use, let’s talk about preventing it from breaking in the first place – after all, prevention is the best medicine, right? One of my top tips is to always make sure your butter and sugar are at room temperature before mixing, as this will help create a smooth and stable buttercream that’s less prone to separation.
- 7. Finally, don’t be too hard on yourself if your buttercream does break – it’s all part of the process, and even experienced cake decorators like myself encounter the occasional setback. The key is to stay calm, think clearly, and remember that with a few simple tweaks, you can turn that broken buttercream into a beautiful, smooth finish that’s sure to impress.
How to Fix Broken Buttercream
As I always say, fixing separated frosting is an art that requires patience and a gentle touch. When working with buttercream, it’s essential to understand the importance of buttercream temperature control. If your buttercream is too warm, it can lead to a soft and unstable consistency, making it prone to breaking. On the other hand, if it’s too cold, it can be difficult to work with and may result in a stiff, unyielding texture.
To avoid common mistakes, it’s crucial to be mindful of overmixing solutions. Overmixing can cause the buttercream to become too stiff and separate, leading to a broken and unusable consistency. Instead, try using a gentle folding technique to combine your ingredients, and avoid over-beating your buttercream. This will help maintain a smooth and creamy texture, making it easier to work with and less prone to breaking.
In some cases, you may need to rewhip your buttercream to restore its texture and consistency. This is especially true if you’ve added too much liquid or if your buttercream has been sitting out for too long. By rewhipping your buttercream, you can help to stabilize the mixture and create a smooth, even finish. Remember to work slowly and gently, as over-whipping can lead to a stiff and separated consistency.
From Separated to Smooth Fixing Common Mistakes
When I’m working with buttercream, I always keep in mind that it’s a delicate balance of ingredients. If it separates, don’t worry – it’s an easy fix. Simply re-whip the mixture, adding a small amount of powdered sugar if needed, until it comes back together smoothly. I like to think of it as giving my buttercream a little wake-up call.
For those pesky air pockets, try gently tapping the sides of your bowl or piping bag to release any trapped air. Then, give the buttercream a quick re-whip to smooth out the texture. With a little patience and practice, you’ll be a pro at fixing common mistakes and achieving that silky, smooth finish we all love.
Temperature Control Secrets for Perfect Buttercream
Now that we’ve tackled the basics of rescuing our broken buttercream, let’s dive into the often-overlooked world of temperature control. This is where the magic happens, friends! Keeping your buttercream at the perfect temperature can make all the difference between a silky smooth finish and a separated mess. I like to think of it as the sweet spot – not too warm, not too cool.
By maintaining a consistent temperature, usually around 72°F to 76°F, you’ll be able to achieve a beautiful, pliable buttercream that’s a joy to work with. Trust me, it’s worth the extra attention – your cakes will thank you!
From Broken to Brilliant: 5 Essential Tips to Revive Your Buttercream
- Stop and Assess: Don’t try to fix your broken buttercream without understanding what went wrong – was it too warm, overmixed, or perhaps the wrong ratio of ingredients?
- Temperature Tango: Ensure your buttercream and workspace are at room temperature, as this can greatly affect the consistency and workability of your buttercream
- Re-Whip to Revive: Sometimes, all your broken buttercream needs is a little re-whipping to get it back to its smooth, creamy state – just be careful not to overdo it
- Add a Stabilizer: If your buttercream is too thin or separated, try adding a small amount of shortening or corn syrup to stabilize and thicken it
- Practice Makes Perfect: Don’t be discouraged if your buttercream breaks – it’s all part of the learning process, and with time and practice, you’ll develop the skills to fix and create flawless buttercream every time
Reviving Your Buttercream: 3 Essential Takeaways
Always check the temperature of your ingredients and workspace before starting to work with buttercream, as this can greatly impact its stability and workability
Don’t panic if your buttercream breaks – it’s often a simple fix that involves re-emulsifying or adjusting the consistency, and with a little patience, you can turn it back into a smooth, pliable medium
Practice makes perfect, so don’t be discouraged if your first attempts at fixing broken buttercream don’t yield immediate results – with time and experience, you’ll develop the skills and intuition to troubleshoot and revive your buttercream like a pro
The Art of Revival
Just like a watercolor painting, broken buttercream is not a mistake, but an opportunity to blend and merge into something new and breathtaking – with a little patience and the right touch, you can transform it into a masterpiece that’s truly greater than the sum of its parts.
Chloé Dubois
Bringing It All Together: Mastering the Art of Fixing Broken Buttercream
As we’ve journeyed through the world of broken buttercream, I hope you’ve gained the confidence to tackle even the most stubborn of mixtures. We’ve covered the basics of temperature control, delved into the secrets of fixing separated buttercream, and explored the importance of patience and practice in achieving that perfect, smooth finish. Whether you’re a seasoned cake decorator or just starting out, remember that fixing broken buttercream is an art that requires attention to detail, a gentle touch, and a willingness to learn from your mistakes.
So, the next time you’re faced with a batch of broken buttercream, don’t be discouraged – instead, see it as an opportunity to push your creative boundaries and try something new. With these tips and tricks under your belt, you’ll be well on your way to creating breathtaking, show-stopping cakes that are almost too beautiful to eat. Happy decorating, and I look forward to seeing your stunning creations!
Frequently Asked Questions
What are the most common reasons for buttercream to break and how can I prevent it from happening in the first place?
The most common culprits behind broken buttercream are overmixing, incorrect temperature, and insufficient creaming. To prevent the breakdown, make sure to mix your butter and sugar just until combined, keep your ingredients at room temperature, and cream that butter until it’s silky smooth.
Can I still use broken buttercream to create certain decorative elements, like borders or textures, or is it best to start over?
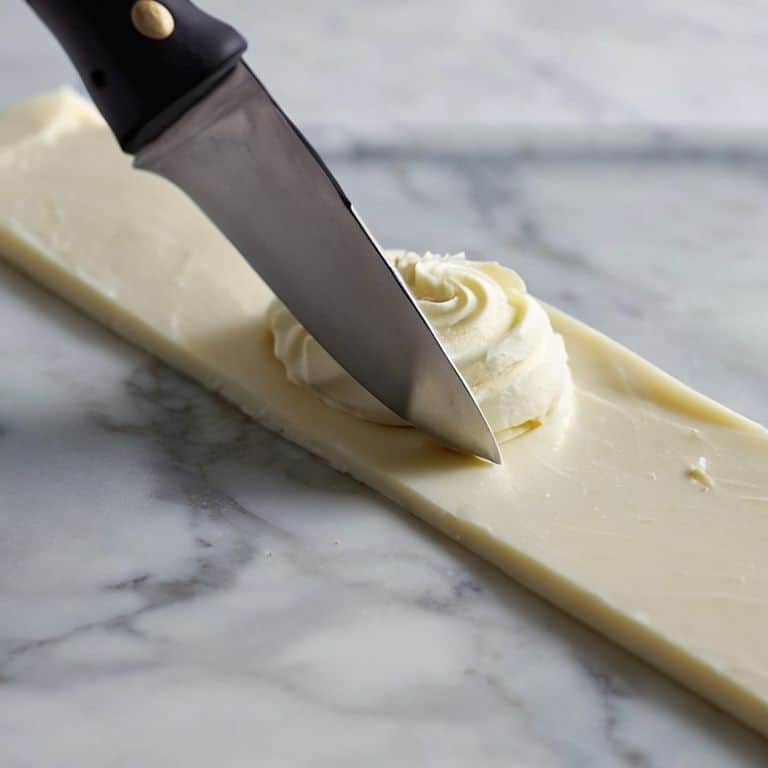
While broken buttercream can be a bit tricky to work with, it’s not entirely unusable. You can still create beautiful textures or rustic borders with it, adding a charming, organic touch to your cake. Just be mindful of the overall aesthetic you’re aiming for, and don’t be afraid to get creative!
How do I know when my buttercream is too far gone to be fixed, and at what point should I just make a fresh batch?
If your buttercream has separated beyond repair or has an off smell, it’s likely time to start fresh. Trust your instincts – if it looks or smells wrong, it probably is. Don’t stress, just whip up a new batch and you’ll be back to decorating in no time!