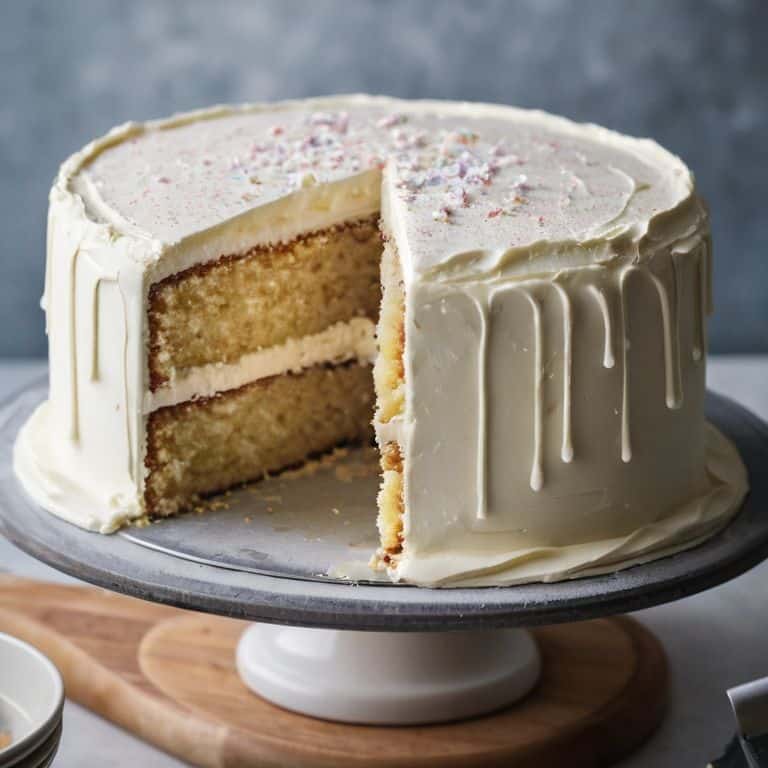
I still remember the first time I attempted to frost a layer cake – it was a disaster. The frosting was uneven, the cake was lopsided, and I was left wondering if I had what it took to become a true pastry artist. But as I delved deeper into the world of baking, I realized that mastering the art of frosting is what sets apart a good baker from a great one. The key to a stunning cake lies in understanding how to properly frost a layer cake, and it’s a skill that requires patience, practice, and a deep understanding of the craft.
As you read through this guide, I promise to share with you my tried-and-tested techniques for achieving a smooth and velvety finish on your layer cakes. You’ll learn the importance of using high-quality ingredients, the right tools for the job, and the simple yet effective methods for ensuring your cake is perfectly coated in a rich, creamy frosting. Whether you’re a beginner or an experienced baker, my goal is to empower you with the knowledge and confidence to create breathtaking cakes that are almost too beautiful to eat. So, let’s get started on this journey to elevate your baking skills and make your cakes truly unforgettable!
Table of Contents
Guide Overview: What You'll Need
Total Time: 2 hours 30 minutes
Estimated Cost: $20 – $40
Difficulty Level: Intermediate
Tools Required
- Offset Spatula (for smoothing frosting)
- Turntable (optional, for easier access)
- Piping Bag (for decorative borders)
- Measuring Cups (for accurate ingredient measurements)
- Electric Mixer (for creaming butter and sugar)
Supplies & Materials
- Butter (at room temperature)
- Powdered Sugar (sifted)
- Whole Milk (at room temperature)
- Vanilla Extract (for flavoring)
- Cake Layers (completely cooled, approximately 8 inches in diameter)
Step-by-Step Instructions
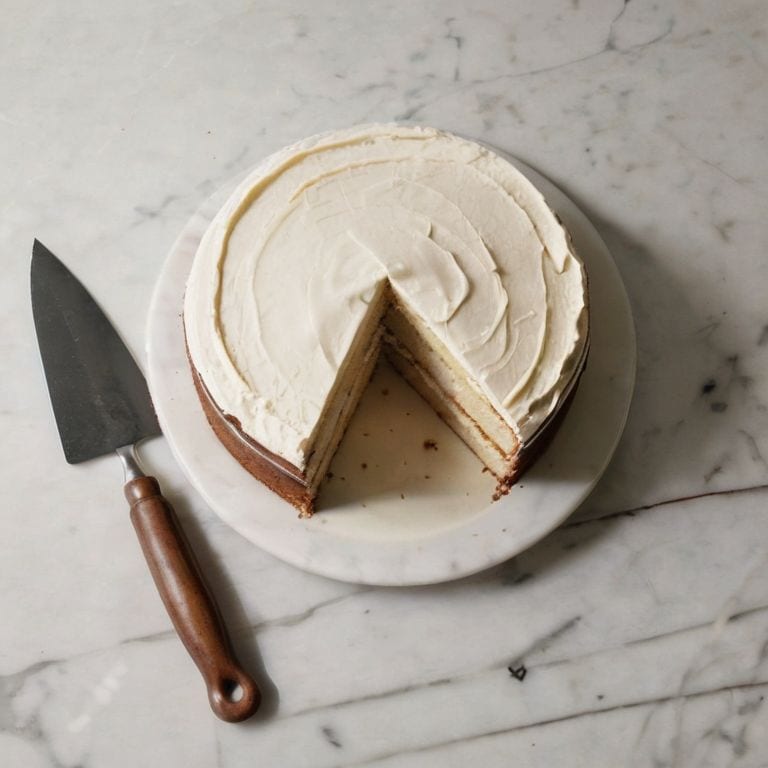
- 1. First, let’s prepare our layer cake for frosting by ensuring it’s completely cooled, as this will help the frosting set properly and prevent any melting issues. I always say, patience is a virtue, especially when it comes to baking.
- 2. Next, we’ll need to level our cake layers to ensure they’re even and will stack smoothly. This is a crucial step, as it will affect the overall appearance of our finished cake. I use a turntable to make it easier to access all sides of the cake.
- 3. Now, it’s time to prepare our frosting. I’m using a classic buttercream recipe, which requires high-quality ingredients, including rich, creamy butter and pure vanilla extract. Make sure to soften your butter to room temperature before creaming it with the sugar.
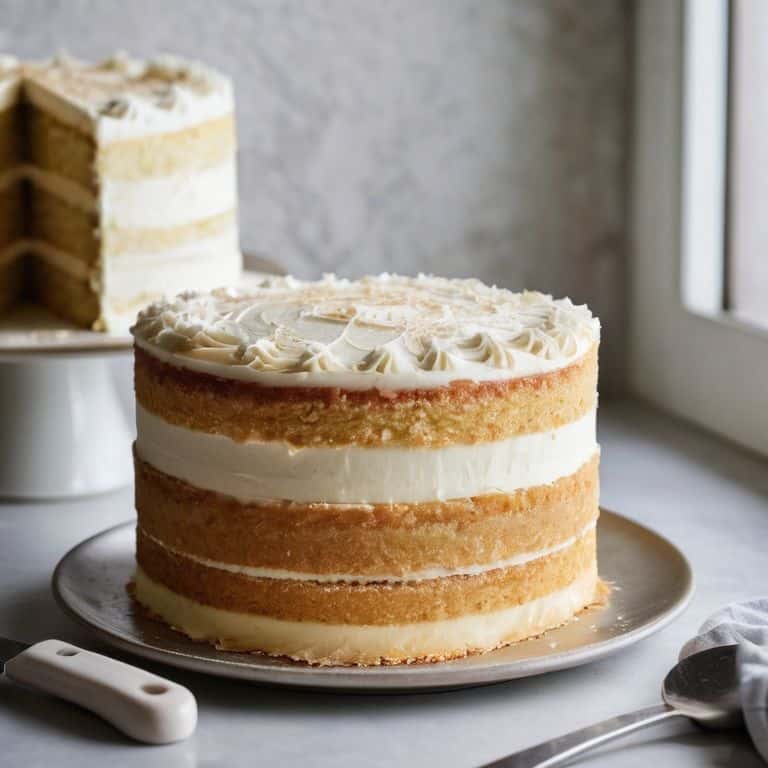
- 4. With our frosting ready, let’s start by applying a thin layer, known as a crumb coat, to the outside of the cake. This will help trap any stray crumbs and create a smooth surface for our final layer of frosting. Use an offset spatula to spread the frosting evenly.
- 5. Once our crumb coat is set, we can move on to the final layer of frosting. This is where the magic happens, and our cake starts to look like a masterpiece. I like to use a piping bag to create a decorative border around the bottom of the cake, adding a touch of elegance to the overall design.
- 6. To achieve that perfectly smooth, velvety finish, I use a turntable and a long, offset spatula to gently sweep the frosting upwards, creating a seamless, even layer. Remember to work in small sections, using long, smooth strokes to cover the entire cake.
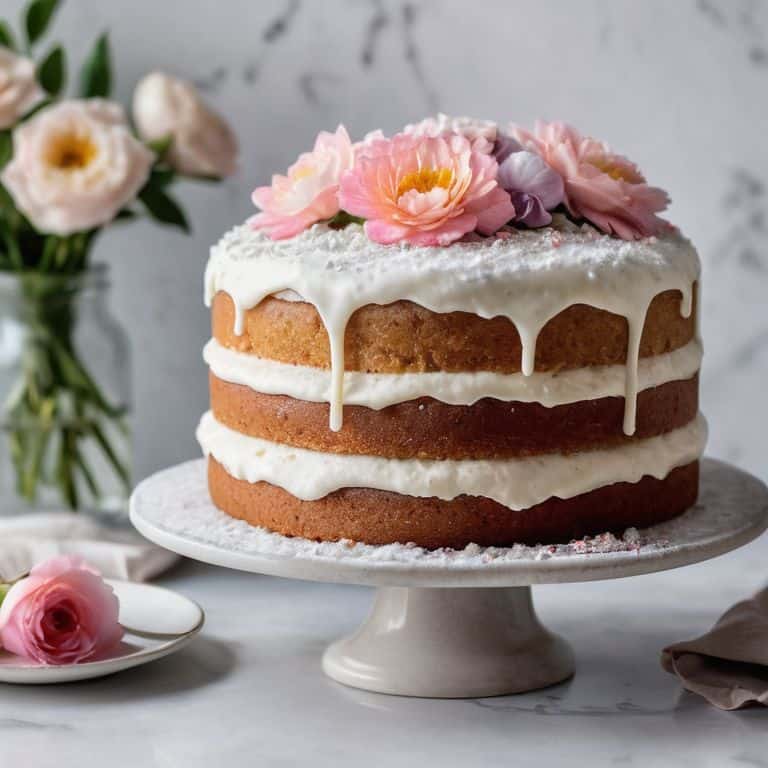
- 7. Finally, let’s add some decorative touches to our cake, such as fresh flowers or intricate piping designs. This is where you can really let your creativity shine and make your cake truly unique. I love experimenting with different flavors and decorations to create one-of-a-kind masterpieces.
Mastering Frosting Harmony
As we dive deeper into the world of frosting, it’s essential to consider frosting consistency tips to achieve a smooth, velvety finish. I always say that the key to a perfect frosting is finding that sweet spot where it’s not too thin, not too thick, but just right. This is where the magic happens, and your cake transforms into a masterpiece. When it comes to layer cake stacking techniques, I recommend using a small amount of frosting to “glue” each layer together, ensuring a sturdy and even base.
To take your frosting game to the next level, experiment with different frosting flavors and combinations. I adore pairing rich, dark chocolate with a hint of orange or lemon zest – it’s a match made in heaven! When working with buttercream frosting, remember that the quality of your ingredients, especially the butter and vanilla, will make all the difference. Invest in the good stuff, and your taste buds will thank you.
Now, let’s talk about the fun part – decorating! Piping borders for cakes can add a beautiful, elegant touch to your masterpiece. To achieve those perfect, crisp lines, make sure your piping bag is at room temperature, and your frosting is at the ideal consistency. With a little practice and patience, you’ll be creating stunning cakes that are almost too beautiful to eat. Almost.
Buttercream Frosting Recipe Secrets
To unlock the full potential of your layer cake, you need a buttercream frosting that’s not only delicious but also a masterclass in texture and consistency. My secret to achieving this lies in using the finest quality ingredients, particularly European-style butter with a high butterfat content, which lends a richness and depth to the frosting. I also insist on using pure vanilla extract, as it adds a subtle yet unmistakable aroma that elevates the entire cake.
By combining these ingredients with precise temperature control and a careful balance of sugar and liquid, you’ll be able to craft a buttercream that’s both silky smooth and robustly flavored. Remember, the key is in the details – and with a little practice, you’ll be whipping up frostings that are nothing short of extraordinary.
Frosting Consistency Tips Revealed
To achieve the perfect consistency, I always say that it’s all about finding that sweet spot where your frosting is neither too thin nor too thick. For me, the key is to start with room temperature ingredients and then adjust as needed. If you’re working with buttercream, a good rule of thumb is to add small increments of powdered sugar or cream until you reach your desired consistency. Remember, it’s easier to add than to subtract, so take your time and be patient.
When I’m frosting a cake, I like to think of it as a dance between the frosting and the cake itself. The consistency of the frosting should be smooth and pliable, allowing it to glide effortlessly over the surface of the cake. If it’s too thin, it will pool at the bottom; if it’s too thick, it will be difficult to spread. By finding that perfect balance, you’ll be able to create a truly show-stopping finish that’s both beautiful and delicious.
The Velvet Touch: 5 Essential Tips for Frosting Perfection
- I always begin by ensuring my frosting is at room temperature, allowing it to spread smoothly and evenly, like a warm summer breeze on a field of lavender
- Next, I prepare my cake layers by lightly brushing them with a syrup or simple sugar solution to keep them moist and receptive to the frosting, much like a painter primes their canvas
- Then, I apply a thin, even layer of frosting to the cake, using an offset spatula to create a seamless foundation, just as an artist lays down the first strokes of a masterpiece
- I chill the cake in the refrigerator for about 10 minutes to set the initial layer of frosting, allowing me to build upon a stable base, much like a sculptor allows their clay to firm up before adding details
- Finally, I finish with a final, smooth layer of frosting, using long, sweeping motions to create a velvety texture that invites the eye and tempts the taste buds, much like a poet crafts a verse that lingers on the palate of the soul
Elevating Your Frosting Game: 3 Key Takeaways
I’ve found that achieving the perfect frosting consistency is all about understanding the delicate balance between butter, sugar, and liquid ingredients – it’s a harmony that requires patience and practice to master
By using high-quality ingredients, such as European-style butter and pure vanilla extract, you’ll be able to create a rich, velvety frosting that’s not only delicious but also visually stunning, making your layer cake a true showstopper
Remember, the art of frosting a layer cake is just as much about technique as it is about creativity – don’t be afraid to experiment with different flavors, colors, and decorating styles to make your cake truly one-of-a-kind and a reflection of your personal baking style
The Velvet Touch
Frosting a layer cake is not just about covering it in a sweet disguise, but about crafting a masterpiece that whispers elegance with every delicate touch, a symphony of texture and taste that begins with the first, gentle sweep of the knife.
Alison Lawson
The Finishing Touches: Elevating Your Layer Cake
As we conclude our journey to mastering the art of frosting a layer cake, let’s recap the essential elements that will take your baking to new heights. We’ve discussed the importance of preparing the perfect canvas, from leveling your cake to creating a crumb-free surface. Then, we delved into the world of frosting harmony, where the right consistency and flavor pairing can make all the difference. By following these steps and tips, you’ll be well on your way to crafting stunning, professional-grade cakes that are almost too beautiful to eat.
Now, as you stand back to admire your handiwork, remember that the true magic of baking lies not just in the technique, but in the creative expression it allows. Don’t be afraid to experiment, to try new flavors and designs, and to push the boundaries of what’s possible with every layer, every swirl, and every delicate detail. With practice, patience, and a passion for the art of baking, you’ll unlock a world of endless possibilities, where every cake is a masterpiece waiting to be created.
Frequently Asked Questions
What's the best way to crumb-coat a layer cake without creating a mess?
To crumb-coat with finesse, I gently place my layer cake on a turntable and use an offset spatula to apply a thin, even layer of frosting, working from the bottom up. This helps contain crumbs and prevents a mess. I also chill the cake beforehand to set the layers, making the process even smoother.
How do I achieve a sharp edge on my frosted layer cake?
To achieve a sharp edge on your frosted layer cake, try the ‘crumb-coat and chill’ method: apply a thin layer of frosting, chill, then frost again with a turntable and offset spatula for a precise, sharp finish – it’s a game-changer for professional-looking results!
Can I use a stand mixer to frost a layer cake, or is it better to do it by hand?
While a stand mixer can be a great tool, I prefer to frost my layer cakes by hand for the utmost control and smoothness. However, if you do choose to use a stand mixer, be sure to use the paddle attachment on low speed to avoid incorporating too much air into the frosting.